The cheapskates guide to making your own partial capos
Apr 9, 2013 19:59:02 GMT
Wild Violet and Phil Taylor like this
Post by ocarolan on Apr 9, 2013 19:59:02 GMT
The Cheapskate's Guide to making your own Partial Capos
or - how to make one capo do 8 or more different jobs!
This is not such a comprehensive and excellent guide as Robbie's amazing thread. But it is a quick and simple way to experiment with a variety of several different configurations of partial capo for the price of one standard Shubb. Or, if you have a Shubb you're not using, then the experiment is free.
Dave kindly suggested I add some info on this, so here it is, in two versions
The Quickstart Guide.
Take one standard Shubb capo. Cut bits off the metal bar and/or rubber to suit.

But, just in case a bit more detail would be helpful, here is
The Blue Peter step by step guide.
(Despite what you may think, this is actually a serious article at heart, and will result in you having several partial capos for the price of one normal one, or even entirely free.)
You will need
i) one Shubb capo
ii) an Exacto Razor saw and a craft knife
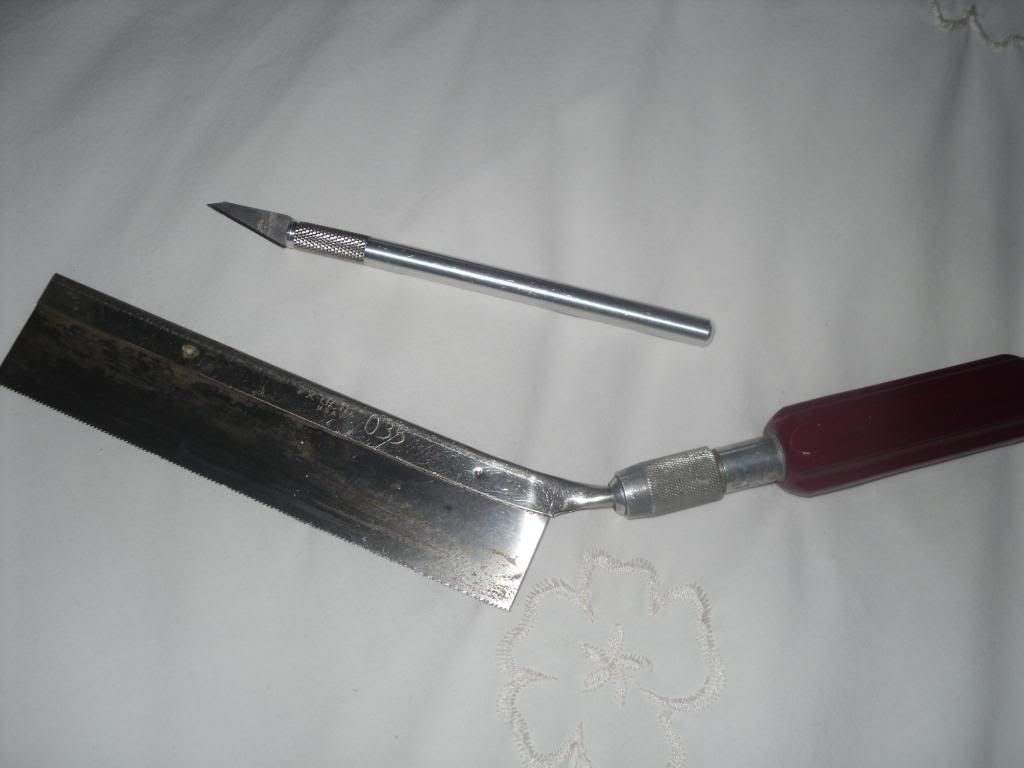
if these items don't fall easily to hand then a junior hacksaw and a Stanley knife will do just as well.
iii) 3 yoghurt pots
iv) a roll of sticky back plastic
v) a grown-up to help with the very sharp tools.
Actually, I lied about the last three items. Well, maybe not the very last one.
Method
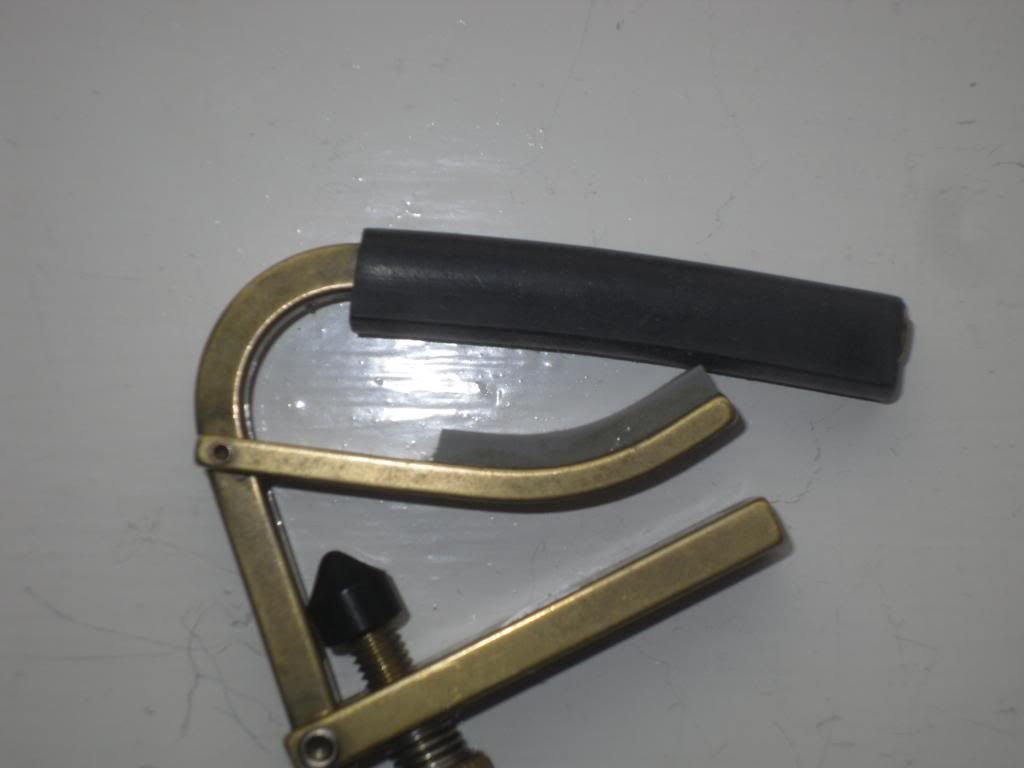
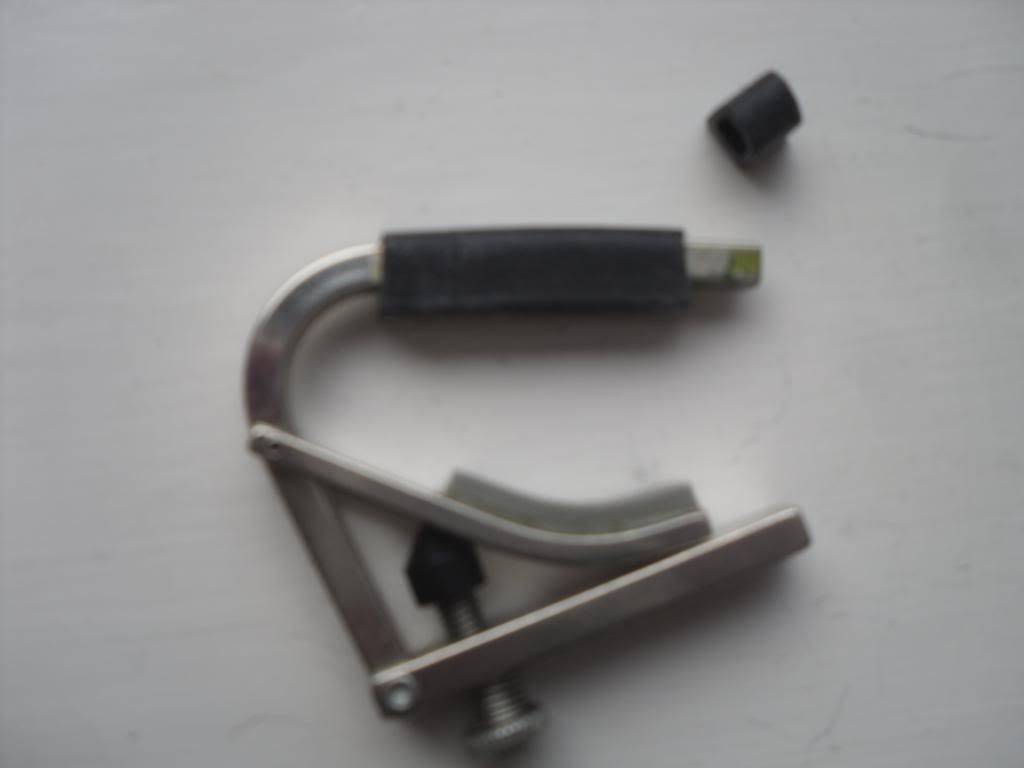
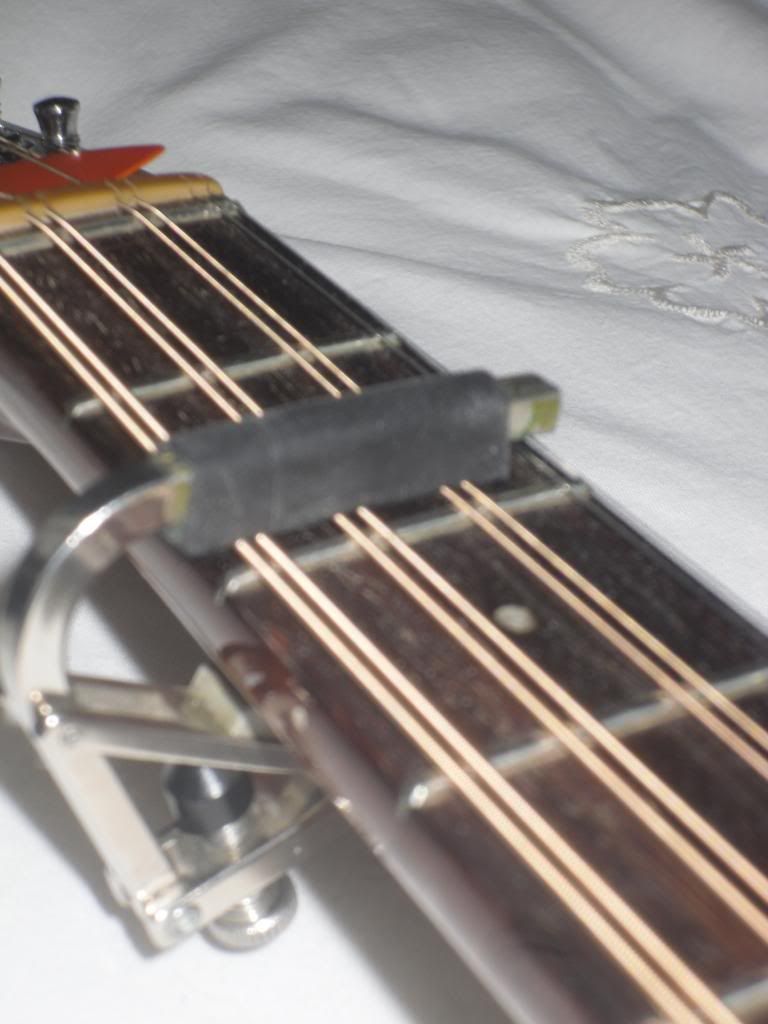
Slide the rubber sleeve off the capo arm. Measure how long the arm needs to be to cover only 5 strings on your guitar at whatever frets you plan to place the capo, and using the saw, cut the end off the bar, tidy up any sharp edges with a file. (Sorry, I missed that off the equipment list.) Cut the rubber sleeve with the knife to match the bar.
Here's one I cut earlier, compared with the original, firstly just the bare metal -

and then with the shortened rubber sleeve refitted -
You now have a capo that can be applied over five strings for a pseudo- dropped D effect like this -

or for a top E down to D, like this -
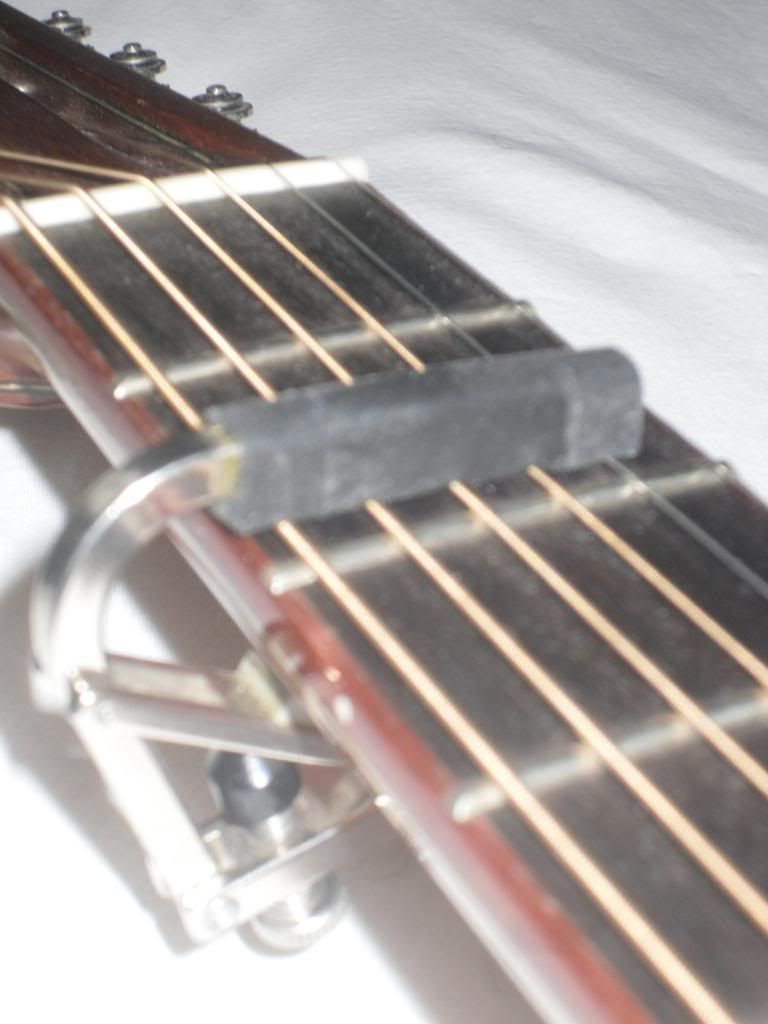
Now, on many instruments the Shubb can be used to do this without shortening, but it isn't too secure usually, because the back-of-neck pad is precariously, and possibly damagingly postioned to achieve the 5 string capo effect. By shortening the bar, the capo sits snuggly, soundly and safely on the neck in its usual postion.
Also, in this format, with no further alteration, the shortened capo can be used as a ukulele capo -
and as a mandolin/bouzouki etc capo -
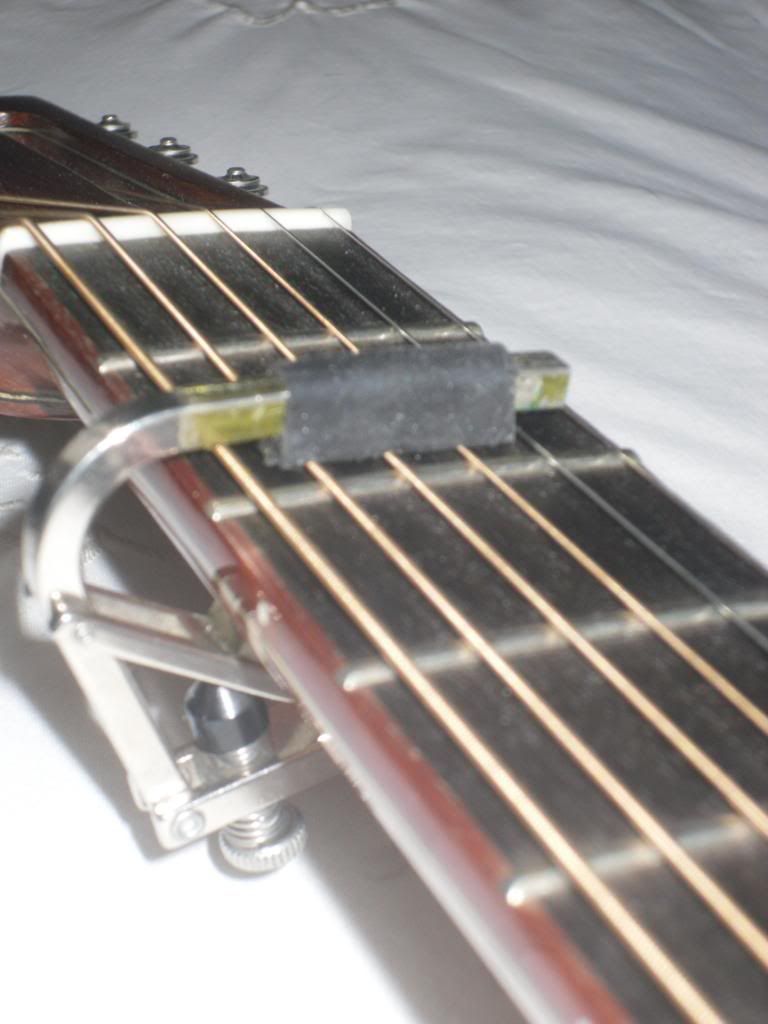
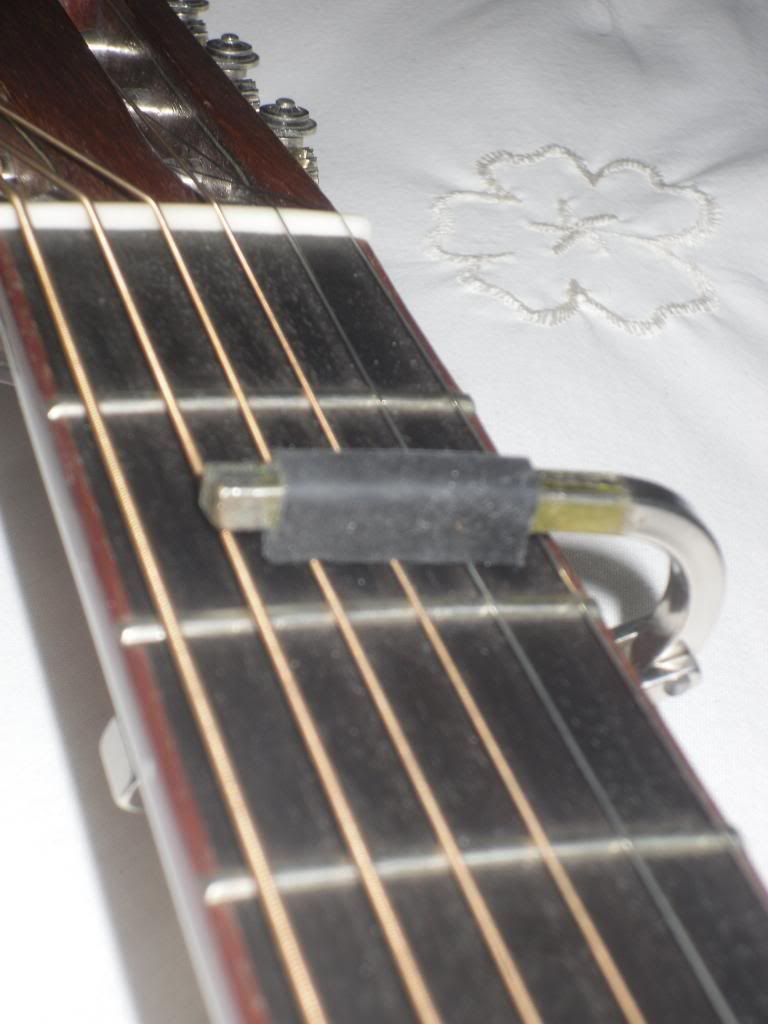
So far so good. To take things a step further, remove the rubber sleeve, and cut through the end section that would cover eg the top course of strings on a mando family instrument. You can do this without removing the sleeve if you wish - once cut through, remove, but do not lose, the small section. If you did remove the sleeve to cut it, put the small portion spomewhere safe and replace the larger portion like so -
This gives you a 3-course capo for mando/zouk etc. I use it to obtain a pseudo-GDAD tuning like this -
My zouk was tuned two frets down than, so with the whole sleeve on the bar (I told you not to lose the small section!) the pitch is GDAE. With the the small section removed, as per photo above, the open string pitches are GDAD, which allows me to use typical lower string two finger shapes up and down the neck with the top strings as drones.
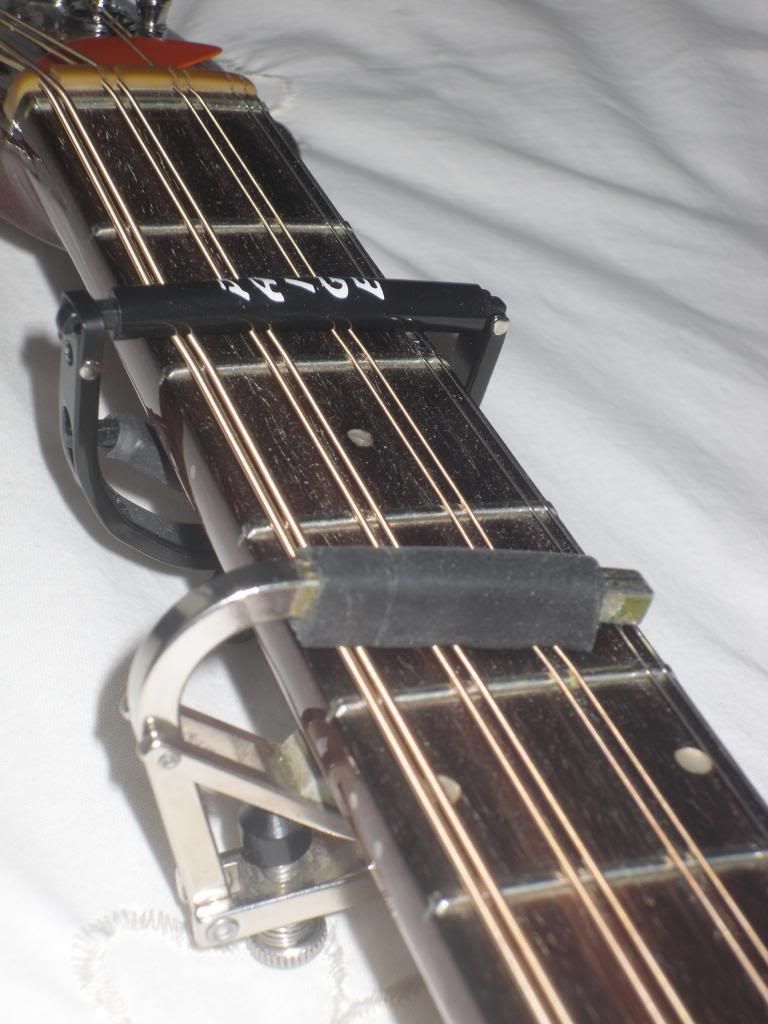
Since putting heftier stings on my zouk and tuning down four frets, I keep the whole sleeve on and capo at fret four most of the time. For GDAD effect, two capos work well -
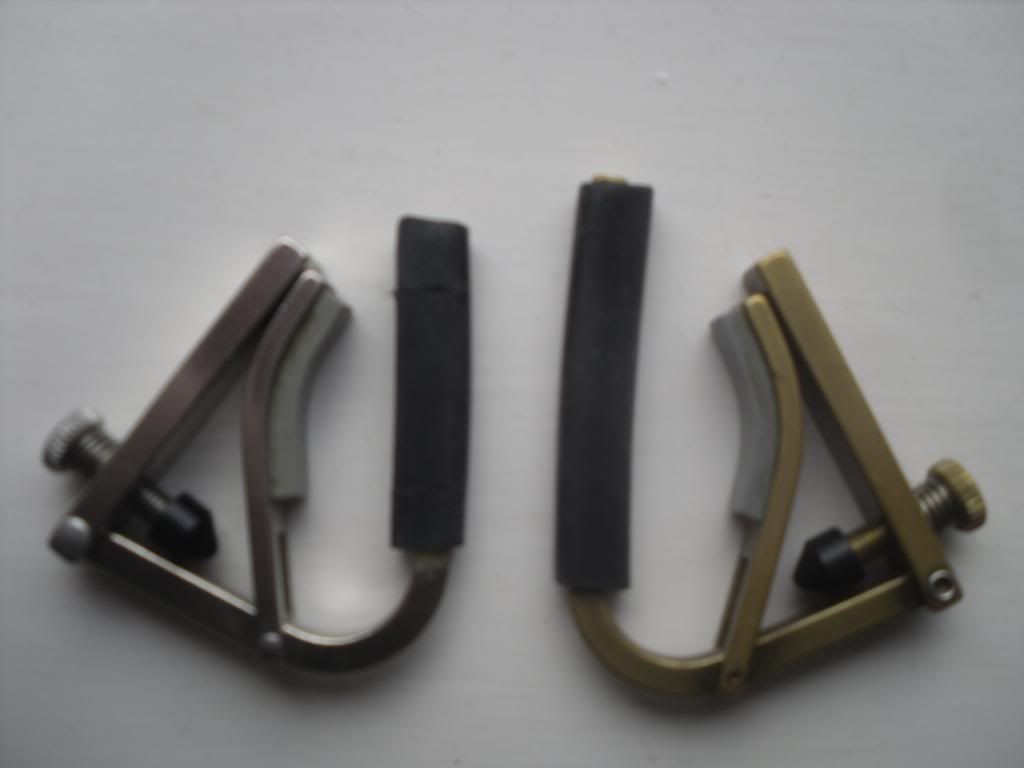
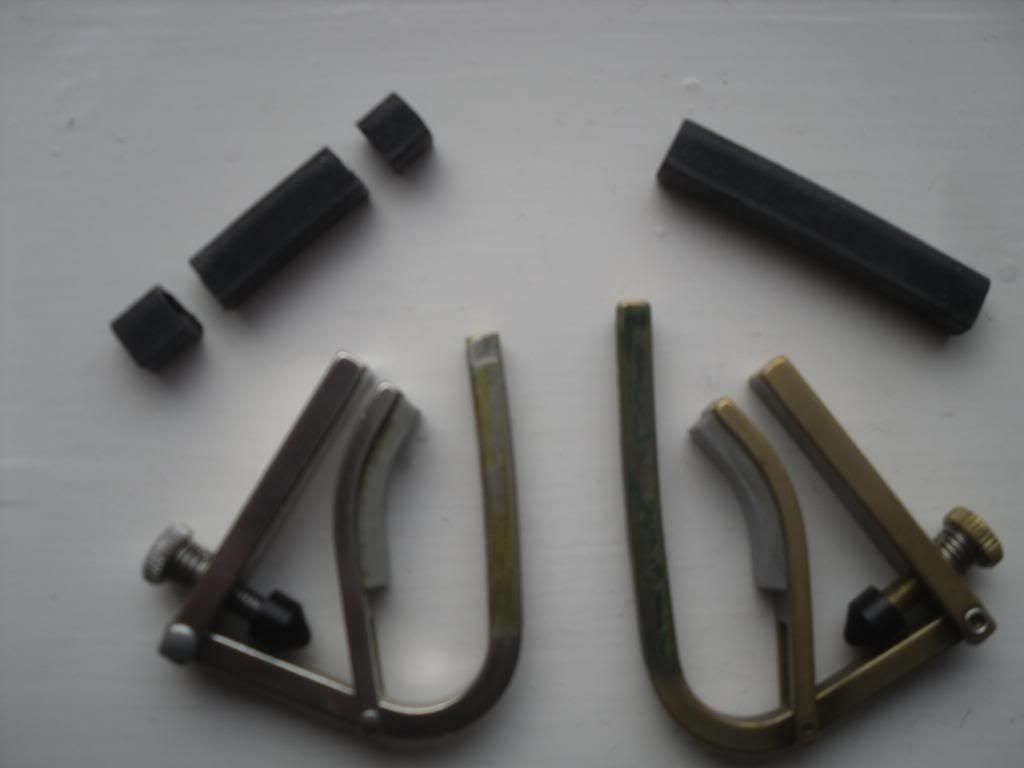
Ah, but we ain't finished yet! Cut another small section from the sleeve, again retaining the little bit. You should have something looking like this (unmodded full length standard capo there for comparison) -
Slide the longest piece of sleeve back on like so -
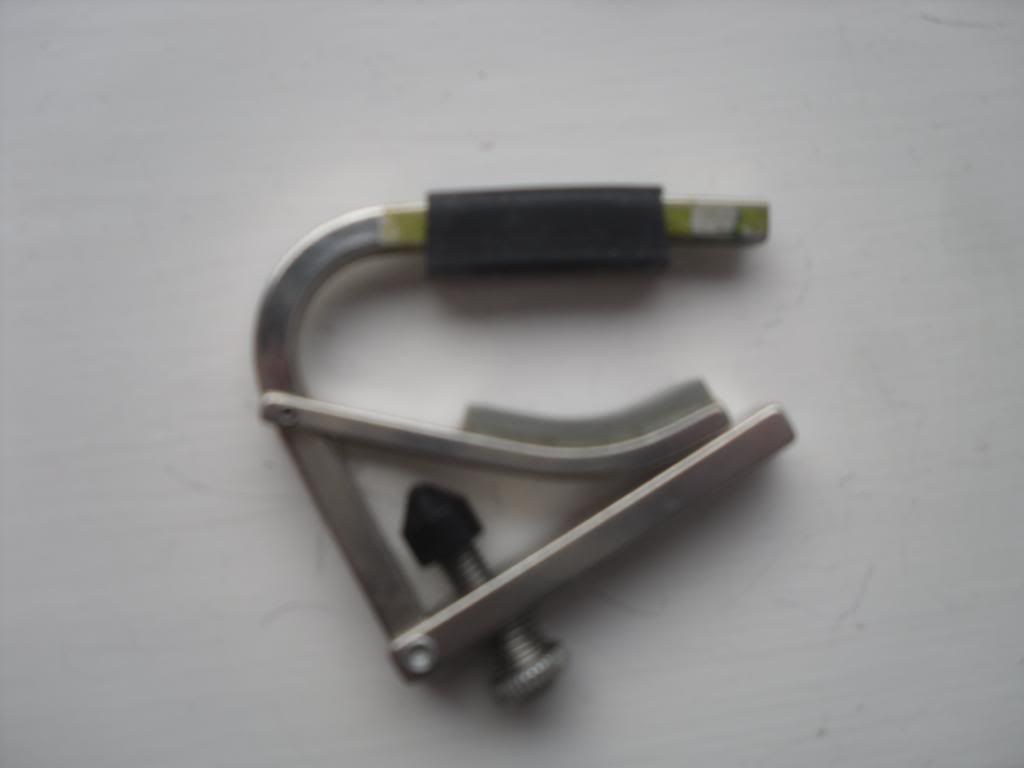
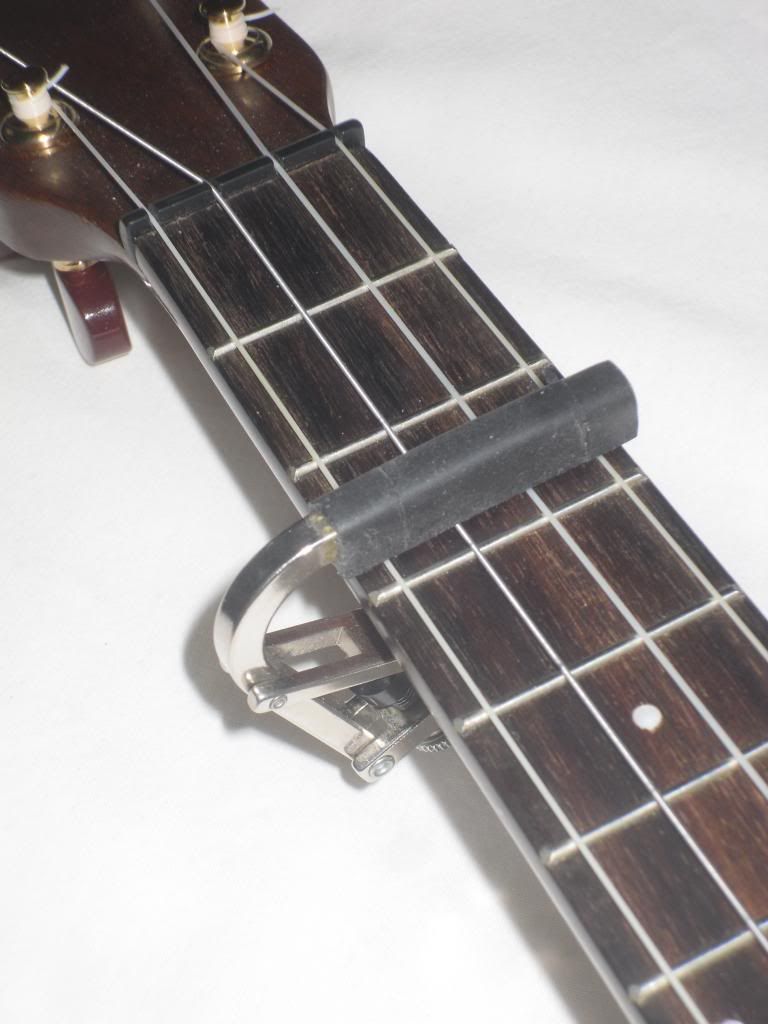
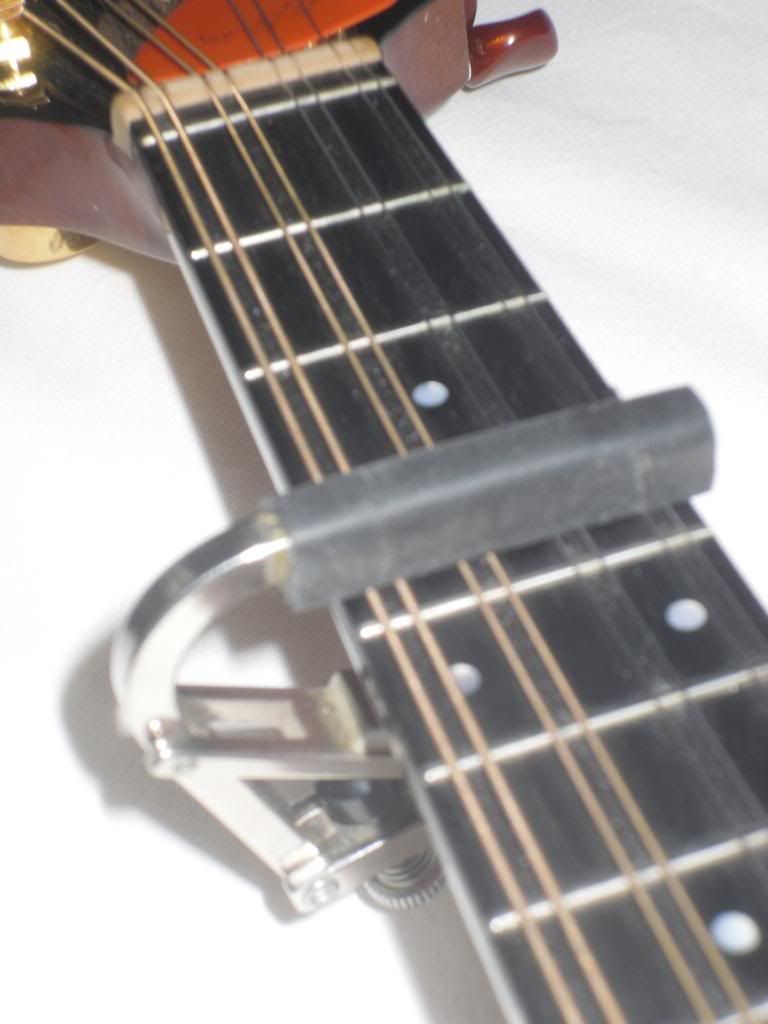
and you will have a 3 string capo for guitar - apply to a standard tuned guitar to obtain a pseudo DADGAD-like (a whole tone higher though, unless you tune the guitar down) effect on the open string intervals like this -
or apply the other way around for a pseudo open A (open G up two frets)
The three separate sleeve portions can be slid back onto the bar to restore the 5-string capo functionality entirely.
A bit of jiggling of the sleeve postion to obtain best results when using as a 3-string partial capo may be necessary - as if the sleeve is too off-centre, the bar may end up at an angle and the bare metal can catch on the supposedly open strings.
There are probably other types of partial capo that can be achieved like this, but some theoretical possibilities will not be practical as the bar will be too unevenly supported by the rubber portions and there may be unwanted meatl contact with a string or strings passing benath uncapoed, so the technique is not quite as versatile as the Spider capo, which has extra support at the fingerboard edges.
Planet Waves NS capos can be cut in a similar way, but the sectional rubber trick I've devised for Shubbs isn't practicable with the PWs due to the method of construction. You can remove sections of rubber easily enough, but they aren't going to be easily replaceable of finely adjustable for postion as in my method with Shubbs.
So there we are. Actually I think the quick guide is easier to follow - explaing it blow-by-blow makes it sound harder than it is, but I'm happy to answer any questions you may have if you've got this far and fancy a bit of exploration to see if partial capos might be for you. A bit of careful measuring on the instruments to which you want to apply the capo will pay dividends, especially when shortening the metal bar. Rubber sleeves are available as spares, so any goofs are less critical.
Result
One standard Shubb has enabled us to make one capo that can be configured as -
i) a 5 string partial capo for guitar that can be applied in two different ways.
ii) a 3-string partial capo for guitar that can be applied in two different ways.
iii) a 4-string full capo for uke/mandolin/bouzouki etc, (and quite possibly some banjos though I haven't tried this!)
iv) a 3-course capo for mando family instruments for GDAD strummy effects.
Conclusion
These "home made" partial capos function every bit as well as the proprietary ones, and work out a lot cheaper as you have several possibilites from the one capo, which allows for experimentation in a variety of configurations quickly and simply. You could make one for each situation and still save over the cast of the "proper" ones. My ones are not as elegant as the proprietary products, but then I did say that the method was for cheapskates - you can't have everything. The method will, though, allow you to determine which, if any, partial capos might be of interest to you. You can then either stick with the home made ones, as I do, or splash out on a posh one or more.
Hope that was of interest!
Keith
PS apols that the pics are a bit blurry, but I'm sure they are clear enough for you to get the idea.


 . Great idea though and one im definitley going to use as i cant be bothered re tuning , lazy i know but this looks worth trying .