|
|
Post by lars on Jan 18, 2020 15:35:49 GMT
I'm a few days from finishing two mandolins. I made the first steps in late august or early september, planning to be finished before Christmas. Well, I didn't manage to follow my time plan, but soon they will be finished. So I decided to make a (mostly) retrospective build thread and I'll divide the building process in a couple of posts. Here are the drawings for the project: 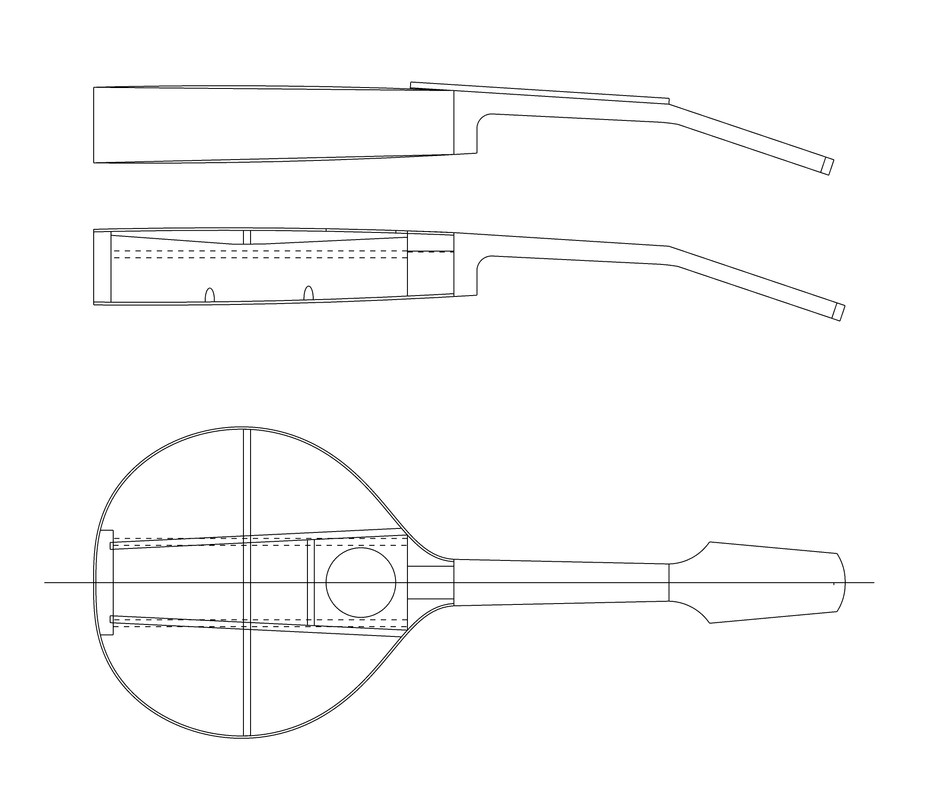 This is a new design for me. I've made two teardrop mandolins before, but they were outlined from an old Levin mandolin. Later I've made some instrument with an original designed pear shaped body (among them, the instruments that I've shown before on this forum). This might look like a very ordinary standard teardrop mandolin (which it is), but it took a lot of time and many versions before I came up with the final design. The basis for the design was a circle and the bridge is located at the center of the circle. The Levin mandolins were ten fretters (were the neck meet the body at the tenth fret) but I wanted a twelve fretter. Anyhow - it took lots of times and consideration, but finally I came up with this design... |
|
|
|
Post by lars on Jan 18, 2020 15:49:14 GMT
Before I could start building my mandolins I had to build me a new workshop! Not an entirely new workshop - it is still in my garage, but I needed more efficient work benches and spaces designed for instrument building. 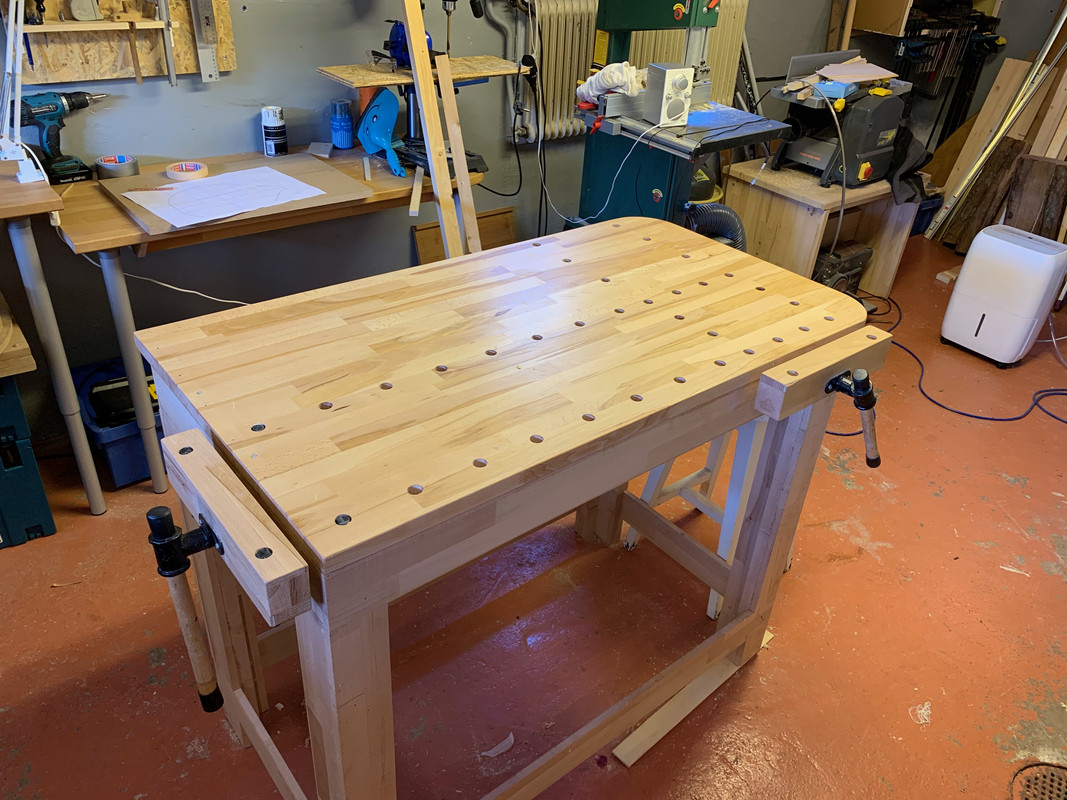 My new main work bench made from an old office table top I made many years before. 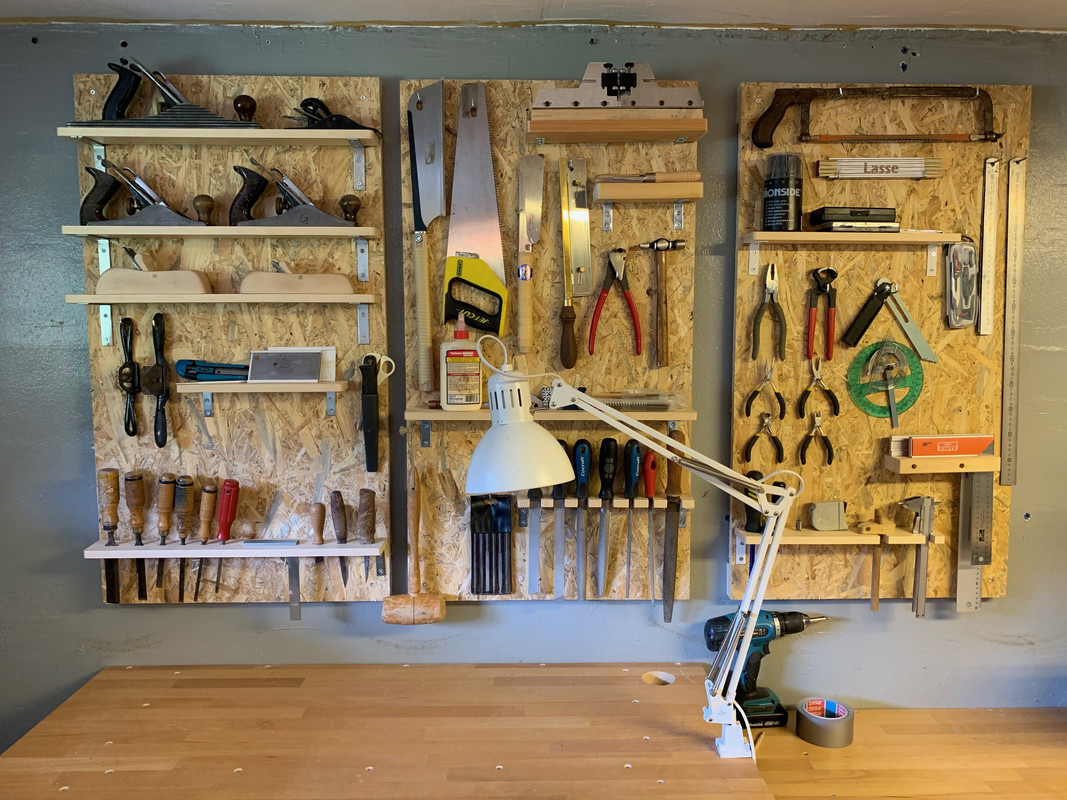 New tool boards adopted for my needs as an instrument builder. 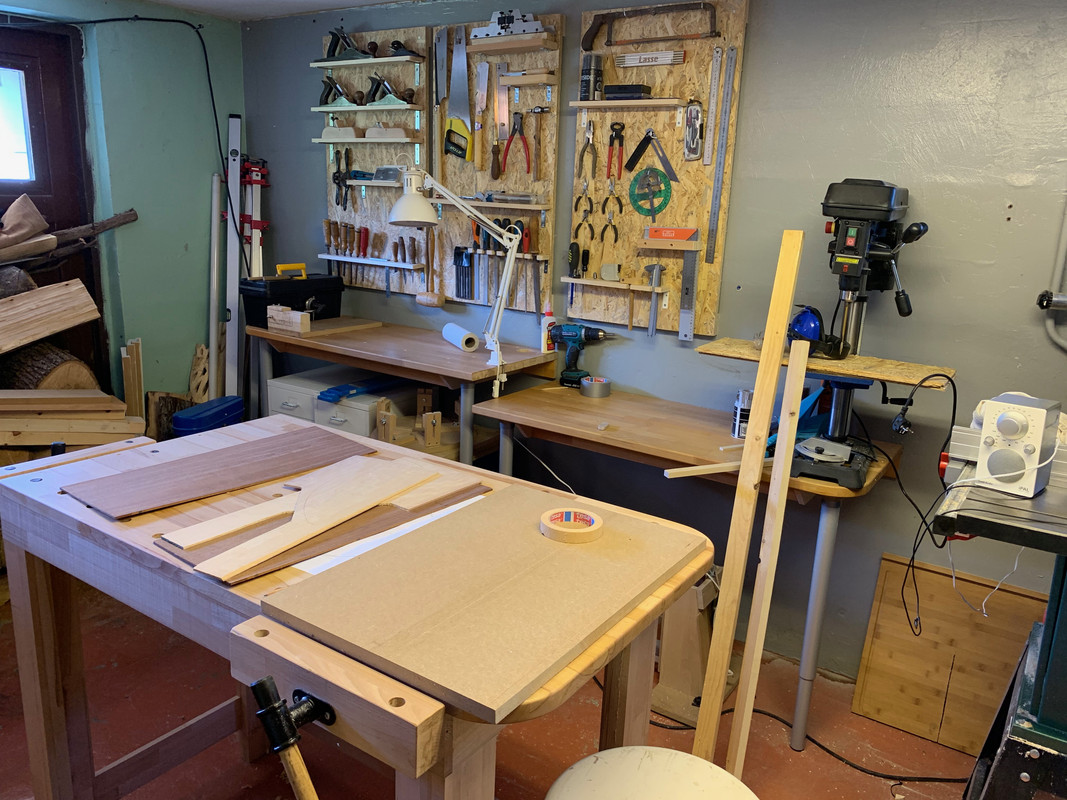 An overview of my little working space. Almost all is recycled from my old home office. I also had to make a new mould: 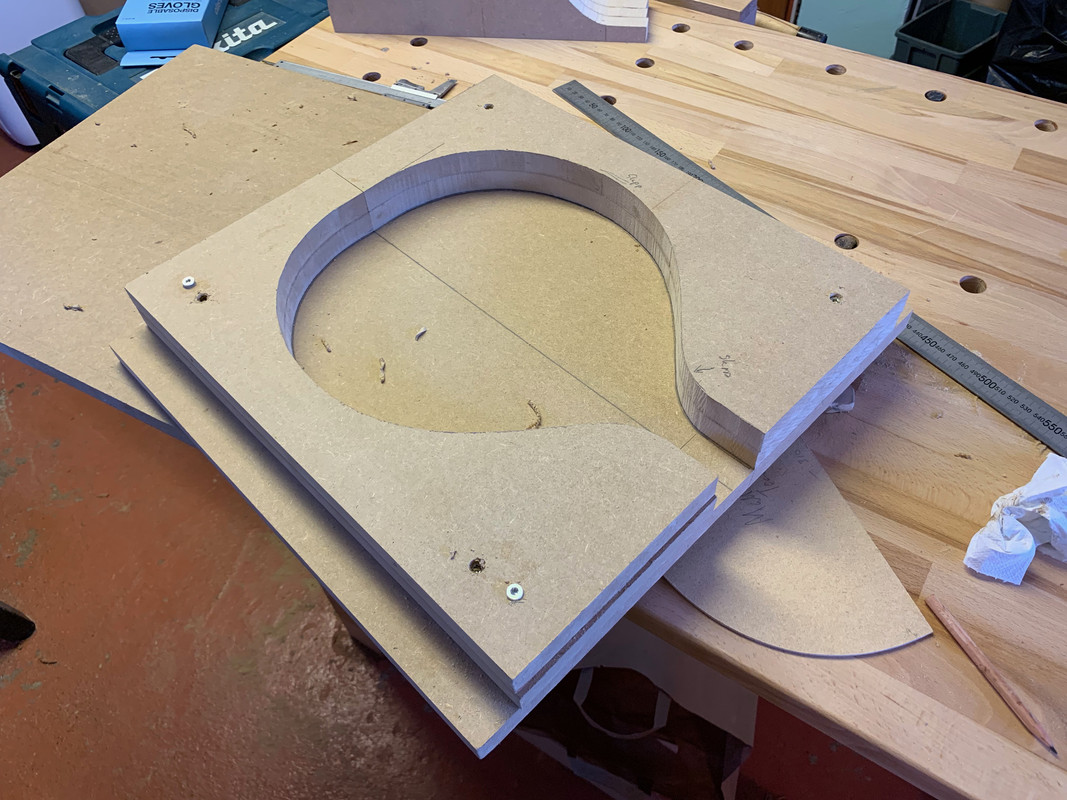 And a 15" radius dish: 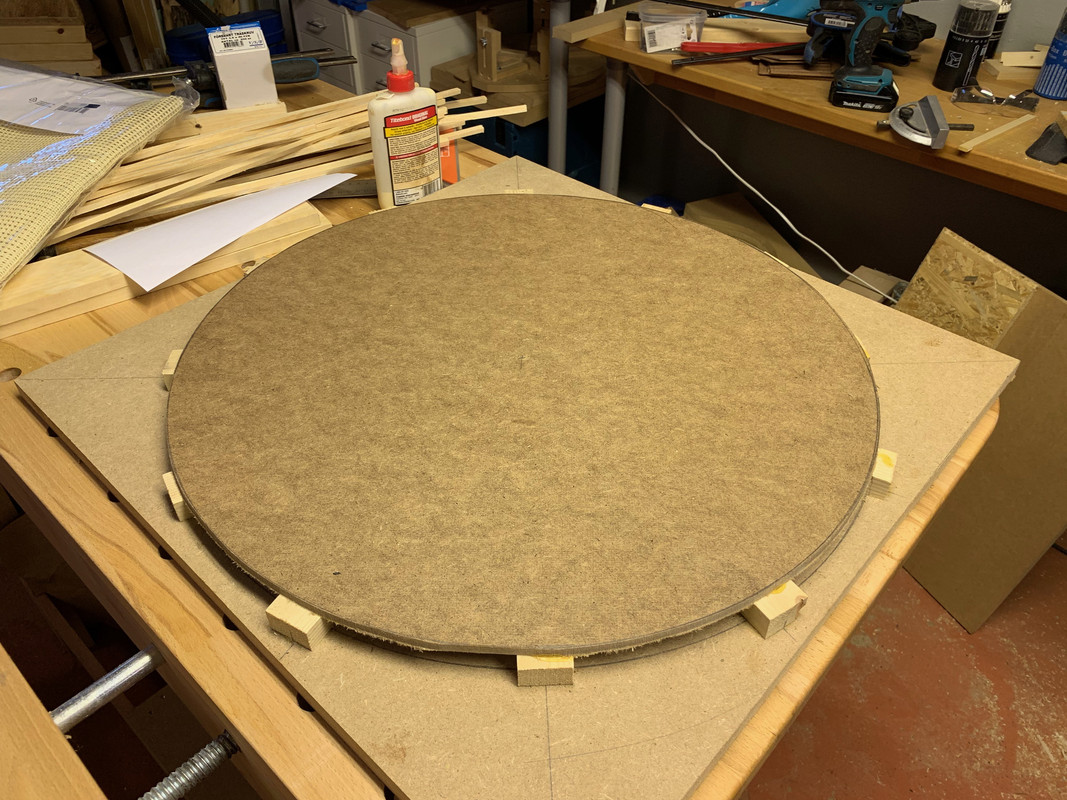 To be able to make my radius dish, I had to make some kind of a go bar deck. I really don't have the space for that, but decided to make a simple go bar deck beneath the table top of my new work bench: 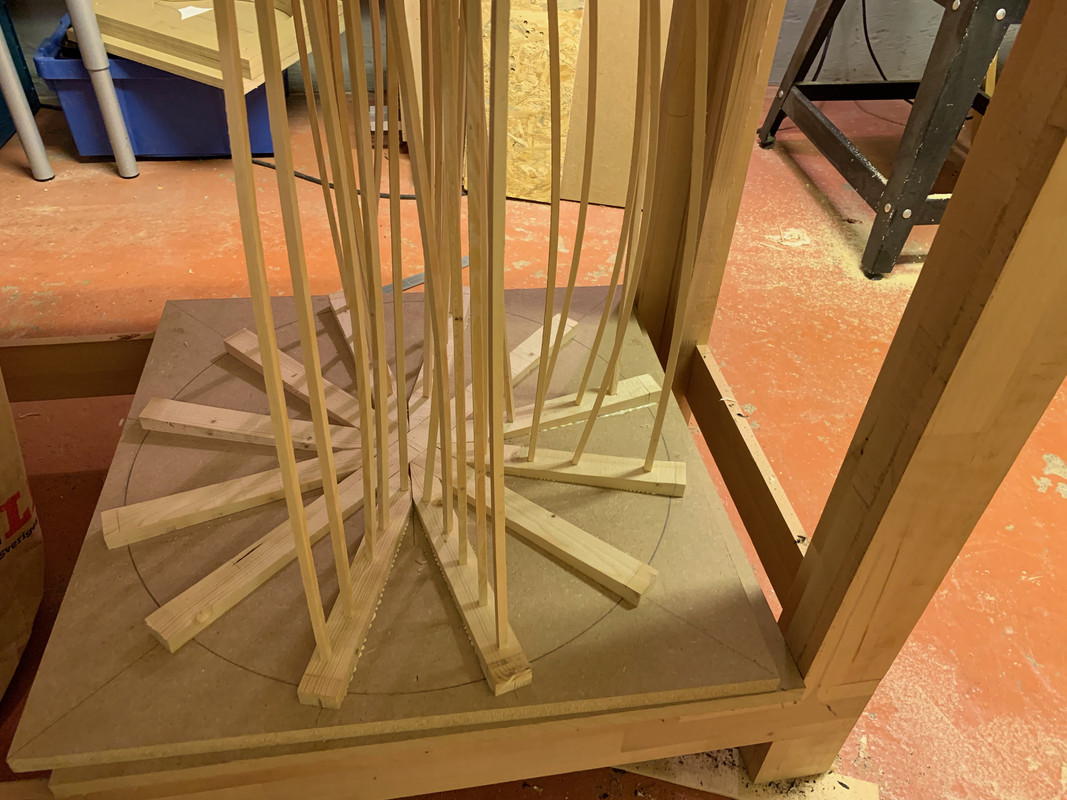 |
|
|
|
Post by lars on Jan 18, 2020 15:59:27 GMT
I still hand plane most of the wood. I was lots of pleasure to use my new hand built Krenov style smoother: 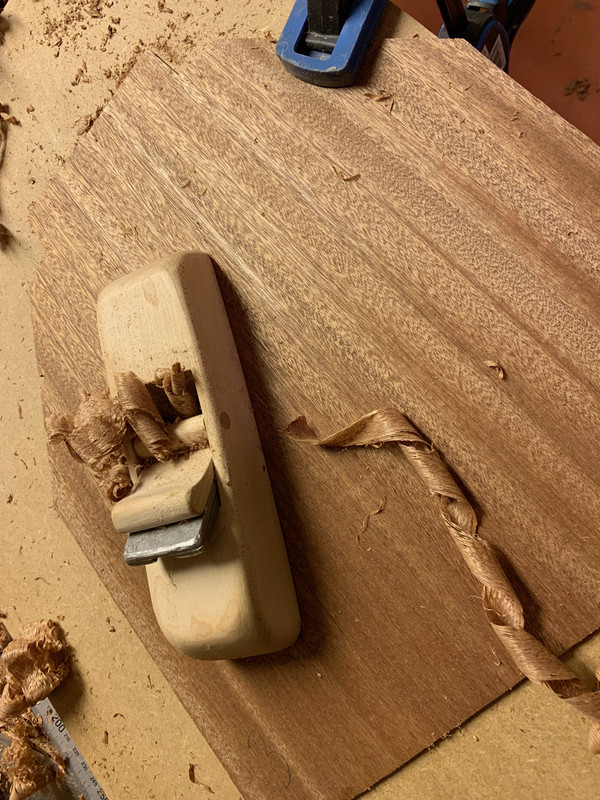 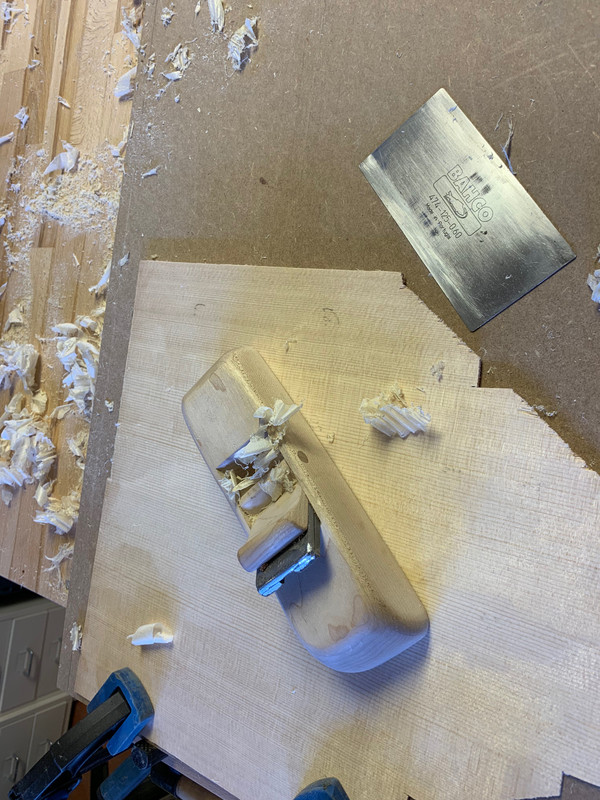 The top and back glued with the wedge and rope method: 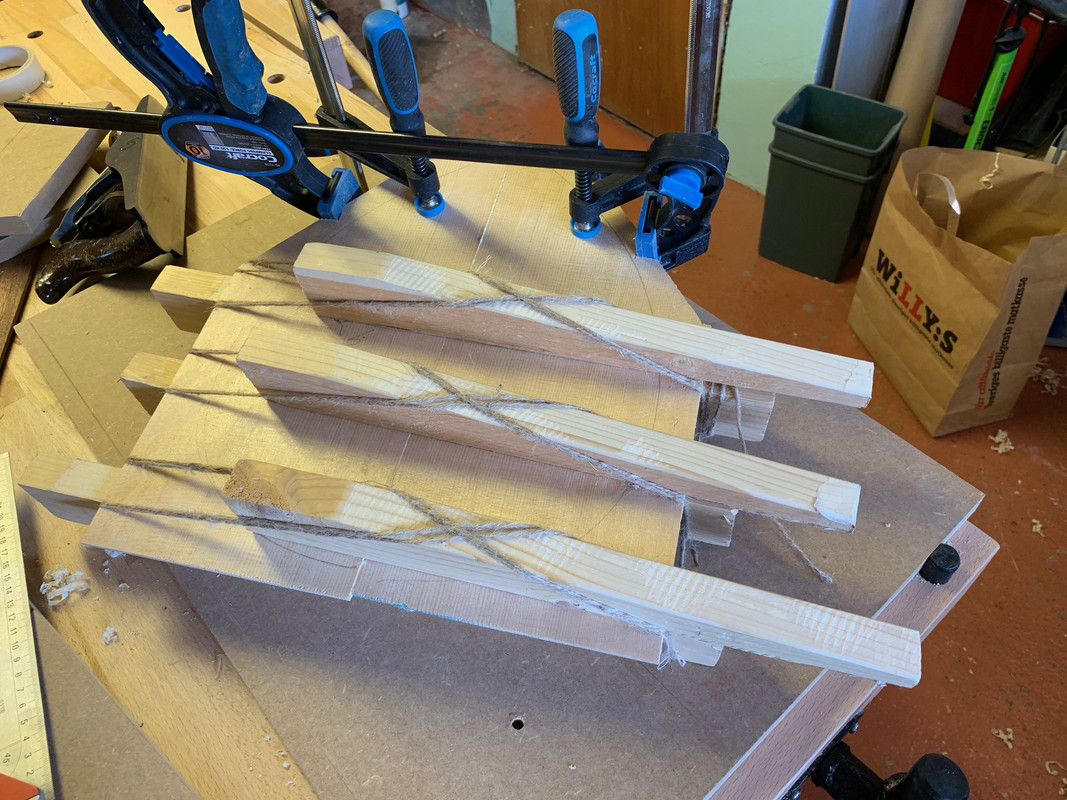 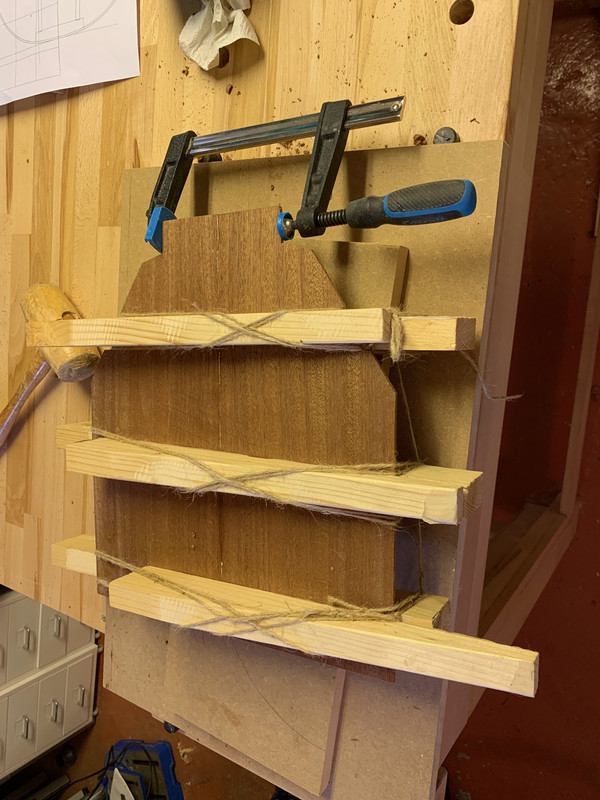 The tops are left overs from previous instruments. They are both Sitka spruce AA-graded. The backs and sides are Sapele. The sides were bent on the hot pipe. Here they are in the mould after initial bending: 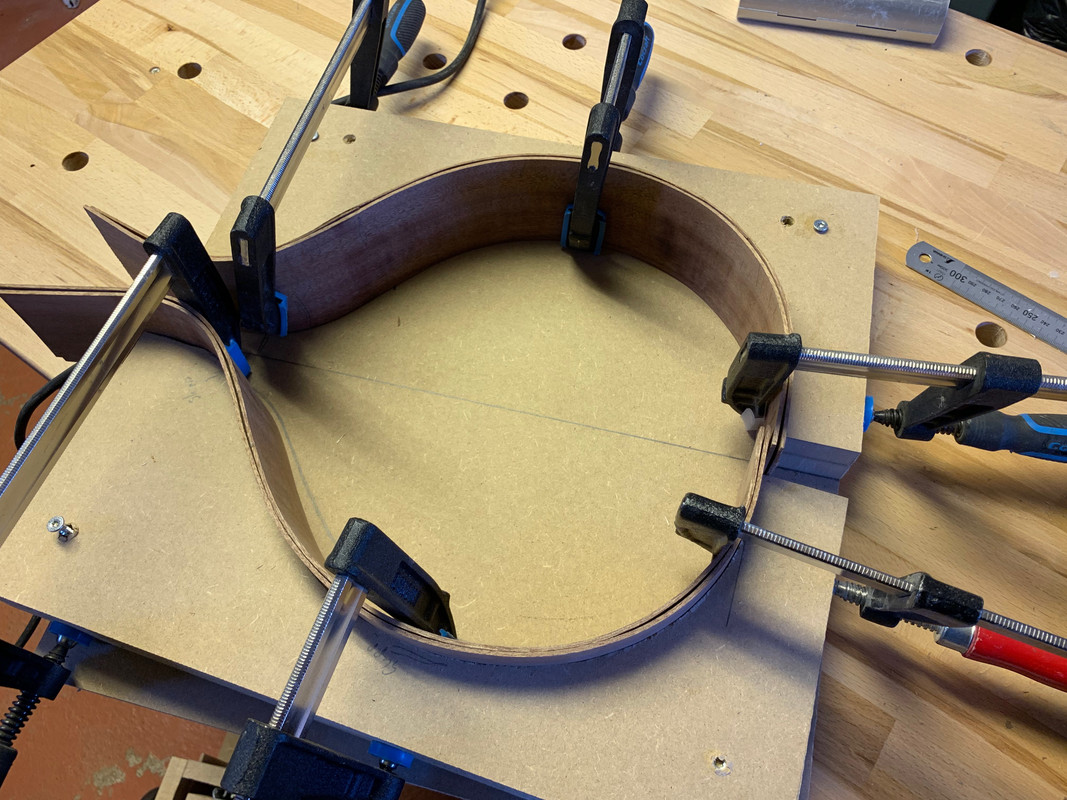 |
|
|
|
Post by lars on Jan 18, 2020 16:17:39 GMT
The bracing pattern and sound hole placement is marked on both of the tops: 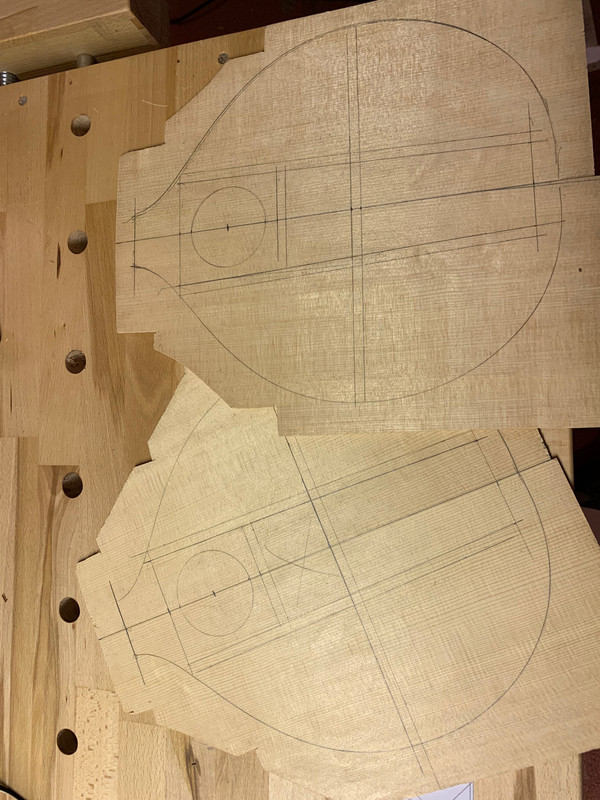 These mandolins will not have rosettes around the sound hole. But they are reinforced at the back side with a cross grain veneer and they are bound with sapele: 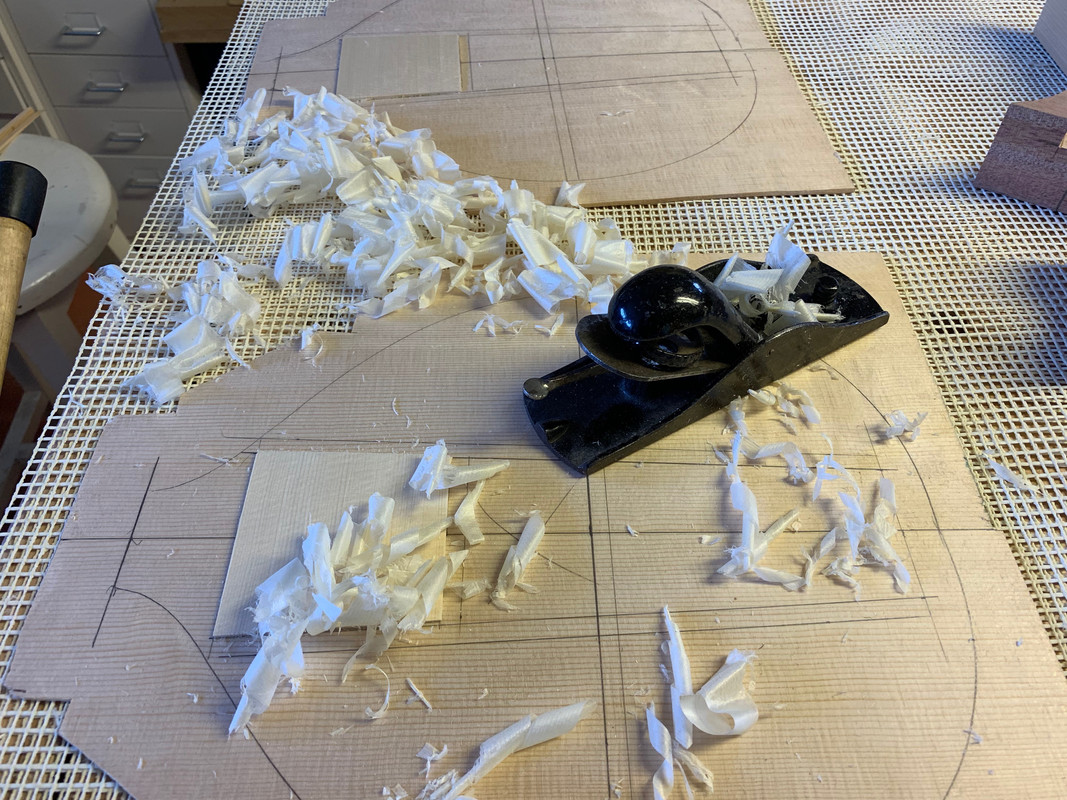 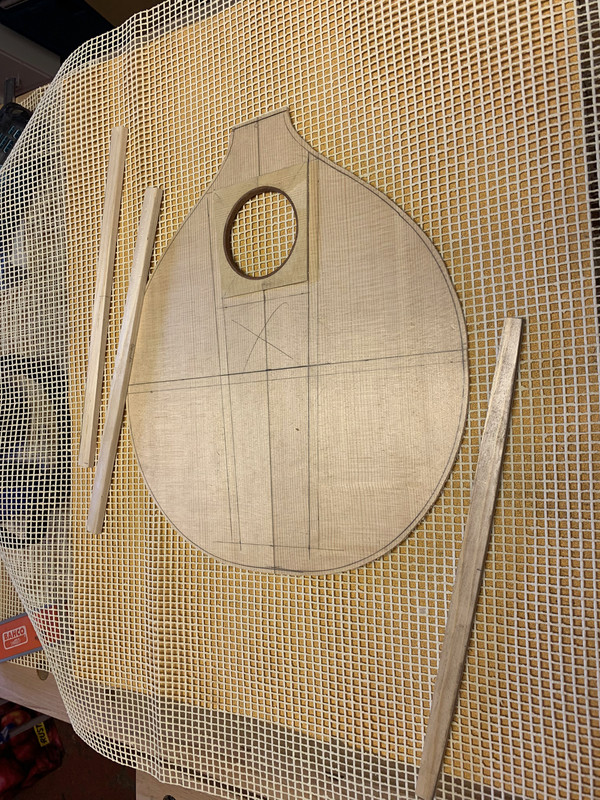 The top braces are glued. First the longitudinal braces: 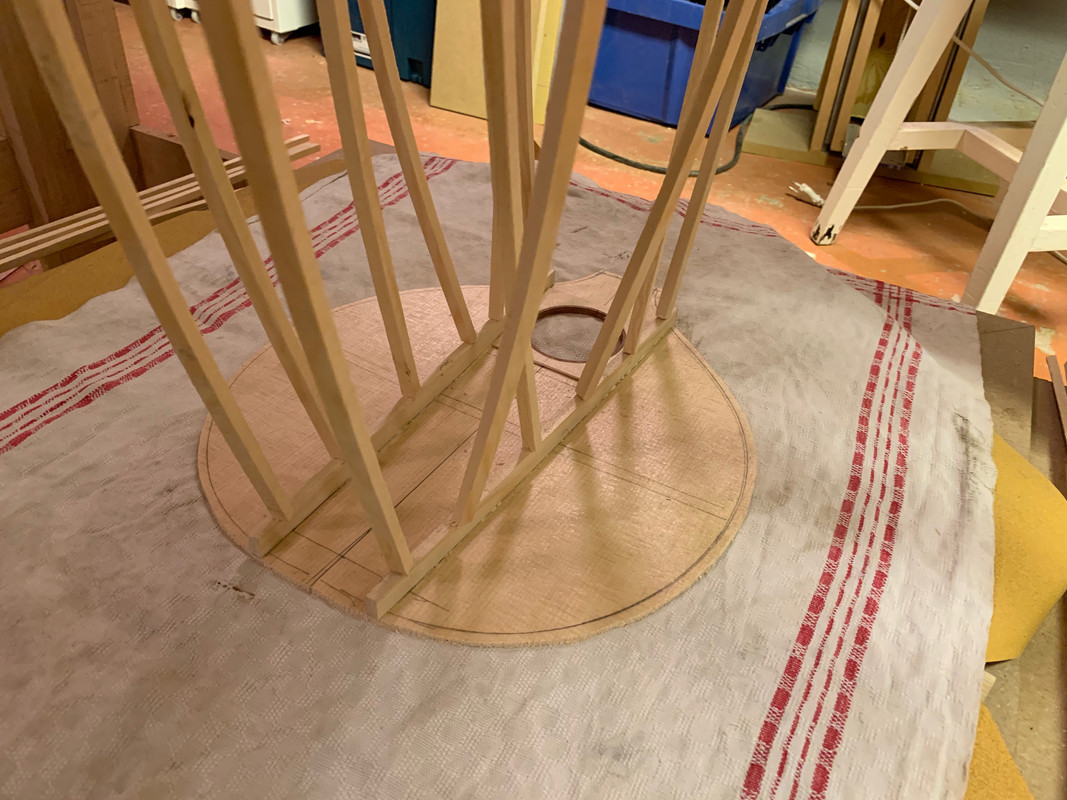 And then the ladder brace: 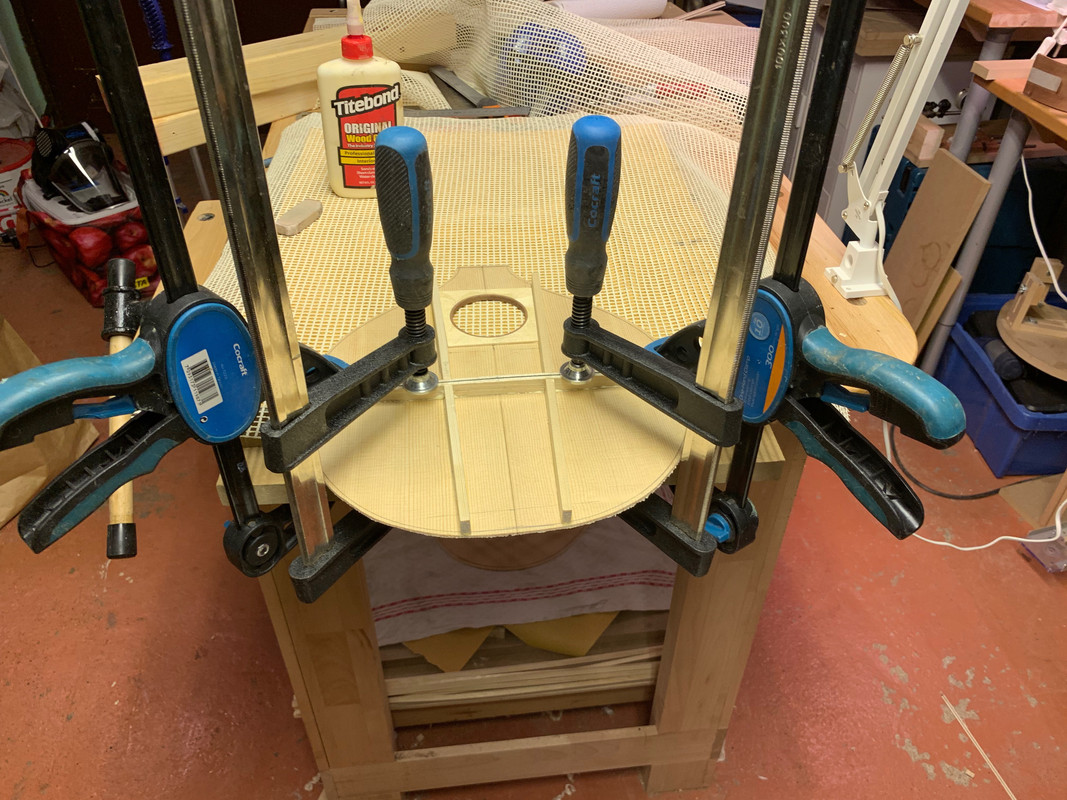 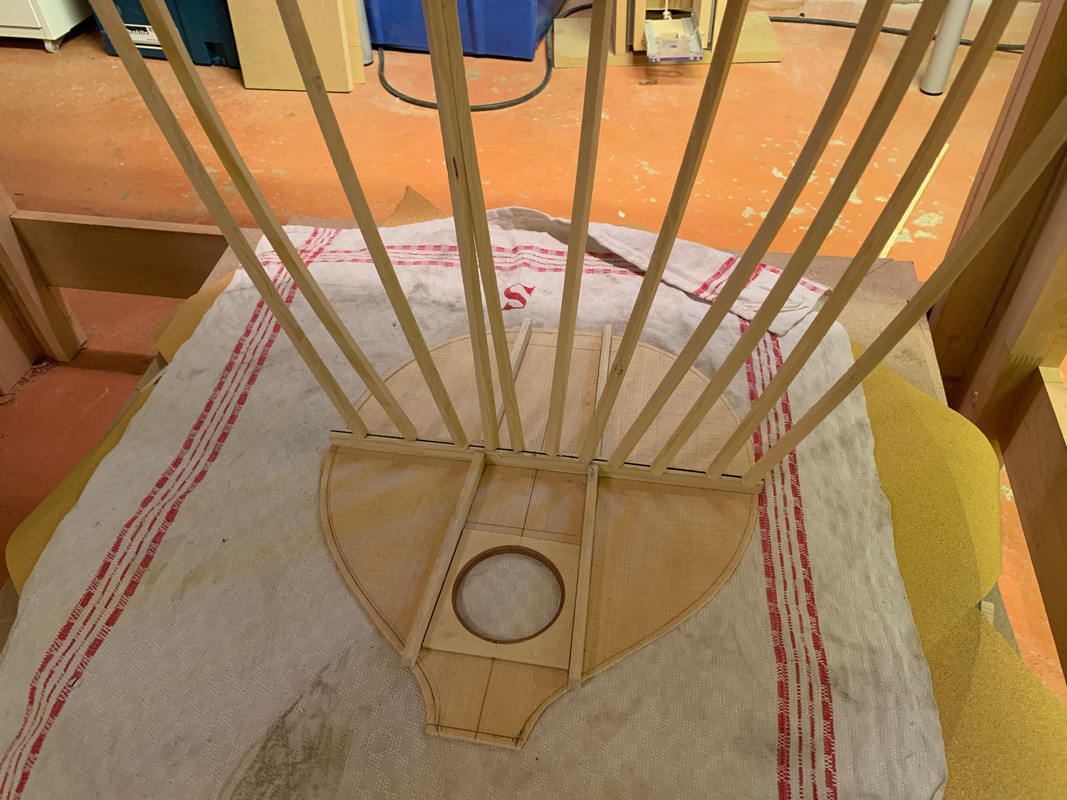 The ladder braces are laminated with ebony in a Larsonesque way. I've previously experimented with carbon fibre laminations, but I feel that the tops might have been a bit too stiff. So this time I go for an all wood laminate. There is ONE difference between the two mandolins. One uses a 10’ radius through and will only be radiused perpendicular to the string direction. This is the method that I've used on my previous two instruments. The other will have a more conventional 15’ radius formed by the radius dish I made earlier. The backs will both have the 15’ radius and they are X-braced, due to the circular shape of the body. Here are backs and tops after they've been shaped and "voiced": 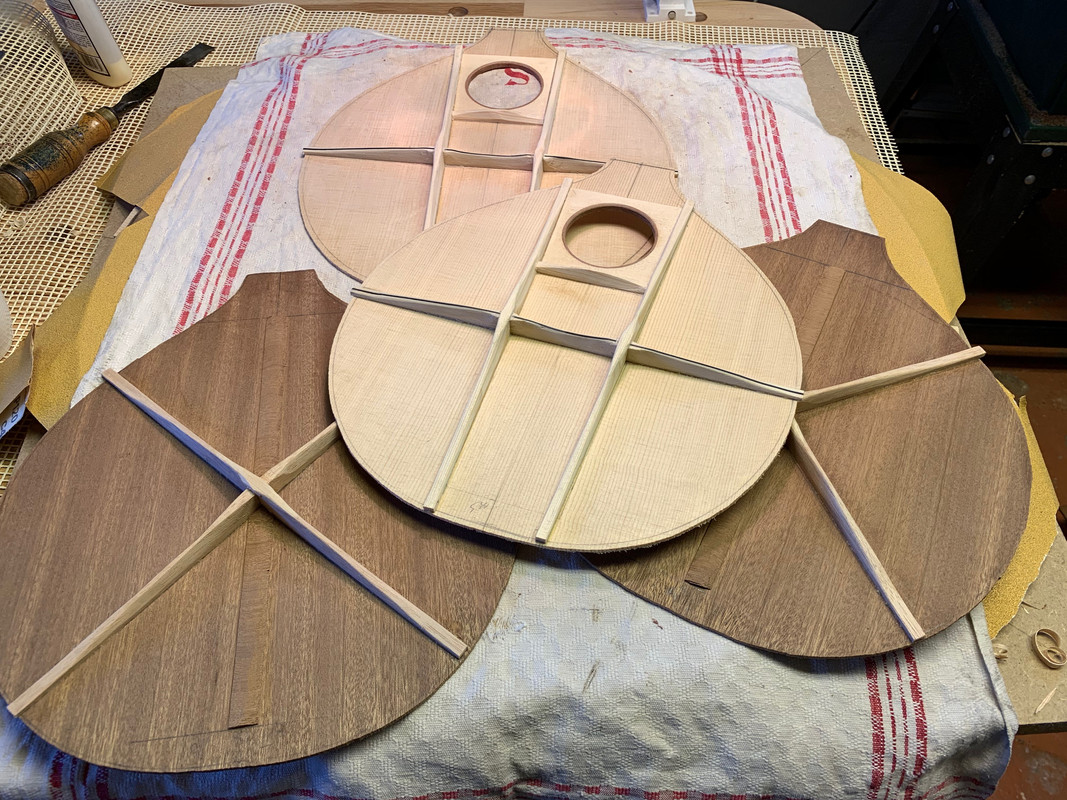 |
|
garynava
Luthier / Guitar Maker
Posts: 460  My main instrument is: Stanley No.5
|
Post by garynava on Jan 18, 2020 16:52:40 GMT
Hi lars, Thanks for posting this thread- I feel really guilty about my workshop now; I’ll have to tidy up! Looks like a great space to create in. It will be interesting to hear the difference between the two mandolin. I like your Krenov planes, I’ve got his cabinet making books that I bought back in the late 70’s. Funny, I’ve been looking at his planes again recently, along with Japanese ones; I’m gradually collecting the parts to make a round bottom one for my archtops. Look forward to seeing the rest of the build. Cheers Gary |
|
|
|
Post by lars on Jan 18, 2020 17:03:15 GMT
African Mahogany neck blocks: 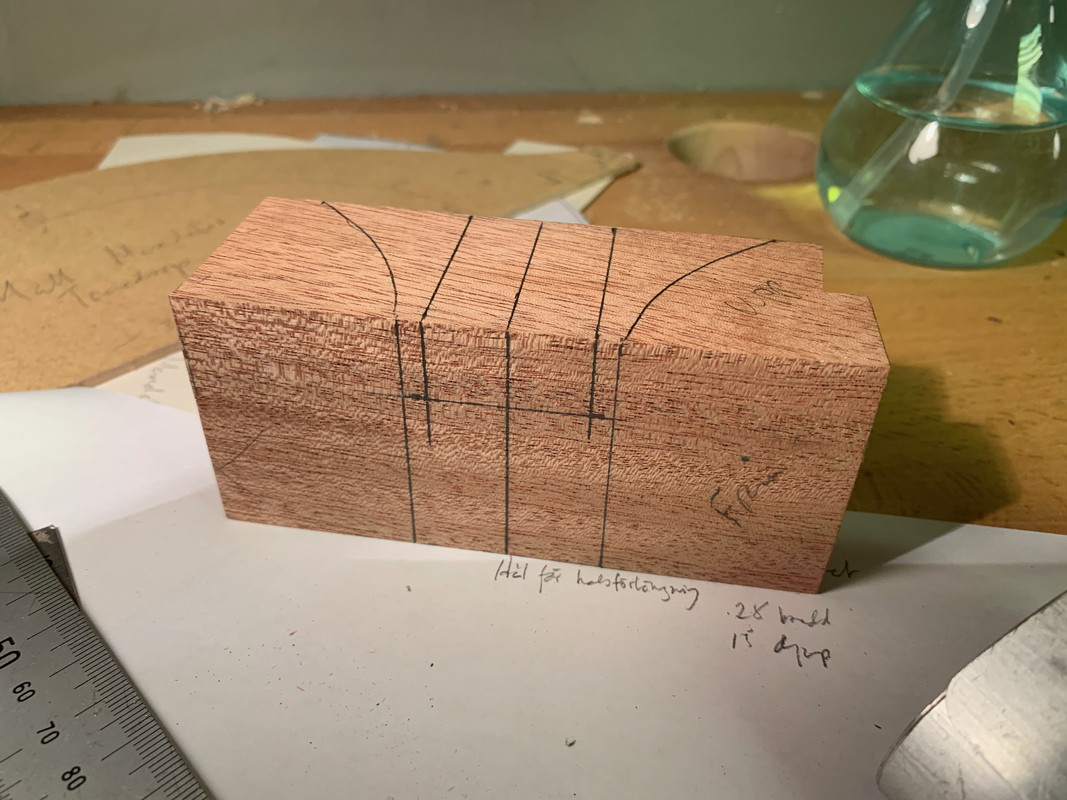 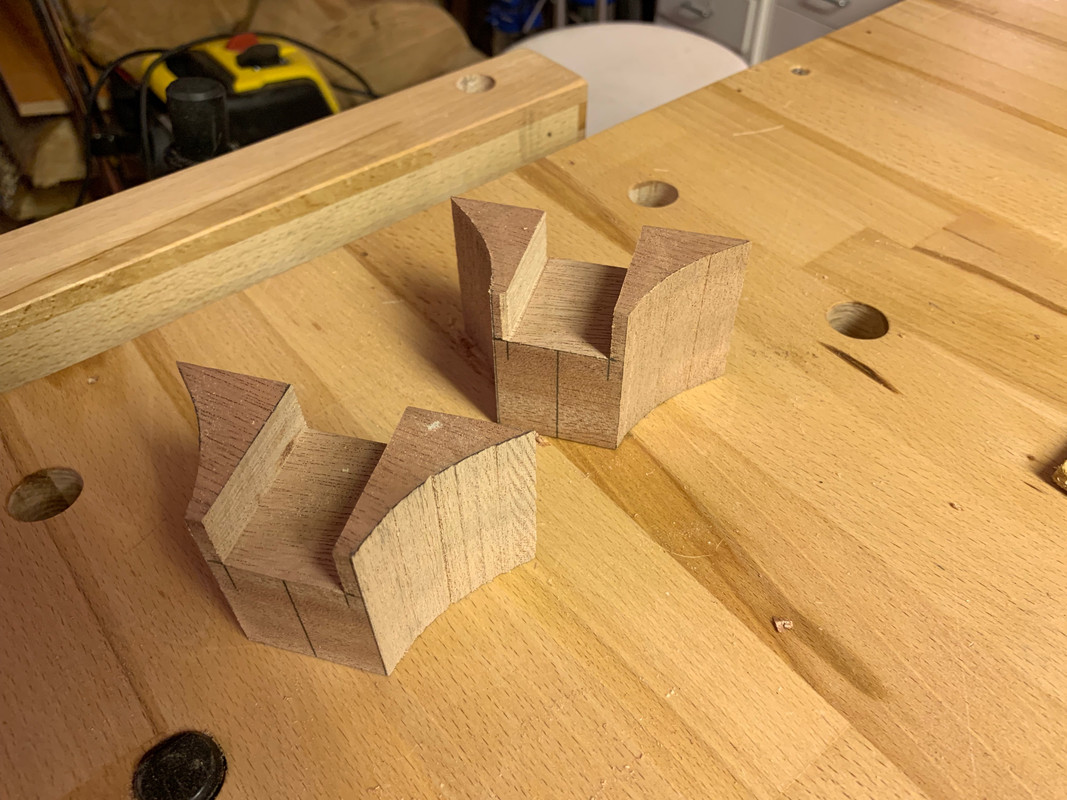 Tail block glued to the sides: 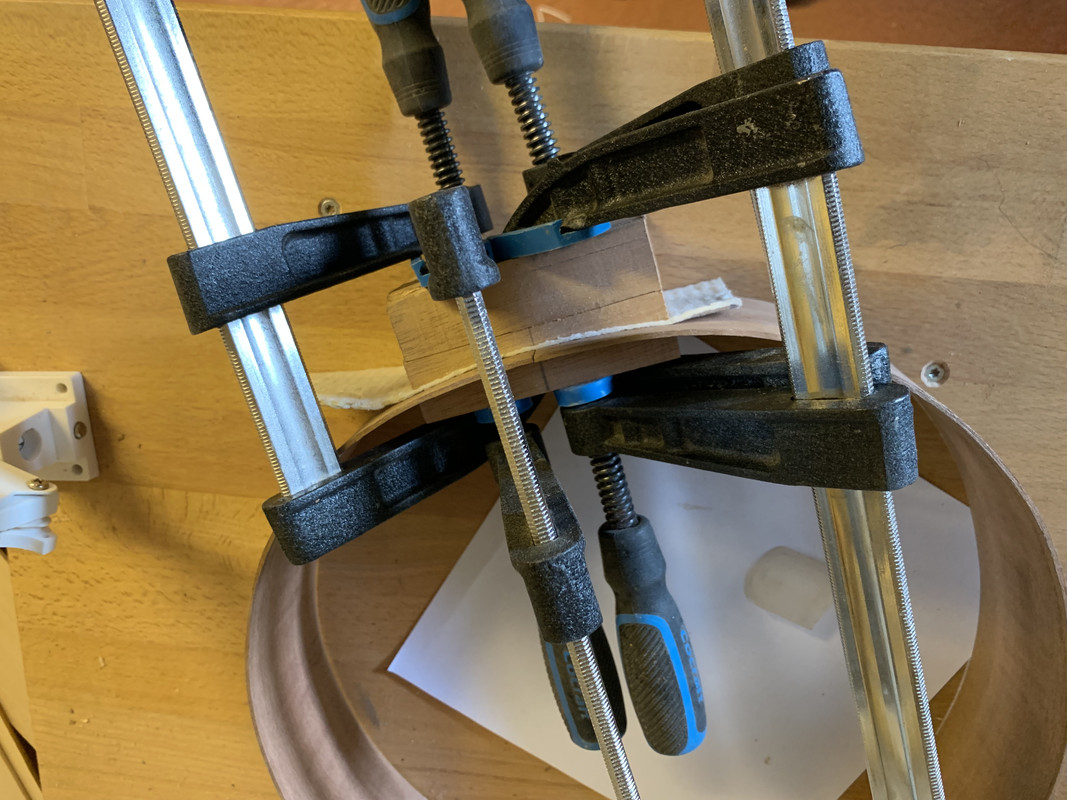 And neck block glued together with CF-tubes. Here I use epoxy for both the CF-tubes and the block/side joints. 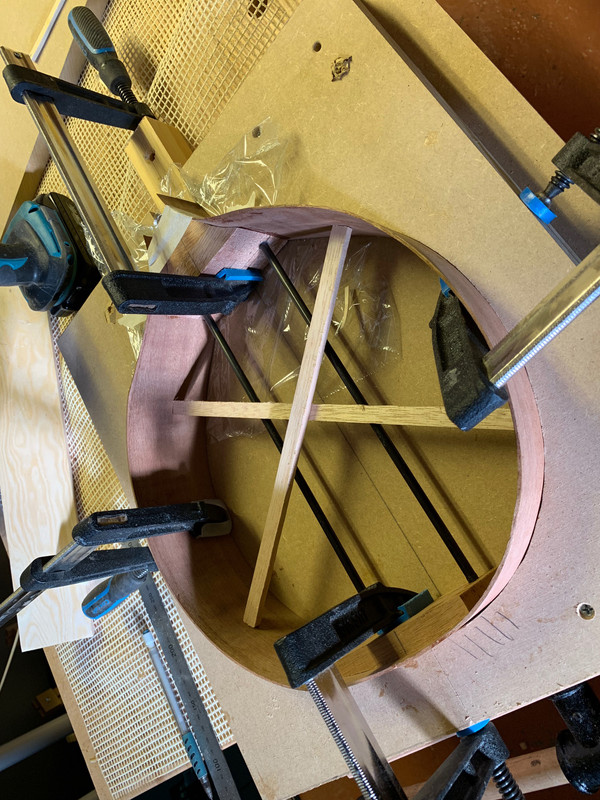 Home made mahogany reversed kerfed linings were glued on and side struts were added:  Sound ports were added: 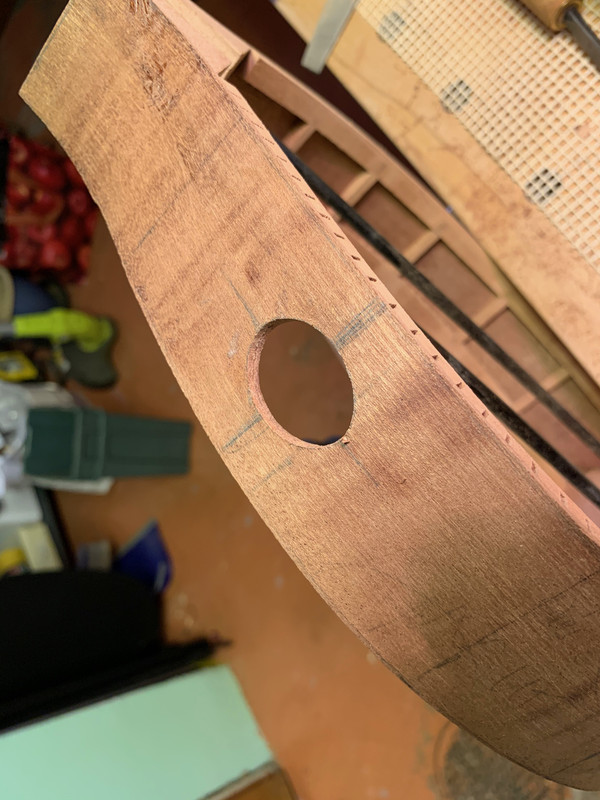 The rim sets were profiled and sanded in the radius dish and radius through. Notches were cut for the braces. And here is one of the completed rim sets resting on the top: 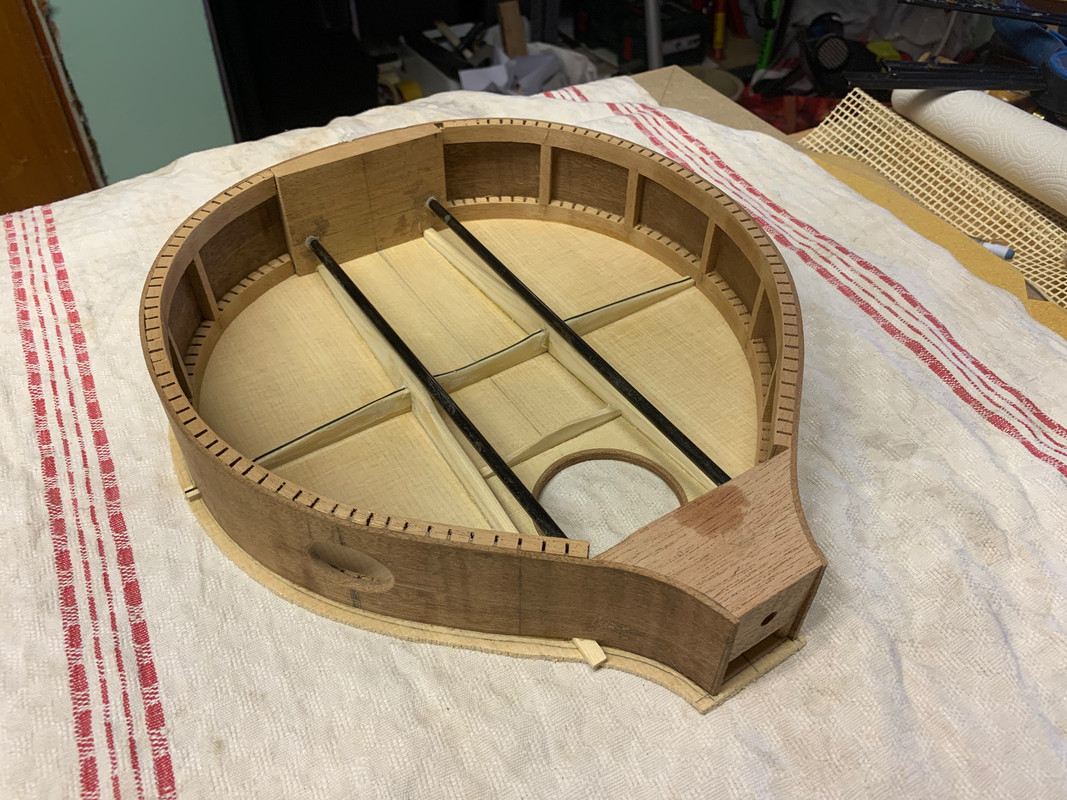 First I glue the tops (I've always done it this way, though I know most luthiers begin with gluing the back first): 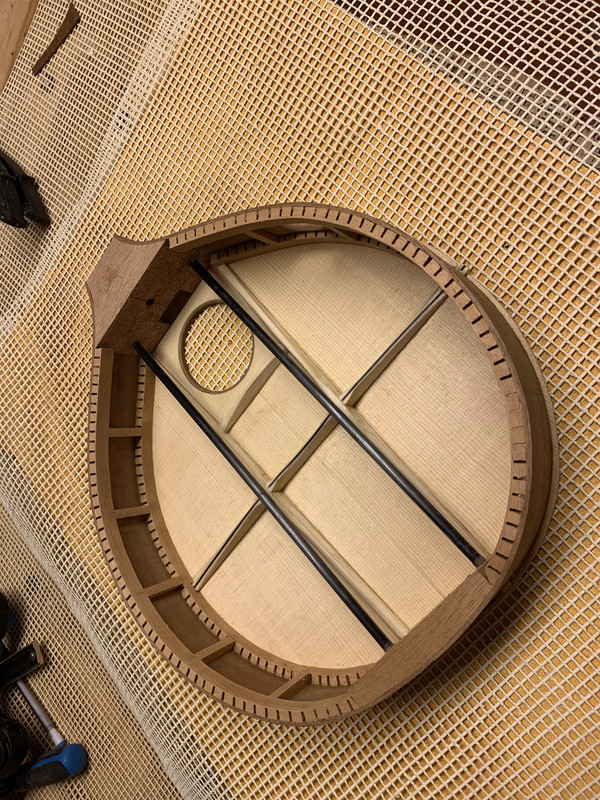 And then I glue the backs:  And here are the two assembled bodies:  |
|
|
|
Post by lars on Jan 18, 2020 17:25:24 GMT
The tops are cut to make room for the neck extension (and routed for an exact depth):  And on to work with the necks. First rough saw and plane the African mahogany neck blanks and the cut the blanks in 15 degrees angle:  Plane and sand the cut surfaces and reglue the necks: 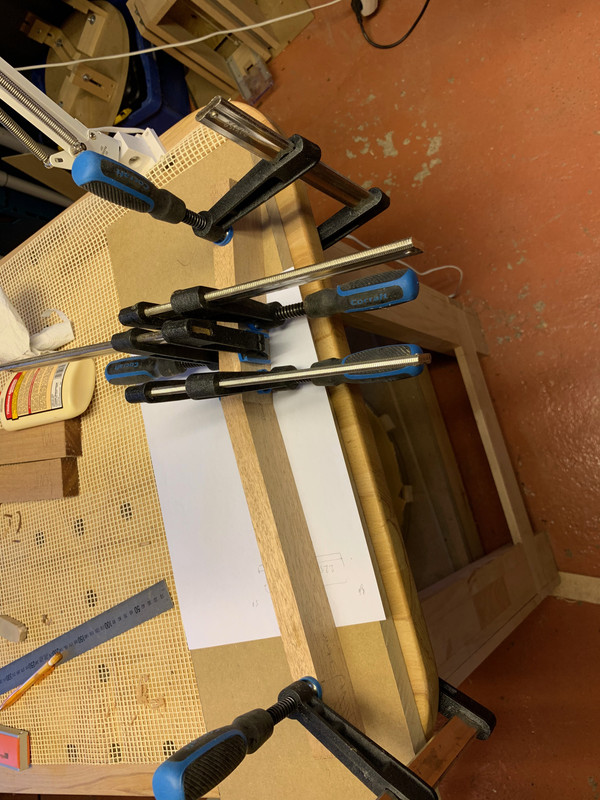 I omitted truss rods, but installed carbon fibre rods and glued a mahogany cap above; 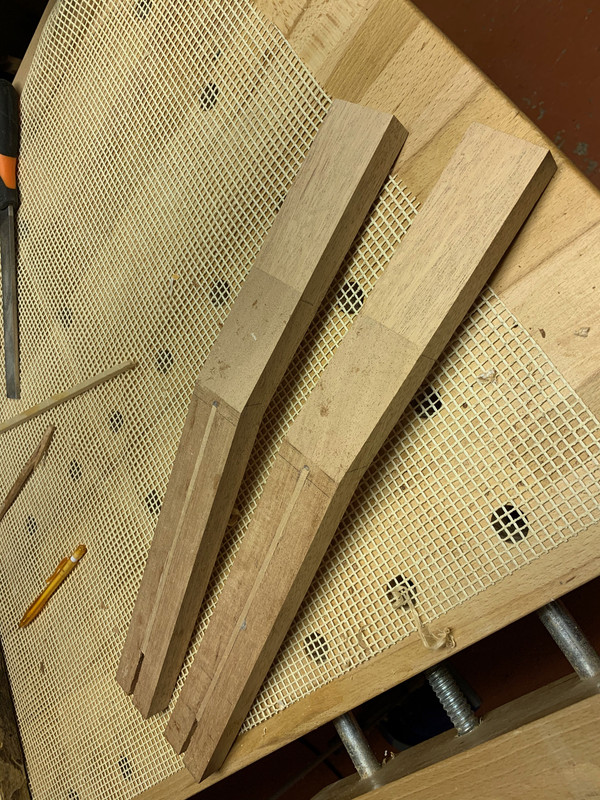 The heels were added and neck angle decided. This was a different angle for the two instruments, since they have different top radiuses. 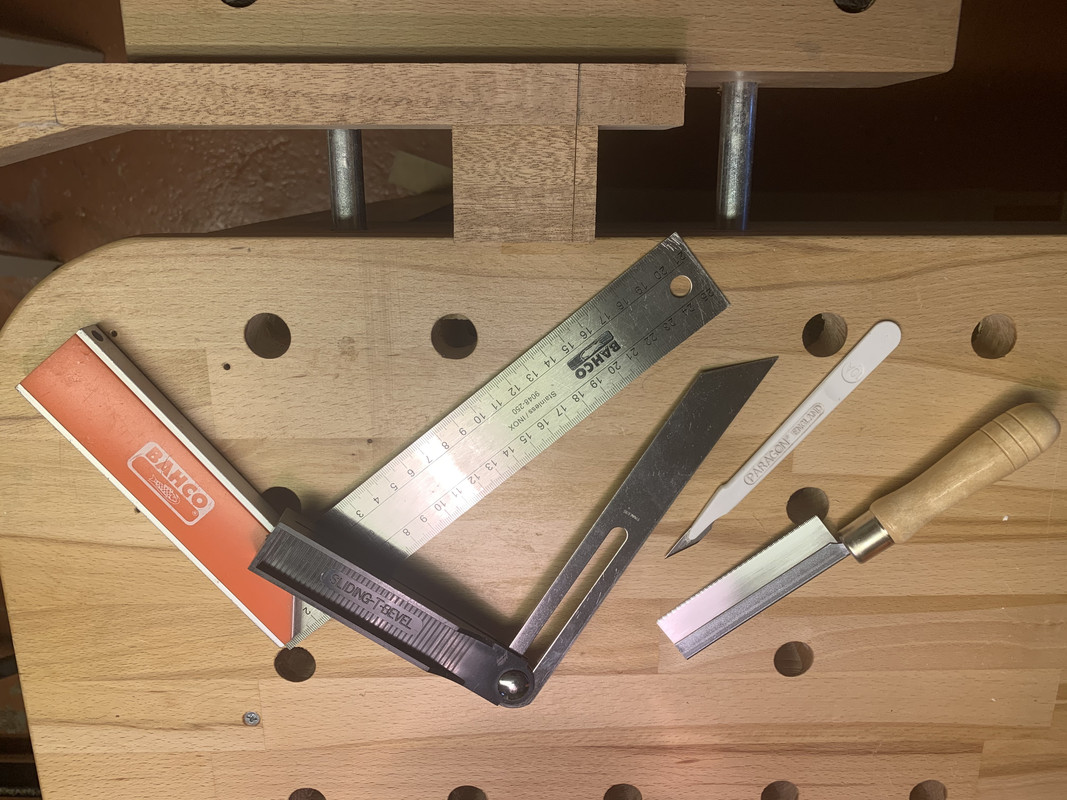 The place for the bolt was marked and drilled and a threaded insert was screwed and epoxy glued. This is what the heel and neck extension looks like when it's near completion: 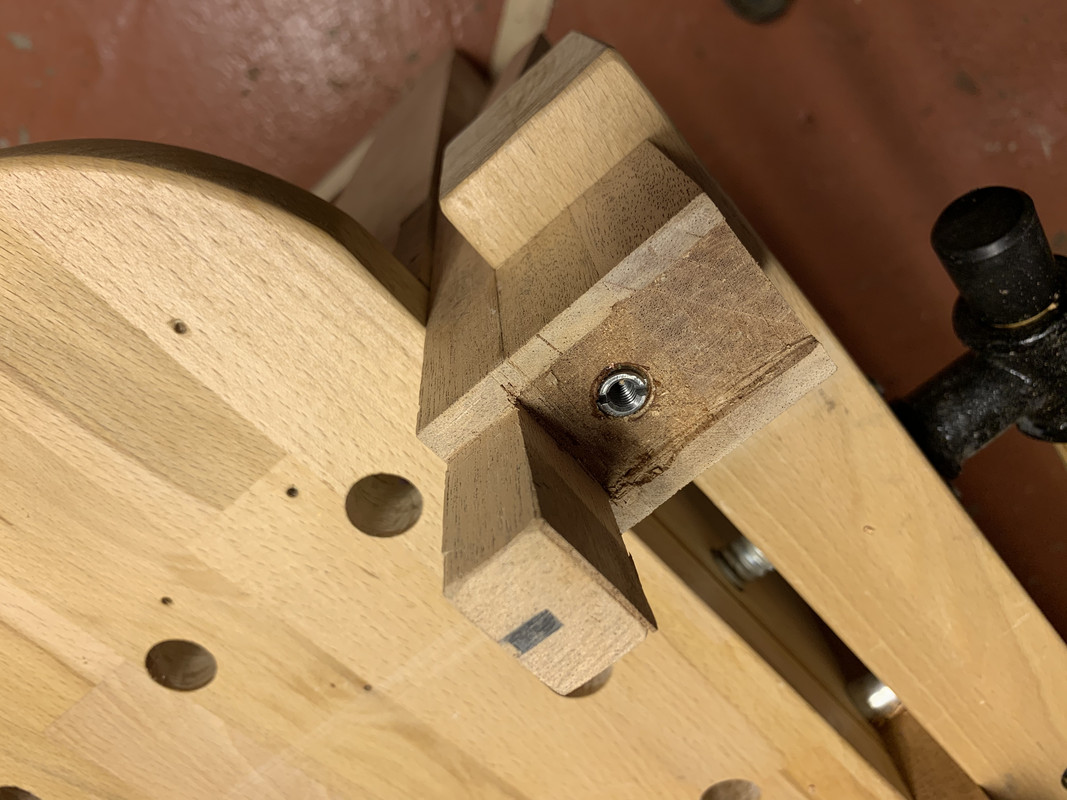 After a lot of test fittings with carving and filing in-between I got a correct alignment between body and neck. This may be the most complicated part of the whole building process. You need exact angles in both horizontal and vertical directions and you need a good fit between heel and body. 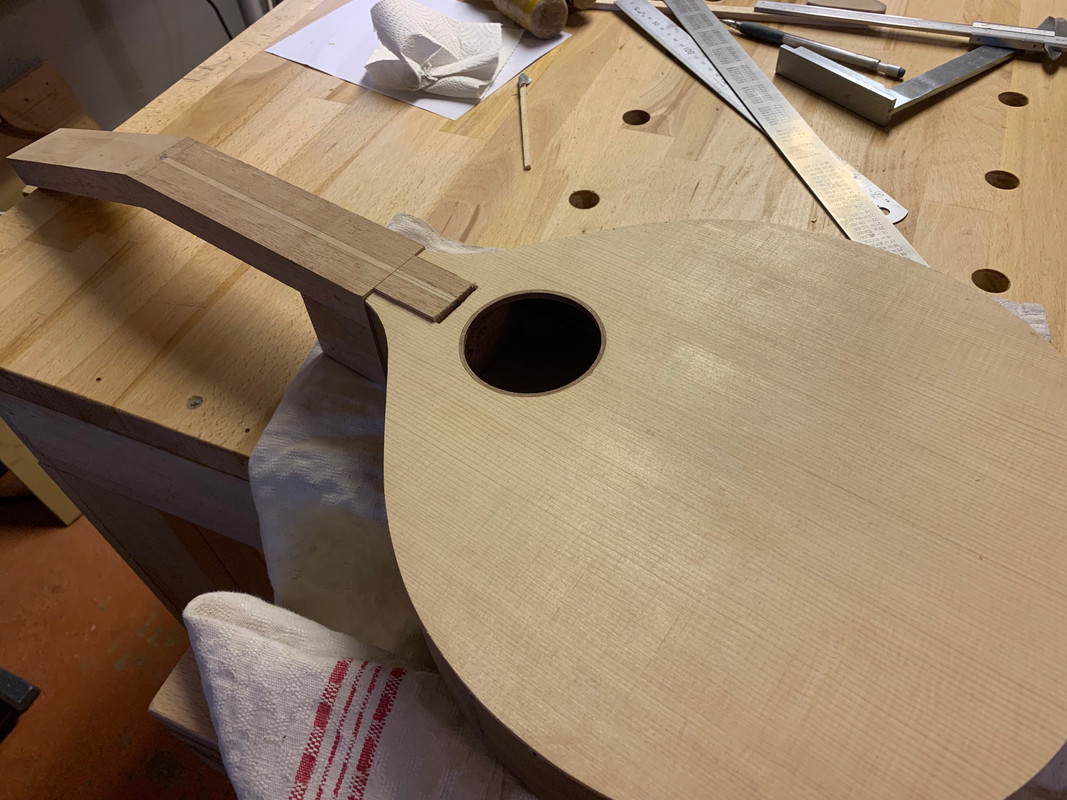 |
|
|
|
Post by lars on Jan 18, 2020 17:38:50 GMT
And back to the bodies: It's time to add bindings. First I add the end graft. They are wedge shaped. So I mark the outline with a sharp knife, cut out the recess and press the wedge as much as possible when I glue it. The wedges and bindings are Swedish birch. It's very similar to maple but a bit softer (and very easy to bend). 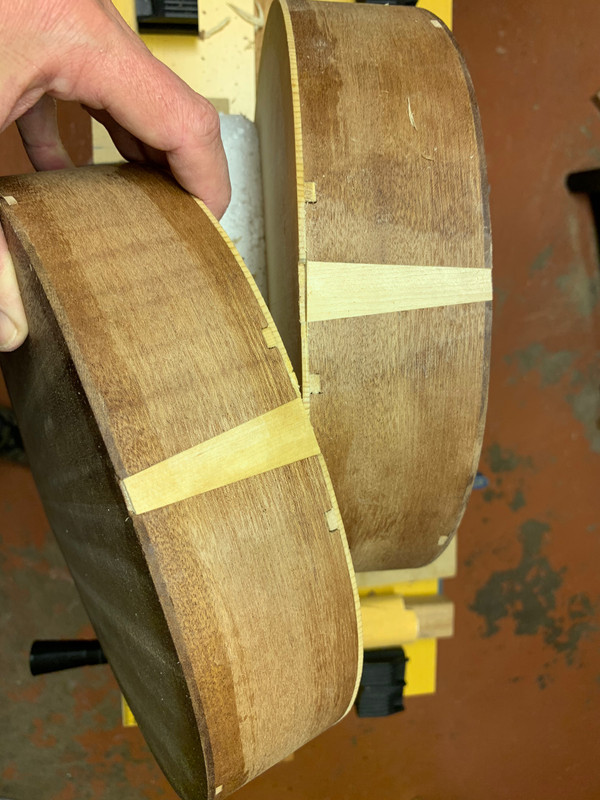 The binding channels are routed with the help of my binding jig and Makita laminate trimmer. 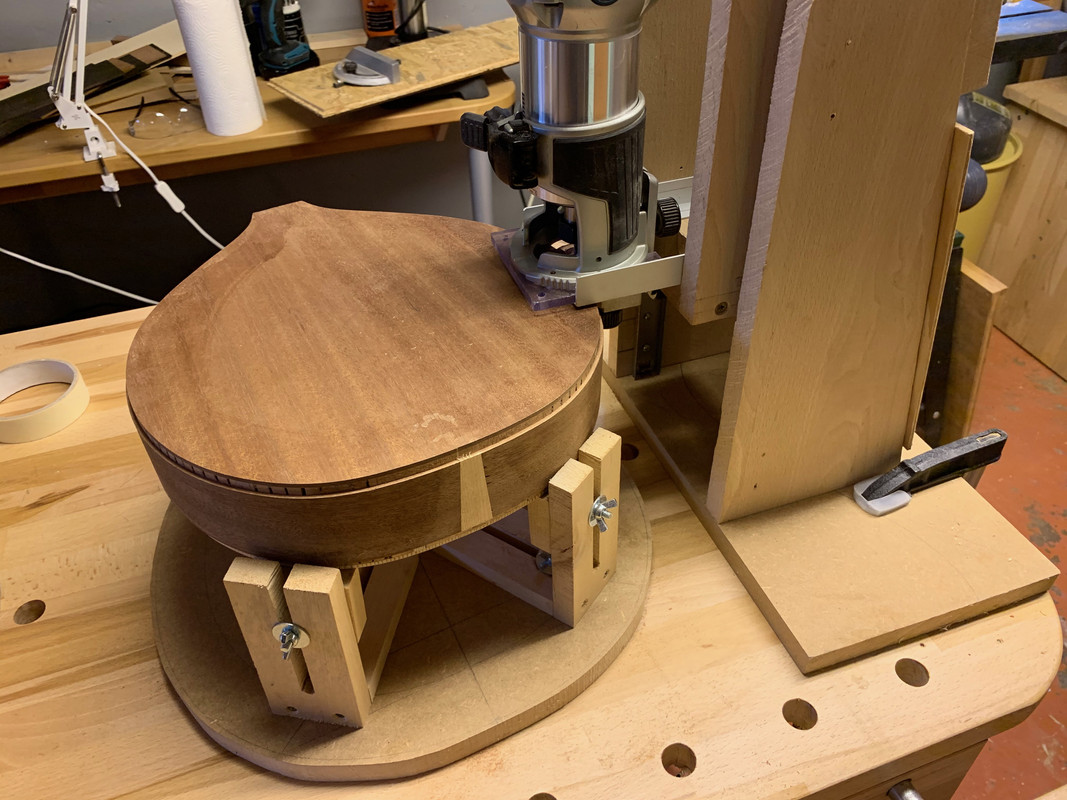 It worked well, but it's tight when you're working with such a small body as a mandolin: 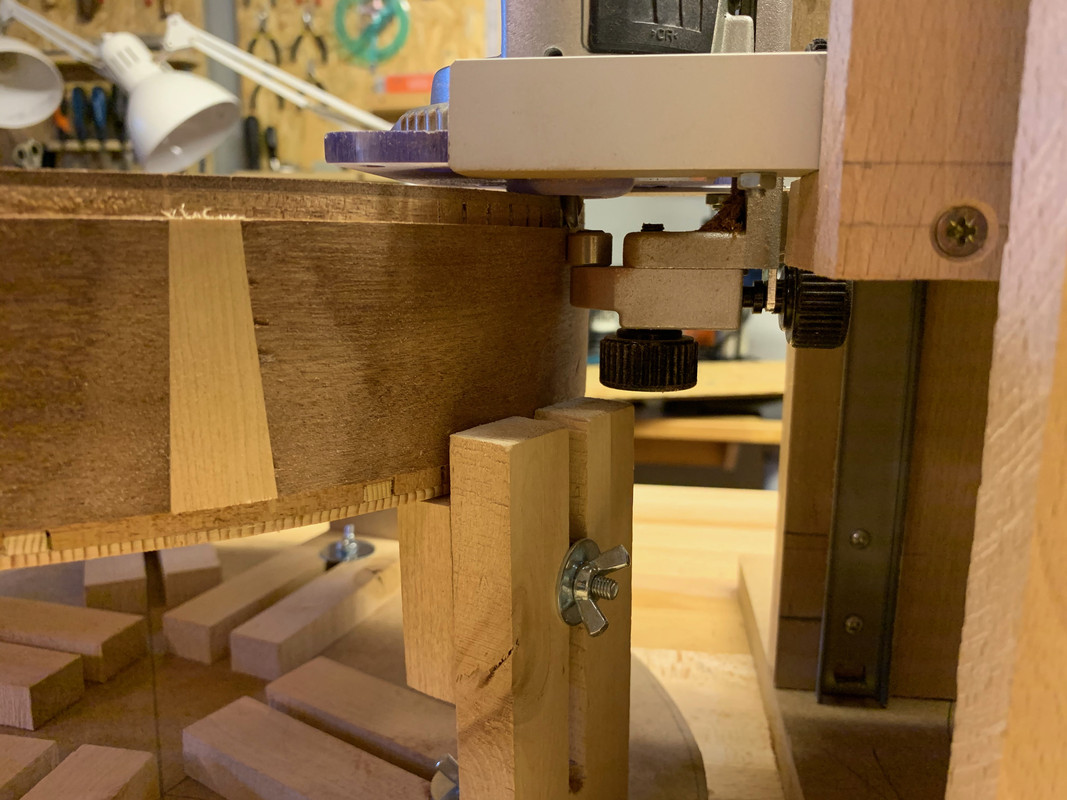 The birch binding glued with Titebond and elastic tape:  The top with birch binding and a thin black dyed maple veneer to get a simple purfling: 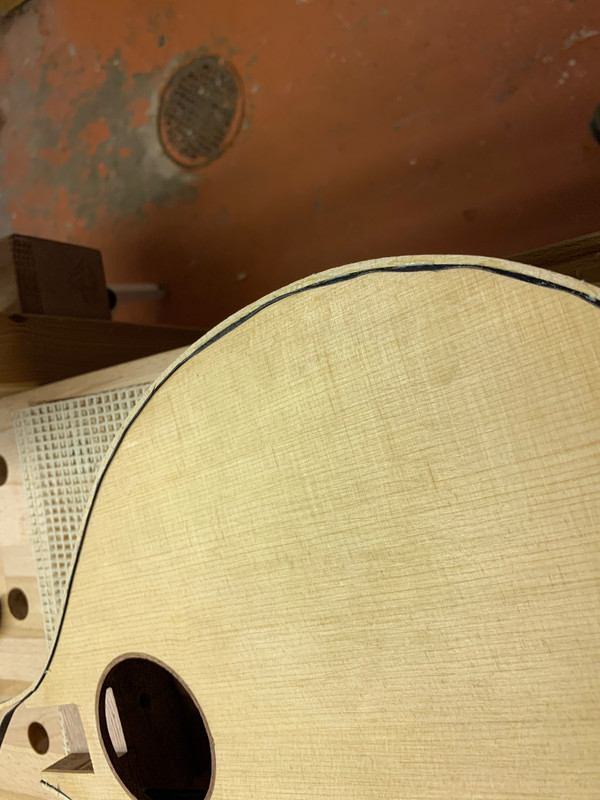 And here they are after some initial trimming: 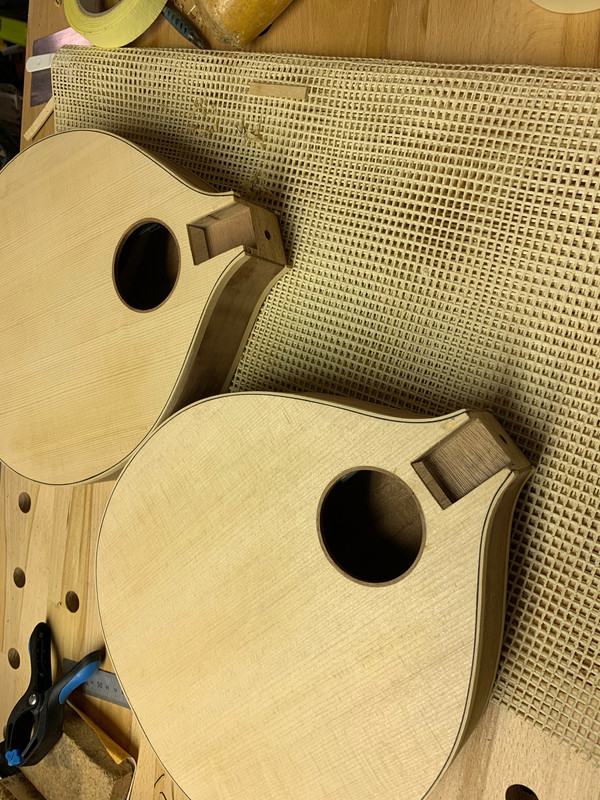 Additional binding is adding where the side meets the neck and heel. This channel is carved by hand: 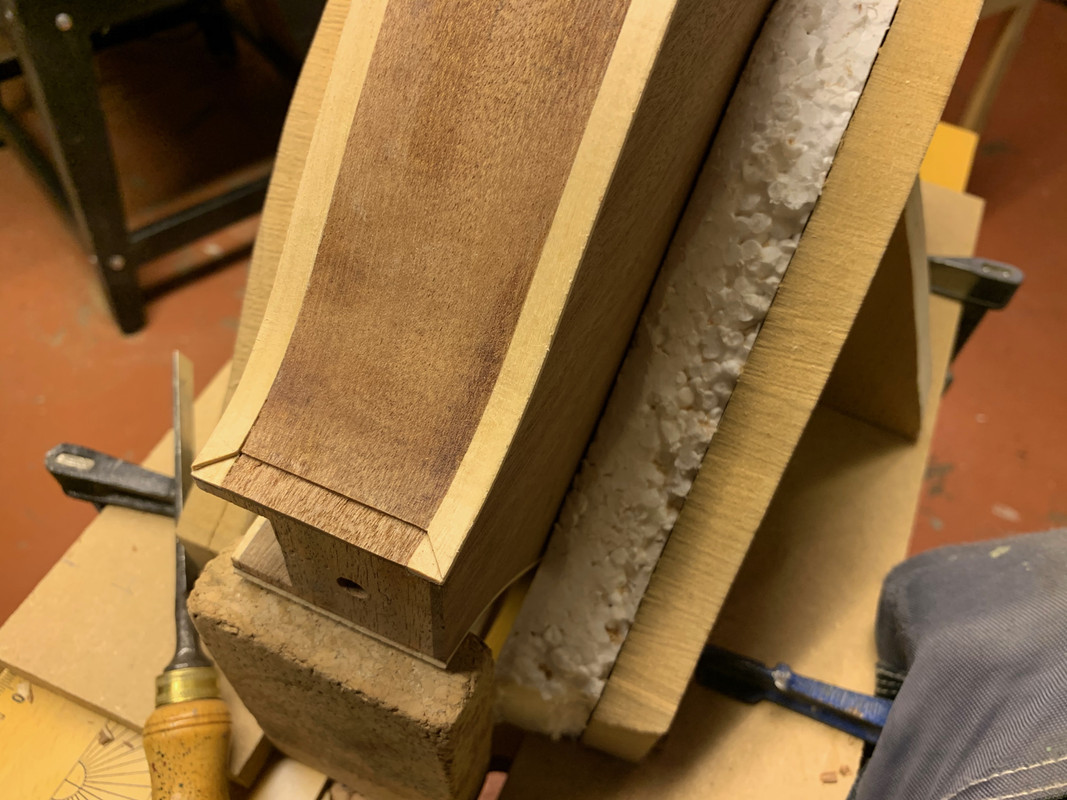 And it start to look like two instruments!: 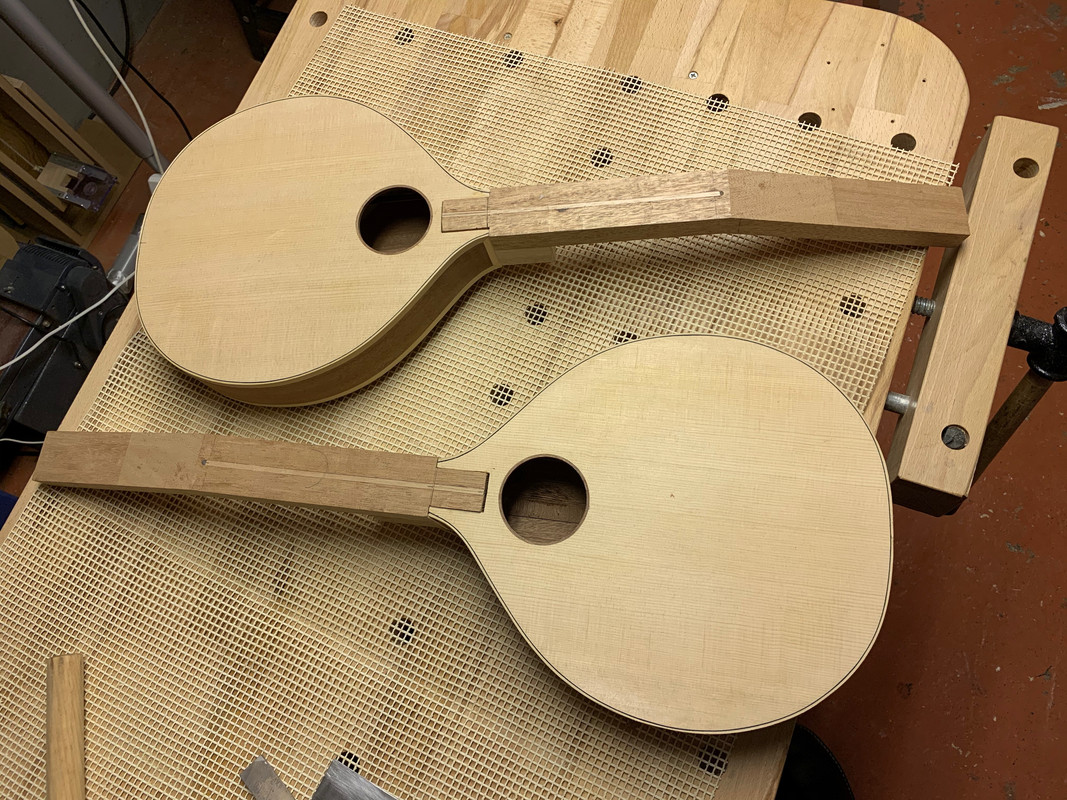 |
|
|
|
Post by lars on Jan 18, 2020 17:47:22 GMT
And back to the necks: They are roughly cut to thickness: 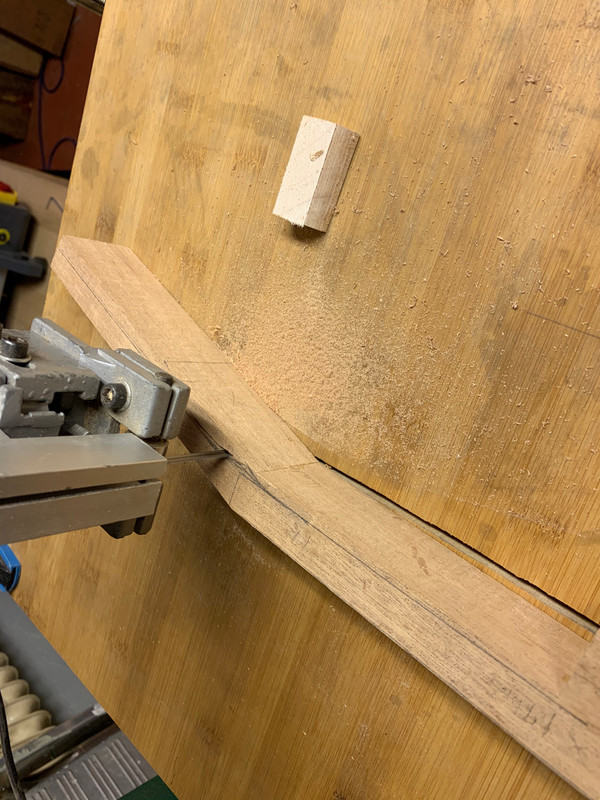 And "wings" are added to the heads:  I had lots of thoughts before I could decide for the head veneer. I wanted the two mandolins to be very similar but still recognizable from each other. I ended up with this:  Which turned out to look like this:  For the first time I used my StewMac jig to get exact placement for the tuners:  |
|
|
|
Post by lars on Jan 19, 2020 9:47:07 GMT
Hi lars , Thanks for posting this thread- I feel really guilty about my workshop now; I’ll have to tidy up! Looks like a great space to create in. It will be interesting to hear the difference between the two mandolin. I like your Krenov planes, I’ve got his cabinet making books that I bought back in the late 70’s. Funny, I’ve been looking at his planes again recently, along with Japanese ones; I’m gradually collecting the parts to make a round bottom one for my archtops. Look forward to seeing the rest of the build. Cheers Gary Thank you, Gary! Hrmm... I'm absolutely convinced that your workshop is as tidy - or tidier - than mine. Mind that the picture was taken before work began! But I do spend more time these days tidying up and keeping the workspace in order, than I used to do. I too like my Krenov plane. I've been interested in making my own planes for a while and buy old wooden planes at flea markets to get the steel blade. I found out that Krenov had most of his education and a large part of his career as a cabinet maker here in Sweden and that he was a student and apprentice for Carl Malmsten. And that his line of planes was inspired by old European planes. I currently don't work with Japanese planes. I have a small one in my drawer but I need to set it up first. But I guess that the Krenov style is in the middle between traditional European and Japanese. They sure are very versatile and I will make more of them soon. |
|
|
|
Post by lars on Jan 19, 2020 10:49:12 GMT
Planing ebony by hand is hard, even with a real sharp planer. Here I had to use a steel plane as I needed the weight:  For the first time I used a fret template.  The slotted fretboard getting prepared for a radius:  Sanding with a radius block until the chalk marks disappear: 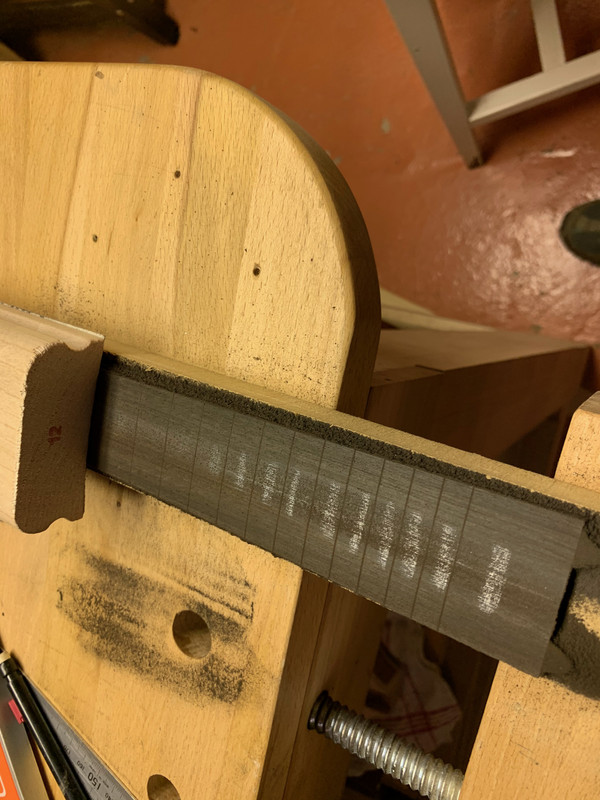 Compensating the radius by deepening the slots, so they are equally deep all along: 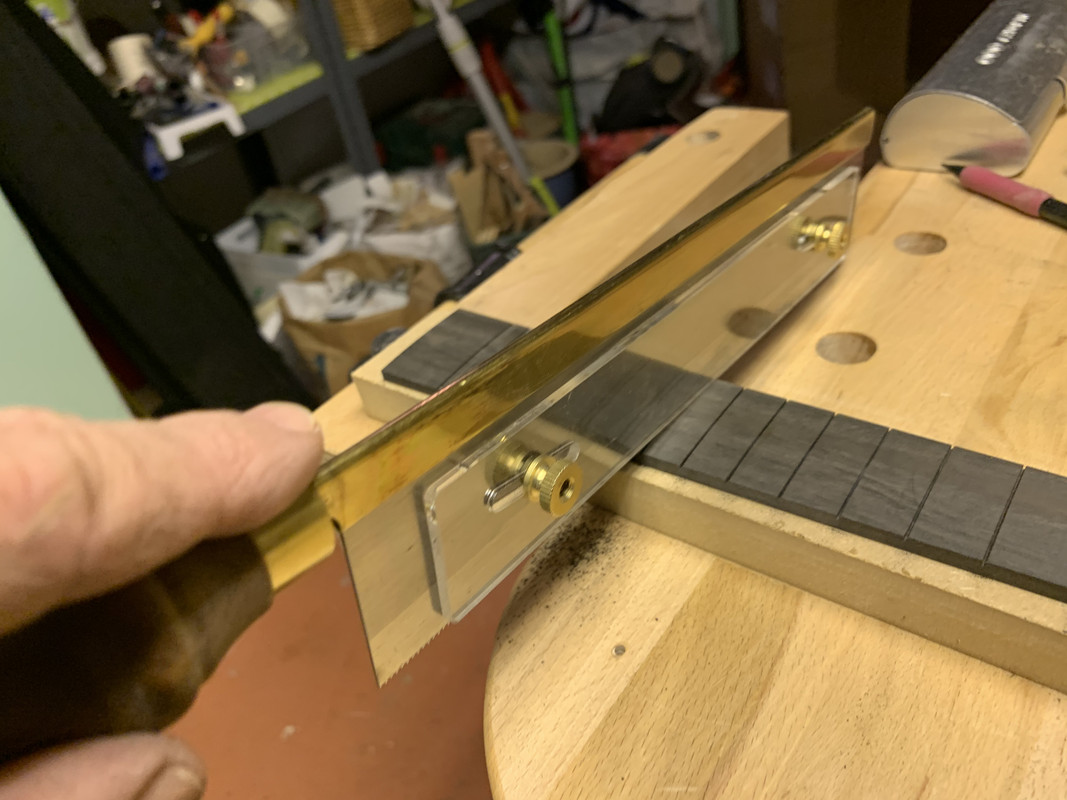 Apparently I forgot to take pictures when I pressed the frets with the help of a fret caul applied to my drill press. But here is one of the fretboards glued to the neck: 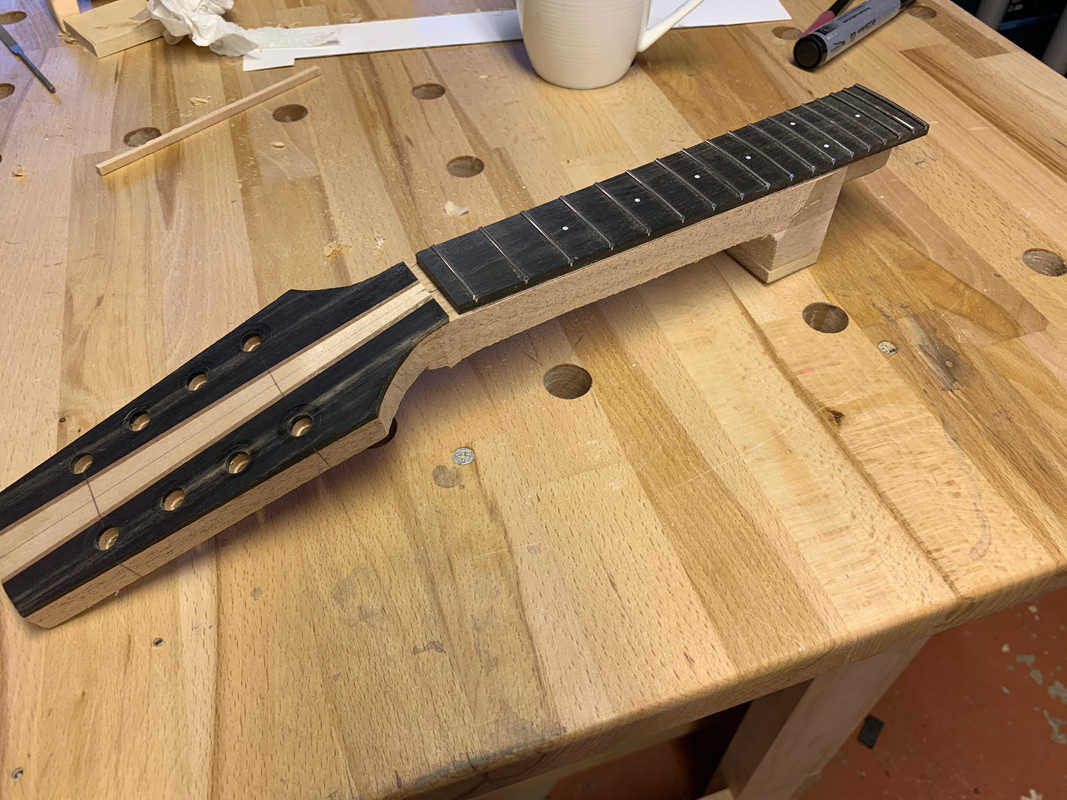 And time for the best part of the building process - shaping the neck!: 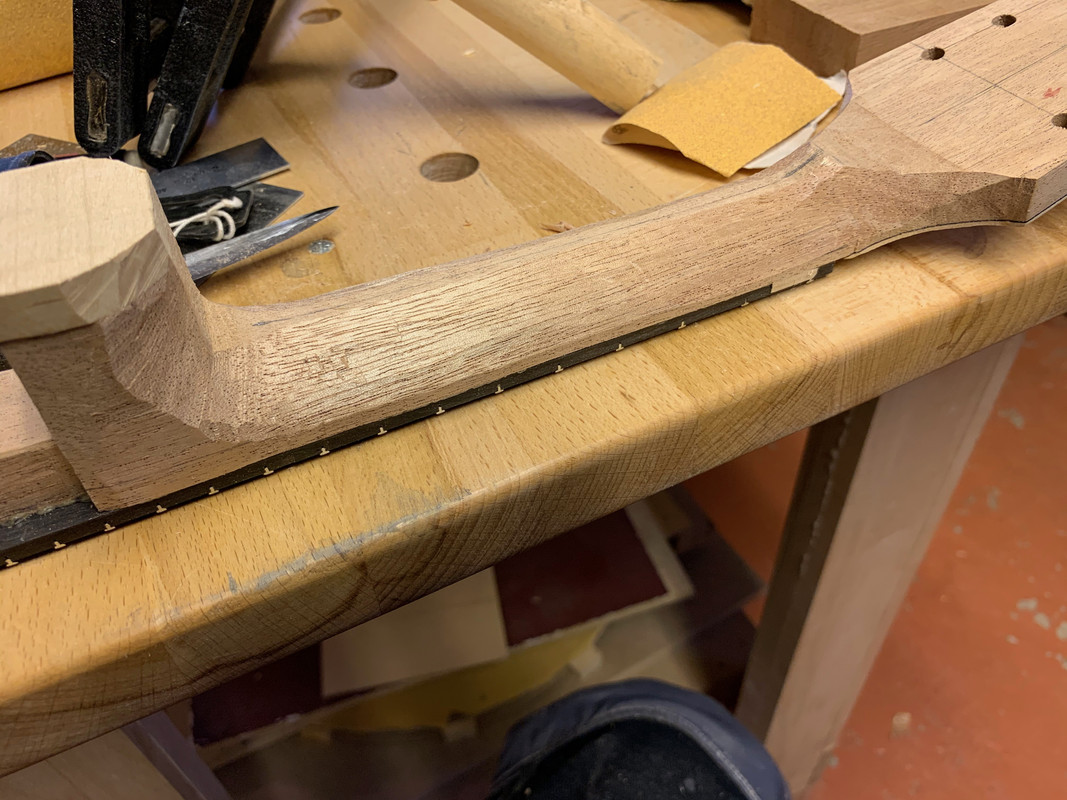 This is mainly done with a carving knife, followed up by rasp and file. Here are what the mandolins looked like around Christmas (as you can guess from the table cloth):  The frets get dressed and polished: 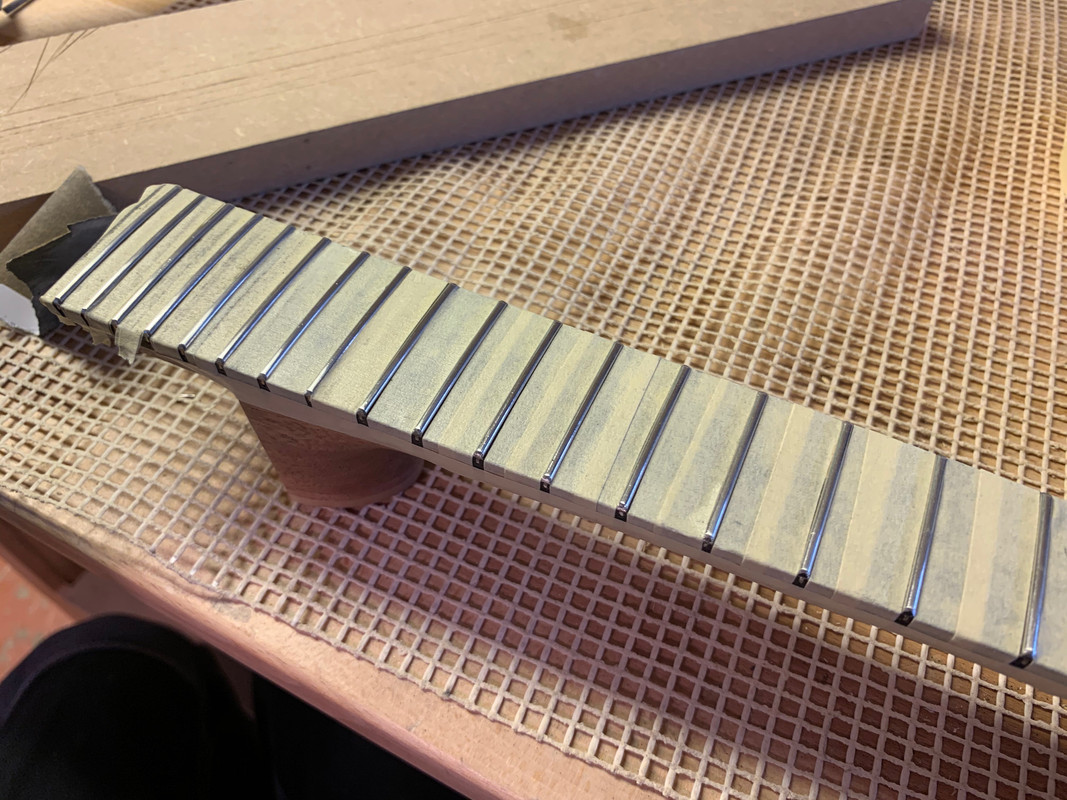 The back and sides are pore filled with egg white: 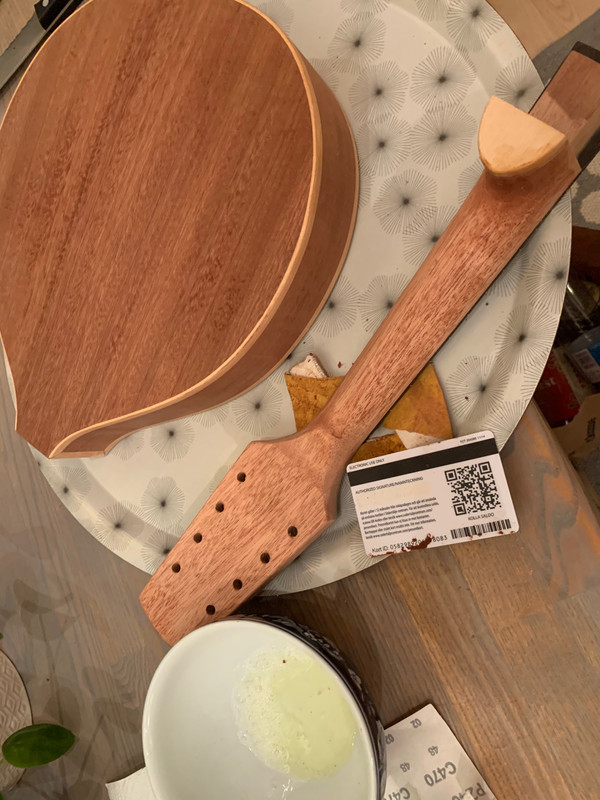 This was made three times with sanding back to the wood between the layers. And finally I could begin with the finish. First two layers of schellack. And then I planned to make an oil finish with Liberon finishing oil, but the content in the can had turned stone hard. Instead of ordering a new can I decided to try Osmo hard wax oil. This is after the first layer: 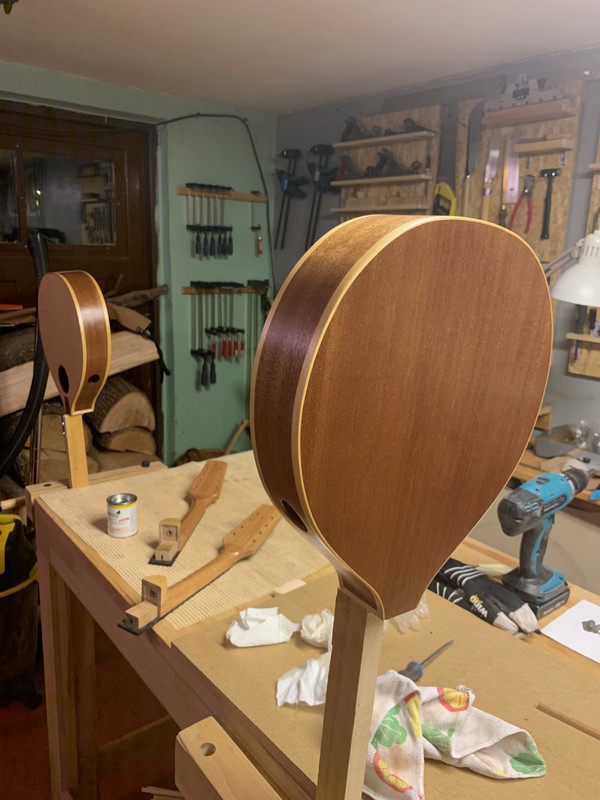 And after four layers it starts to look glossy: 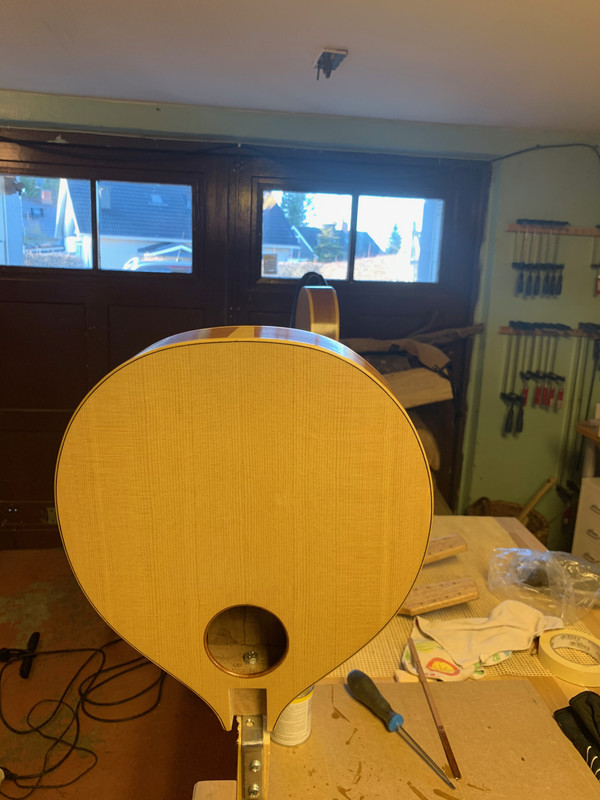 And this is it for now. I'll let the oil harden for about a week. Then I'll polish it with micro mesh pads. The lasts steps include assembling the instruments ,make bridges and nuts and tp put on tuners and tail pieces and string them up. Until then... |
|
ocarolan
Global Moderator
 CURMUDGEONLY OLD GIT (leader - to join, just ask!)
Posts: 35,724  Mini-Profile Background: {"image":"","color":"c0cfe1"}
Mini-Profile Name Color: 182a3f
Mini-Profile Text Color: 733a1c
|
Post by ocarolan on Jan 19, 2020 15:20:04 GMT
Really enjoyable pics lars - builds looking very good indeed. Looking forward to seeing (and hearing, if possible) the end products! Keith |
|
|
|
Post by lars on Jan 19, 2020 17:32:48 GMT
Really enjoyable pics lars - builds looking very good indeed. Looking forward to seeing (and hearing, if possible) the end products! Keith Thank you, Keith! I know that I've promised sound clips before and not delivered. But now I've bought a new audio interface and a new recording mic, so I really have the intention to record them. If it doesn't sound too shabby I'll share it with you! |
|
garynava
Luthier / Guitar Maker
Posts: 460  My main instrument is: Stanley No.5
|
Post by garynava on Jan 19, 2020 17:34:48 GMT
Great photos lars- they make for a good narrative! Particularly, like the head overlay design- very cool. Be interested to know how the Osmo works- I’ve been tempted, but keep returning to Tru Oil! Cheers Gary |
|
|
|
Post by lars on Jan 19, 2020 18:01:12 GMT
Just a teaser... 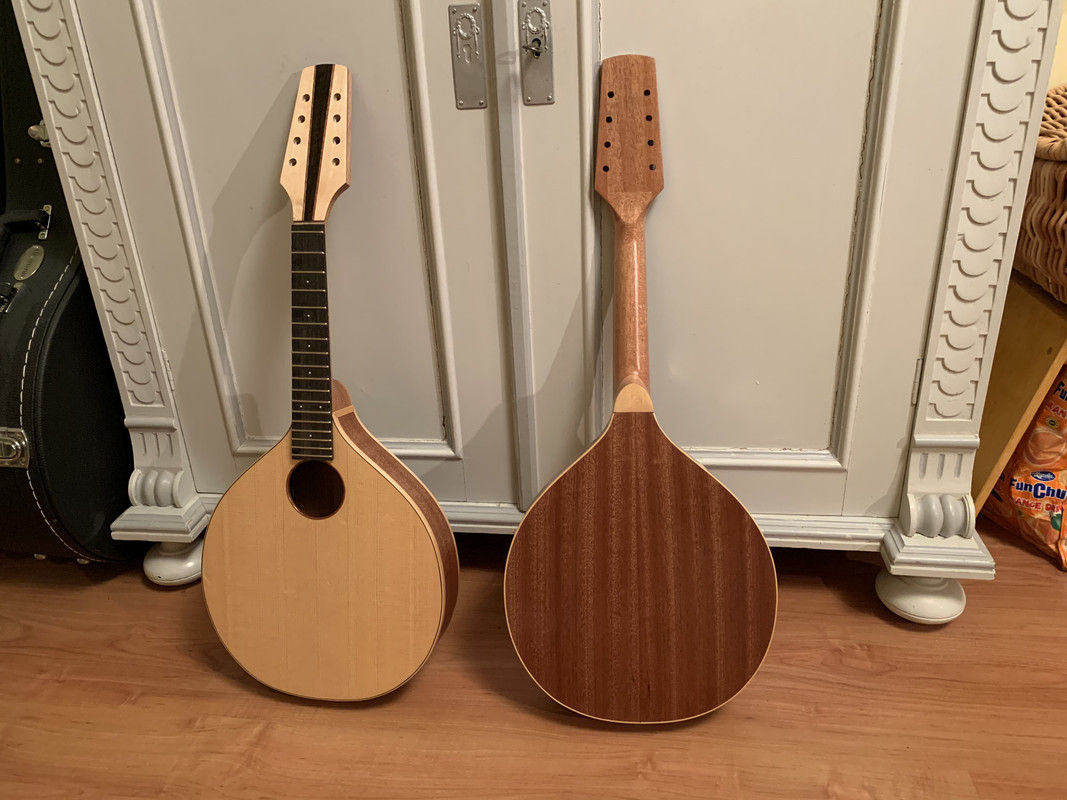 |
|