|
|
Post by martinrowe on Jun 5, 2021 19:22:00 GMT
Gary That idea of stamina is a good excuse for when to use a machine over a hand tool and vice versa isn't it? There's a balance isn't there? I'd be interested in the video on making hand planes Gary - even if it is out of my skill level at the moment. I've seen some by James Krenov and some Ron Hock Hardware. One of the planes you've made is s bit llke a travisher isn't it? The shape you're making made me think of the shape of a chair seat in a way and seeing the finished article made me think of offset turning for some reason. Anyway, really interesting, thanks garynava Martin |
|
ocarolan
Global Moderator
 CURMUDGEONLY OLD GIT (leader - to join, just ask!)
Posts: 35,814  Mini-Profile Background: {"image":"","color":"c0cfe1"}
Mini-Profile Name Color: 182a3f
Mini-Profile Text Color: 733a1c
Member is Online
|
Post by ocarolan on Jun 5, 2021 21:44:25 GMT
Always fascinating to watch your videos, Gary - a pleasure to see a meticulous and painstaking craftsman at work.
Thanks for taking the time to record your processes so comprehensively.
Keith
|
|
garynava
Luthier / Guitar Maker
Posts: 461  My main instrument is: Stanley No.5
|
Post by garynava on Jun 6, 2021 15:46:04 GMT
Always fascinating to watch your videos, Gary - a pleasure to see a meticulous and painstaking craftsman at work. Thanks for taking the time to record your processes so comprehensively. Keith Thanks Keith, my pleasure. Keep safe Gary |
|
garynava
Luthier / Guitar Maker
Posts: 461  My main instrument is: Stanley No.5
|
Post by garynava on Jun 6, 2021 16:13:41 GMT
Gary That idea of stamina is a good excuse for when to use a machine over a hand tool and vice versa isn't it? There's a balance isn't there? I'd be interested in the video on making hand planes Gary - even if it is out of my skill level at the moment. I've seen some by James Krenov and some Ron Hock Hardware. One of the planes you've made is s bit llke a travisher isn't it? The shape you're making made me think of the shape of a chair seat in a way and seeing the finished article made me think of offset turning for some reason. Anyway, really interesting, thanks garynava Martin I think that I consider myself as someone who predominately uses hand tools, basically because I prefer the process. I like the idea of taking my time, thinking about the process and putting physical effort and energy into my builds. I’ve embedded my plane making video below. The planes are relatively simple to make and it’s immensely satisfying to use tools that you’ve made yourself. The basic construction is like the Krenov style. If you had mentioned travisher a few weeks ago, I’d have goggled but I watched the BBC4 program about making Windsor chairs a few weeks ago and did a bit of research! Cheers Gary |
|
andrewjw
C.O.G. 
Posts: 4,879  Mini-Profile Background: {"image":"","color":""}
|
Post by andrewjw on Jun 6, 2021 17:04:59 GMT
Thanks Gary ...I always marvel at your method , skill and attention to detail..  |
|
|
|
Post by martinrowe on Jun 6, 2021 20:16:09 GMT
Many thanks Gary - that looks easier than I thought it would be.
I'm also a fan of using hand tools, I only mentioned the comparison as it is one of the best arguments I've heard for actually using machines.
thanks again
Martin
|
|
garynava
Luthier / Guitar Maker
Posts: 461  My main instrument is: Stanley No.5
|
Post by garynava on Jun 8, 2021 15:02:28 GMT
I’ve just been working on the Archtop’s sound holes (can’t really call them F holes, can I?). The top plate is fixed to a template which has the holes cut-out, full-size and in the exact position. 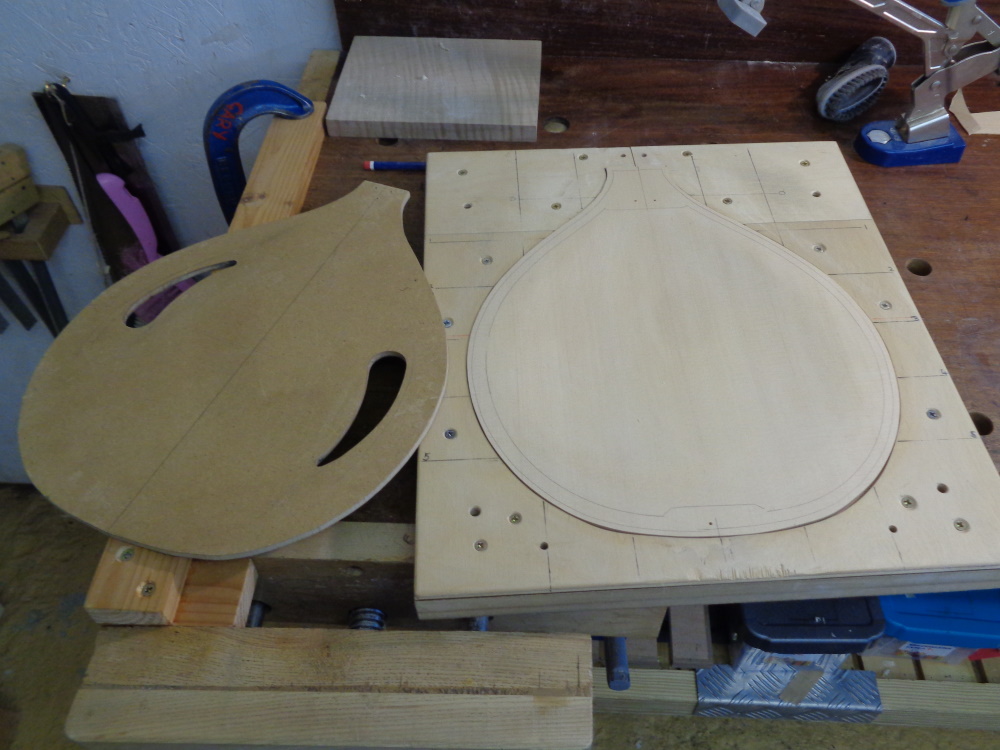 My Dremel is then set-up as a pin-router- all the clamps are to ensure rigidity in an attempt to eliminate any chatter from the cutter. In the photo below, you can just see how the pin, which the template is held against, is aligned with the cutter. 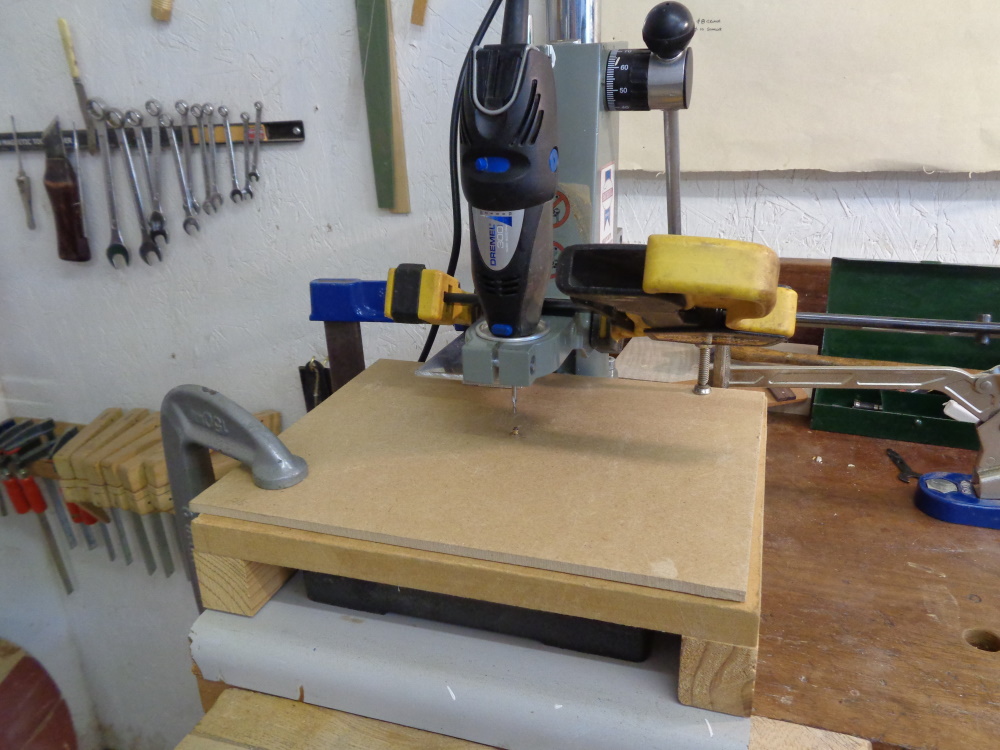 And then we route! I do a number of passes, incrementing the depth of cut 1mm at a time.    Once cut out, the next stage is to bind the holes (something that I feel strongly about) with black veneer. On the first few Archtops that I made, I used a soldering iron as a small diameter bending iron, in order to form the veneer to shape, but after some experimentation, I now soak the veneer, then put it in a zip lock plastic bag, pop it the microwave for 30 seconds and it bends with ease around these simple formers. 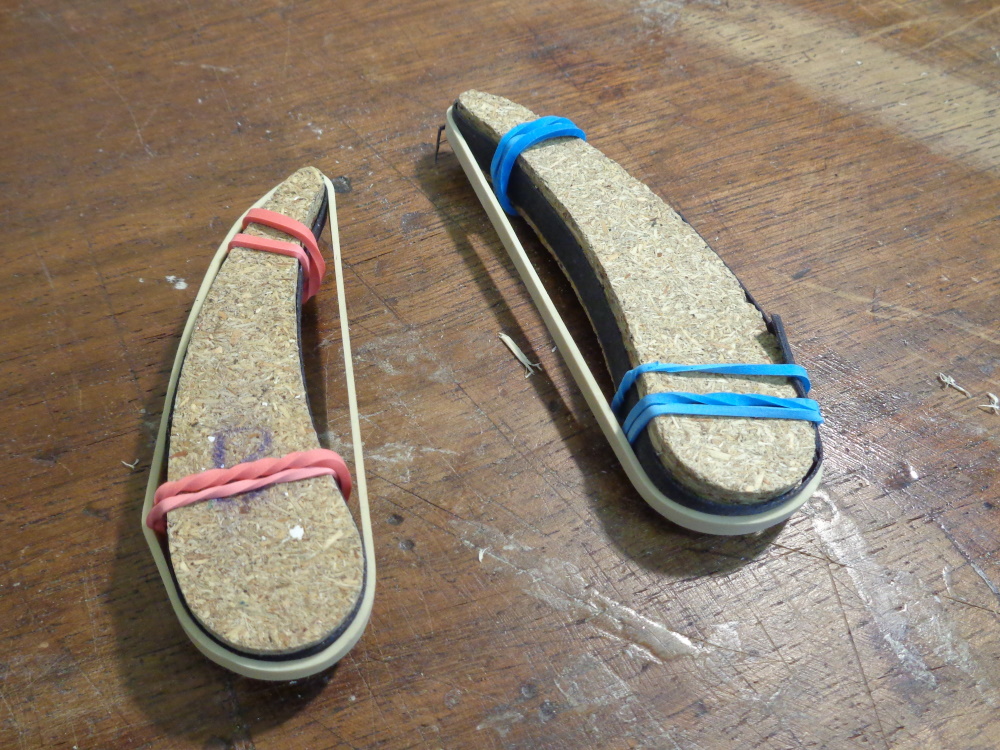 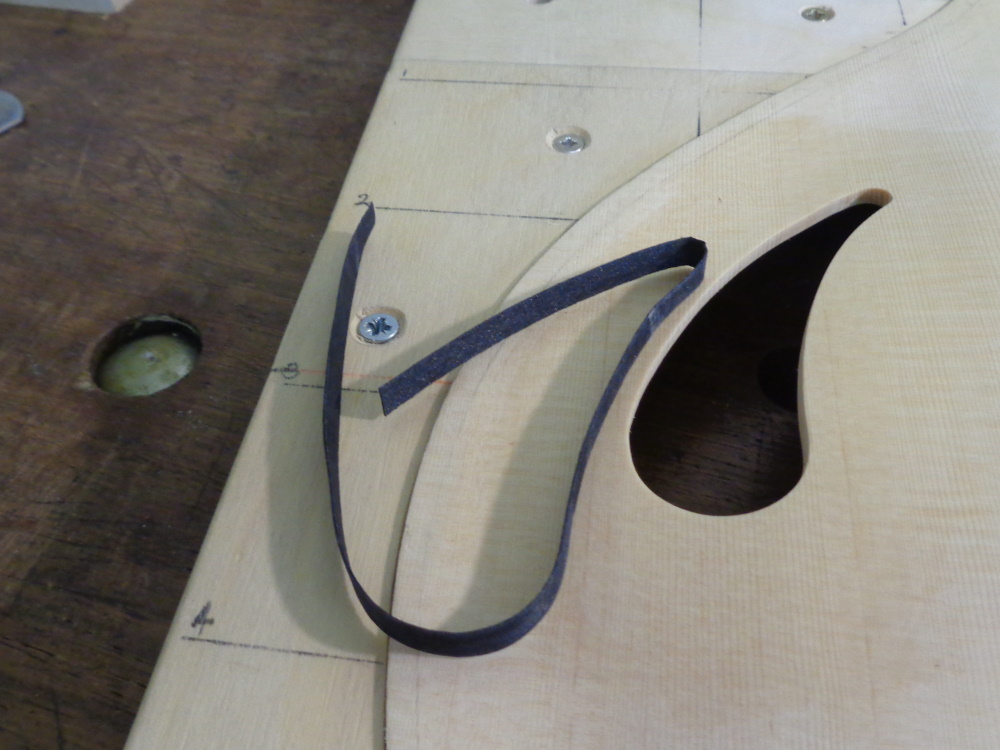 The veneer is glued in place and after a good clean-up and ready for the next stage: tone bars. 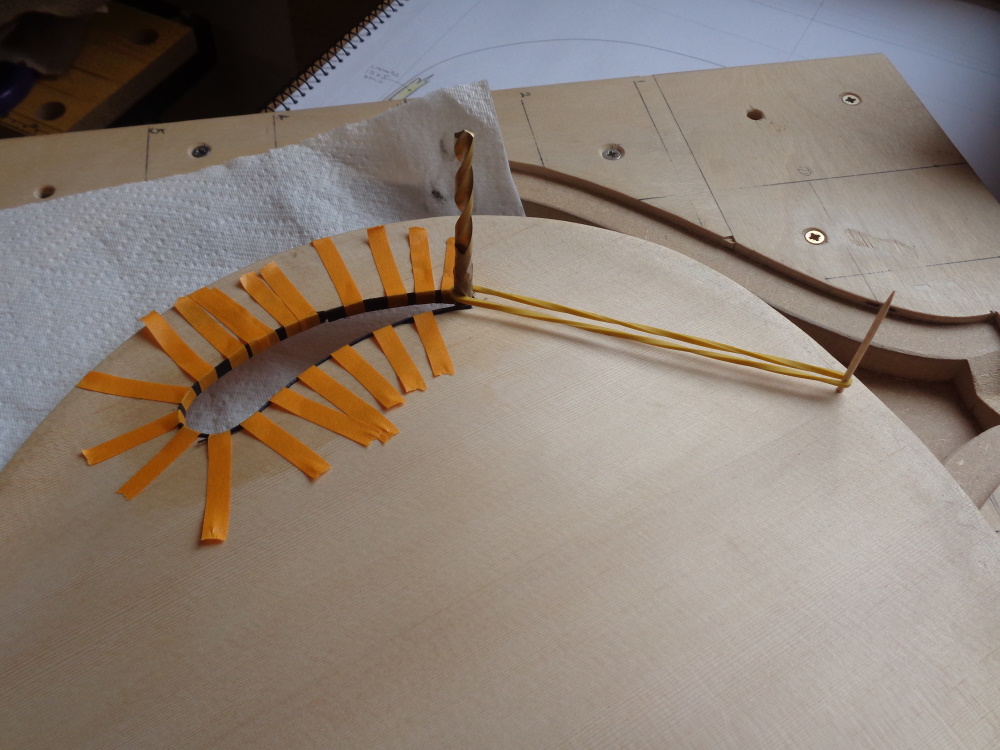  Cheers Gary |
|
garynava
Luthier / Guitar Maker
Posts: 461  My main instrument is: Stanley No.5
|
Post by garynava on Jun 14, 2021 15:23:44 GMT
The two tone bars have just fitted to the Archtop’s top plate. This is one of those tasks that takes time, has to absolutely spot-on and yet will never be seen!
Here’s the video of how I do it.
Cheers Gary
|
|
francis
C.O.G. 
Posts: 2,490  My main instrument is: Whatever I'm building...
|
Post by francis on Jun 15, 2021 6:55:51 GMT
Enjoyed that Gary.  |
|
garynava
Luthier / Guitar Maker
Posts: 461  My main instrument is: Stanley No.5
|
Post by garynava on Jun 21, 2021 14:13:16 GMT
The top and back have been glued on to the rim to create a magic box! When making flat-top instruments, you can locate the top and back relative to the rim by housing the ends of the braces in the linings, however, as there are no braces on a carved instrument, I use wooden pins to stop the top and back sliding around and to ensure that they are correctly aligned.   Before I glue the back on, I always like to drill the jack socket hole right through the tail block, so that the inner surface of the block doesn’t splinter when the 12mm drill breaks through. So, there is a bit of tricky lining-up to do with the tail-piece and incomplete body.  The holes for the two retaining screws are easy to drill, but I never like trying to locate the centre point of the jack socket hole. This time I had a eureka moment- I put a 4mm washer into the tail-piece’s 12mm hole, which gave me an accurate centre to drill a pilot hole! It’s bizarre how these little tricks make life so much easier and give such great satisfaction when discovered! 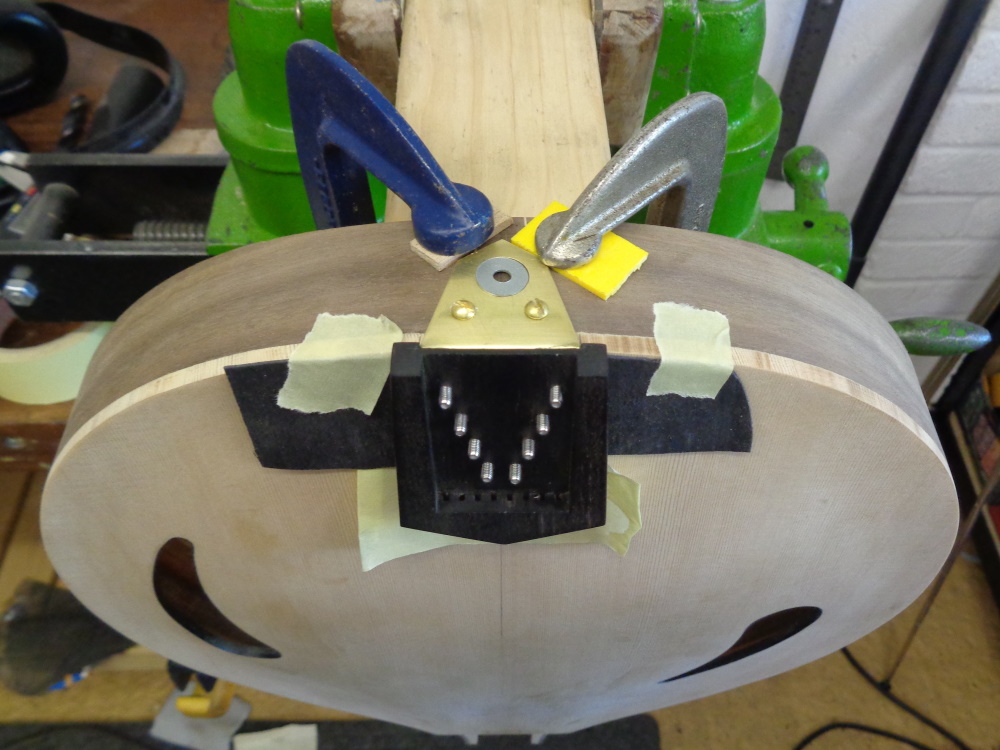 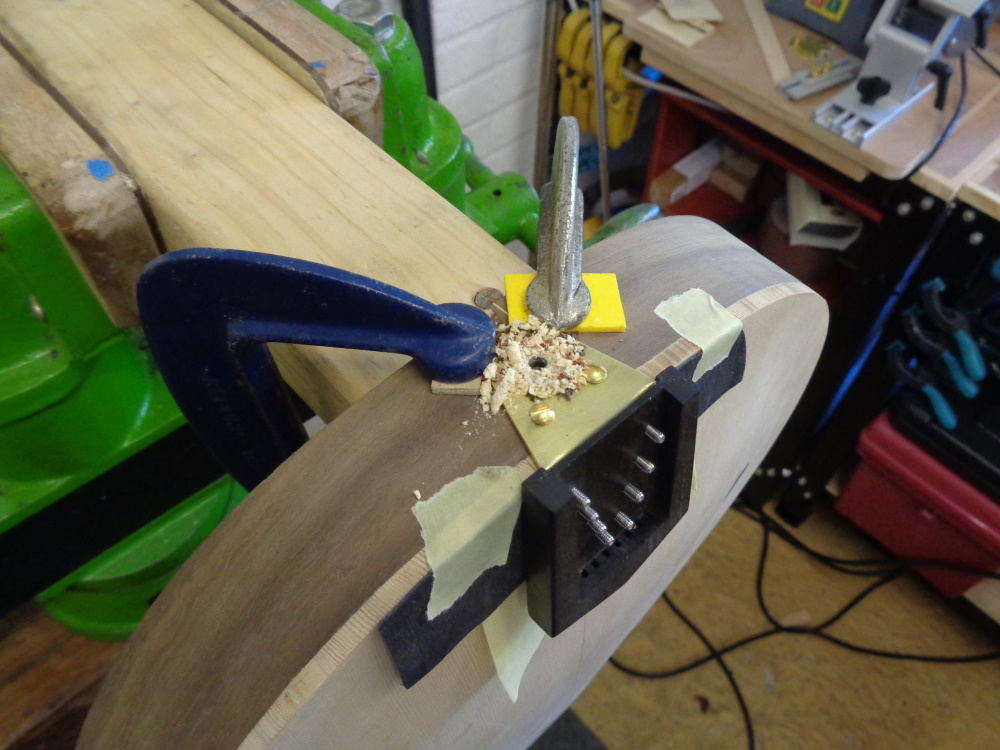  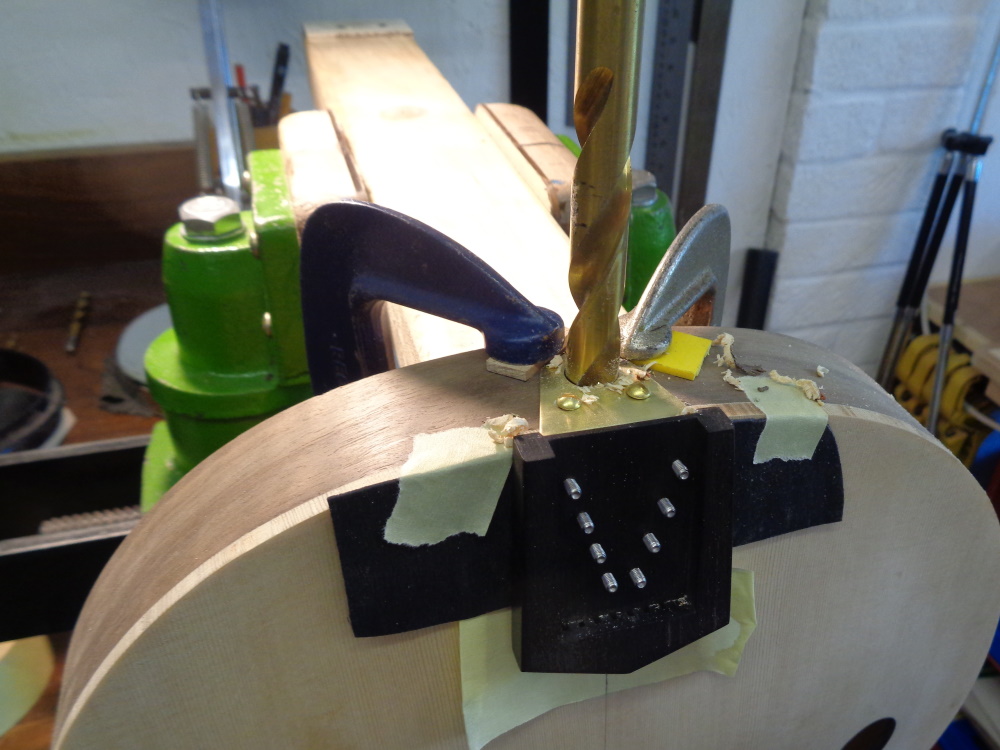 With the holes drilled for the tailpiece, the back can be glued on and then the overhanging edges trimmed-off. Behind the mandolin’s body, you can see my “True Channel” router jig which I’m not 100% happy with and mentioned in another thread. 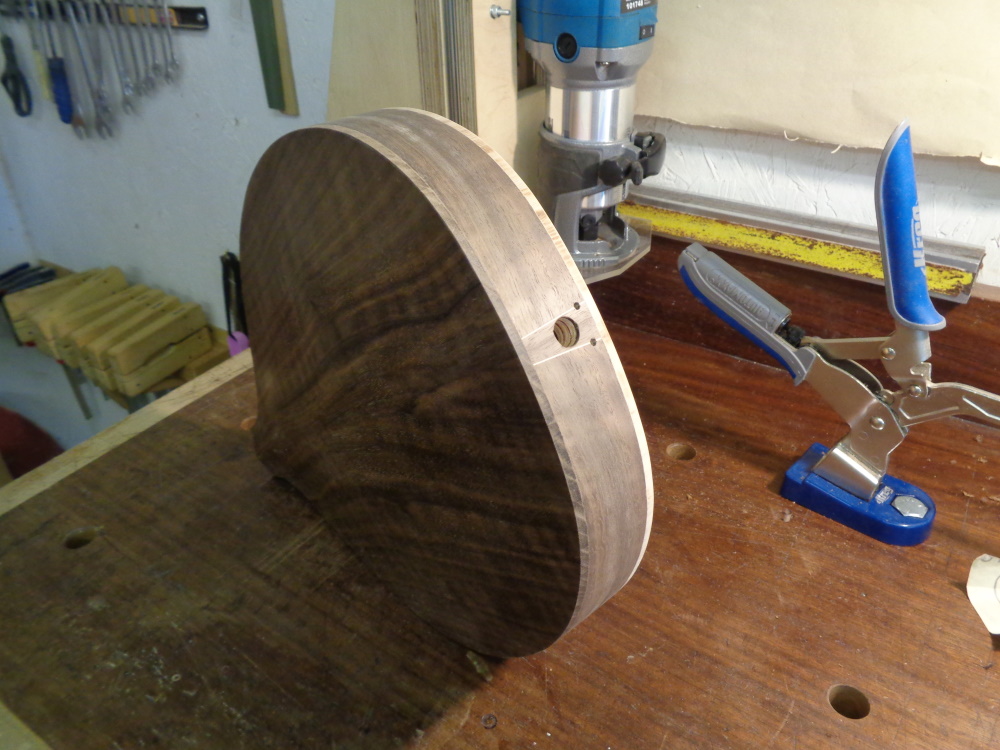 And here is my current and preferred method of routing the binding channel on an archtop instrument. This works well because the top and back edges are flat and parallel to the work bench and there’s plenty of clearance between the router and the highest points of the arches. 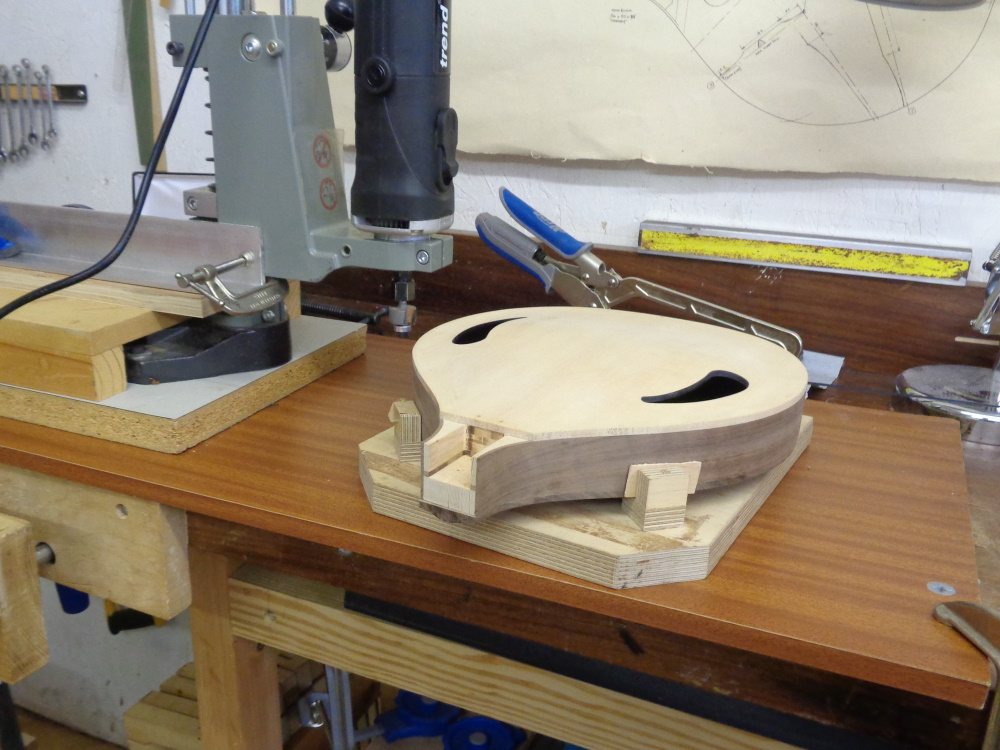 Ready for purfling and bindings. 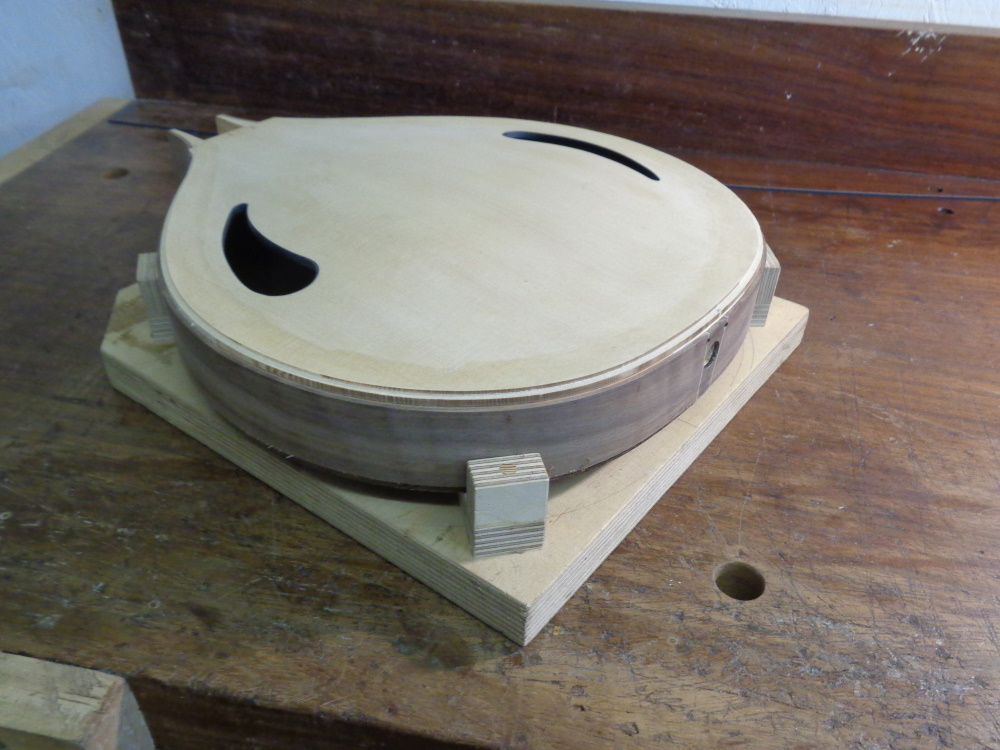 Cheers Gary |
|
garynava
Luthier / Guitar Maker
Posts: 461  My main instrument is: Stanley No.5
|
Post by garynava on Jun 29, 2021 14:08:46 GMT
|
|
|
|
Post by earthbalm on Jun 29, 2021 14:56:02 GMT
Now that does look classy!
|
|
garynava
Luthier / Guitar Maker
Posts: 461  My main instrument is: Stanley No.5
|
Post by garynava on Jul 5, 2021 14:47:56 GMT
 With the mortice section of the neck joint already routed in the body, the next step is to carefully mark-out and cut the tenon on the neck itself. My rule is always to do any adjustment on the neck and leave the mortice well alone as it’s been routed accurately. 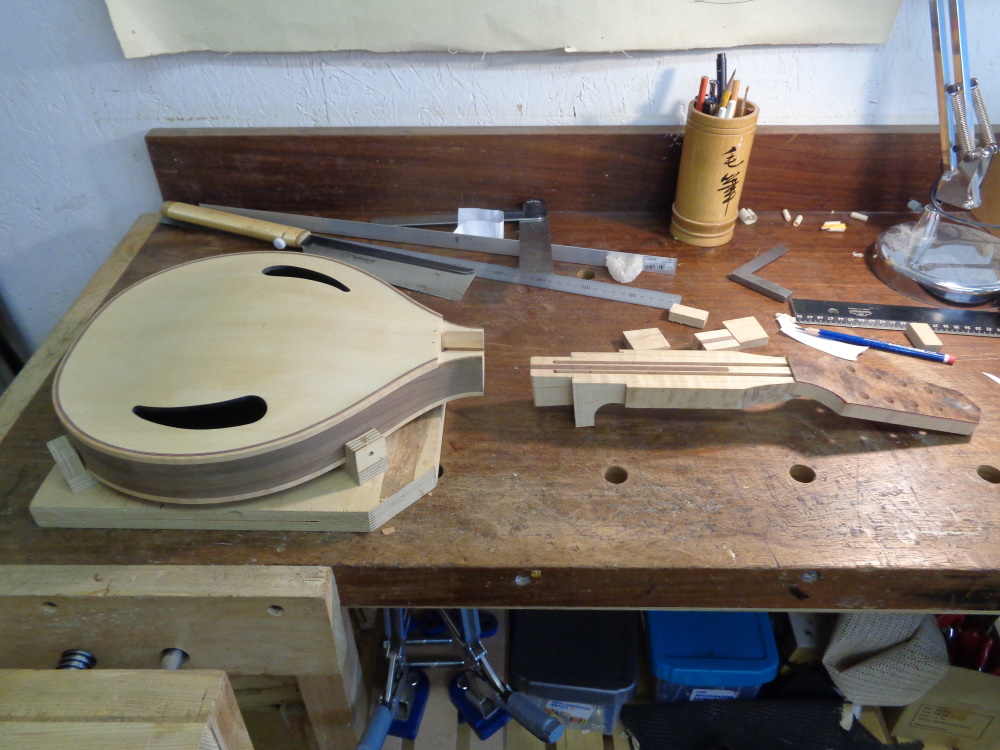 After a bit of fettling, the neck is glued in to place and left overnight; gravity does the clamping! 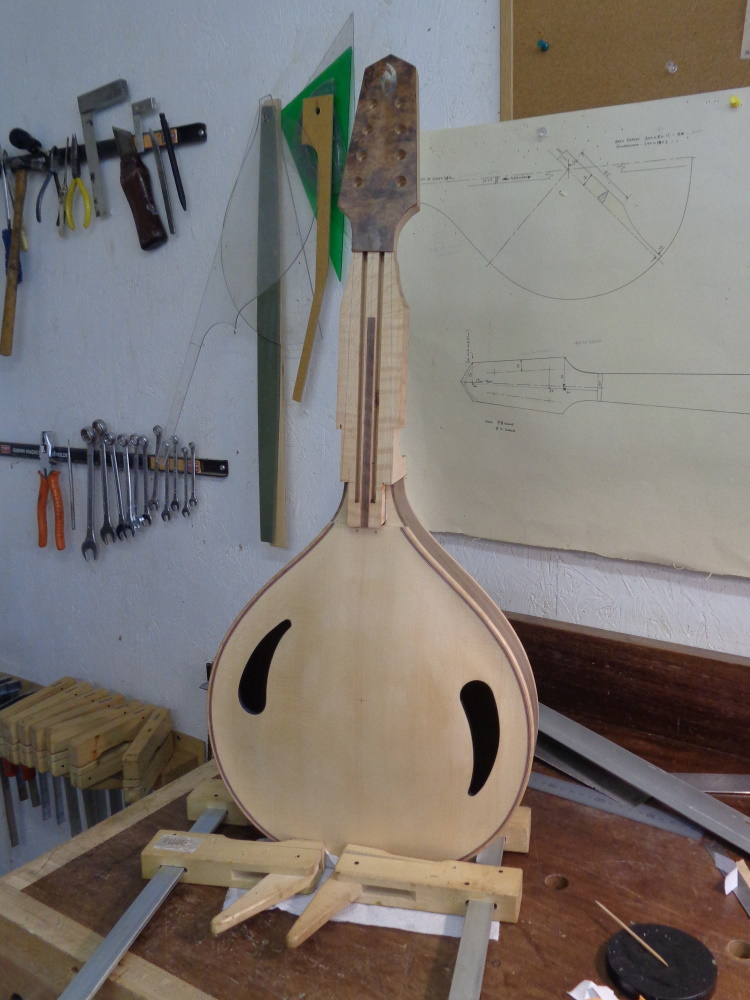 The protruding part of the tenon is then cut-off. It would, of course, be easier to cut it off before the neck is glued on, but that protruding part helps support a straight-edge whilst checking alignment. 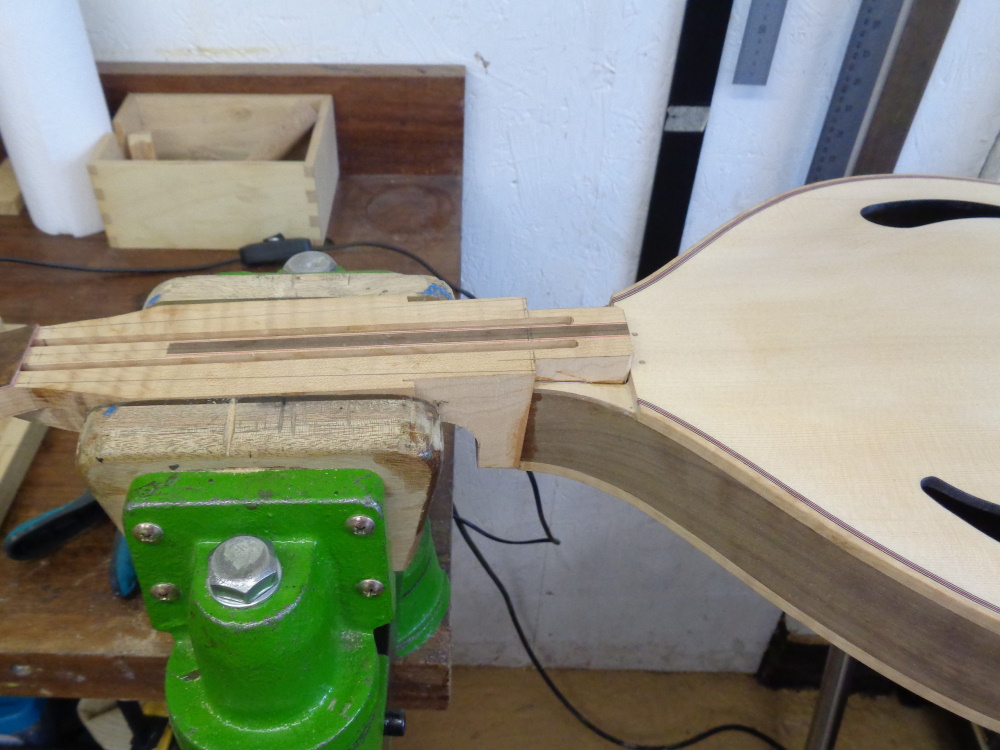 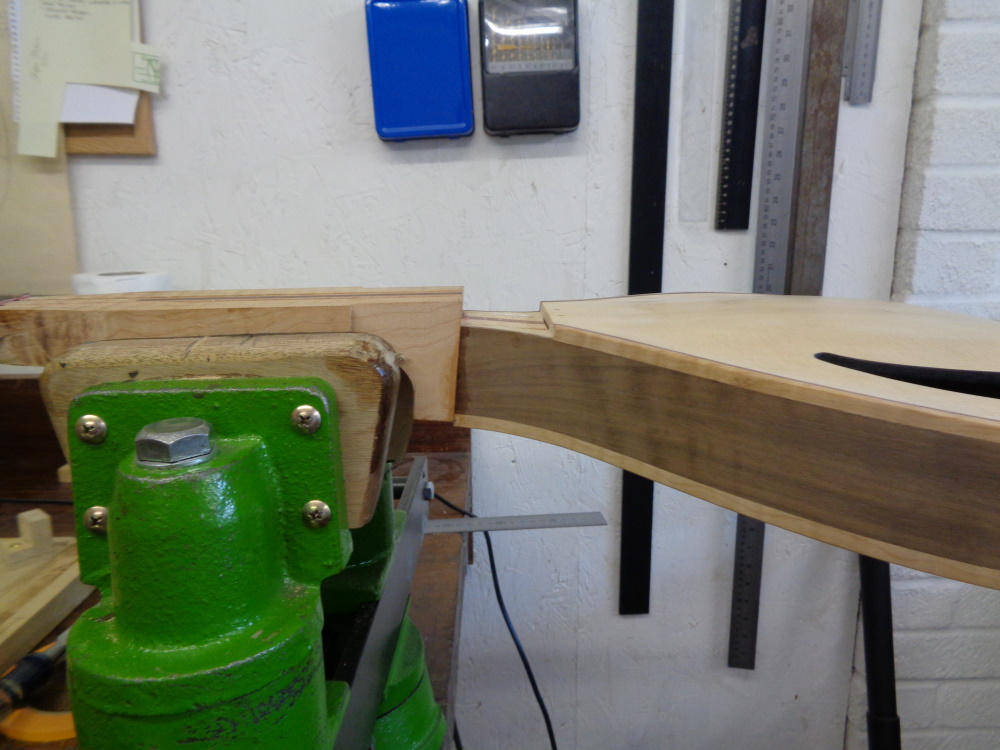 After the bindings had been glued on and the body of the mandolin cleaned-up, it was looking quite pretty! However, with my method of building it will now under-go, what I call, an ugly duckling stage. You’ll see what I mean! The beautiful swan shan’t emerge until the neck has been shaped in a few stages time. You can also see one of the reasons why I like to leave the neck square and unshaped: it’s far easier to hold the mandolin firmly in a vice whilst doing this work. Four 6mm dowels then go in to the neck joint to double lock it in place.  The first part of the fretboard support is fitted. As it’s wedged between the top plate and the neck, any possibility of future movement should be eliminated. 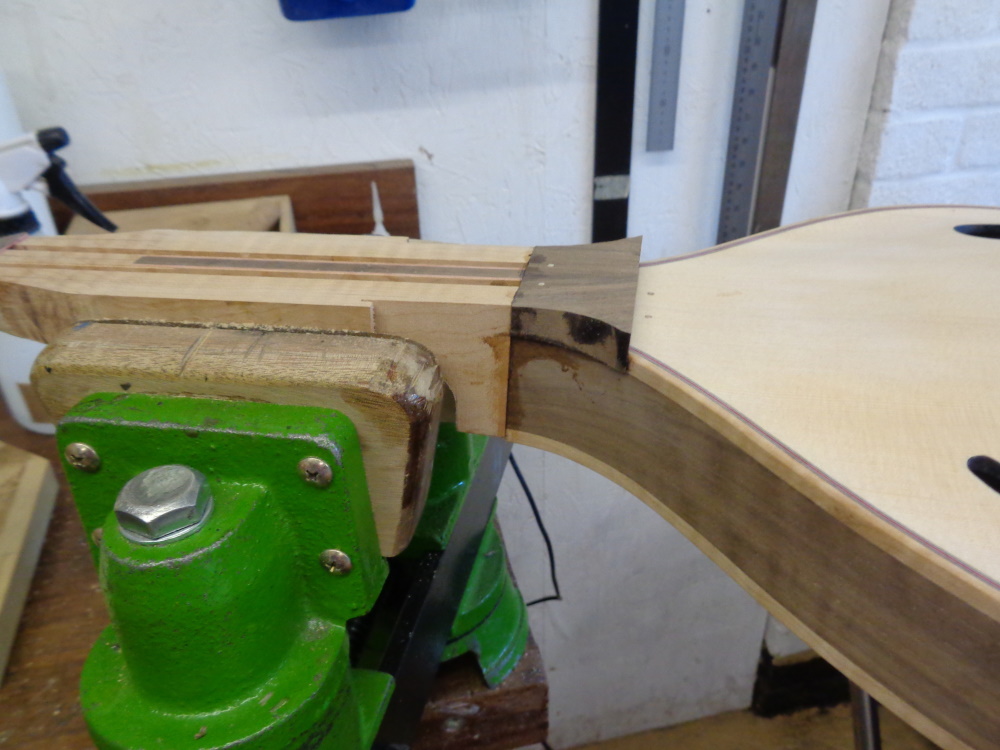 Cheers Gary |
|
garynava
Luthier / Guitar Maker
Posts: 461  My main instrument is: Stanley No.5
|
Post by garynava on Jul 7, 2021 15:20:41 GMT
Next, the fretboard extension has to be painstakingly fitted. The tricky part of this is due to having a gap between most of the extension and the top-plate, giving an elevated section to the end of the fretboard. Why do this? Well to my mind, it frees up the area of the top plate, underneath the fretboard to vibrate. 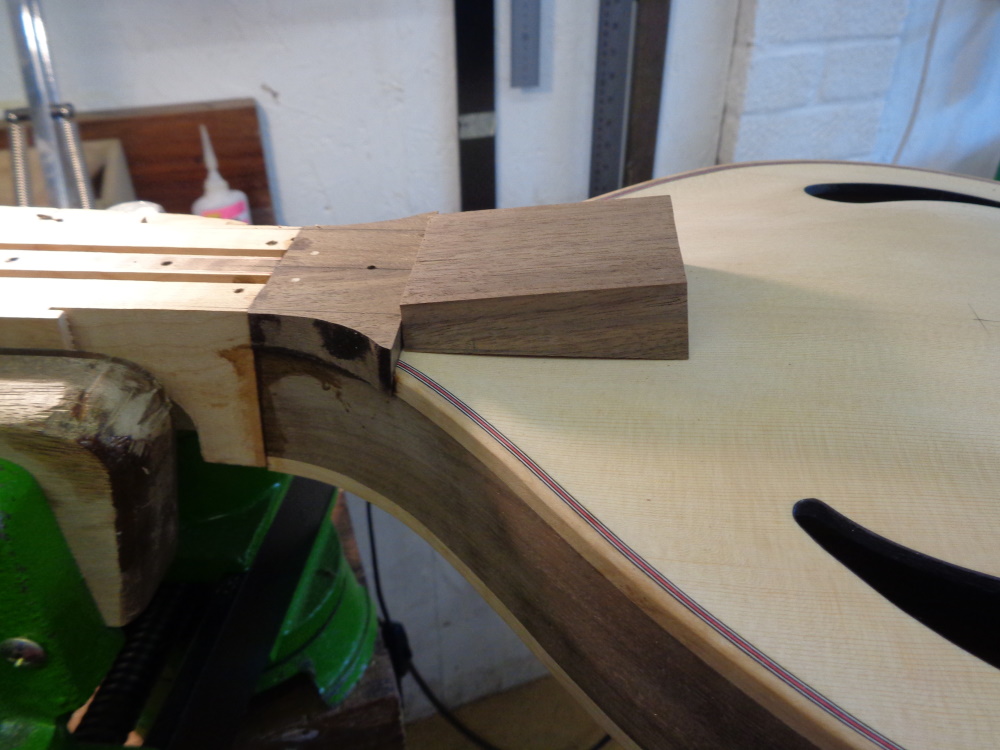 To add to the complexity, I also like to fit threaded inserts, for the finger rest attachment, at this stage. 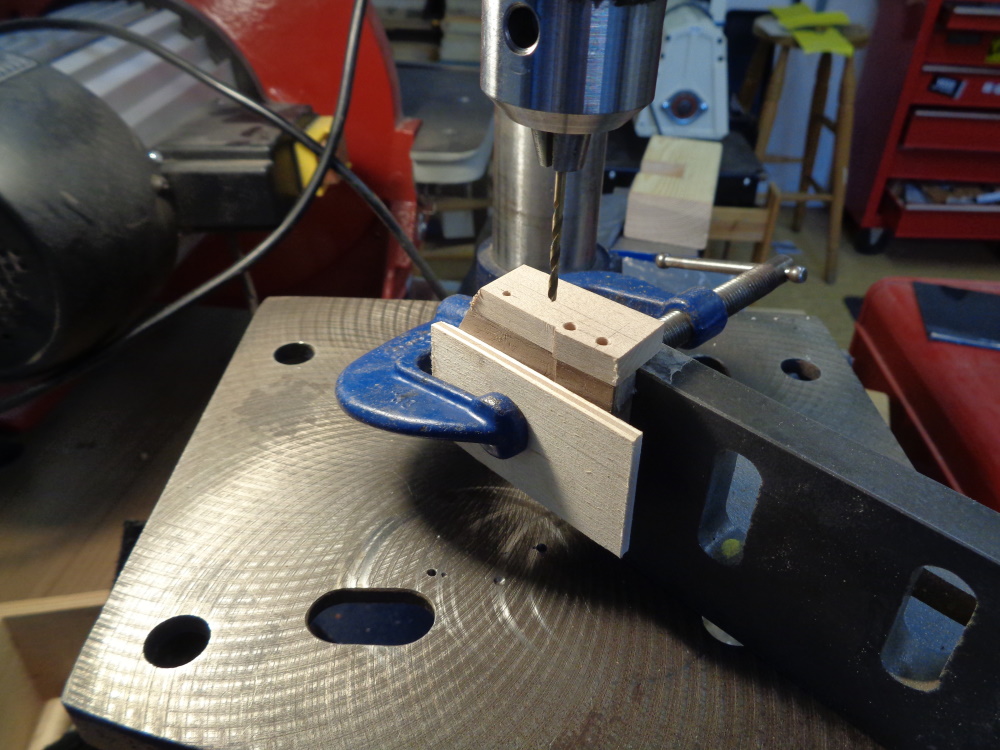 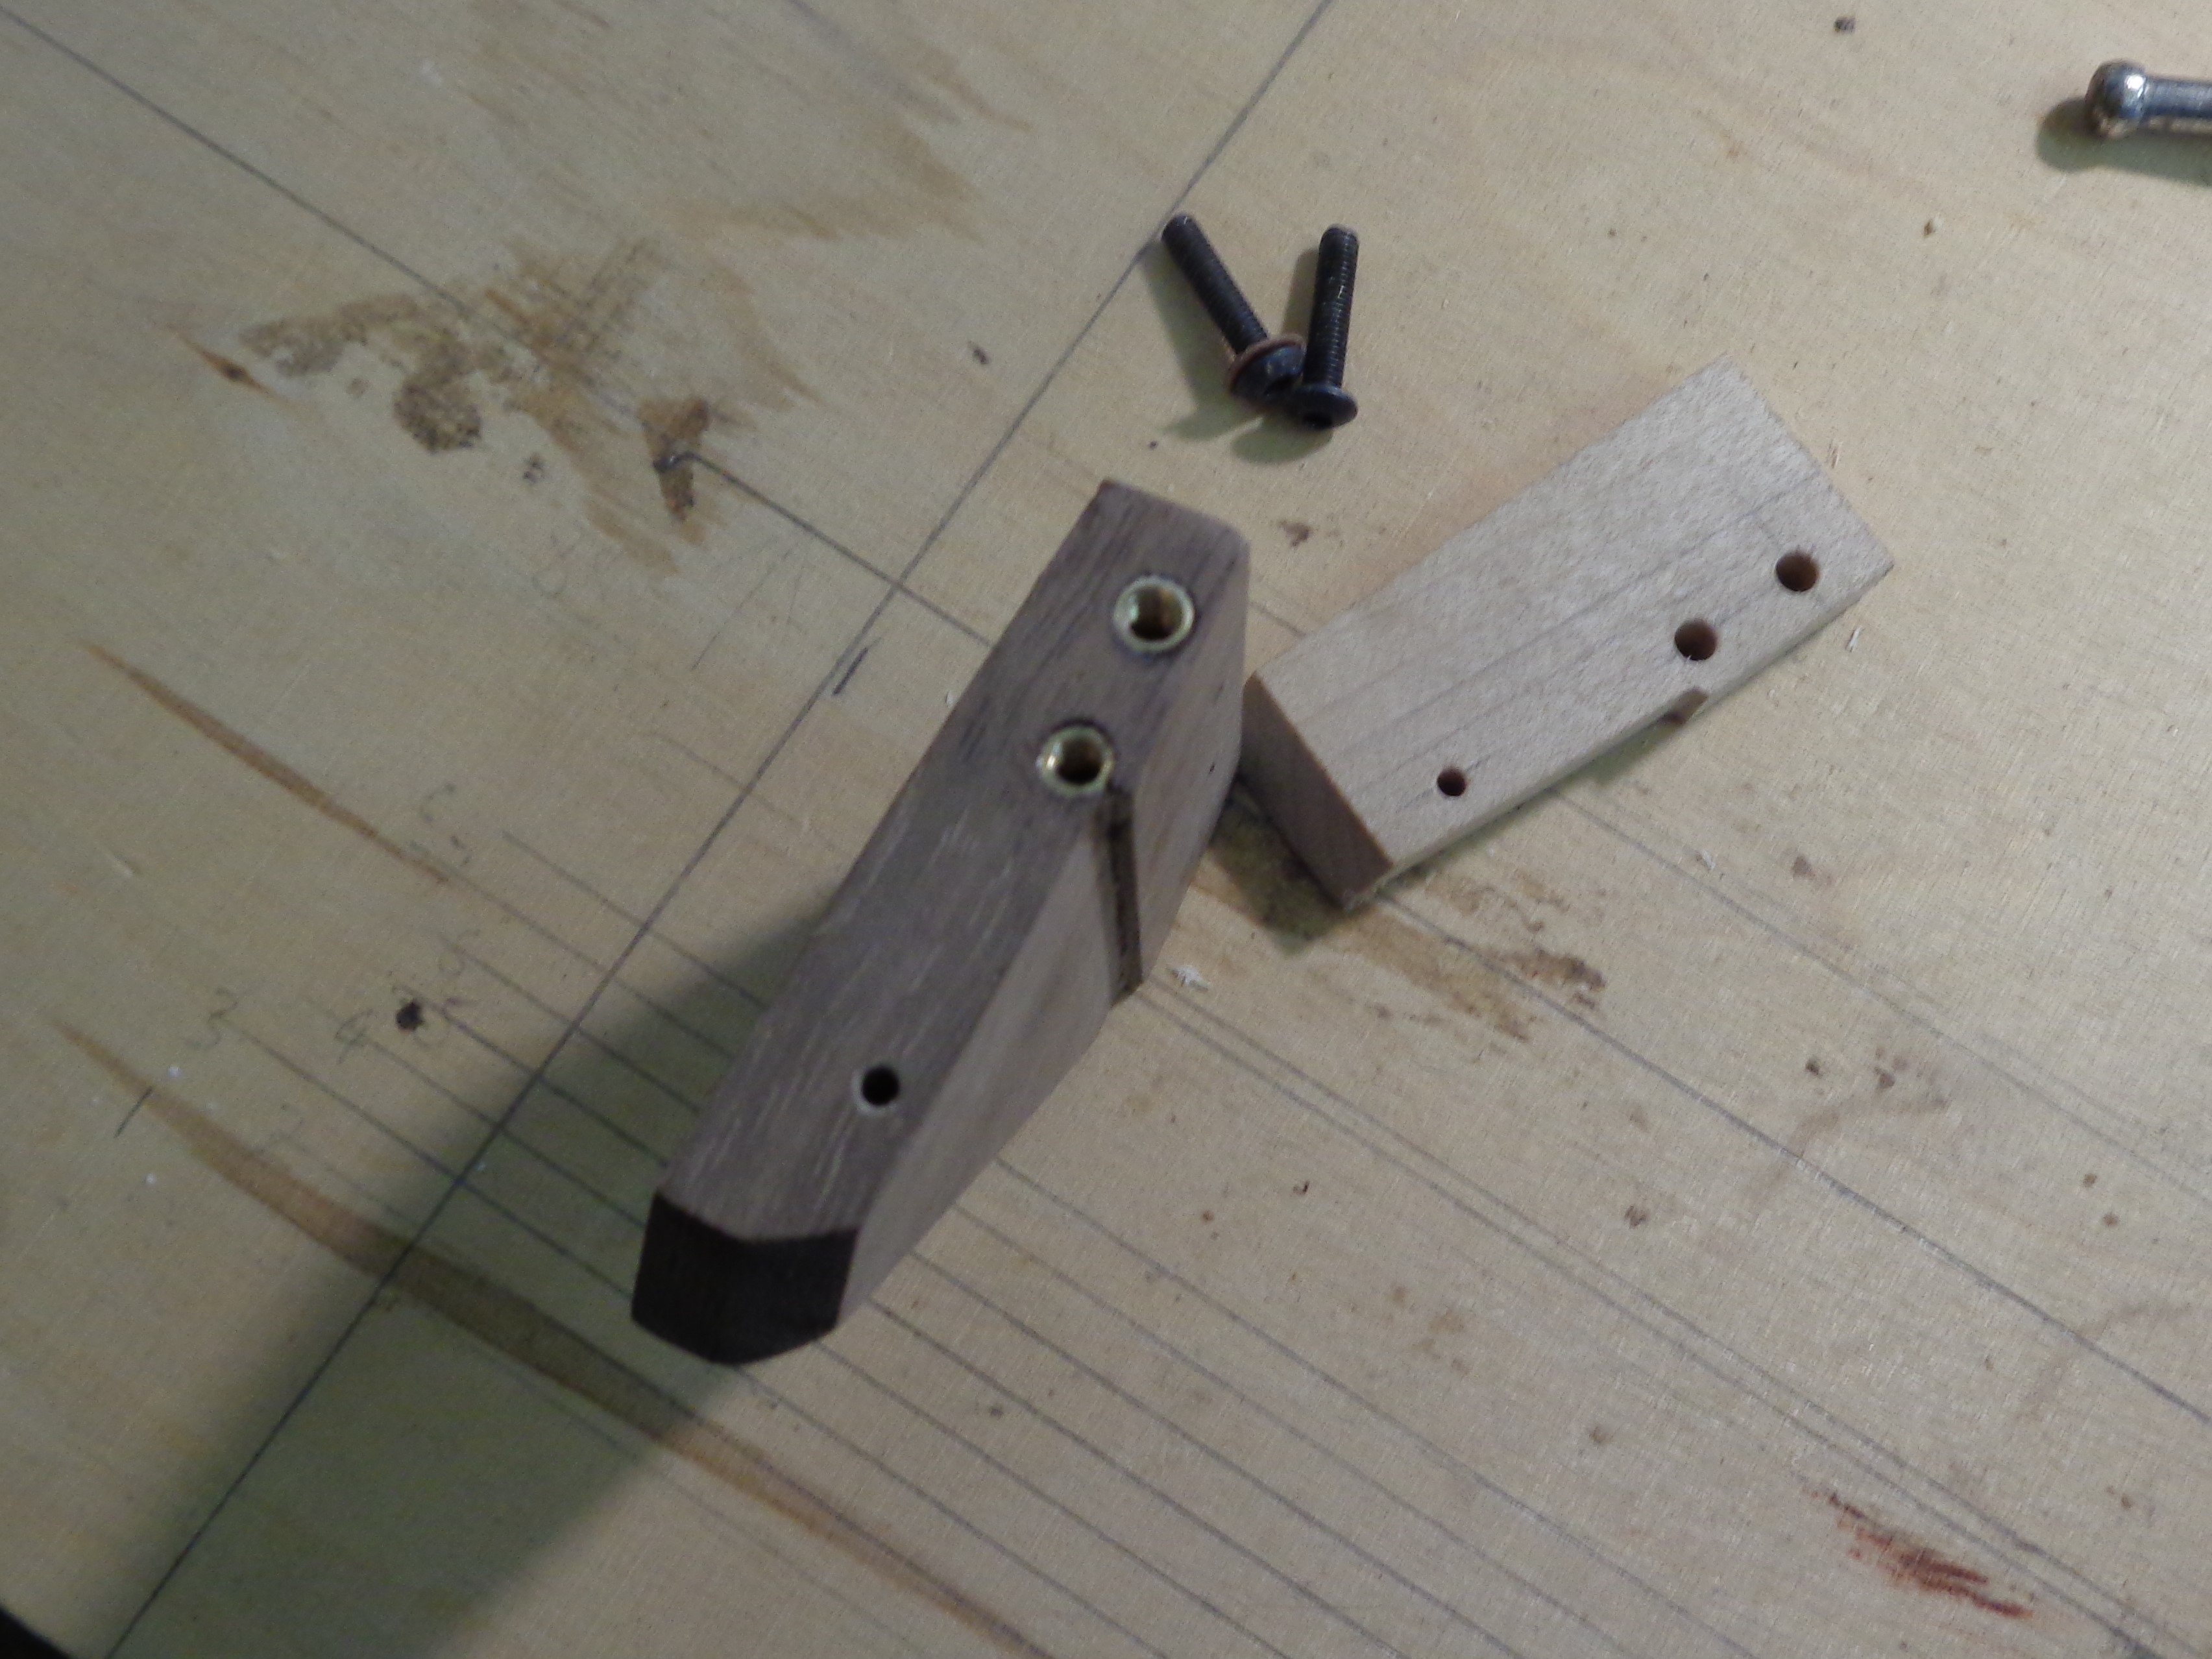 The fretboard extension is glued on and although I have faith in glue, if you know my work, you’ll know that I’m a belt and braces man. So, I put a dowel through the extension into the neck block to give some mechanical strength. Although it’s another task, if it makes it better, why not do it! 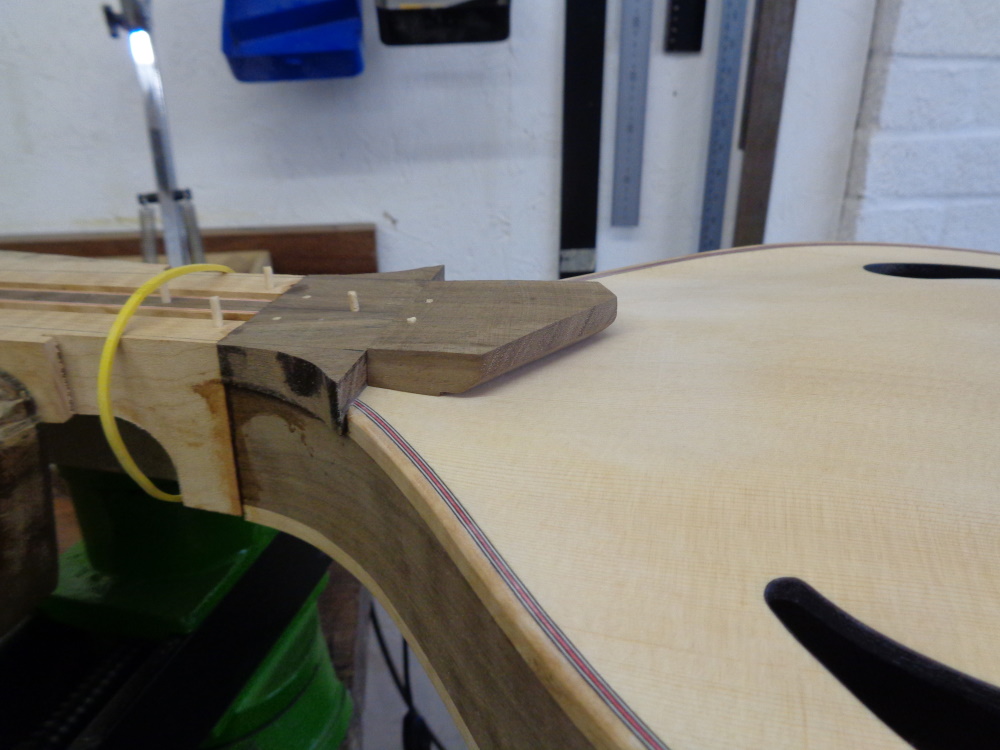 A couple of months ago, I bought one of these 25 quid mini lathes on eBay. I was a bit sceptical, but once it arrived, I was impressed by the quality and what it’s allowed me to do is make my own dowel from some walnut. 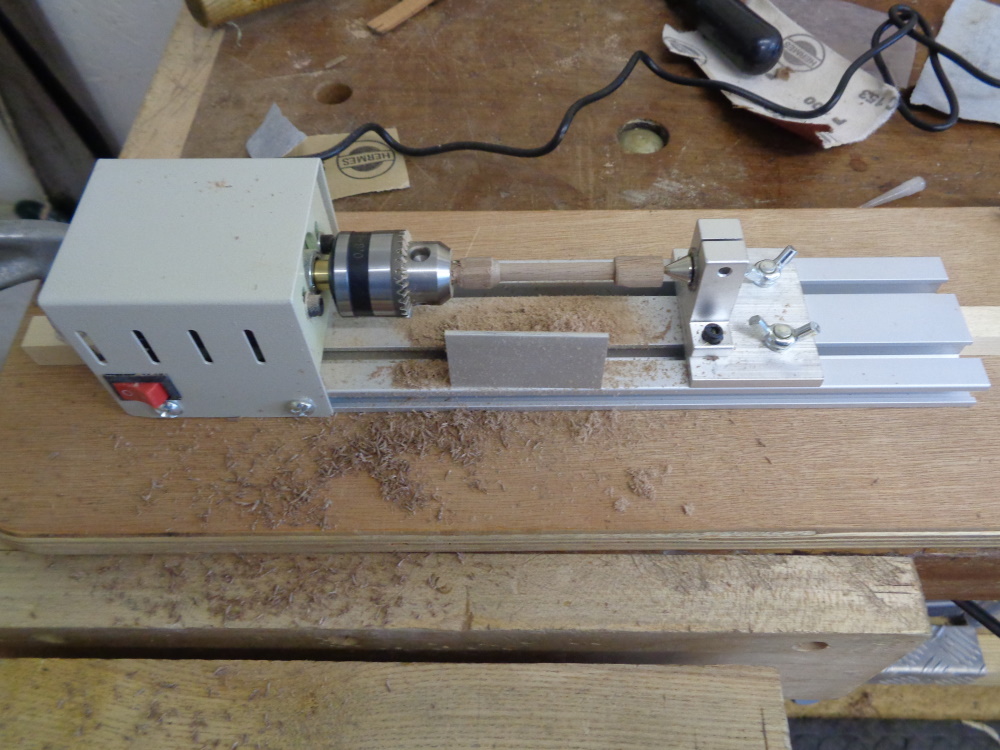 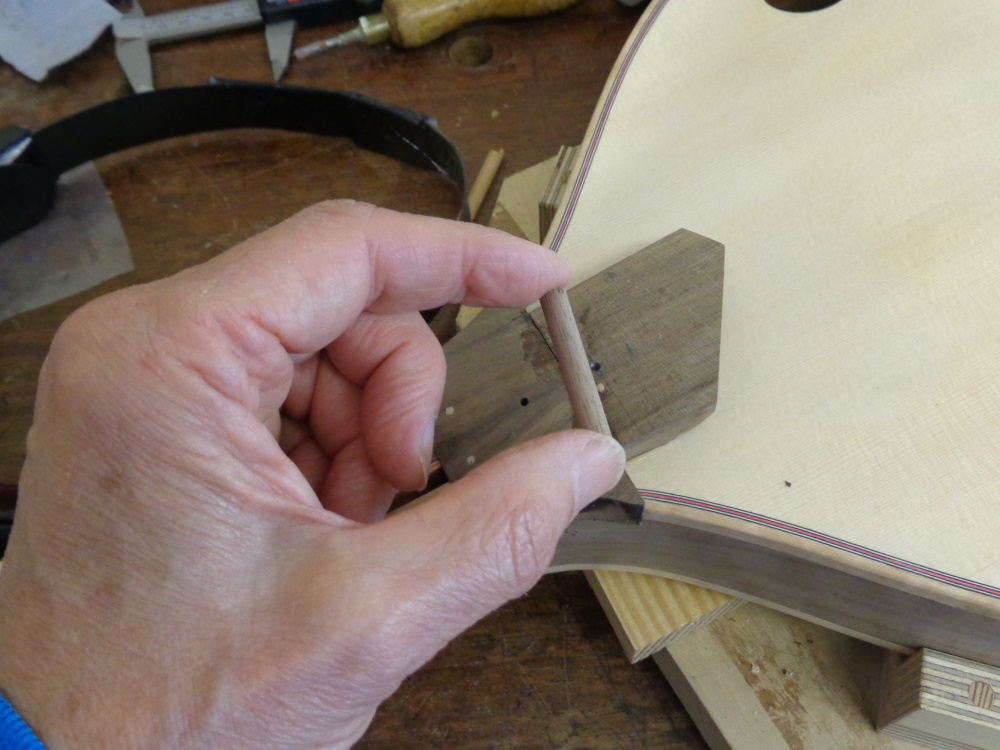 Here’s the dowel in place and you see what I mean about the ugly duckling phase! 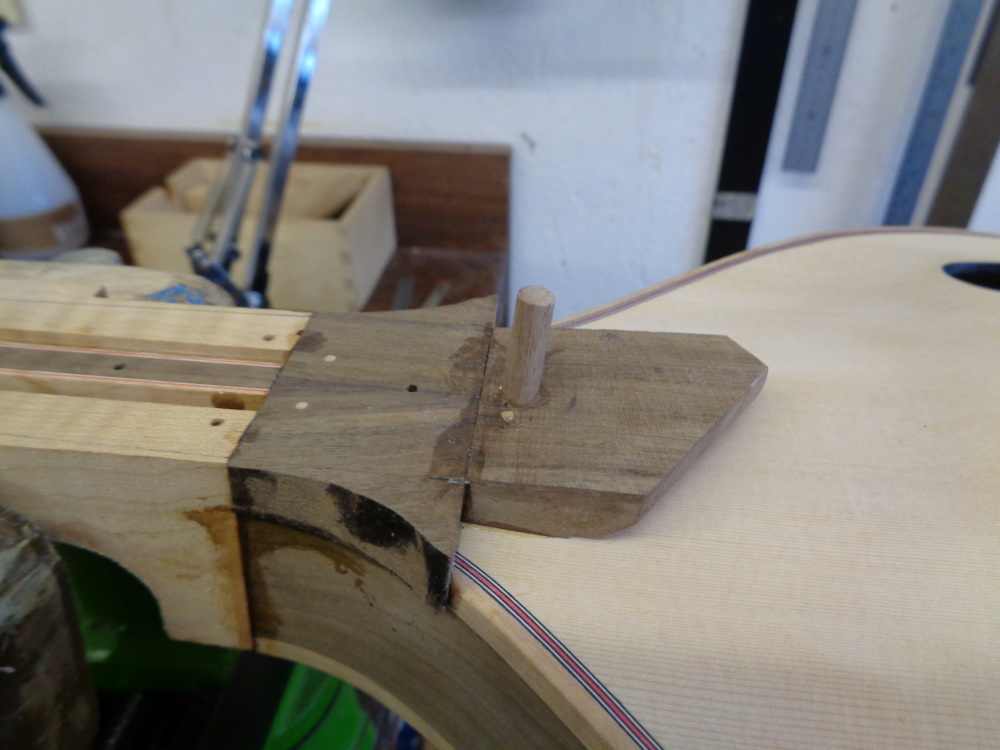 And finally, all cleaned up and the slots for the carbon-fibre routed. The carbon-fibre ties everything together nicely! All the small holes are for wooden pegs that locate the fretboard whilst it’s being glued on. 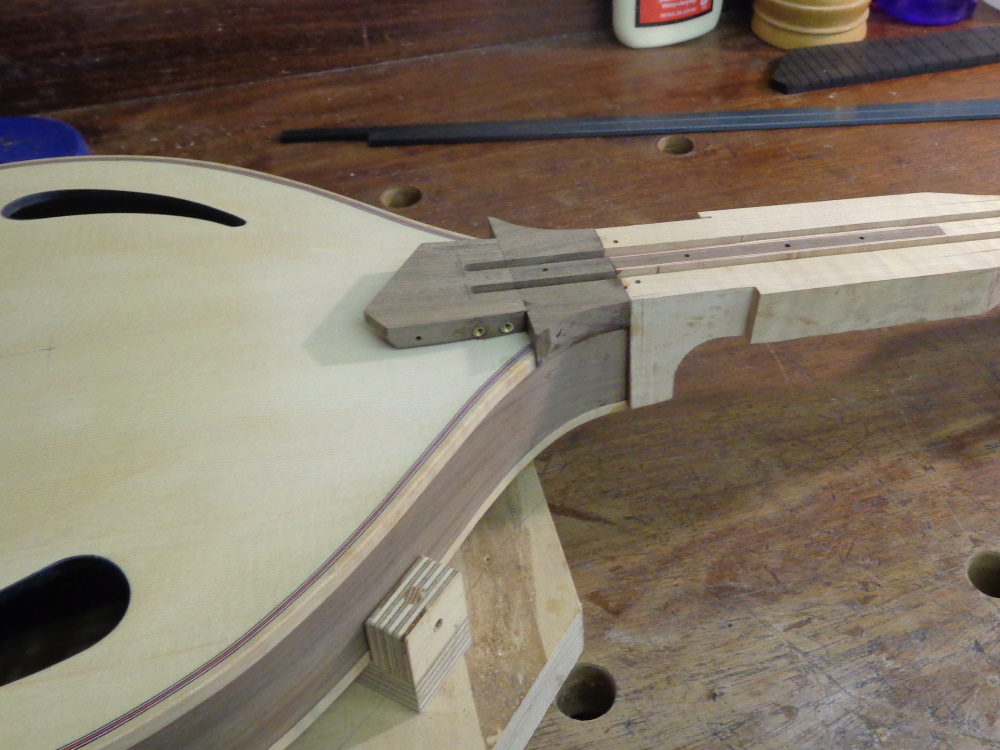 Cheers Gary |
|
garynava
Luthier / Guitar Maker
Posts: 461  My main instrument is: Stanley No.5
|
Post by garynava on Jul 12, 2021 14:52:53 GMT
The carbon fibre’s epoxied in and then the fretboard glued on.   I always sand the fretboard flat and then sand the compound radius (the white pencil marks act as a quick visual guide when checking progress). I was taught that a craftsman should always use edge tools and that sanding or filing was somehow a substandard practise. But when you’re working to very tight tolerances, on an unforgiving species of wood and seeking a perfect surface, abrasives are the best solution! 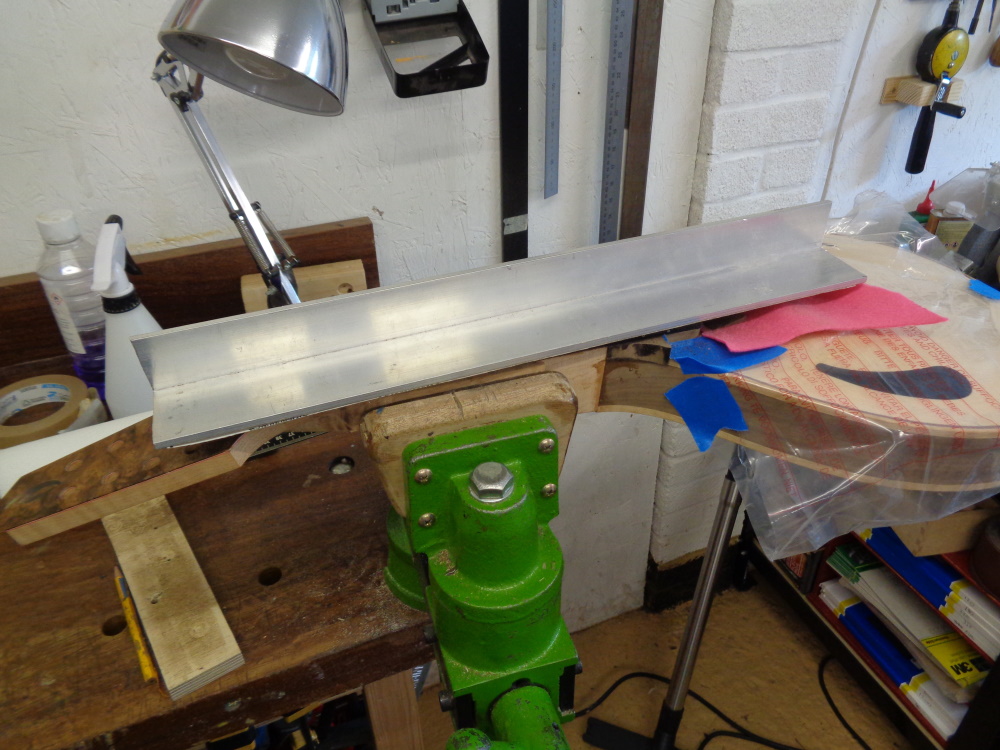 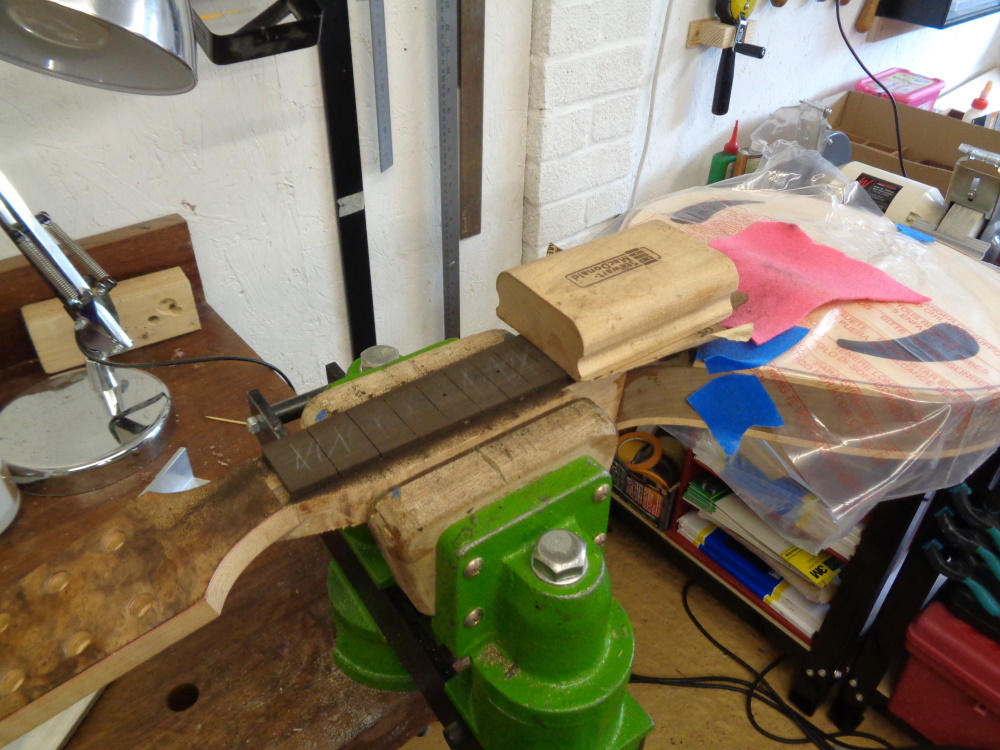 With the fretboard finished, the dots (black Tahiti pearl) can go in. The black pearl is very subtle and, in some lights, the dots appear to disappear! Not a problem as I put markers down the edge of the ‘board and I’m sure most players would agree that side markers are of much more use than the dots on the front surface. And then we’re on to the frets………. 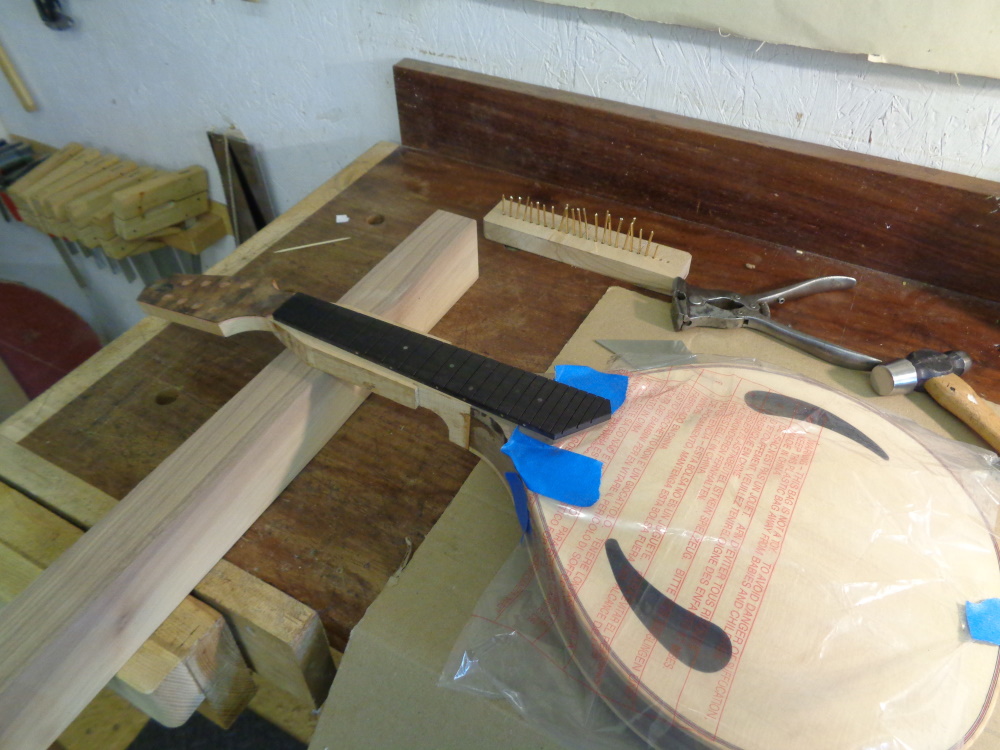 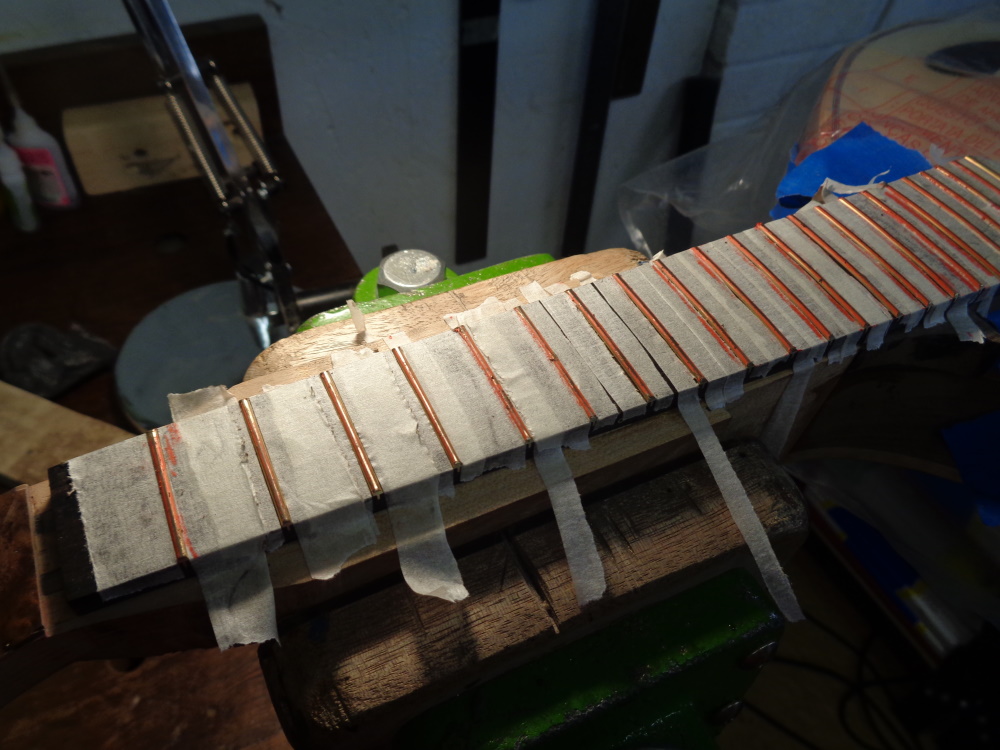 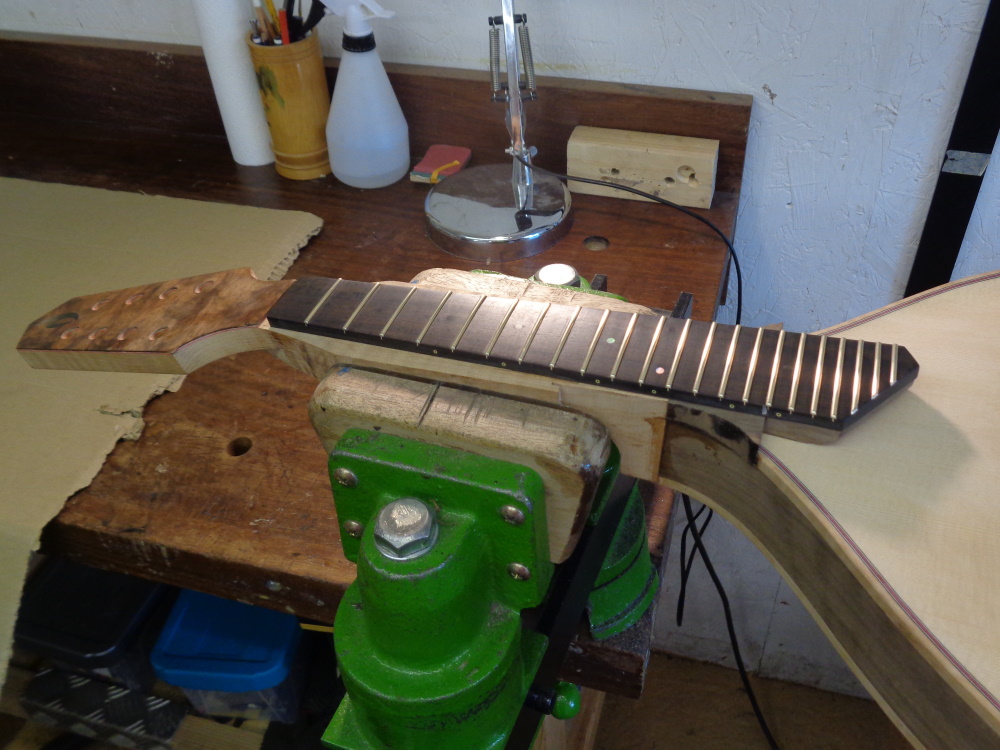 Now the frets have been dressed, the neck finally gets carved............. Cheers Gary |
|