|
|
Post by lars on Sept 11, 2017 20:14:25 GMT
I have a short question about the bridge. Note that I've never built an instrument with a pin bridge. But isn't the grain normally in the other direction so that it's cross grain to the top and 90'degrees to the strings? That should have a rather big impact to the durability when strings are attached.
Btw, I love your build threads, Rob.
|
|
|
|
Post by lars on Sept 9, 2017 17:01:08 GMT
My plans and some of my thoughts about design and construction are presented in the previous thread Plans for the "Double-S"-mandolin. Although I still haven't decided upon all details I started the building last night. One advantage of building mandolins is that one guitar top can be used for two instruments, so I used the leftovers from the tenor mandola, planed the joint and glued it together: 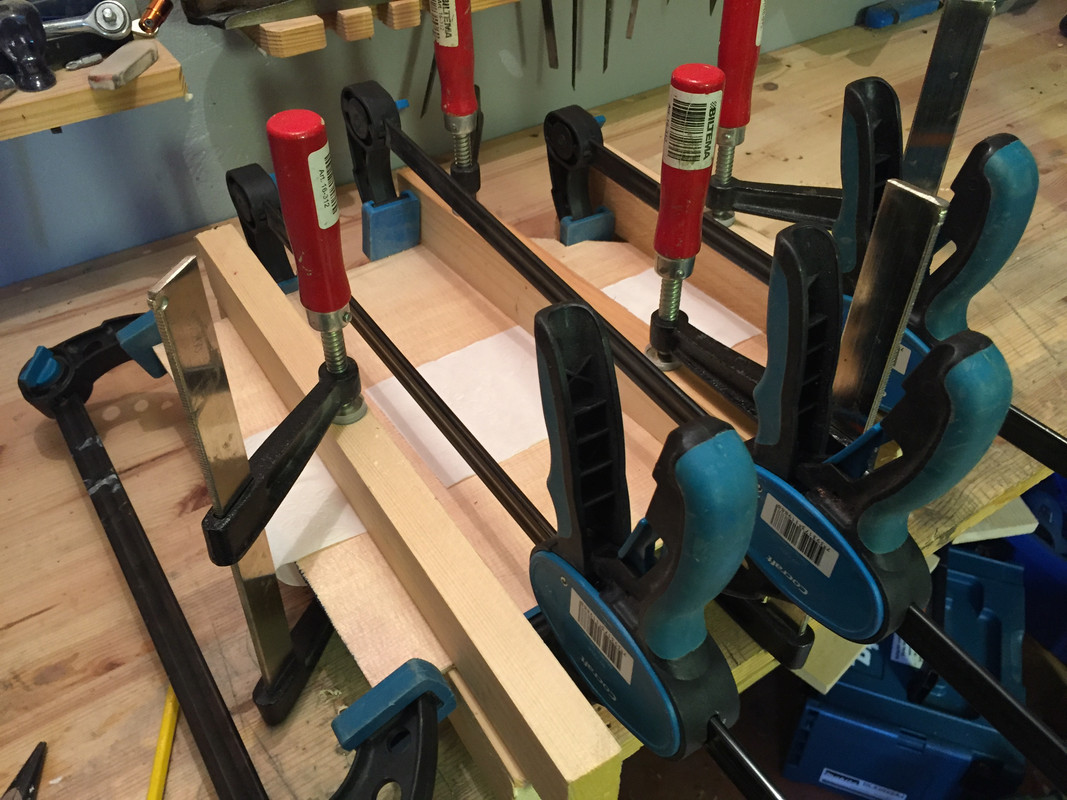 This morning I continued by planing it down to about 2,8 mm: 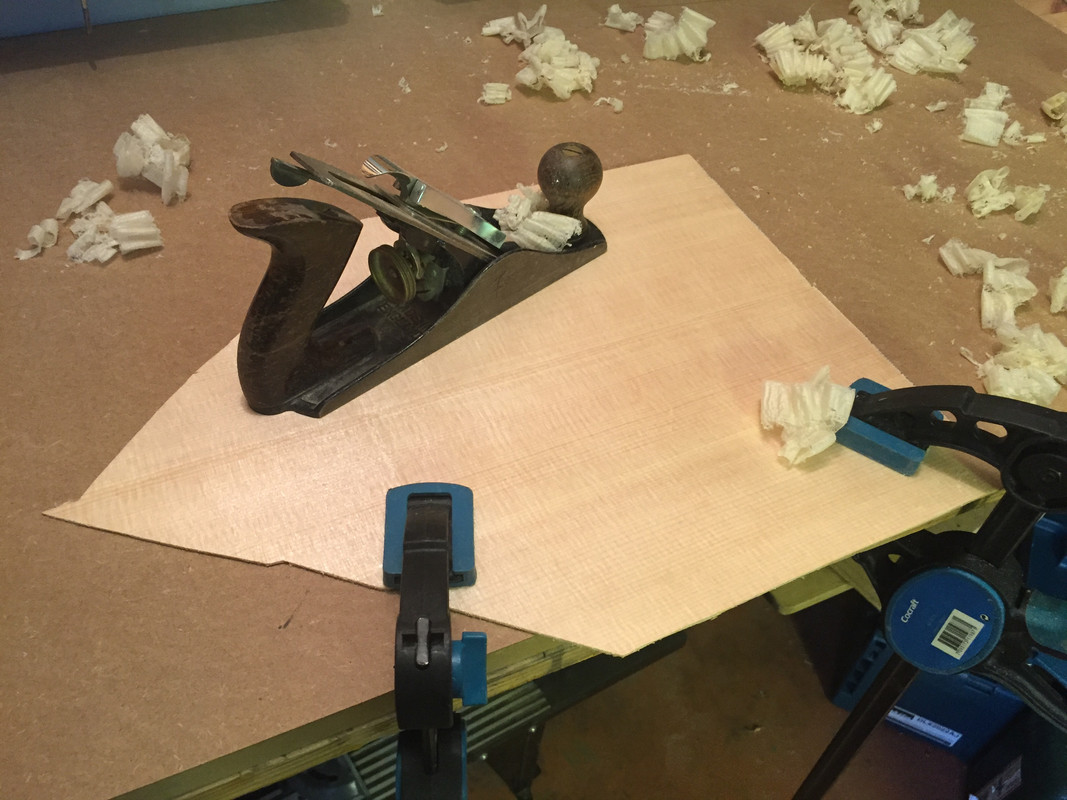 I don't have access to a thickness sander and on my earlier instruments I used a stationary planer/thicknesser with a "cradle" that let me plane to the desired thicknesses. But nowadays I use the classic Stanley smoothing plane and I like it very much! For sides and back I'll use African Mahogany but not the Khaya-specie that you get when you buy tonewood. Instead I use Sipu that I've bought from a local retailer who sells a lot to boat builders. I have no idea about the diffences, but the octave and tenor mandolas have it and sound great. I had sides that I bent for ten years ago, but they needed reshaping. So I set up my "hot pipe" to bend it again. But I guess I was too eager as there was a loud "crack" instead of wood bending. Fortunately I have more of the Sipu, so it was back to the smoothing plane, plane it down to 2,1 mm and bend the new pieces from the beginning. This time it worked fine. I never cease to marvel at the feeling when the wood gets soft and bends under my hands! My original sides just before the "crack": 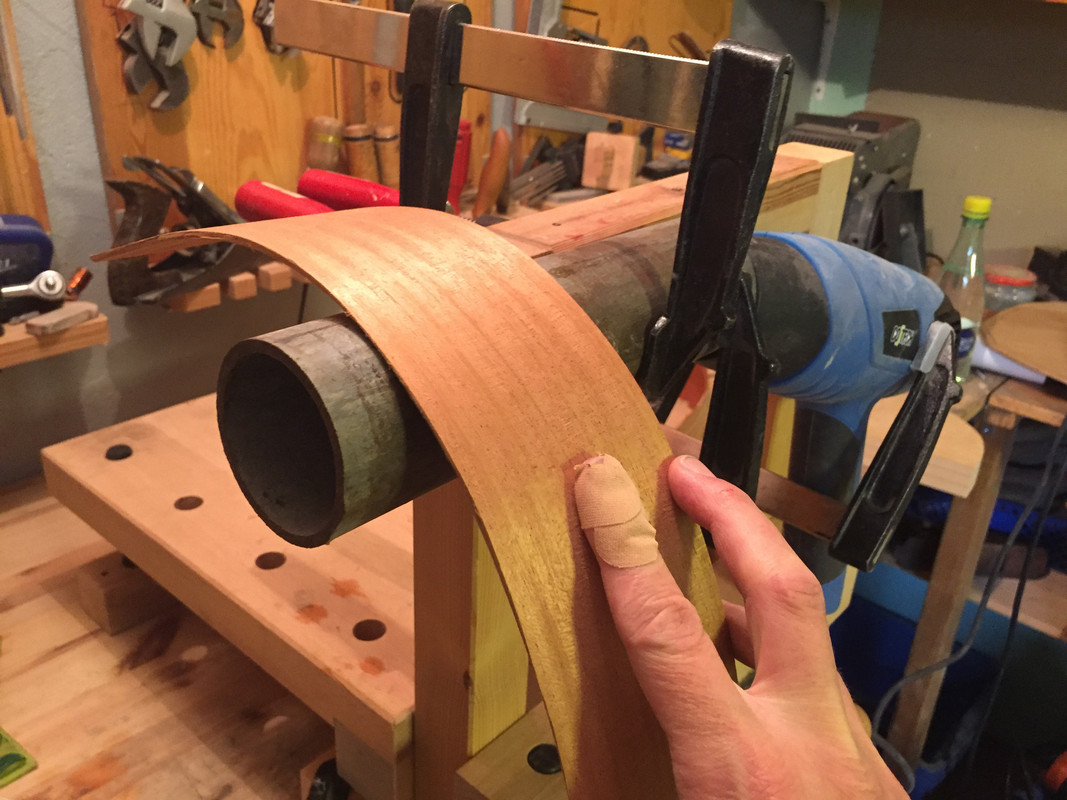 Planing sipu from 5 to 2.1 mm: 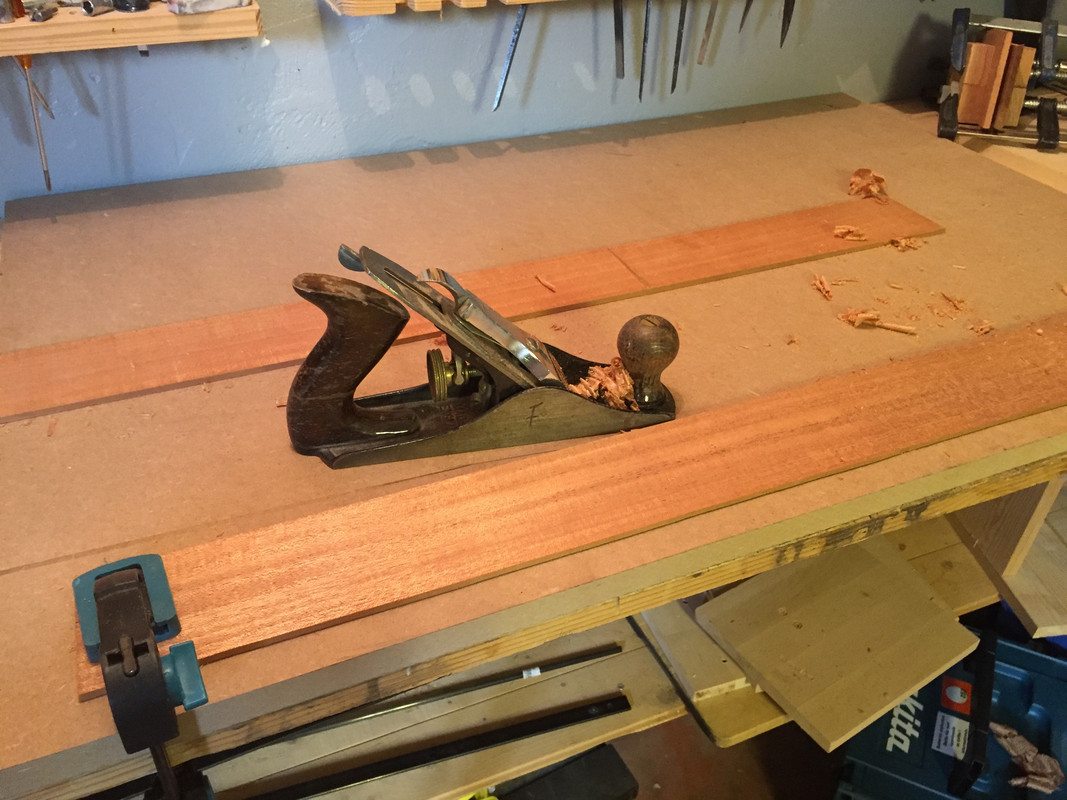 The hot pipe set up again - this time with a high-tec end cap made by a mackerel tin can lid to keep the heat inside the pipe: 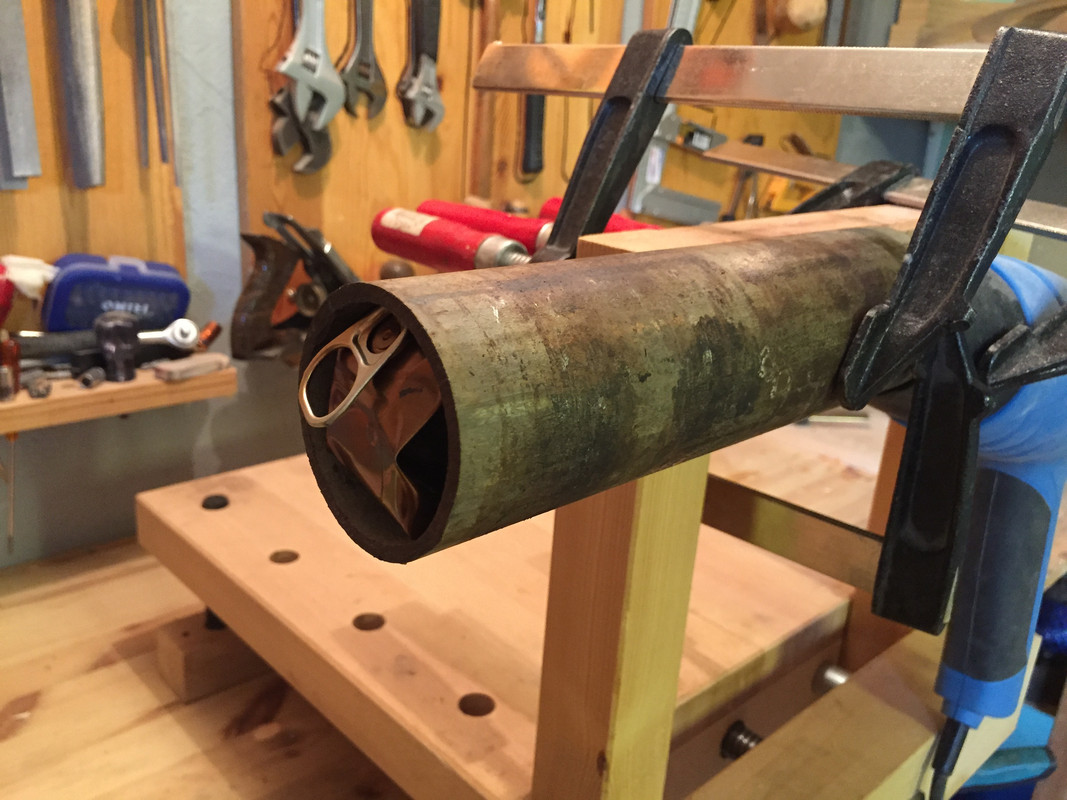 And here are the sides resting in the mould: 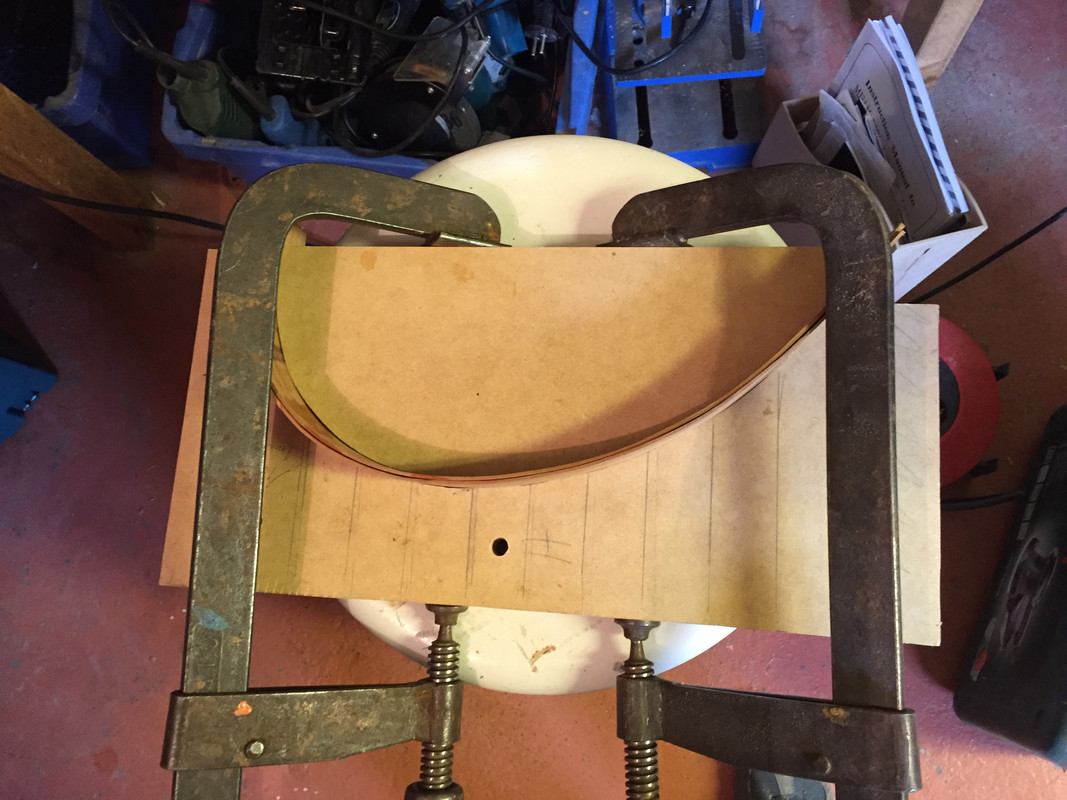 Besides this I've been working with the end and neck blocks. The end block is laminated from three pieces of mahogany. Here it is shaped to match the profile of the rim: 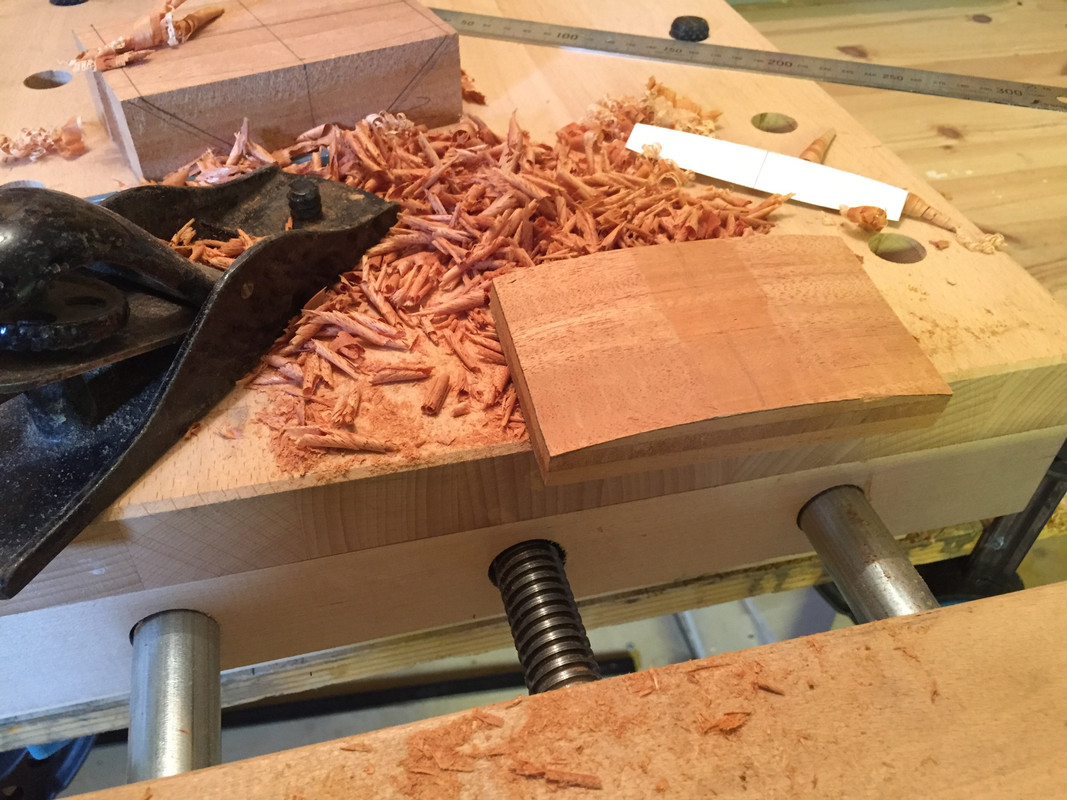 Both blocks half ready with holes for the carbon fibre rods: 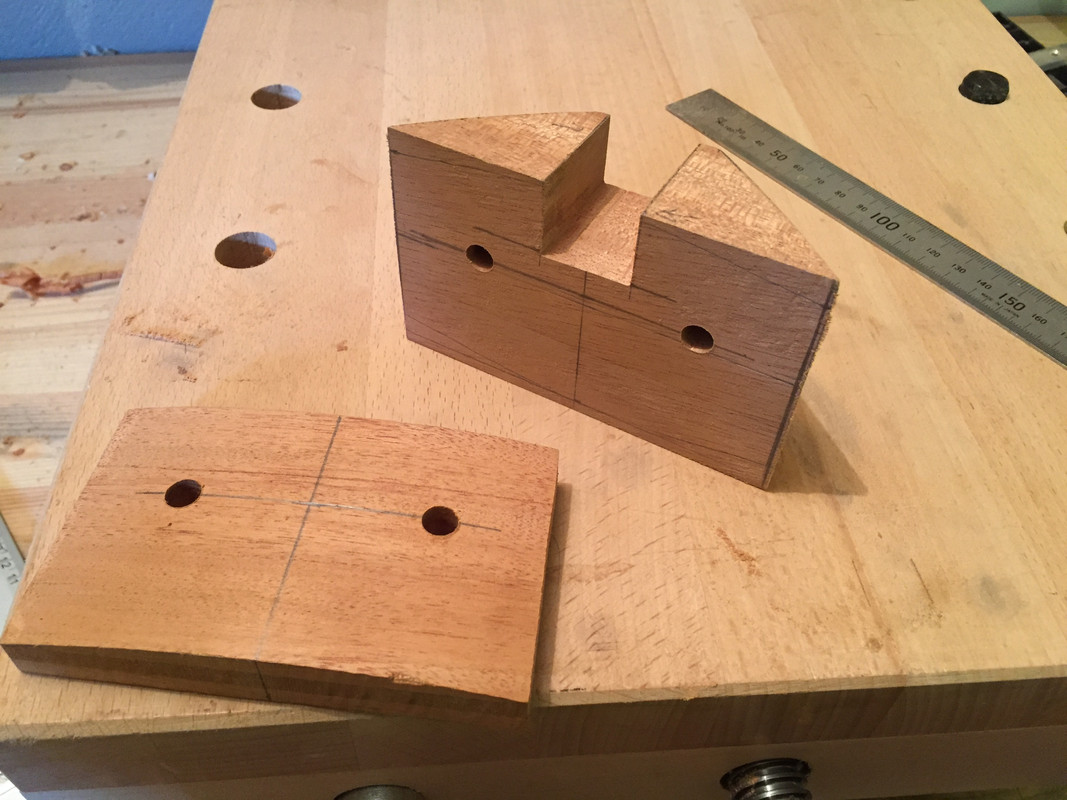 And shaped for the top and back profiles. First with the handy old slojd knife: 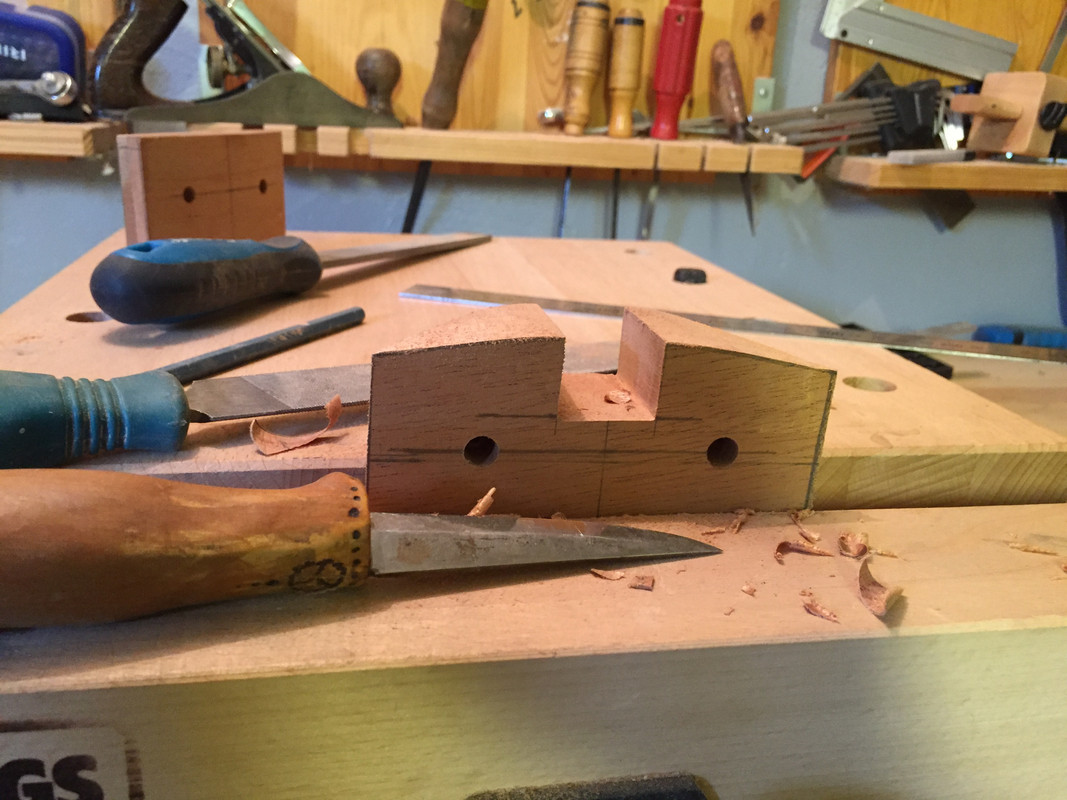 And then on the sanding through that I made earlier this week: 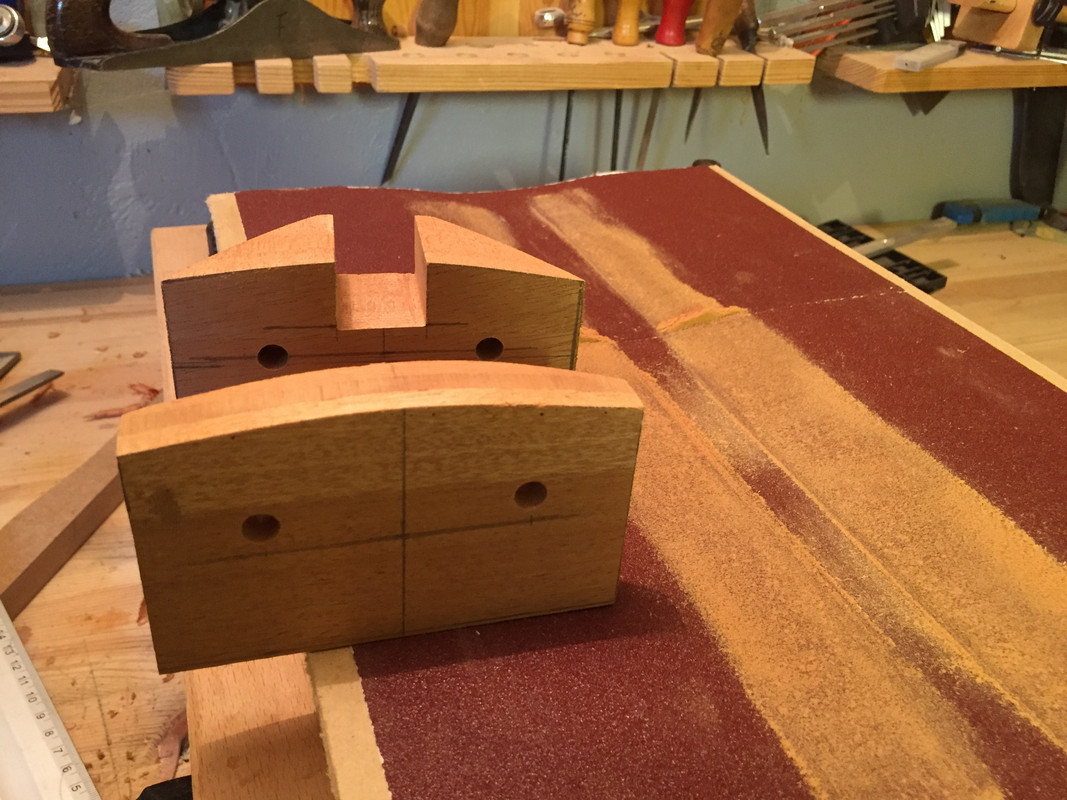 Last step today was gluing the neck block to the sides: 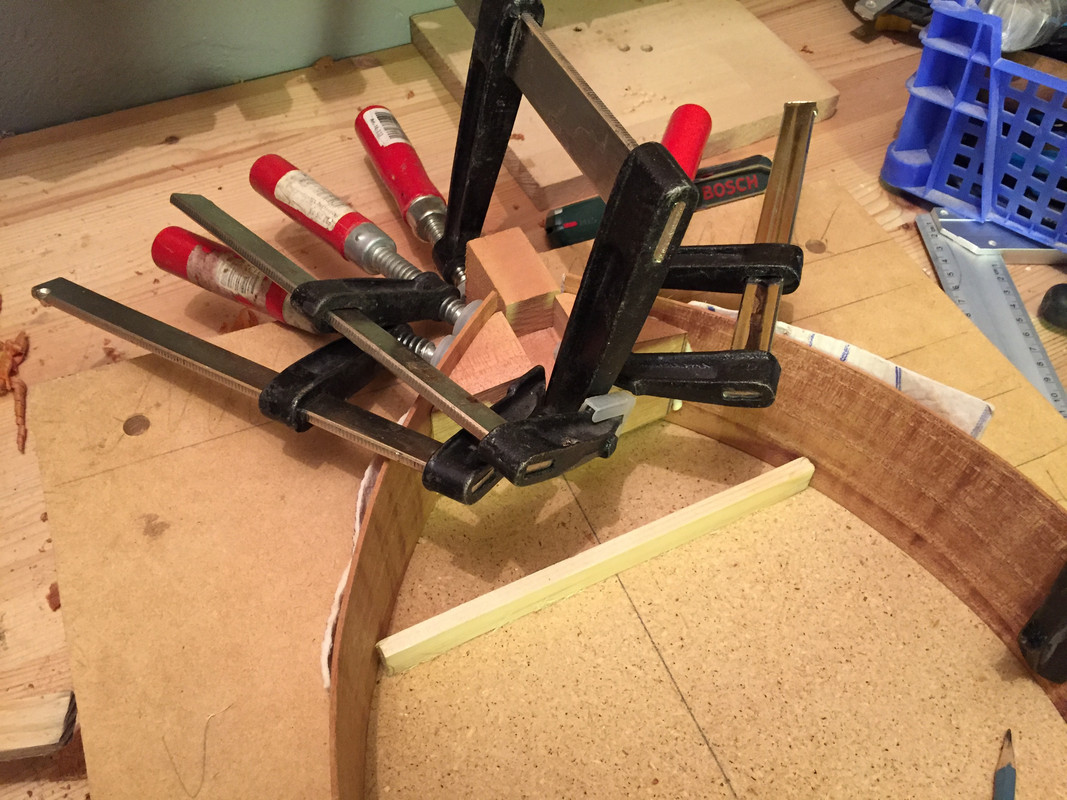 |
|
|
|
Post by lars on Sept 8, 2017 7:51:06 GMT
Thank you for your suggestions but I don't think I want f-holes on this instrument. For me it's visually paired to a body with a waist. But I'm looking at historical instruments for inspiration. Old viols, citoles, vihuelas and whatever they were called have all kinds of sound hole designs. And I might end up with f-holes anyway! Rob: That's a nice looking arch-top! I've seen images and some movie-clip with Nkforsters cylinder-top instruments and they look/sound very good and insteresting. Thanks for giving me your "source". And here is my original idea of sound hole: 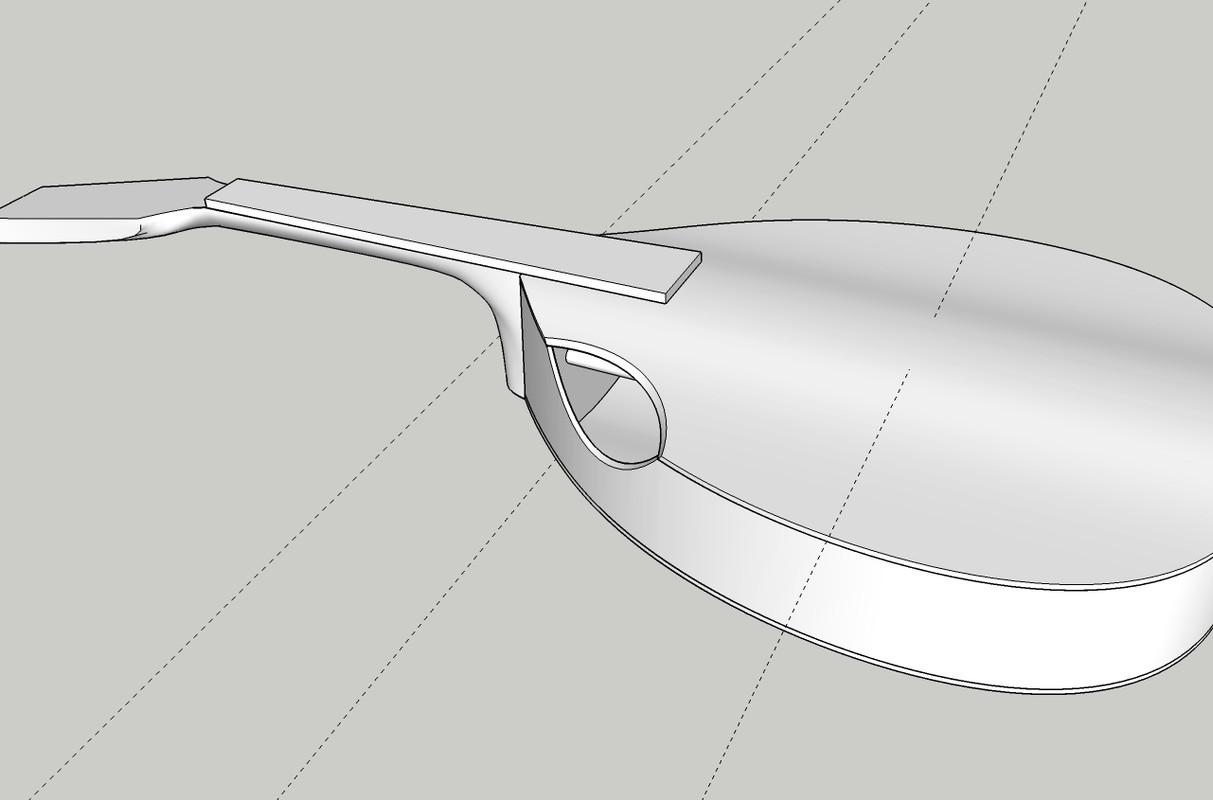 I'd really love this design which combines sound hole and sound port. But I never found out how to compensate for the weakening of top/rim-joint so I gave it up. But if anyone have suggestion I'd be glad to reconsider. |
|
|
|
Post by lars on Sept 7, 2017 20:18:42 GMT
Warning! When I look at my thread from an iPad all images are distorted. They look OK on my computer. So if you read it from a mobile unit it might look strange (except for my strange design!)
|
|
|
|
Post by lars on Sept 7, 2017 19:45:35 GMT
So now I'll start the next project. It's a mandolin which share many features with the newly completed tenor mandola - same body shape, same materials and very similar design principles. But just like I stole a lot of ideas from you guys in that project I will continue to ravage and pillage like a true viking. This time I've been inspired by R the F-s experiments with Howe-Ormish design. But I did my own research and found that many of these ideas with cylindrical tops, floating buttresses etc were partly invented by swedes emigrating to the USA at the end of the 19th century like the Larson brothers and the Vega founders. So I hope we can all agree that I'm just reclaiming my heritage :-) "Double-S" is just my word for the "bulge" or "hump" that were on the Howe-Orme and early Vega guitars (and on R the F-s guitars of course). Traditionally they've been called "cylindrical" tops, but that's a strange thing to call it. My tenor mandola and many other instruments are true cylinder tops as they have a profile that is a part of a circle's circumference. But here we have a profile that is more like a double s-curve, hence the name. 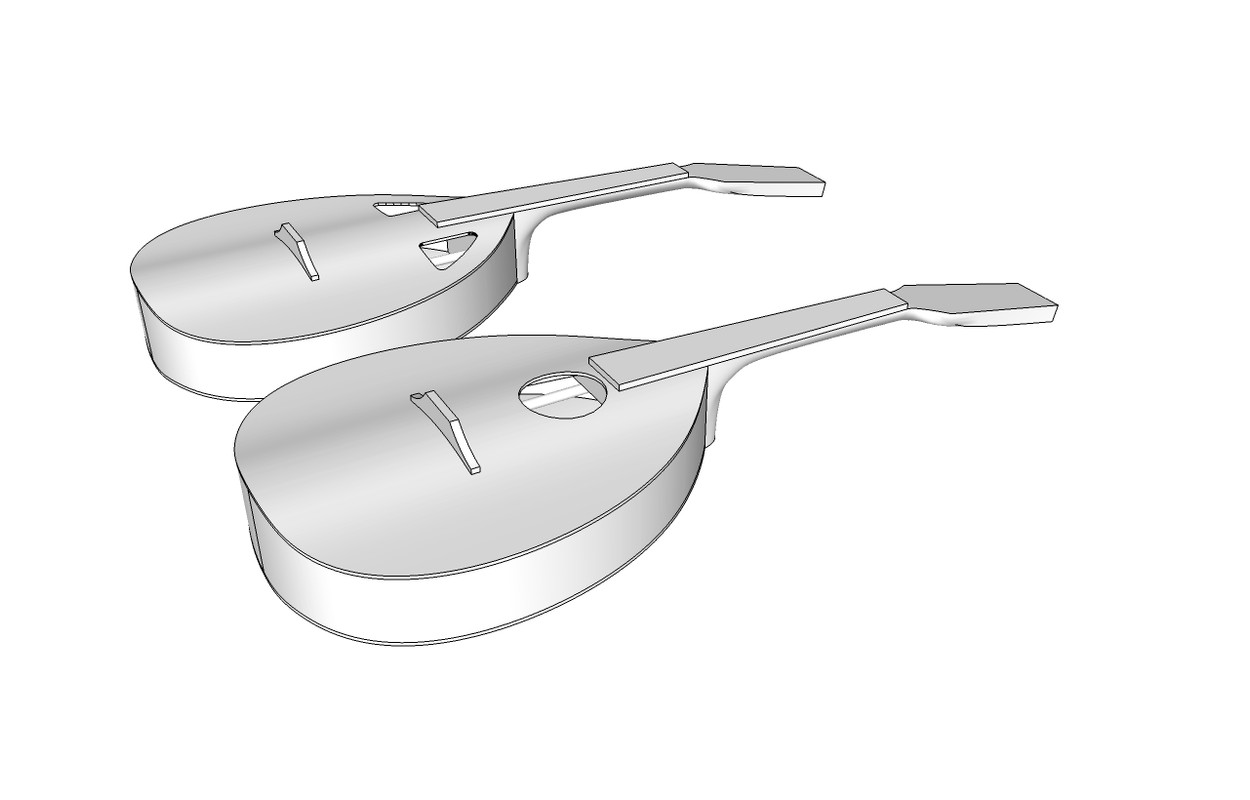 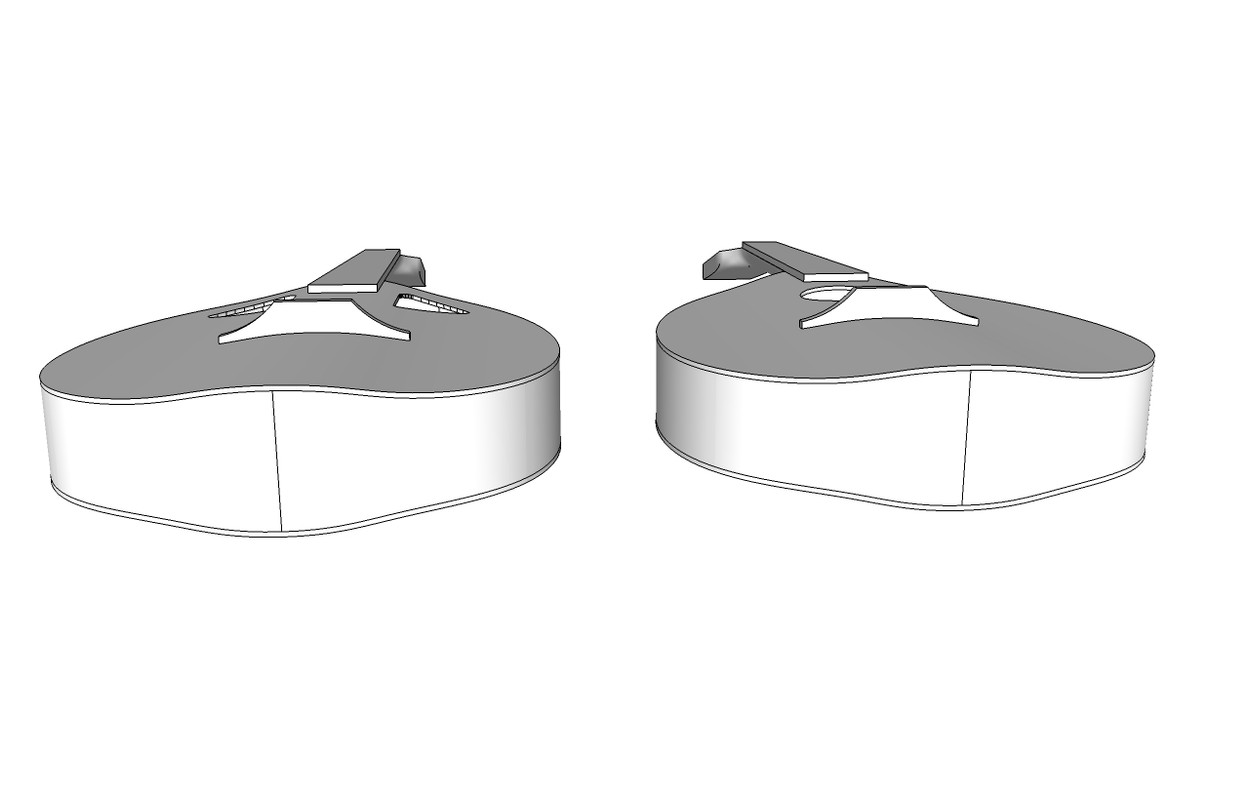 I'm still concidering two alternative tops - either I'll use a traditional centered round hole or I'll use two or more smaller sound holes placed off center. Not necessarily as on the picture but something in that direction. The reason why I concider the version to the left is mainly structural: I want to try out the "double s" because it gives me the strength exactly were I need it - that is along the line were the strings try to bend the top and were the bridge tries to push it down, while the rest of the top hopefully can be left without so much tension and concentrate on vibrating and making good sound. It seems like a bad idea to cut a big hole just were I want the top to be the strongest. Lets just say that it's always a bad thing to make a big hole in a vault construction as it is the continuity of the vault that gives it its strength. The reasons why I nevertheless might make it with a traditional sound hole is partly estetically and partly practically - I like the traditional look and I would very much like to have a bolt-on neck that I can remove and adjust which requires a hole in that position. The bracing will be a little bit different depending on which version I choose, but the principles are the same: Ladder bracing combined with carbon fibre floating buttresses: 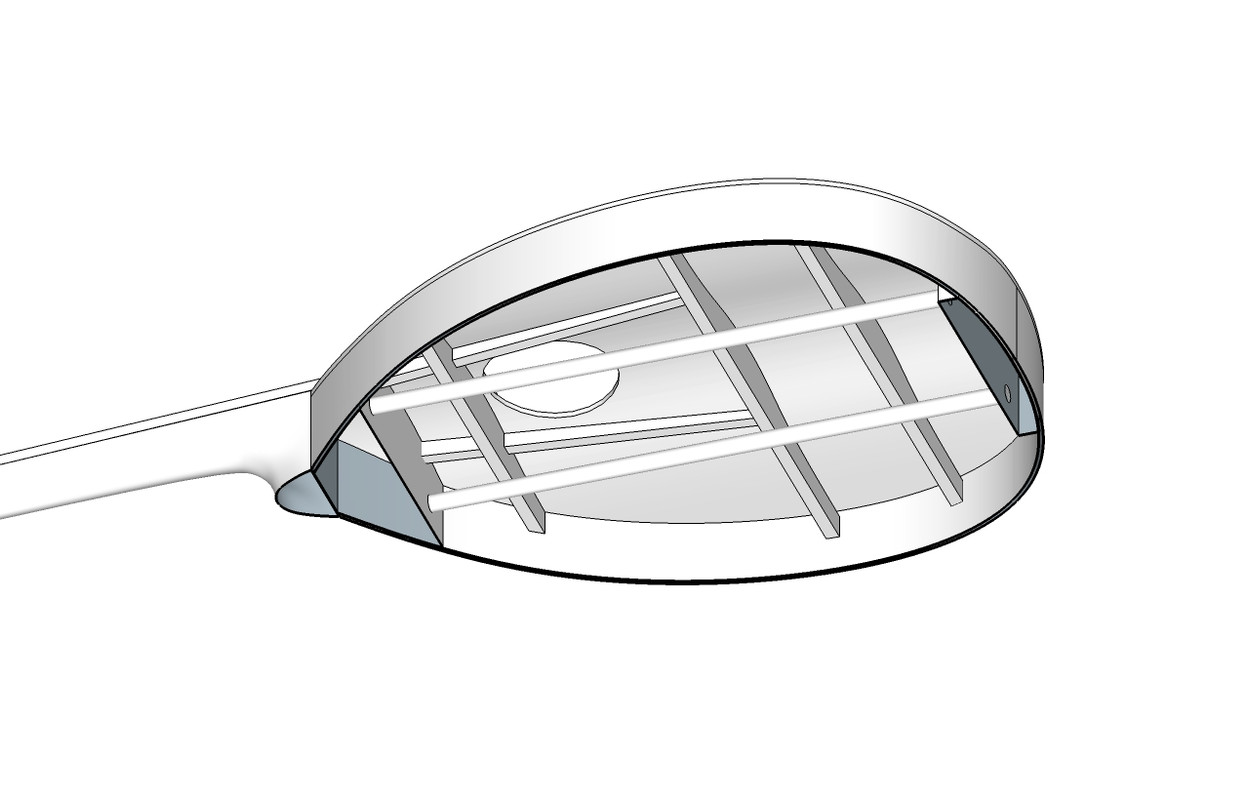 The round hole version has A-braces to strengthen the area around the sound hole. 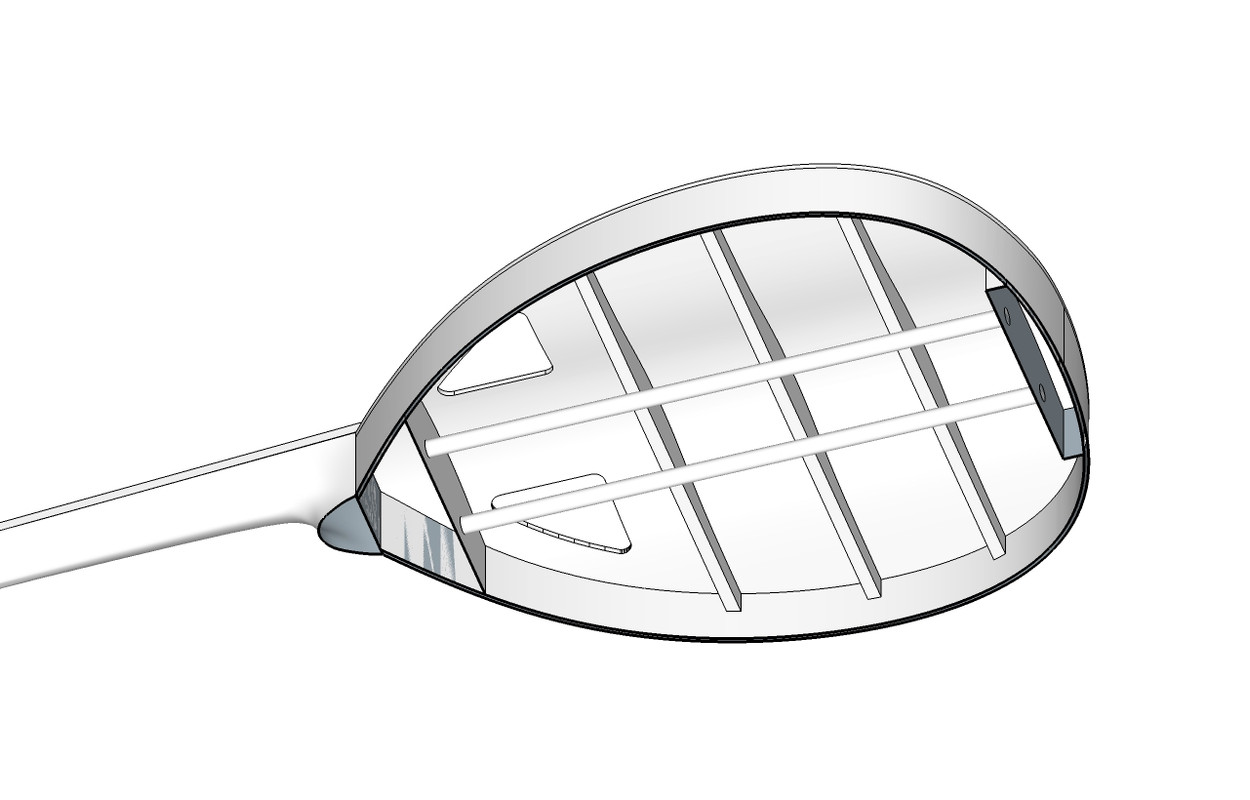 Here is a version of the side hole top with a pure ladder bracing. But I should probably put some longitudinal braces near the sound holes. Some drawing views:  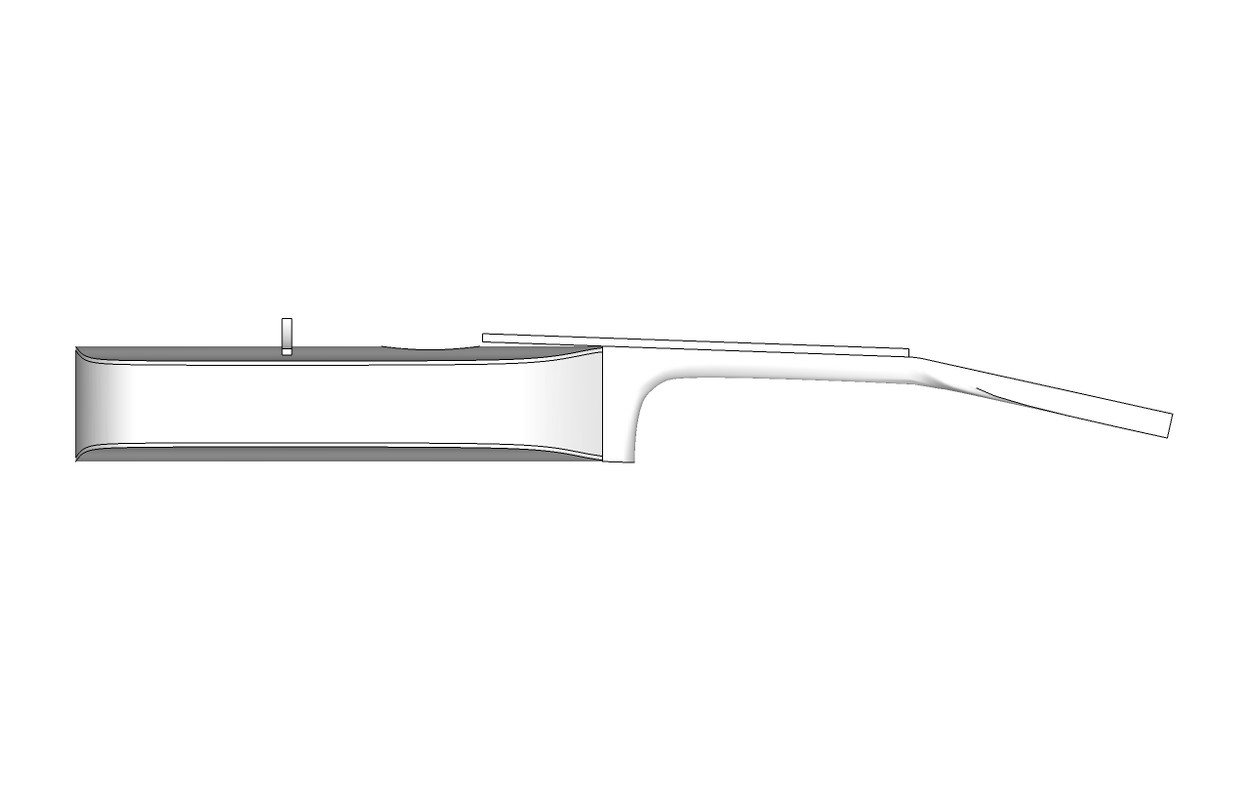 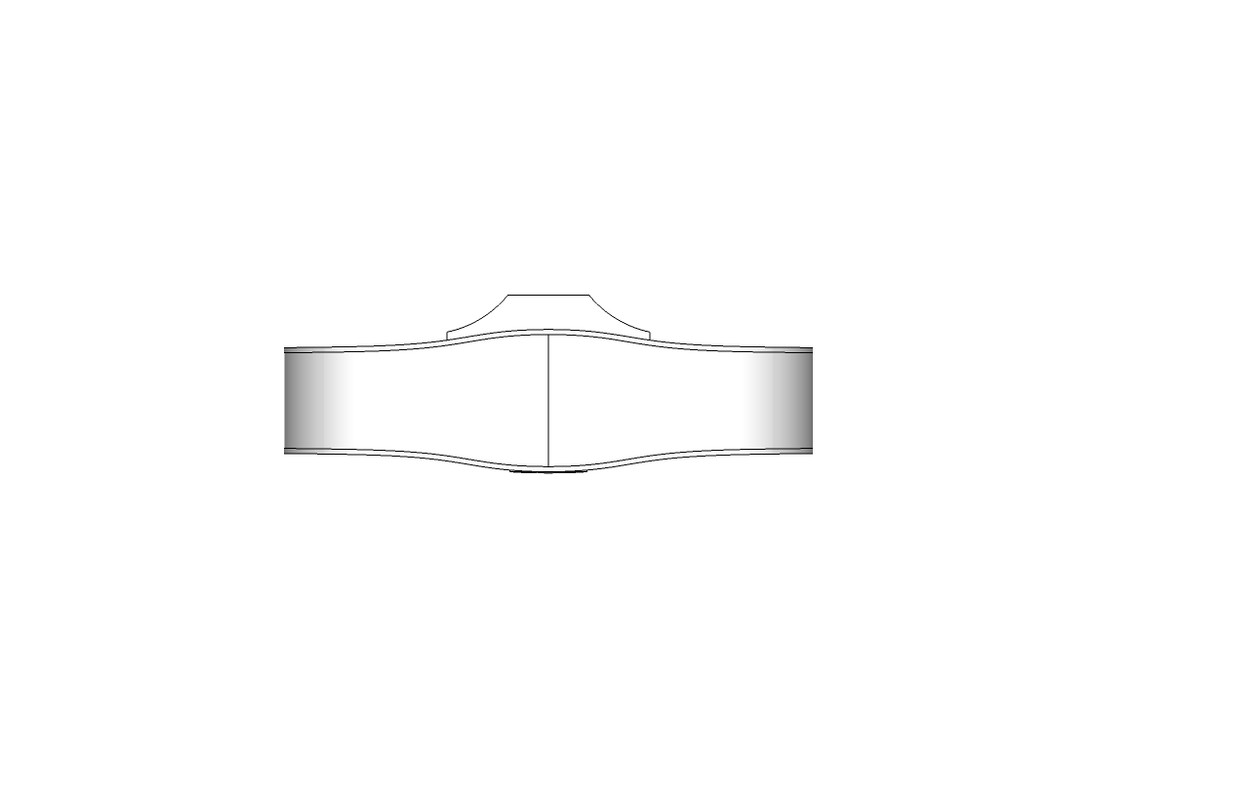 But the drawing is just a design aid - the final instrument will develop in the building process. I'd be very happy for any comments and suggestions Tomorrow I'll sharpen my smoothing plane and start working on the top. But it will probably be a slow build as I have far too much work and too little time for this. |
|
|
|
Post by lars on Sept 7, 2017 19:05:41 GMT
Never really seen the point. I mean, there's not much point in having any more than just the first 3 frets, let alone frets over the body, is there? All the others are just ornamentation and a constant, crushing reminder of my inadequacies... The first two mandolins I built (which is 100% of the mandolins I've built so far) were only fretted to the 12th fret and I seriously concidered to have only seven frets as I always played in first position! |
|
|
|
Post by lars on Sept 4, 2017 20:42:57 GMT
Riverman: I think the dreadnought shape were drawn by the wood supplier. I don't really know why, but the top and back plates often comes with a guitar outline drawn on one of the sides. A few images further down you can see the shape Ashley has drawn on the same piece of wood.
Ashley: really beautiful Sapele and I'm sure it will be a beautiful instrument.
|
|
|
|
Post by lars on Sept 4, 2017 20:01:18 GMT
Thank you all for your kind comments! I'm glad you seem to enjoy it.
R the F: Improvisations - yes, you bet! More than I däre to tell you. Specialist tools - no, not that I'm aware of. A fret slot saw, some fret files and nut files. But lots and lots of "generic" tools for wood working and wood carving.
Ocarolan: I hope to make some sort of sound clip, but probably not in a few days.
Leo: I completely agree!
On a side note: The instrument is smaller in real life compared to what it looks like on the photos, so it's really a neat little thing.
|
|
|
|
Post by lars on Sept 3, 2017 19:47:51 GMT
I still have some minor adjustements to make. May be lower the bridge a bit, may be re-cut the string slots as there are some sitar-like sounds from the treble strings. But over all it's ready.
Most of all it's a very good mandolin when capoed on the seventh fret, with long sustain, high volume and a crisp, clear sound. When played as a tenor mandola it has a sound geared towards the treble register. I think I like it, but I'll have to get used to it.
If possible I'd like to lower the action a bit.
All in all I'm very happy with the outcome. I'm a bit nervous about the fact that I've built in quite a lot of tension in the instrument. The break angel of the strings is higher than normal and that is what gives it the volume and the overtones. I hope the bracing and the carbon fibre rods will make it!
In the original design I had planned for an x-braced body. But problems with other instruments that I built earlier made me search for alternative solutions. That was why I ended up on this forum. So I changed to a cylindrical top and added carbon fibres inspired by Dave White. Lots of credits to him if I succeed and no shadow on him if I fail!
|
|
|
|
Post by lars on Sept 3, 2017 19:37:14 GMT
Starting to look like an instrument: 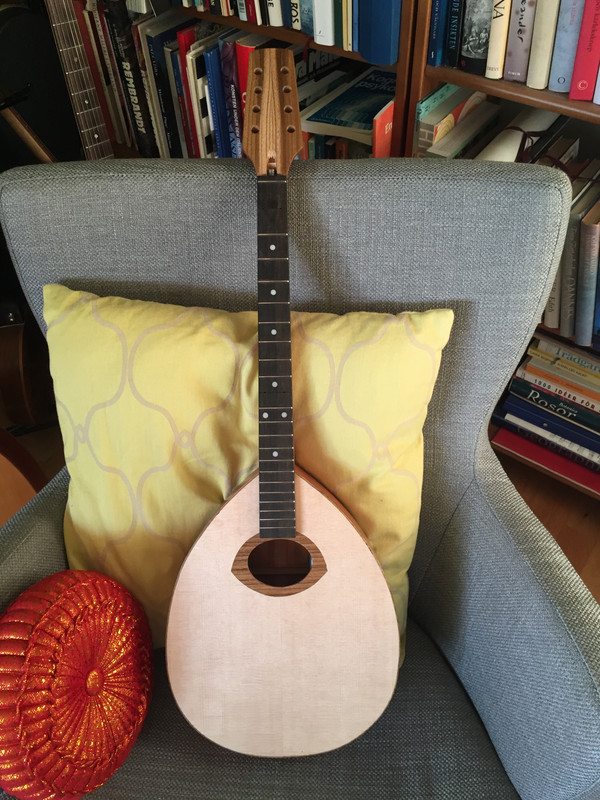 Tuners attached: 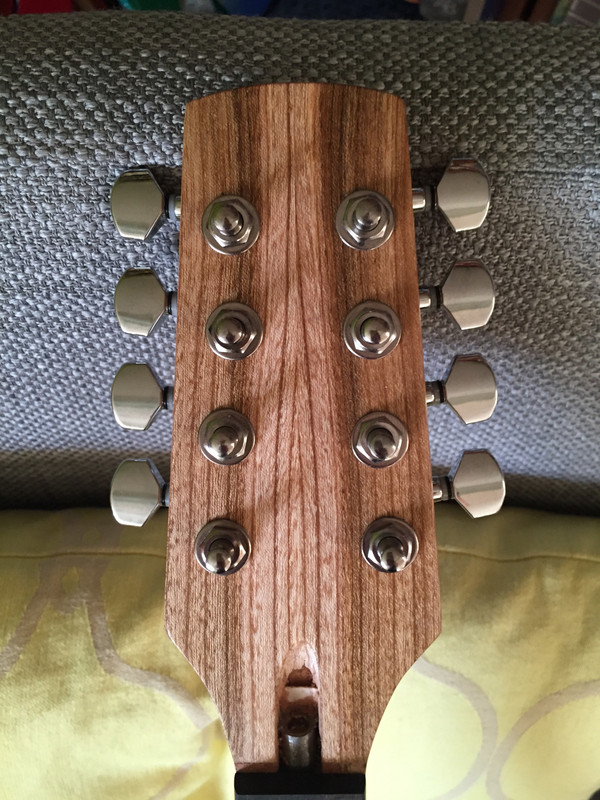 Starting to shape a maple bridge: 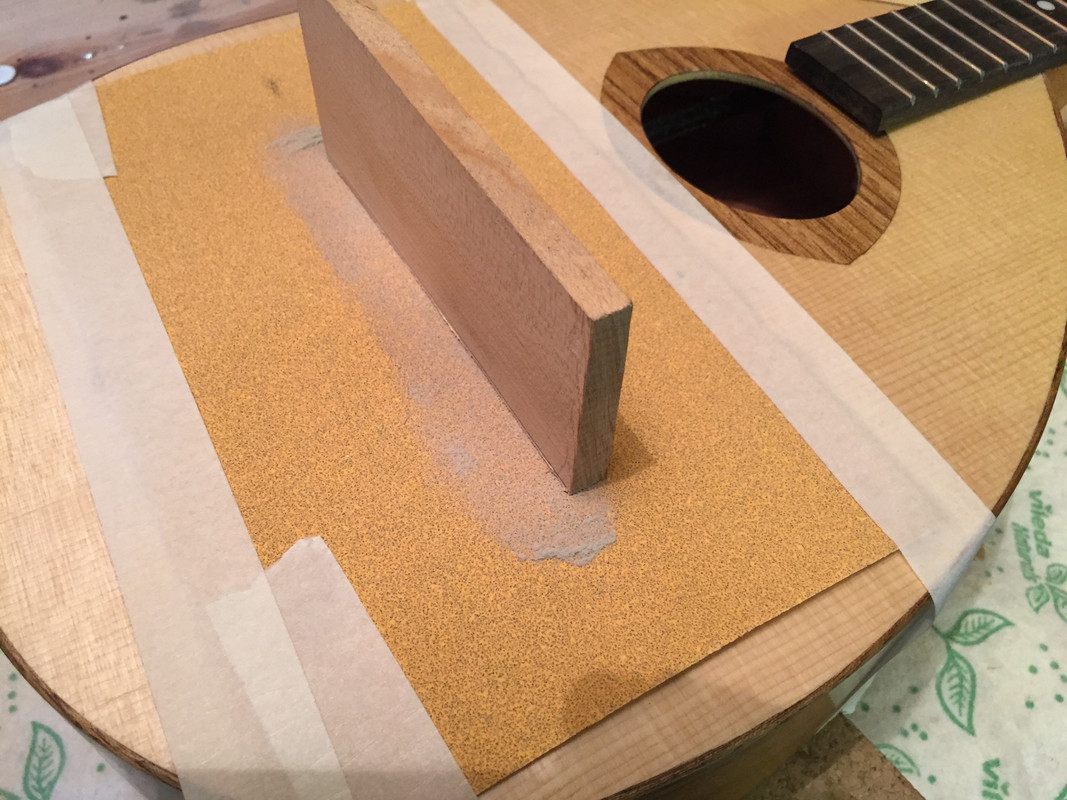 And here is what it looks like with an ebony top: 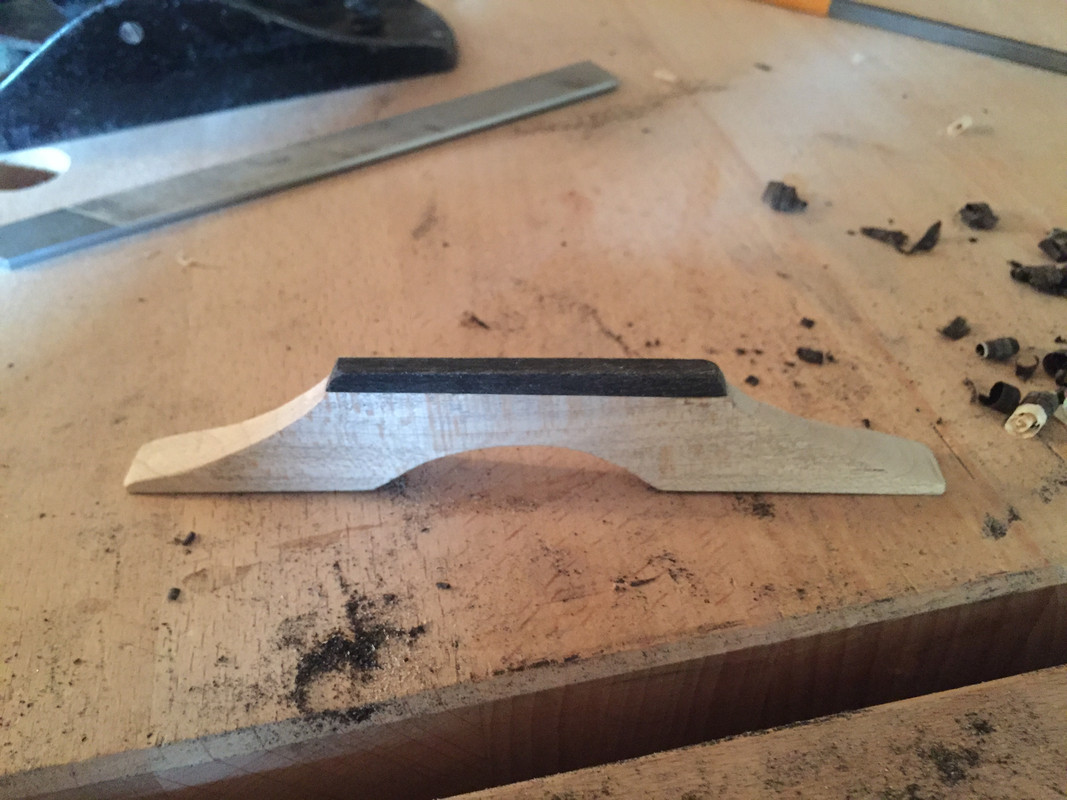 Strung up for the first time: 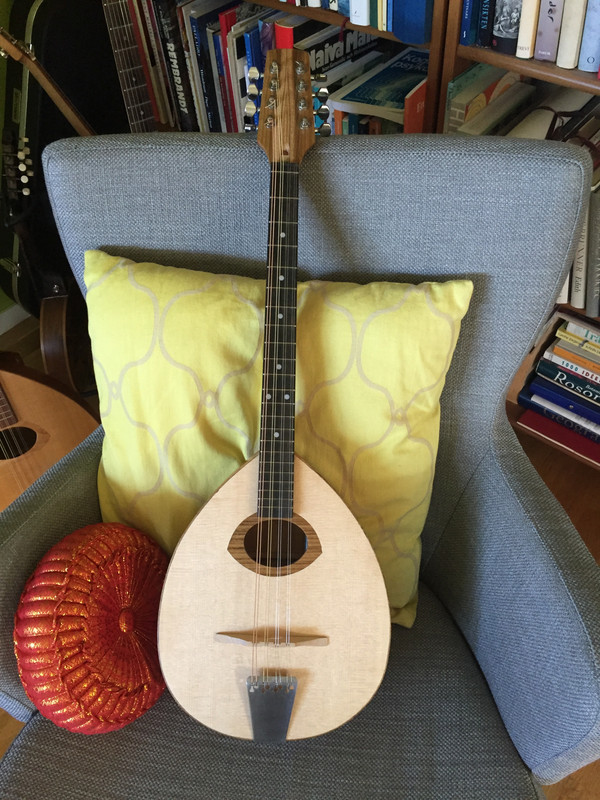 |
|
|
|
Post by lars on Sept 3, 2017 19:33:01 GMT
|
|
|
|
Post by lars on Sept 3, 2017 19:27:13 GMT
A view of my bolt-on construction with furniture pieces from IKEA: 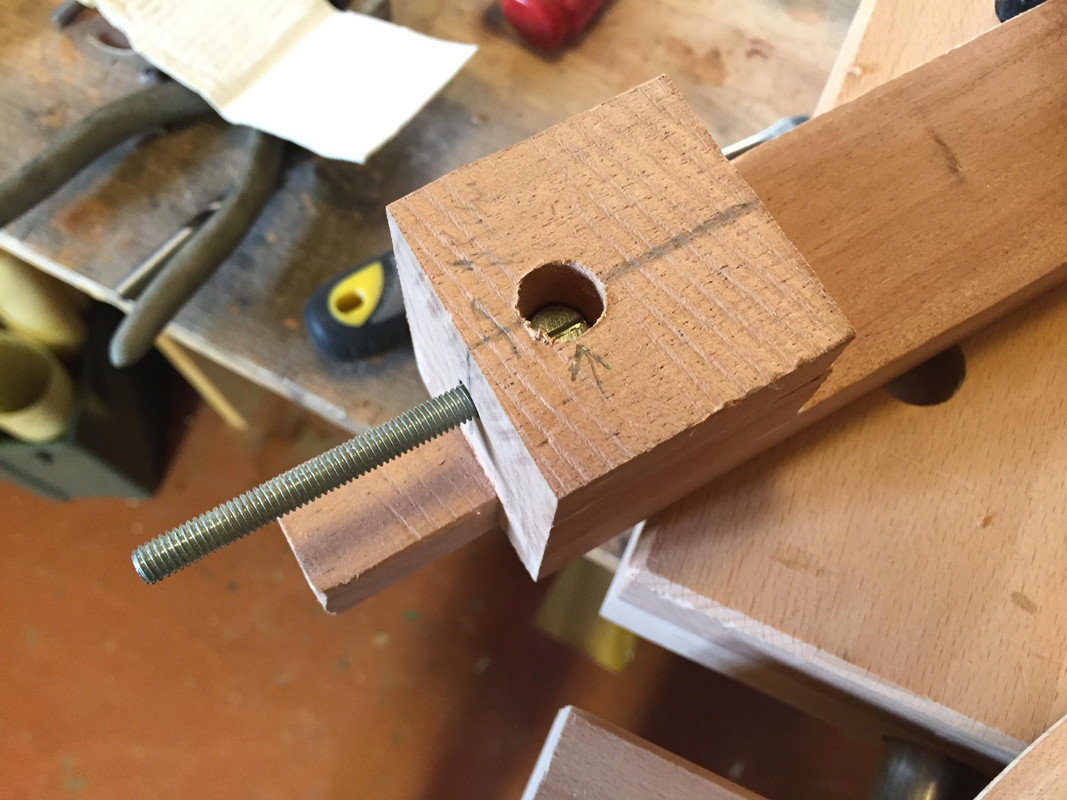 Adding "wings" to the head: 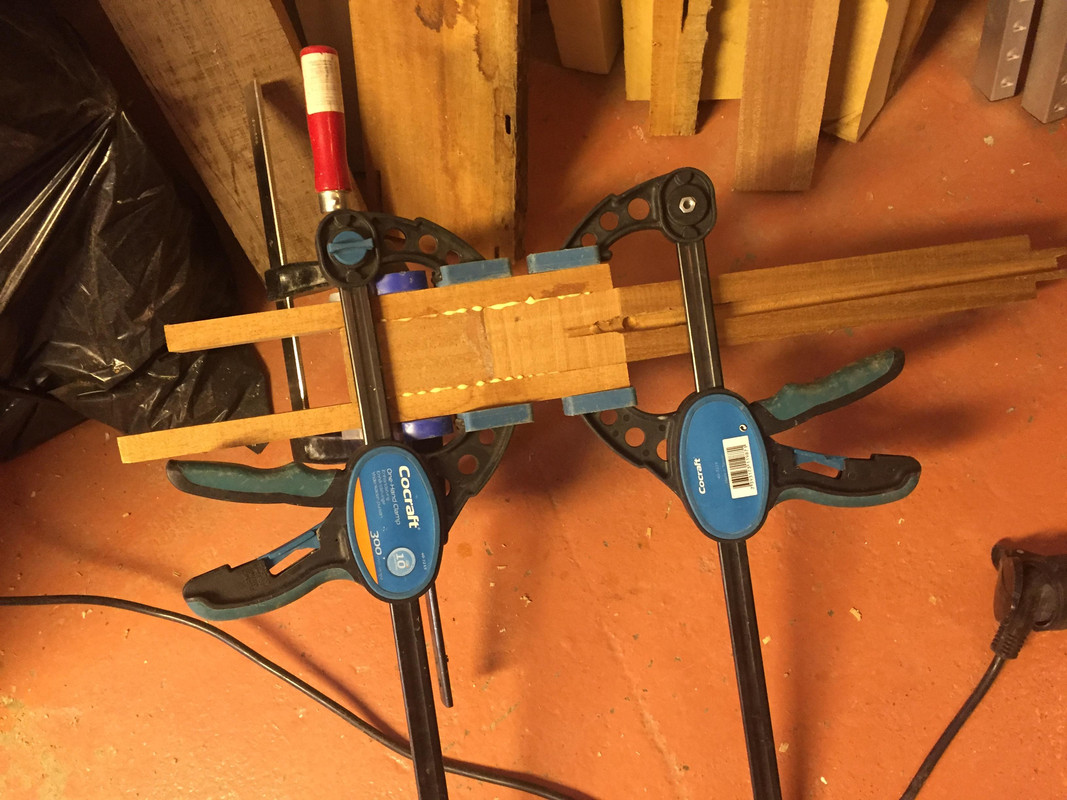 The neck starting to look like a neck: 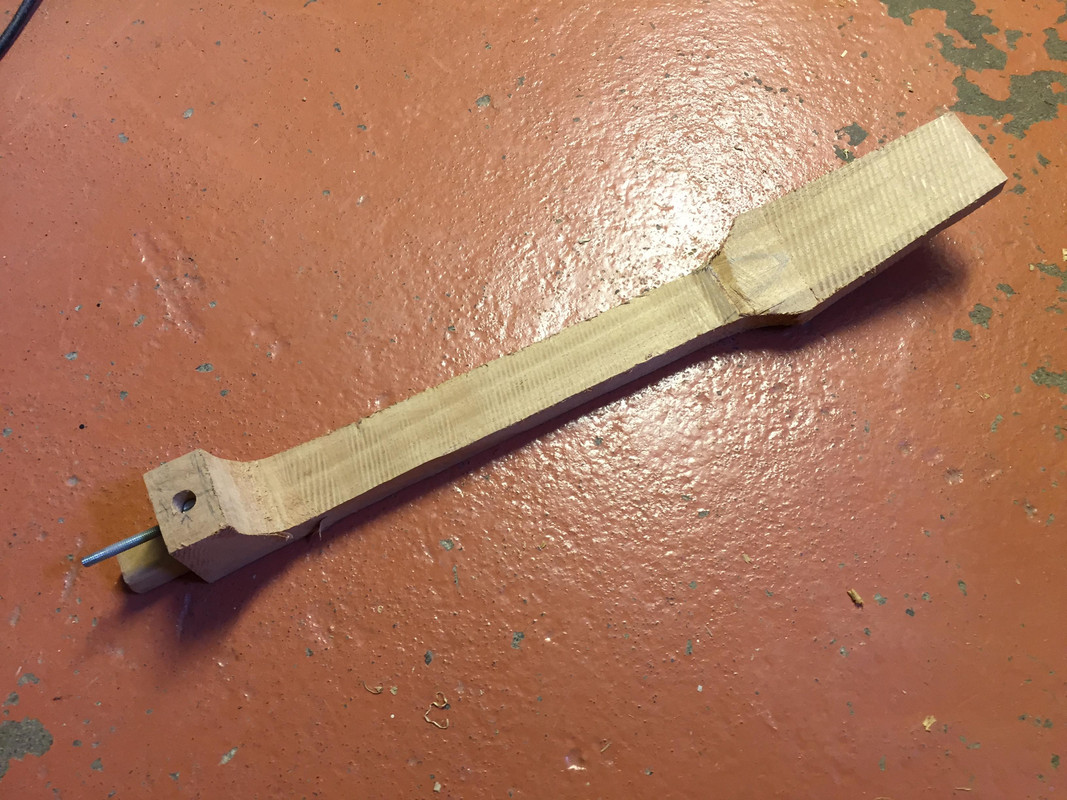 And even more here: 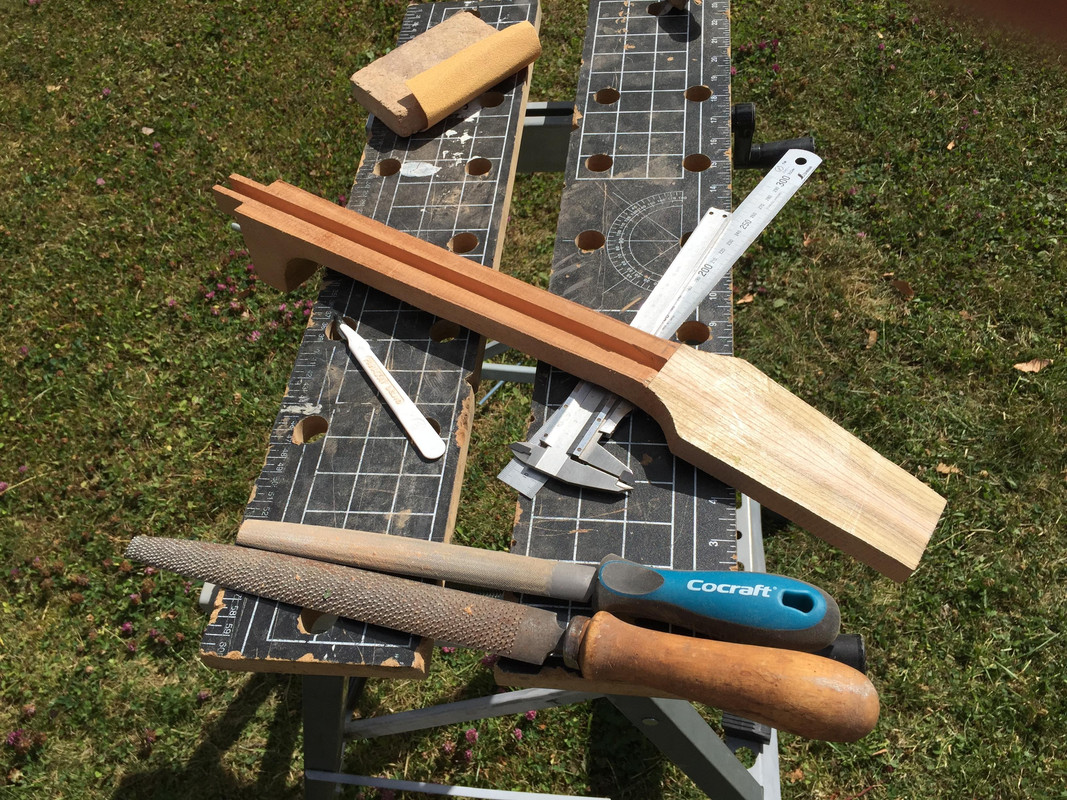 Making a custom truss rod from a aluminium u-tube, a threaded rod, an IKEA bolt and two pieces of wood: 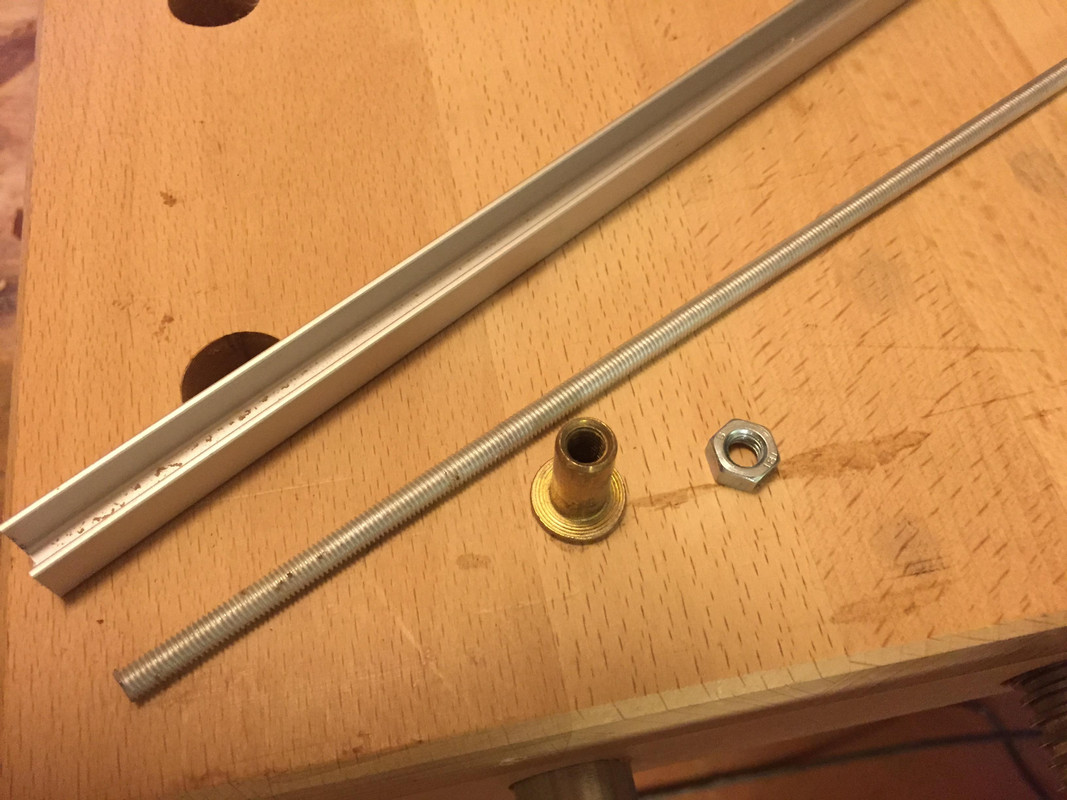 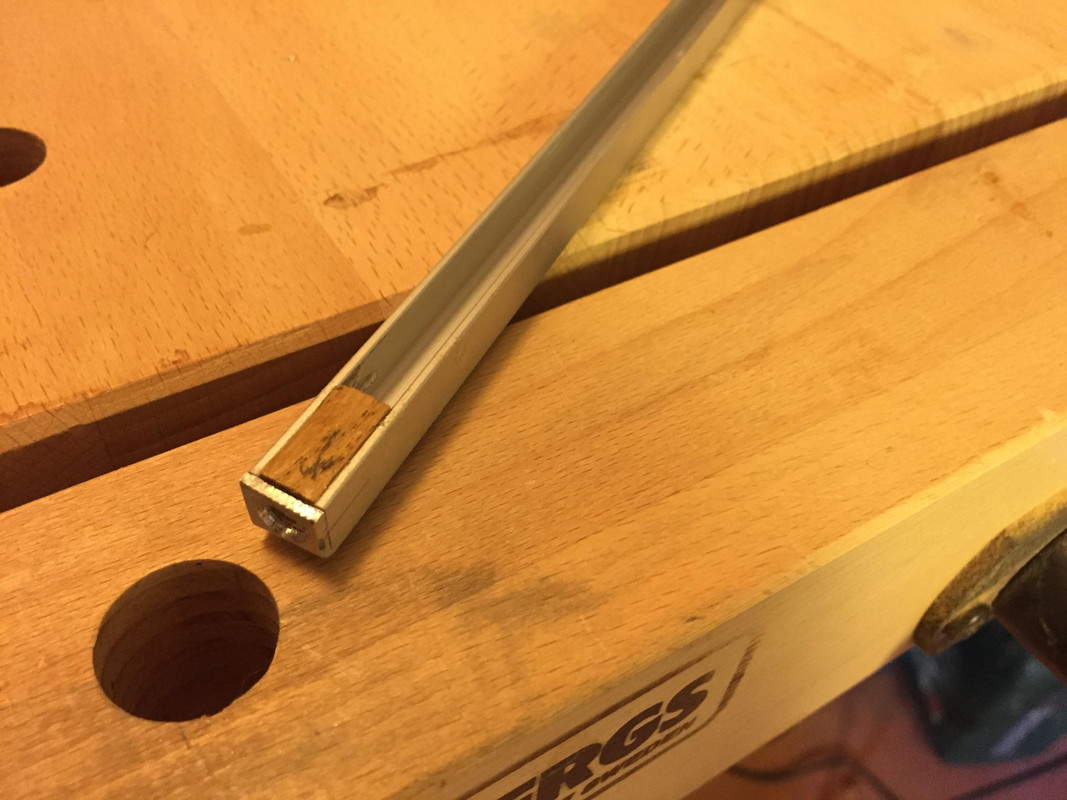 Inserted into the neck: 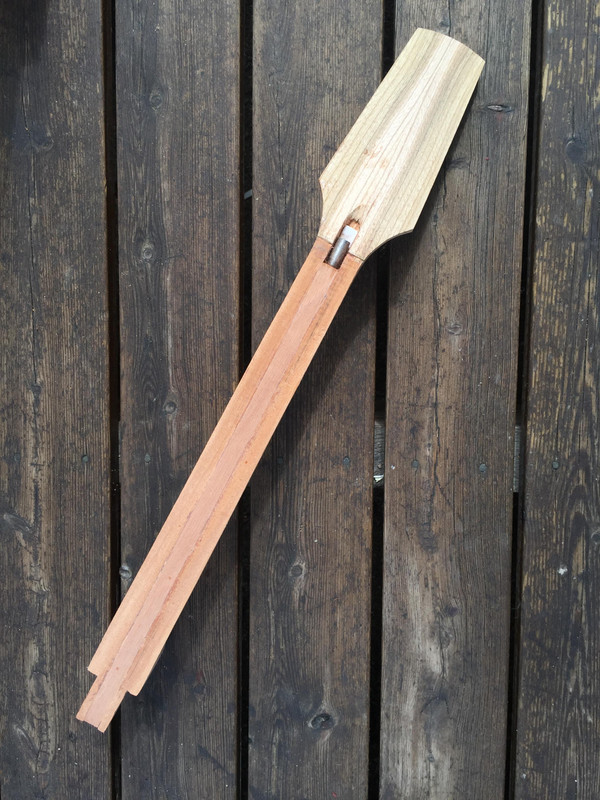 |
|
|
|
Post by lars on Sept 3, 2017 19:21:56 GMT
Glueing kerfed linings: 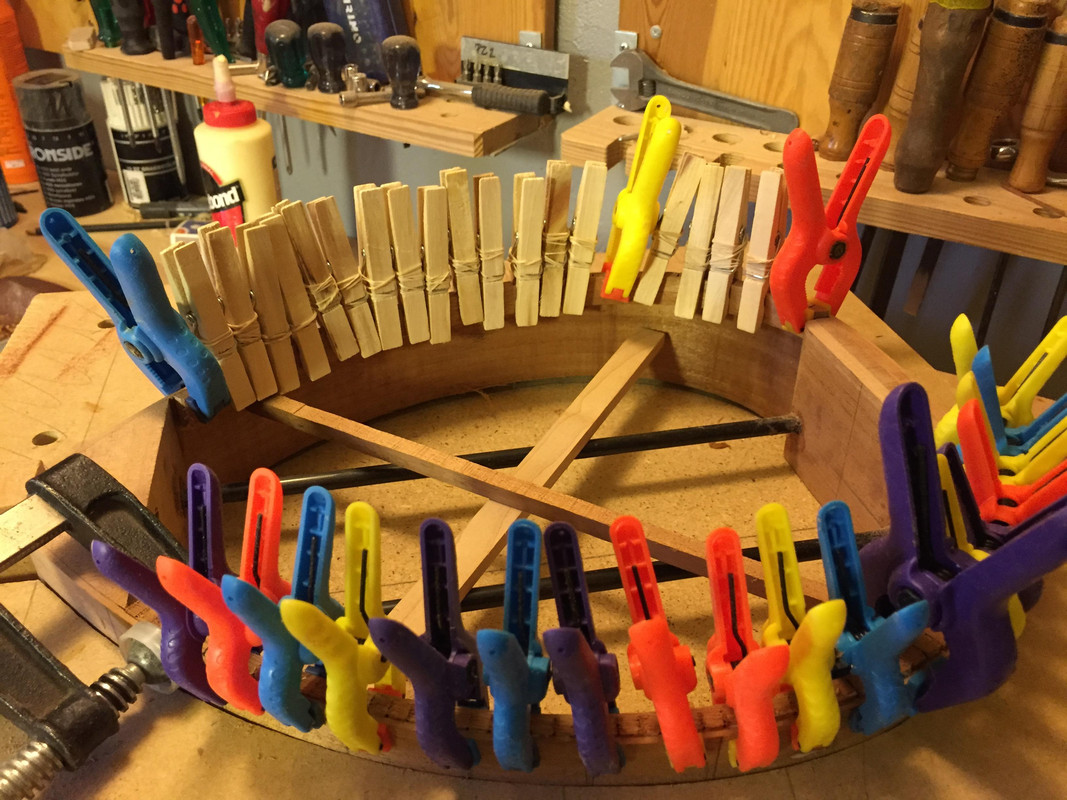 And here it's completed: 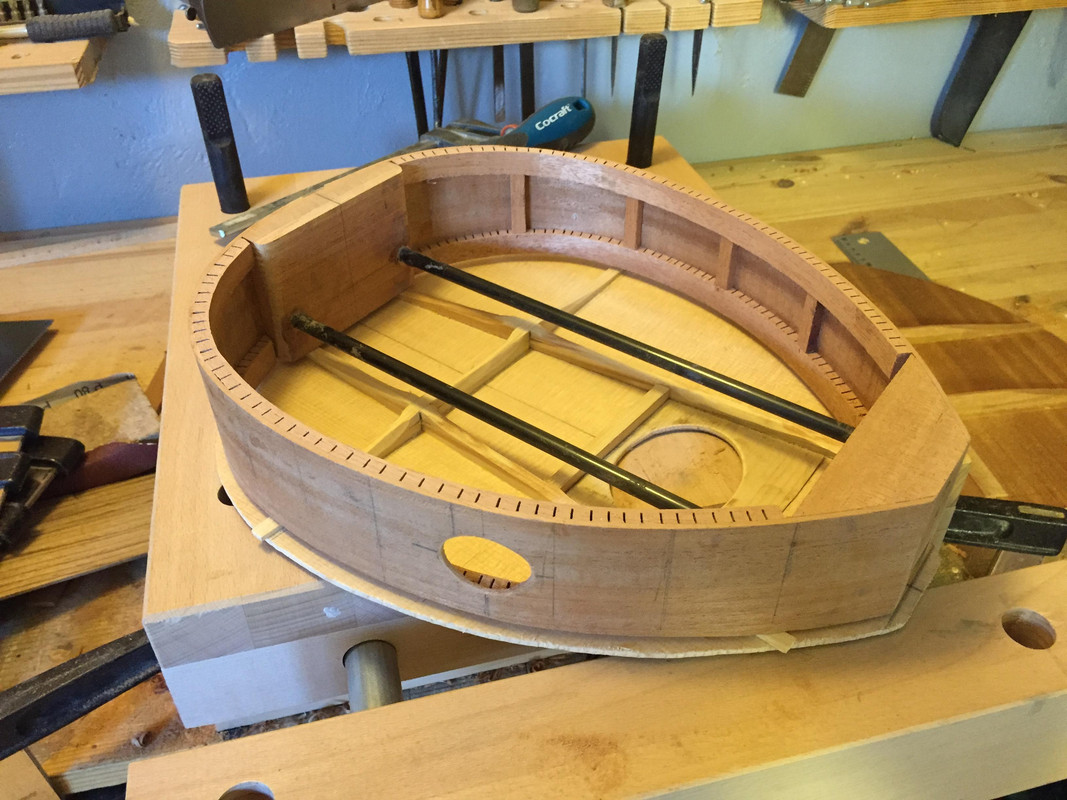 Glueing the top: 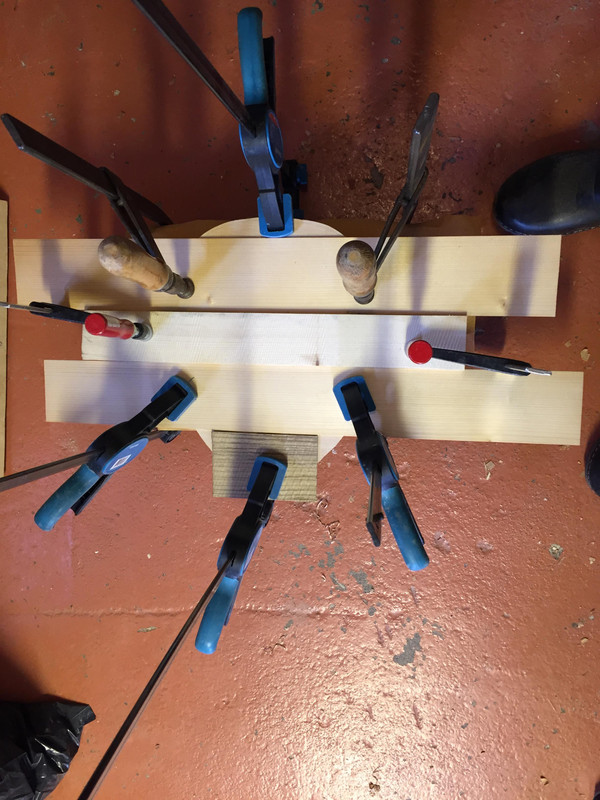 And the body is closed: 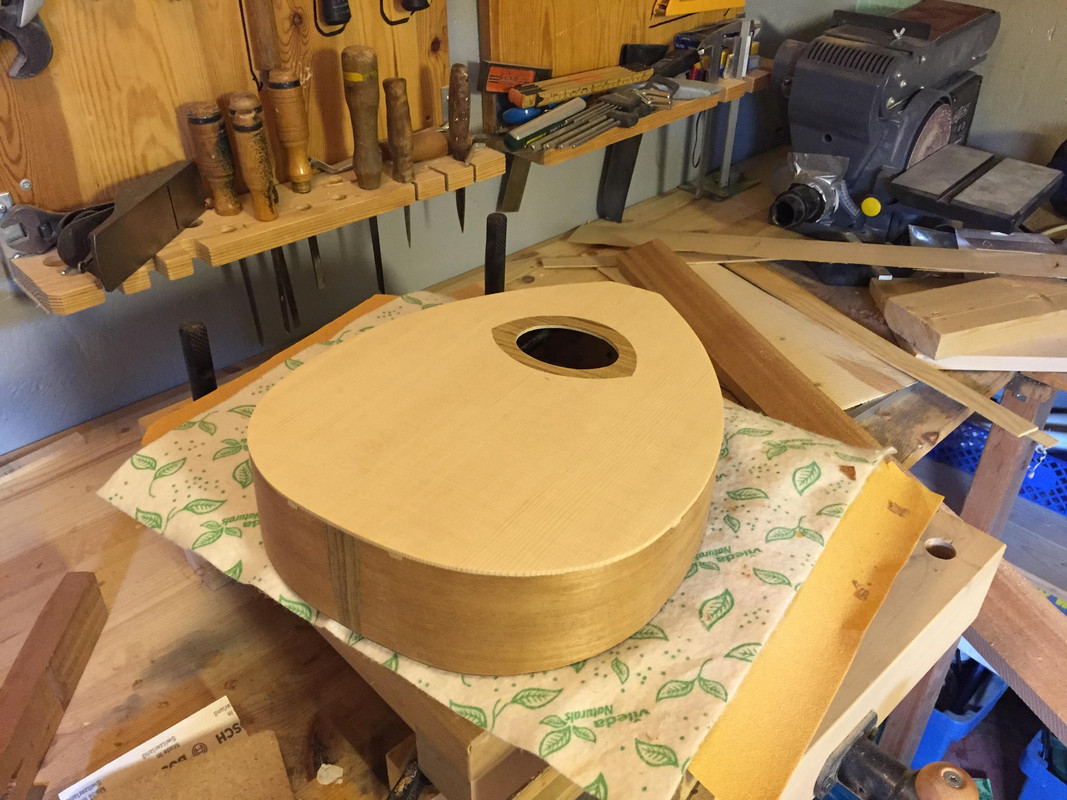 |
|
|
|
Post by lars on Sept 3, 2017 19:19:00 GMT
Top bracing inspired by Graham McDonald and this forum's Dave White: 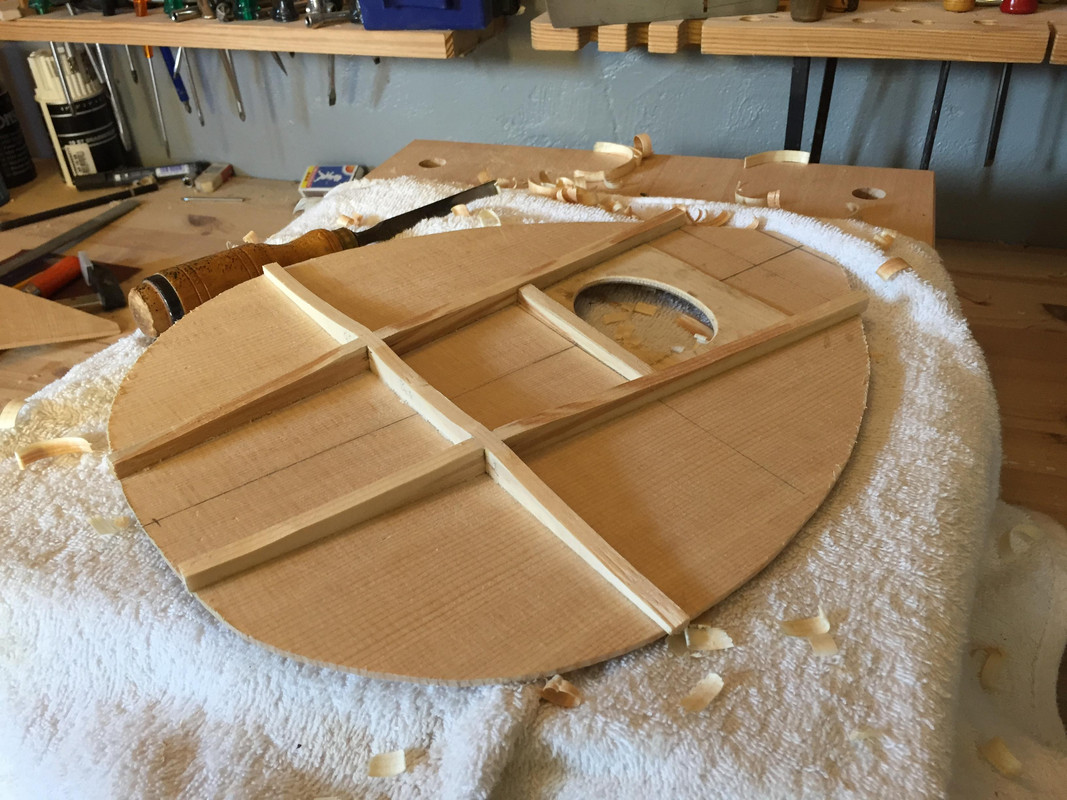 Ladder braced back: 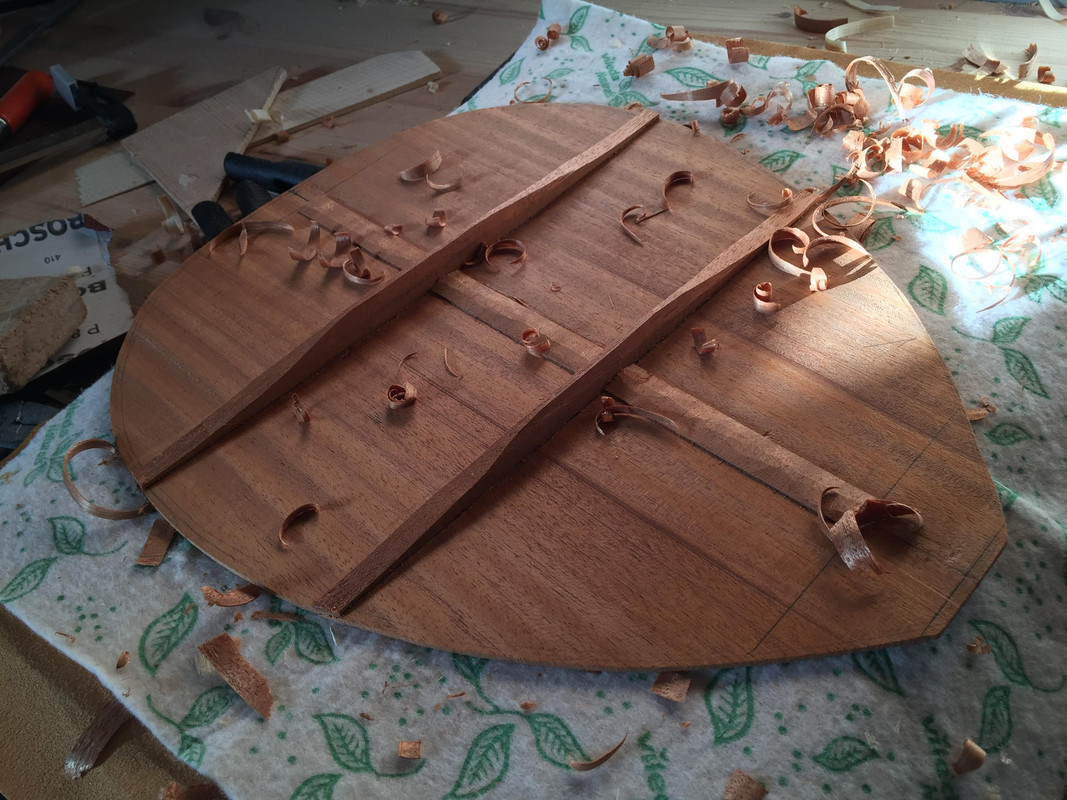 Neck block: 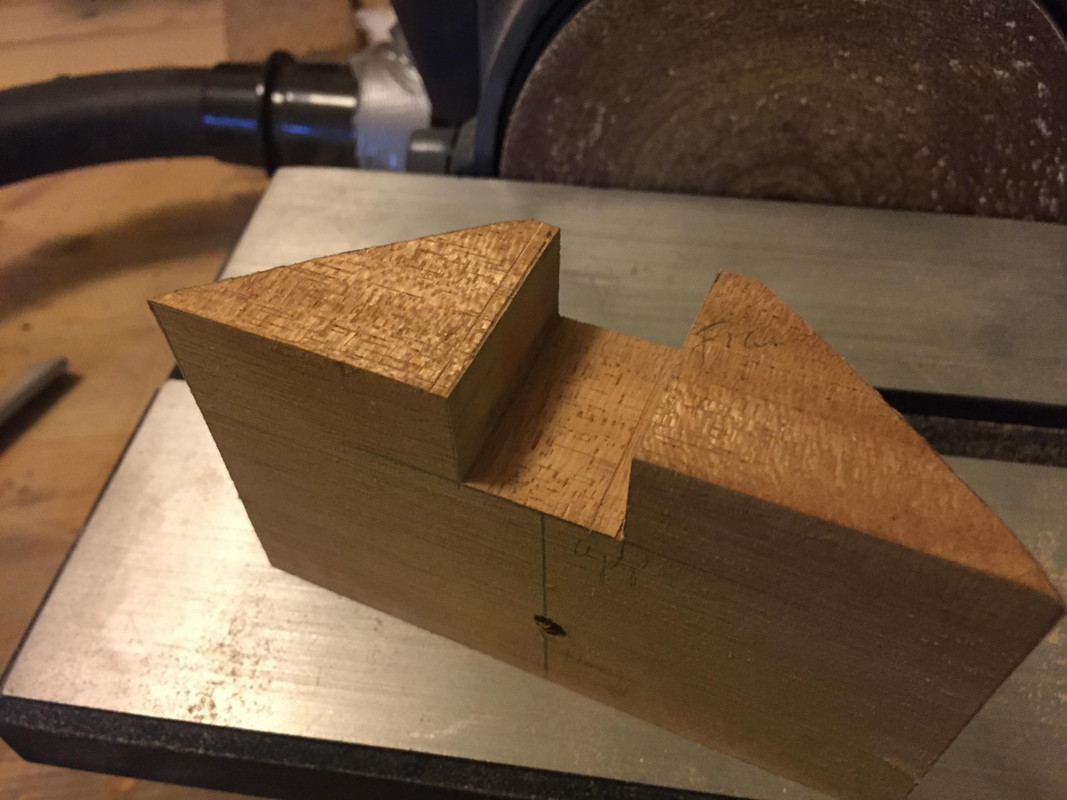 Tail block and carbon fibre rods. Yes, I've stolen the idea from Dave White: 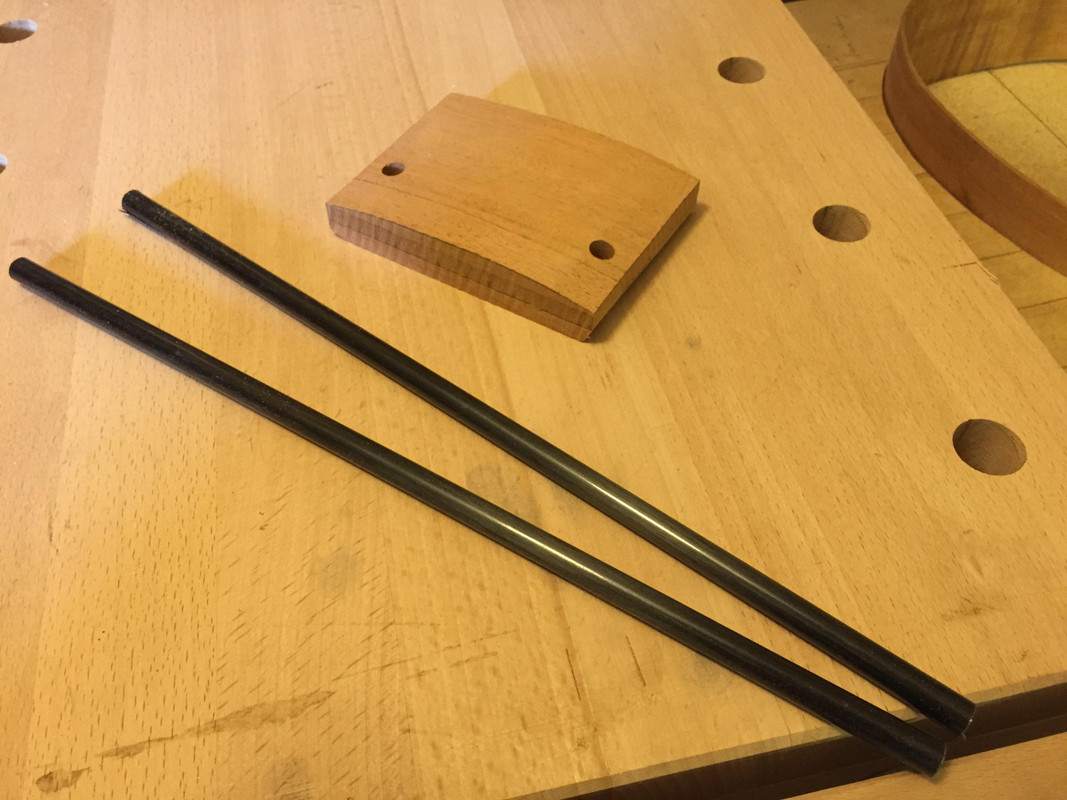 The rim assembled: 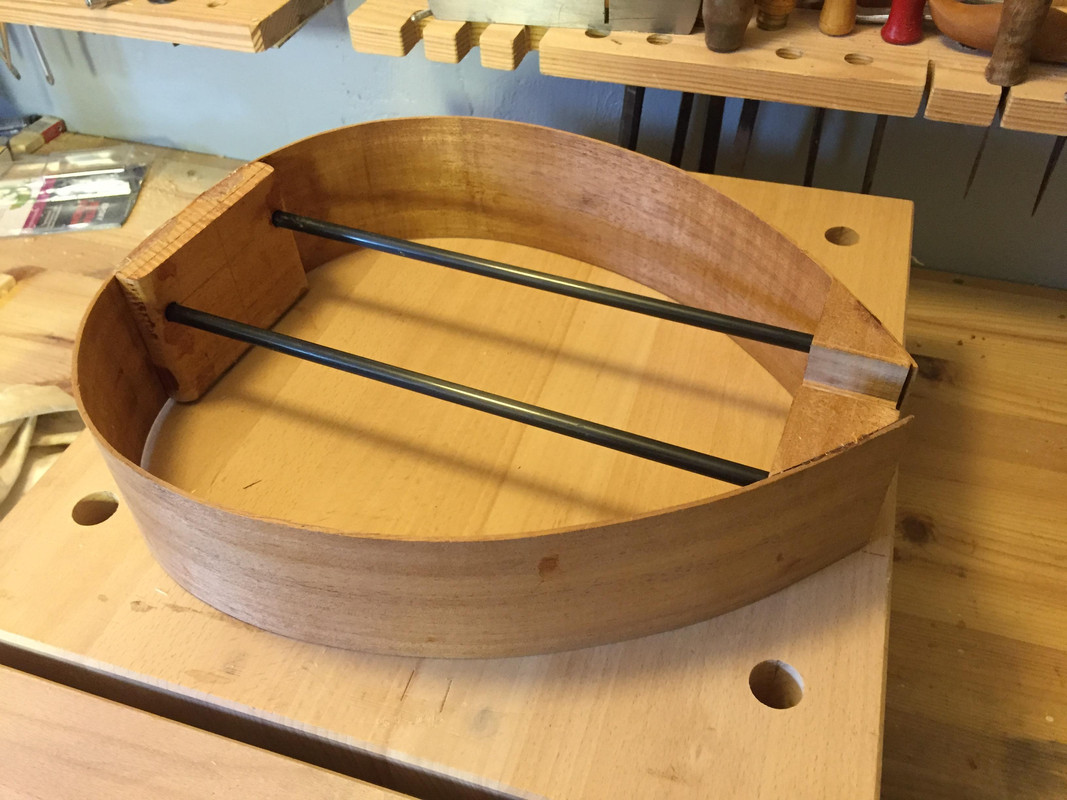 |
|
|
|
Post by lars on Sept 3, 2017 19:13:52 GMT
Here is what I began with. Planed and glued top and back, (badly) bent sides and a neck blank. In the background the "big brother" octave mandola. ![]() ![]()  The original top was a four piece tight grained swedish spruce that I found in a barn. But I had to replace it as there where too many grain cut outs (I don't know if that's what it's called). So it was replaced by sitka spruce bought from Madinter. Here is the original top laid on top of the octave mandola for a size comparison: 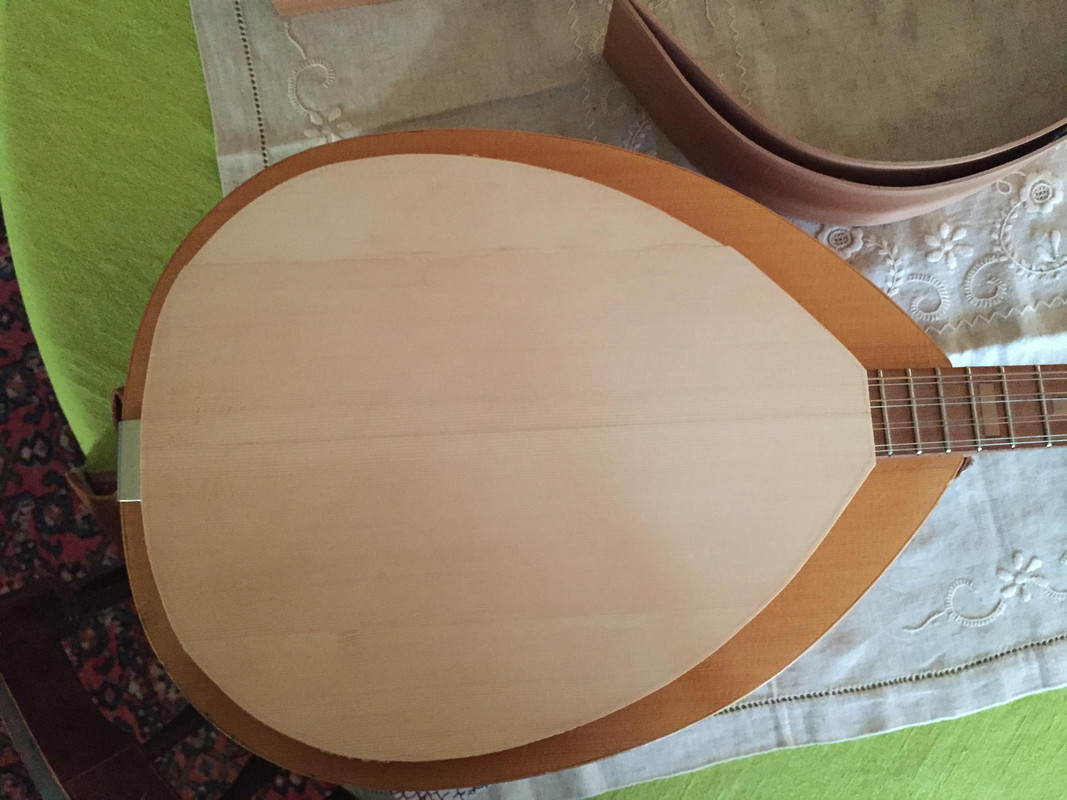 I had to reshape the sides, so I put on my hitech bending equipment - a true "hot pipe" made by a piece from a traffic sign and a heat gun: 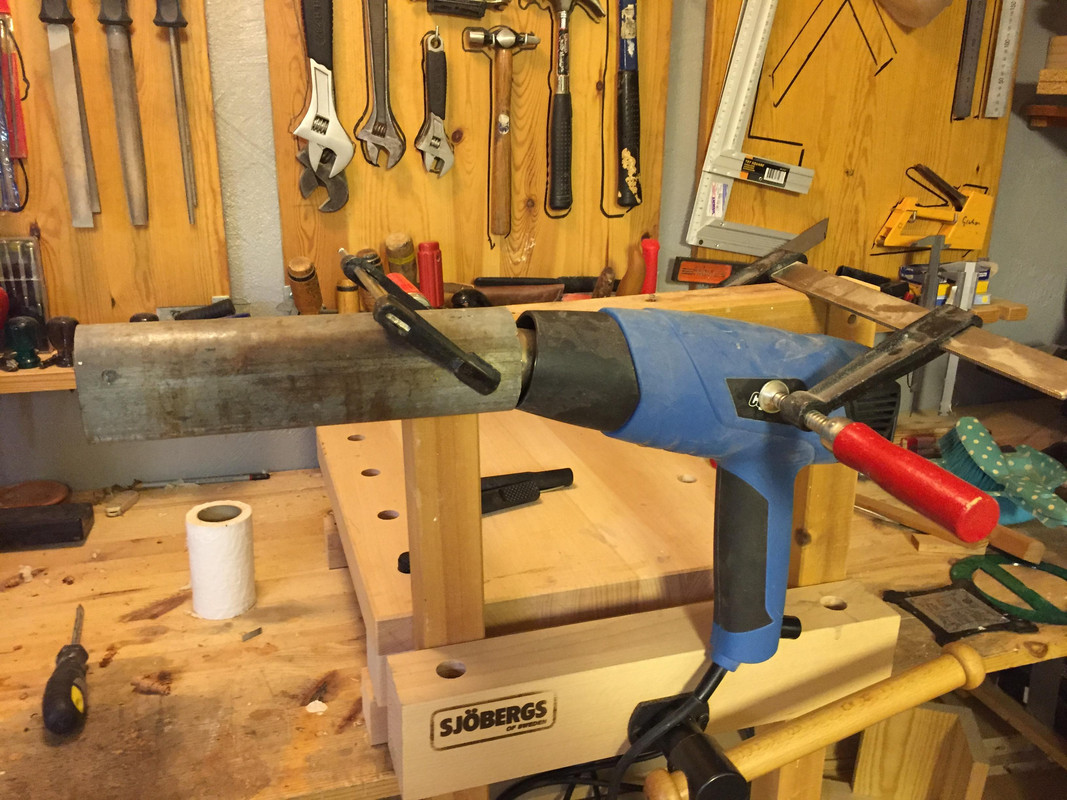 And here are the sides resting in the mould after bending: 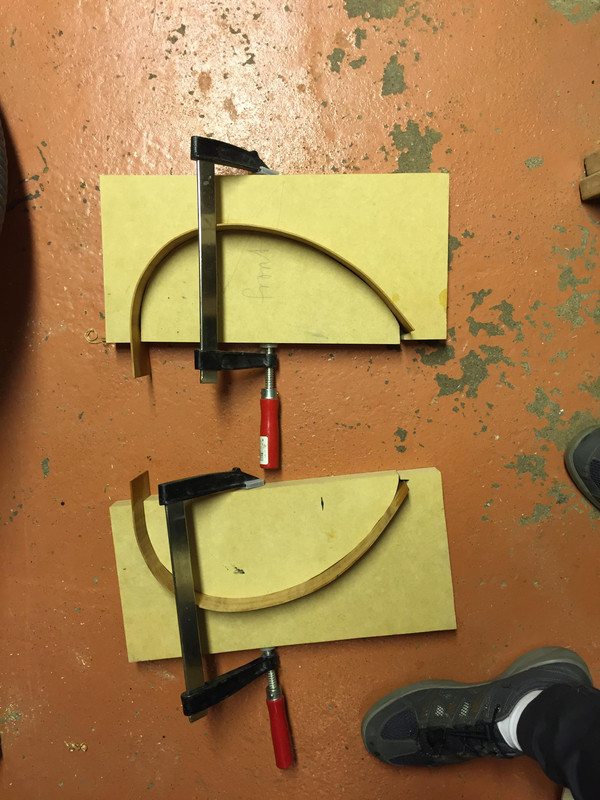 The sound hole with its reinforcement of laburnum. Oval hole and very odd shape around it to match the older octave mandola. 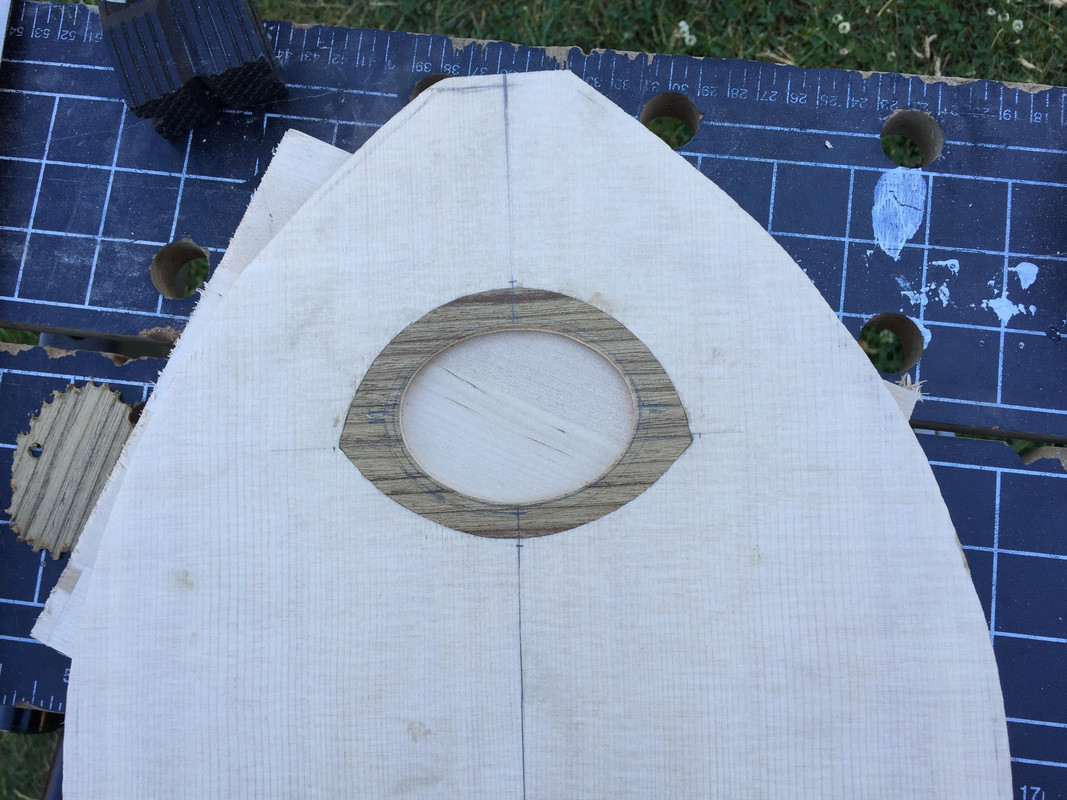 |
|