garynava
Luthier / Guitar Maker
Posts: 460  My main instrument is: Stanley No.5
|
Post by garynava on Mar 30, 2019 16:50:45 GMT
Over the years, I’ve built up quite a collection of exotic tonewood, and I feel a responsibility to use it in the best way that I can. As the pieces aren’t particularly large, I need to be imaginative. So, for my next archtop mandolin, I’m going to incorporate into its construction, as much Brazilian rosewood, from my collection, as I can.
One aspect that will be a bit unusual is that although I’m using the Rio for the sides, its carved back will be made from figured maple.
I’m going to do another series of videos, but try to cover different aspects of the build, not covered in the previous two build video series.
So here’s the first dealing with bending the sides and making the rim.
Cheers Gary
|
|
andrewjw
C.O.G. 
Posts: 4,876  Mini-Profile Background: {"image":"","color":""}
|
Post by andrewjw on Mar 30, 2019 17:18:13 GMT
Looking forward to this Gary...assuming it is to be sold on completion someone is going to get something very special !  |
|
garynava
Luthier / Guitar Maker
Posts: 460  My main instrument is: Stanley No.5
|
Post by garynava on Apr 3, 2019 15:31:40 GMT
I’ve been having a bit of difficulty taking some good photos lately; don’t know why but I can’t seem to do the wood justice. So just to keep up-to-date, here's the best I can do at the moment. The completed rim- 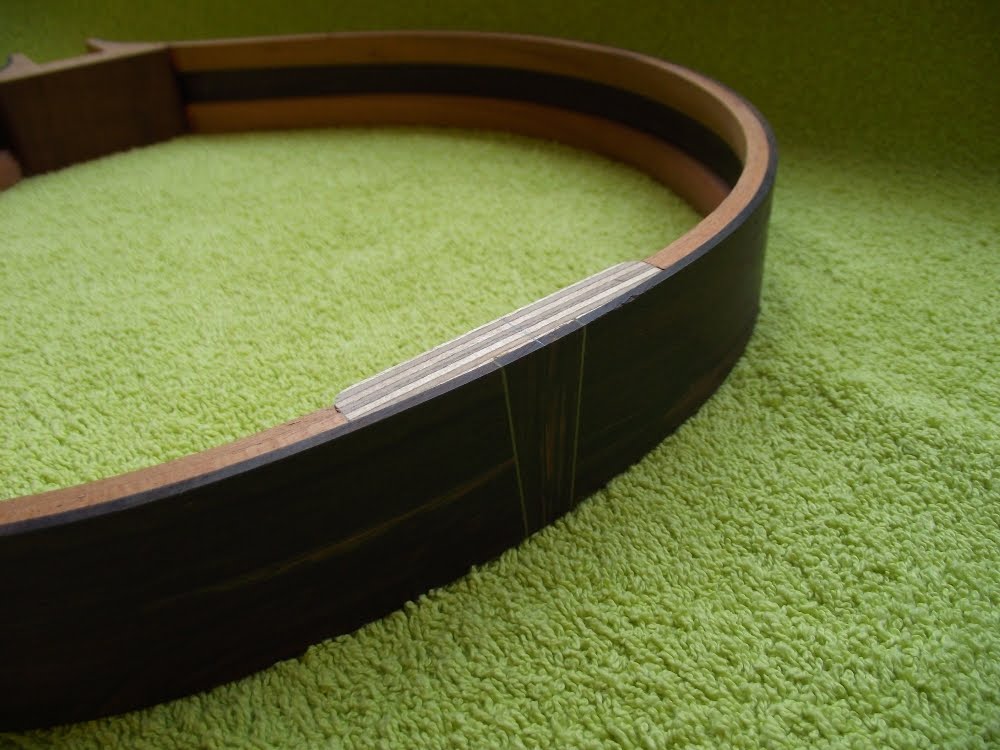  I’ve made up the neck blank and you can see that I’ve used more Brazilian rosewood for the head overlay. The inlay is from black pearl; I like its subtlety; in some lights, it disappears into the wood! The neck itself is maple with a Brazilian rosewood core, you can see that I’ve started to carve the volute. 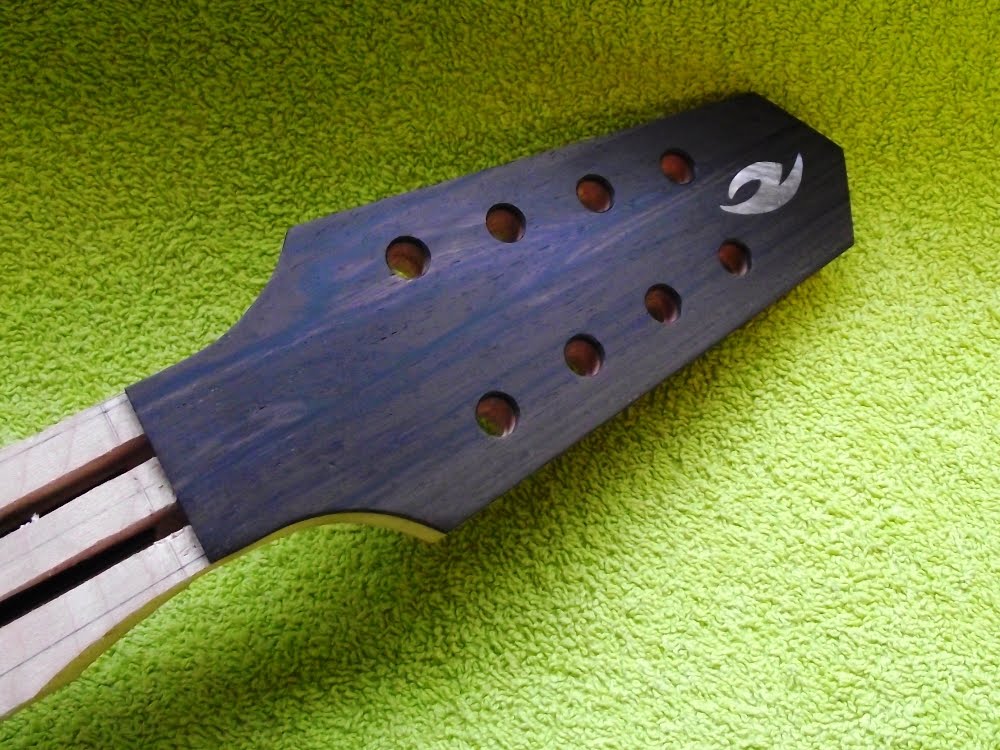  I cut up a billet to use for the fretboard and was really surprised by the bright rose-pink colours that I found inside. Made me think is that why, along with its sweet, sickly smell, someone named it “rosewood”? It was one the dark brown pieces in the previous video. 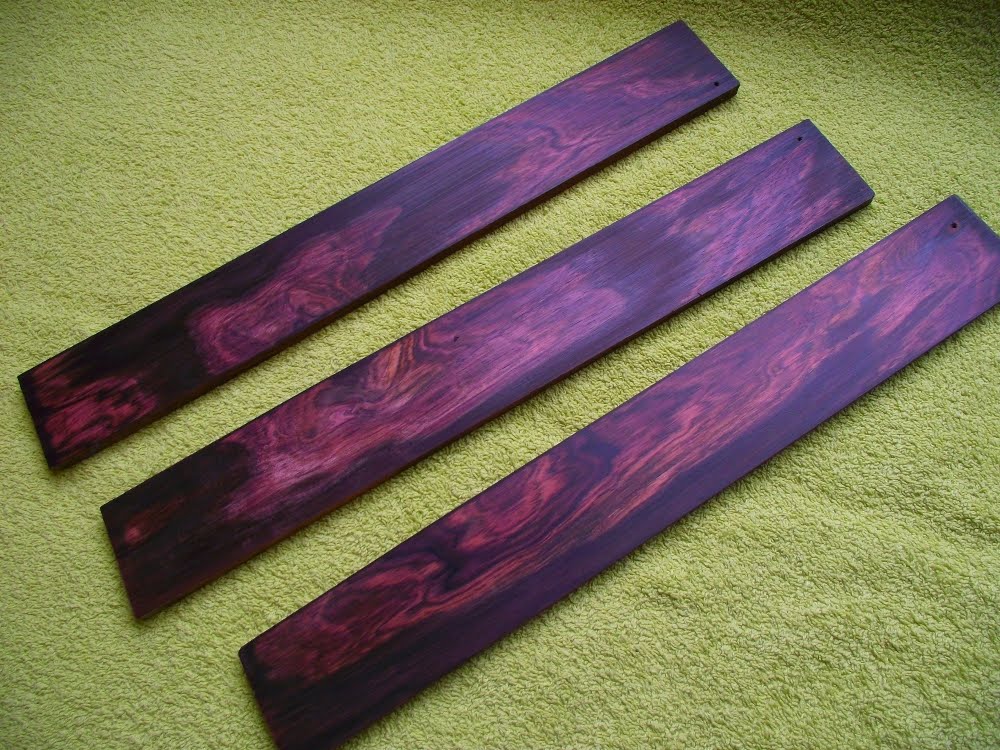 Quite a spectacular pieces of wood, although the colours will tone down over time, I’ll have to decide whether it’s a step too far! Cheers Gary |
|
garynava
Luthier / Guitar Maker
Posts: 460  My main instrument is: Stanley No.5
|
Post by garynava on Apr 5, 2019 14:56:32 GMT
|
|
ocarolan
Global Moderator
 CURMUDGEONLY OLD GIT (leader - to join, just ask!)
Posts: 35,724  Mini-Profile Background: {"image":"","color":"c0cfe1"}
Mini-Profile Name Color: 182a3f
Mini-Profile Text Color: 733a1c
|
Post by ocarolan on Apr 5, 2019 18:12:10 GMT
...certainly the autofocus on mine can be slow and dodgy sometimes.....
|
|
brianr2
C.O.G. 
Posts: 3,189  My main instrument is: Fylde Goodfellow
|
Post by brianr2 on Apr 6, 2019 7:27:31 GMT
...and sensors can get dirty and spoil the image.
Brian
|
|
garynava
Luthier / Guitar Maker
Posts: 460  My main instrument is: Stanley No.5
|
Post by garynava on Apr 7, 2019 16:22:50 GMT
I imagine for younger folk, it’s inconceivable to imagine a world without the WWW. When I first started out, I devoured as many guitar making books as I could find. Amanda, then girl-friend, worked for a publishing house, so when in 1976, I wanted a copy of David Russell Young’s book she wrote to the American publisher, waited for a letter to come back with the cost etc, bought an international money order, posted it to the States and waited……………. Like many, I still like a physical book and have quite a lutherie library but sometimes descriptions of making techniques can be a bit lacking. Try, for example, looking up, in one of the definitive books, “how to join an archtop back plate together.” Wouldn’t be easier to look at a video on YouTube? And here’s the aforementioned back fully carved……….  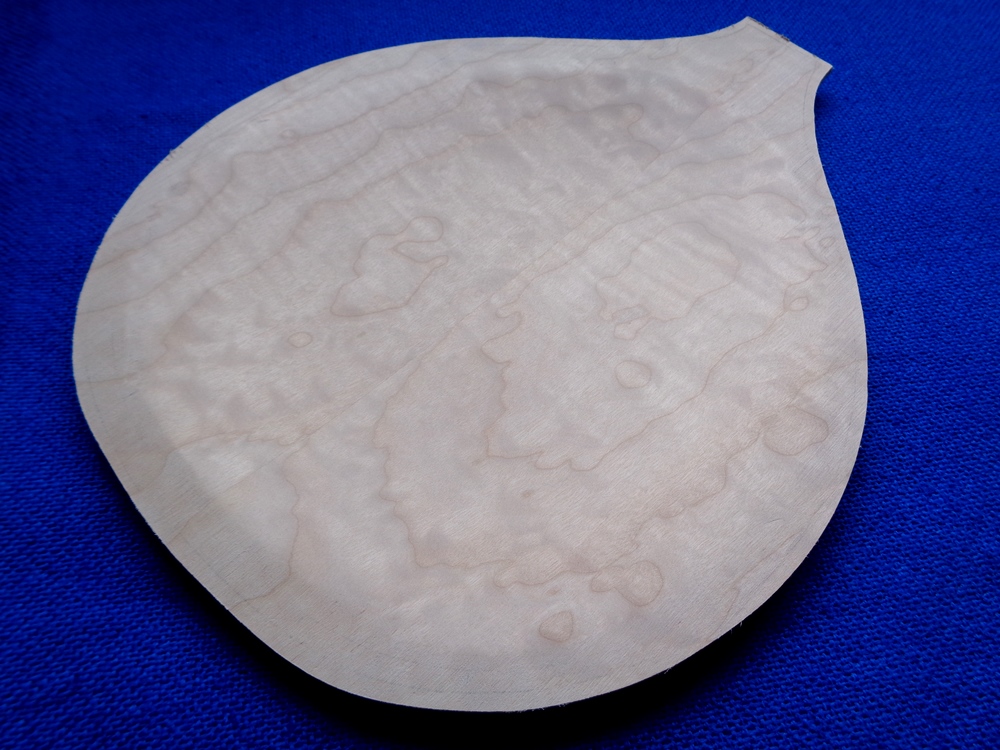 Cheers Gary |
|
garynava
Luthier / Guitar Maker
Posts: 460  My main instrument is: Stanley No.5
|
Post by garynava on Apr 15, 2019 14:40:56 GMT
Here's the next video. In this one, I manage to make drilling holes look quite complicated! Word of warning this method won't work if you taper your head thickness!
Cheers Gary
|
|
garynava
Luthier / Guitar Maker
Posts: 460  My main instrument is: Stanley No.5
|
Post by garynava on May 3, 2019 15:24:20 GMT
I’ve just made the fretboard and tailpiece for the archtop. If you look a few posts back you would have seen the bright colours that were exposed when the rosewood billet was first cut. As you can see it’s started to mellow a bit and is now tending towards an orange/brown instead of pink. I'm very pleased that I managed to get the tailpiece out of the same piece of wood, so that’ll match nicely. The tailpiece has had a good soaking of lemon oil hence the slight difference in colour and sheen. Cheers Gary 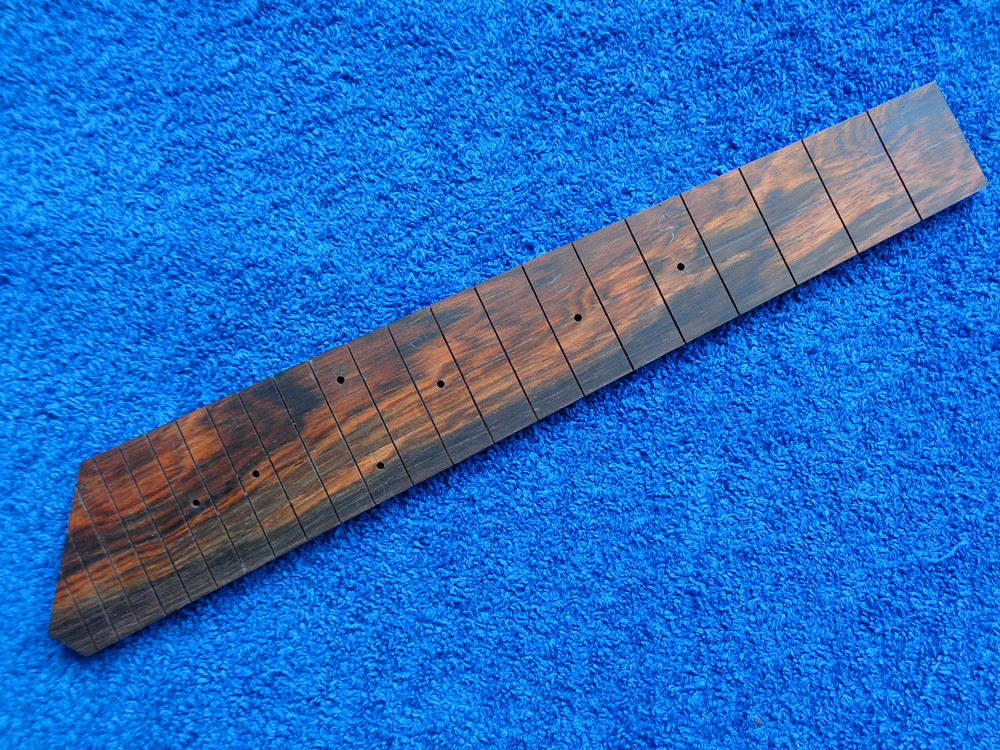  |
|
garynava
Luthier / Guitar Maker
Posts: 460  My main instrument is: Stanley No.5
|
Post by garynava on May 11, 2019 15:50:59 GMT
I’ve been working on the top plate, for this one, I have some superb Sitka spruce (not easy to say quickly). The two halves were joined with same method as I demonstrated in my back plate video, taken down to thickness and the profile cut-out so that it fits into my jig, which holds the wood firmly whilst I carve it. 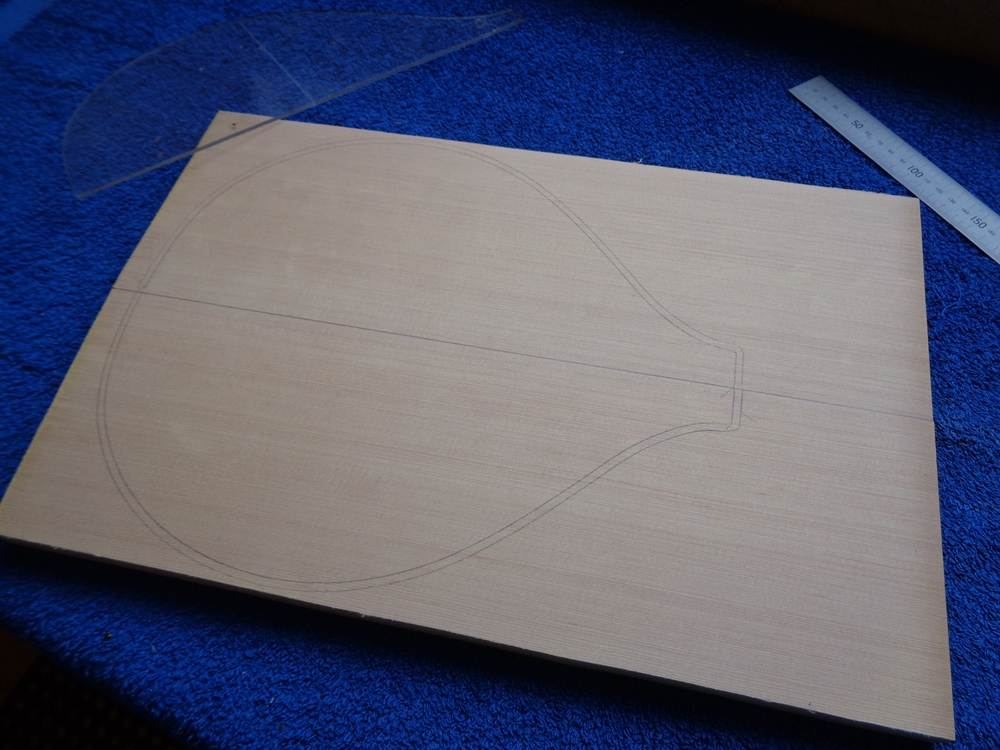 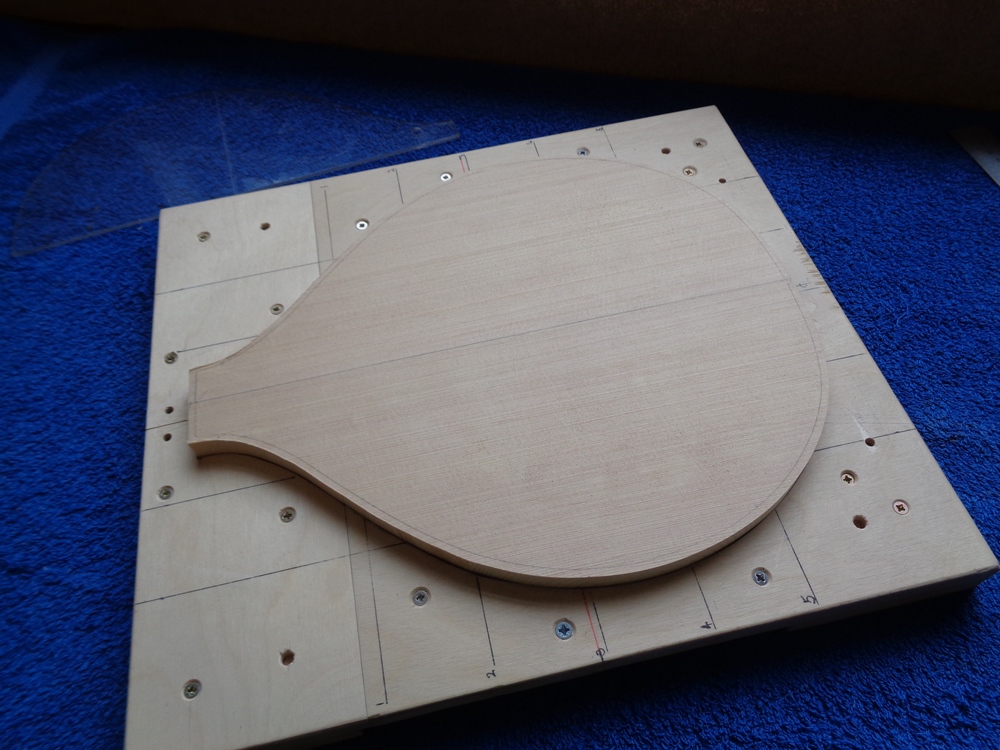 However, being a slab rather than a wedge, there’s too much waste to just plane, so first step is to use my Wagner Safe-T-planer. 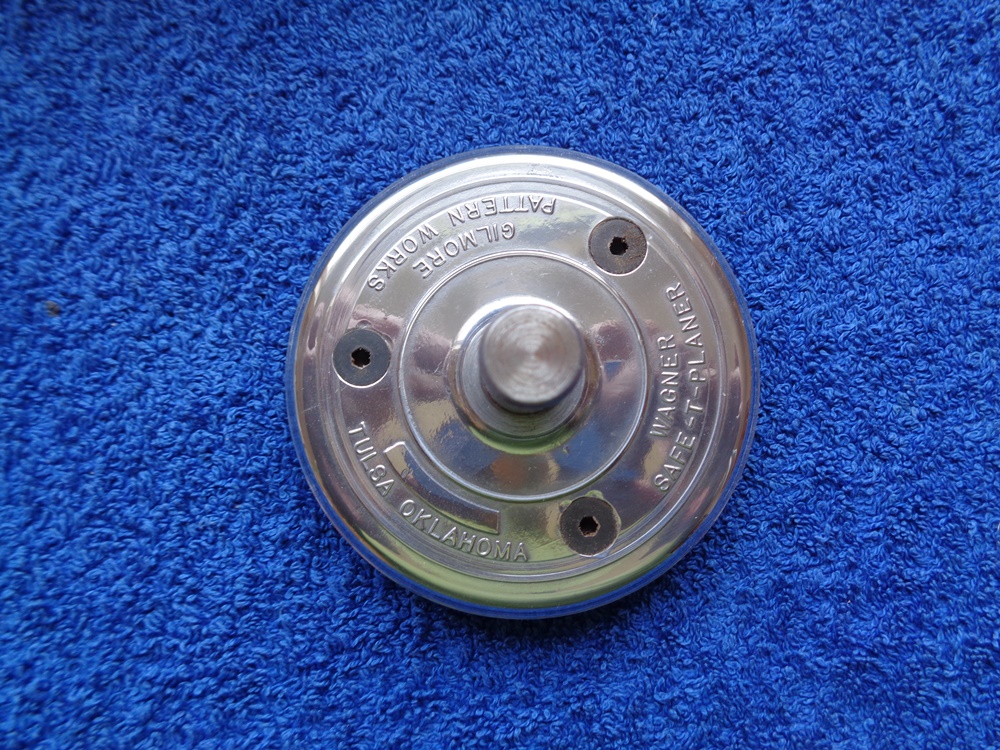 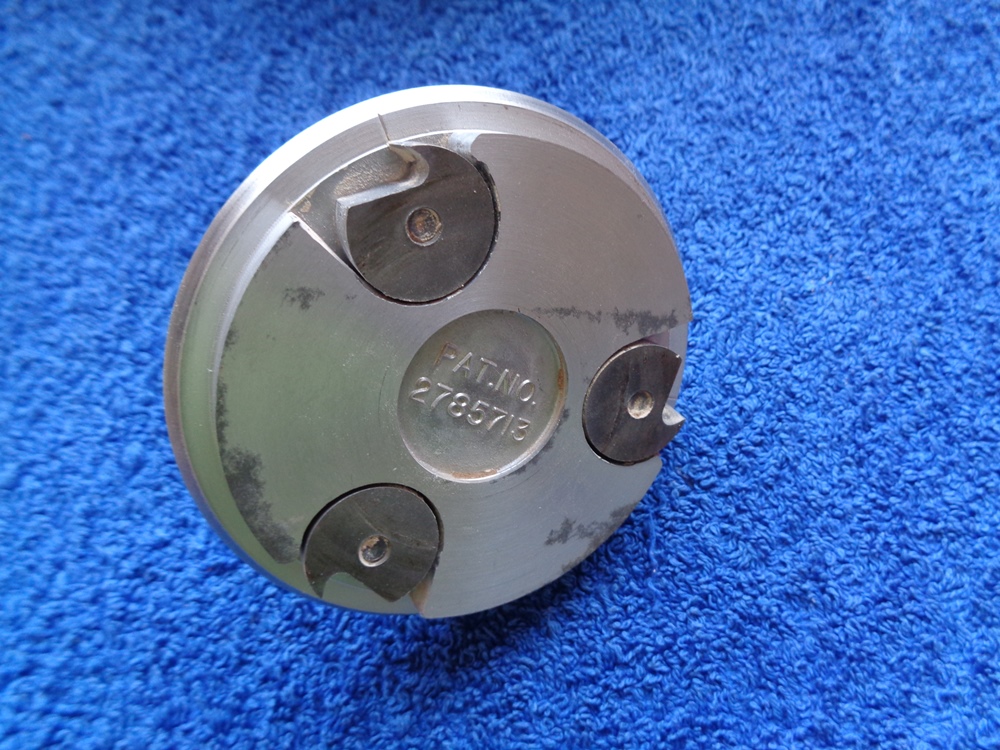 As an object, I love its heavy duty casting but no matter how many times I use it, it’s always with trepidation. What’s always more dangerous with wood working machinery compared to metal working, is that you fed the work into it with your bare hands. But with so much wood to remove, it’s a sensible option. 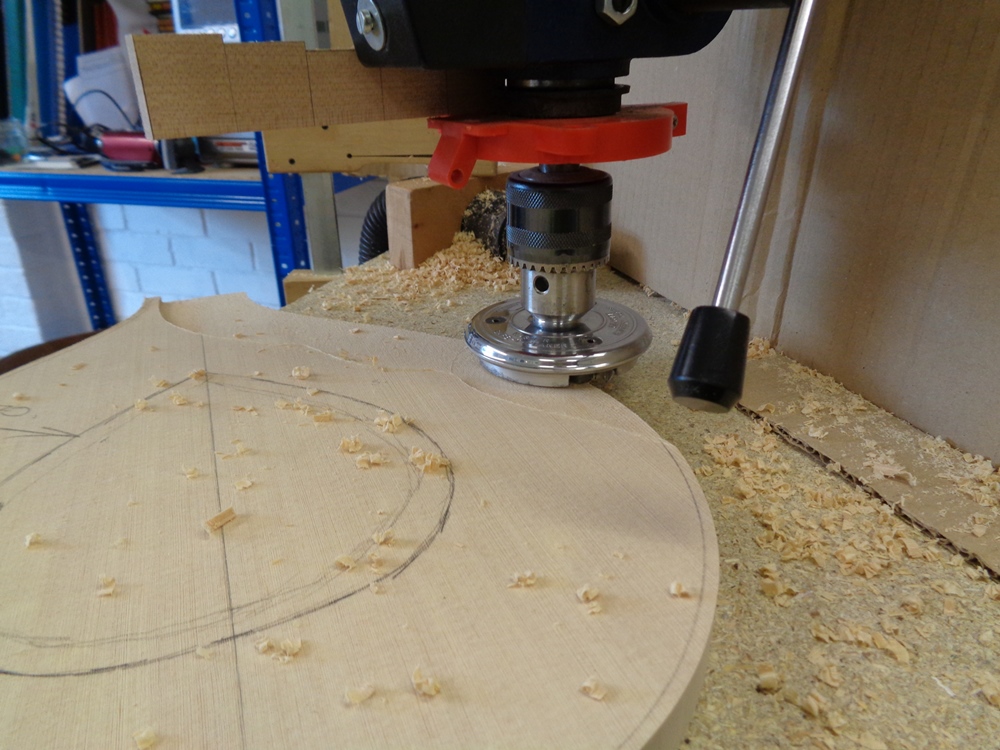 Once I’ve got down to this kind if stepped profile, the rest is done with planes, scrapers and sanding, as you would have seen, again in one of my previous videos. 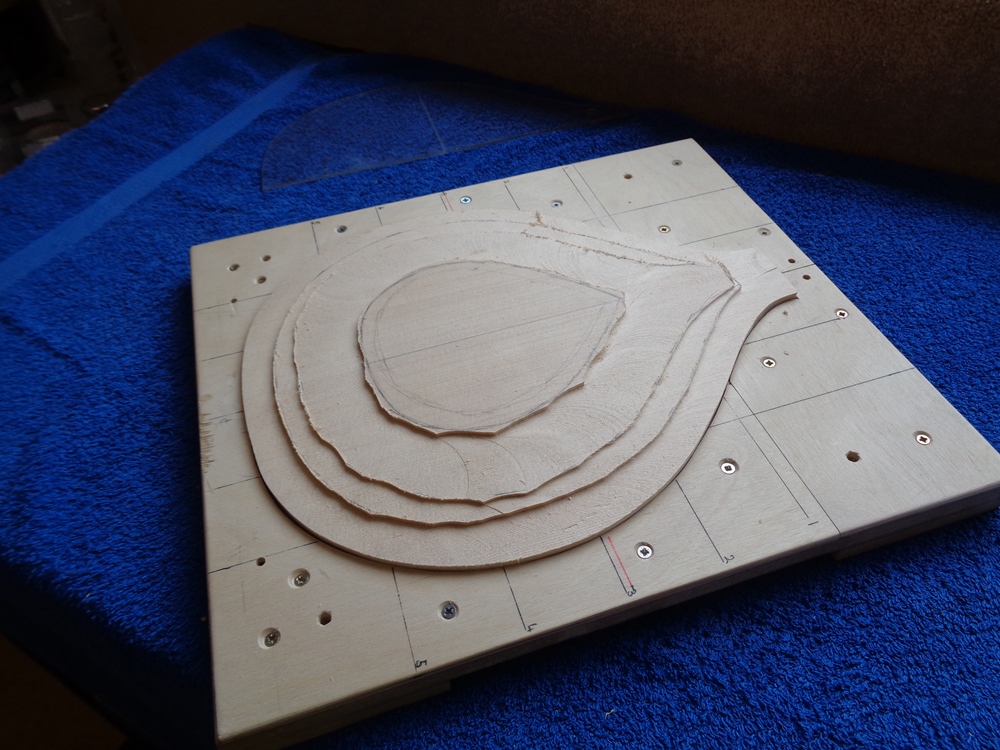 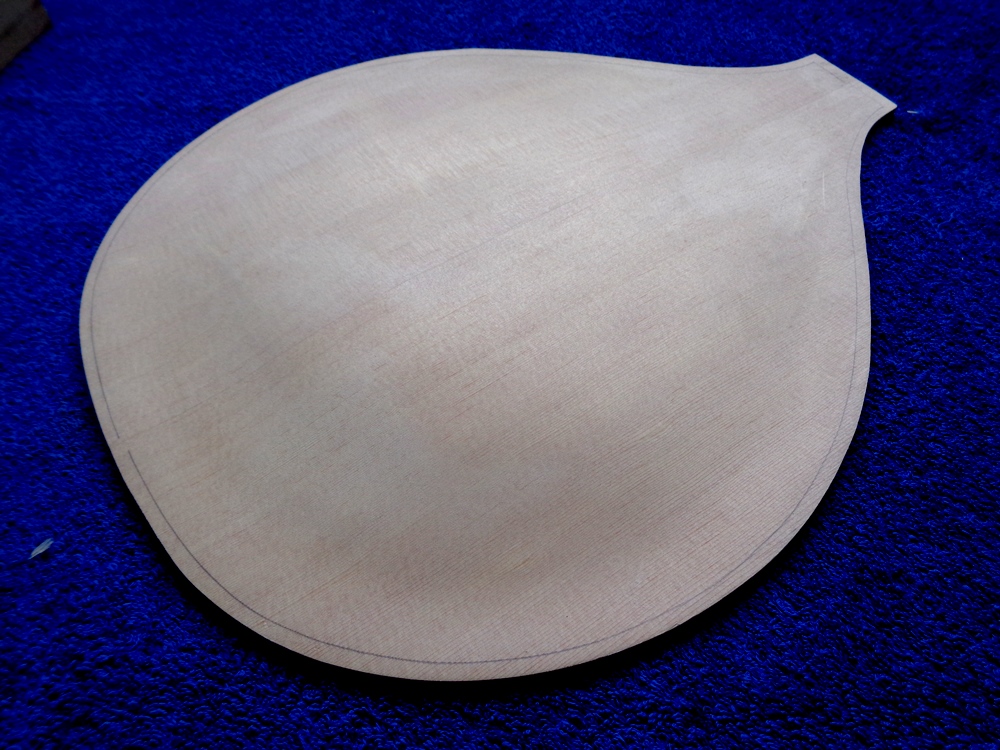 Here you can see the how tight the grain is on this Sitka. 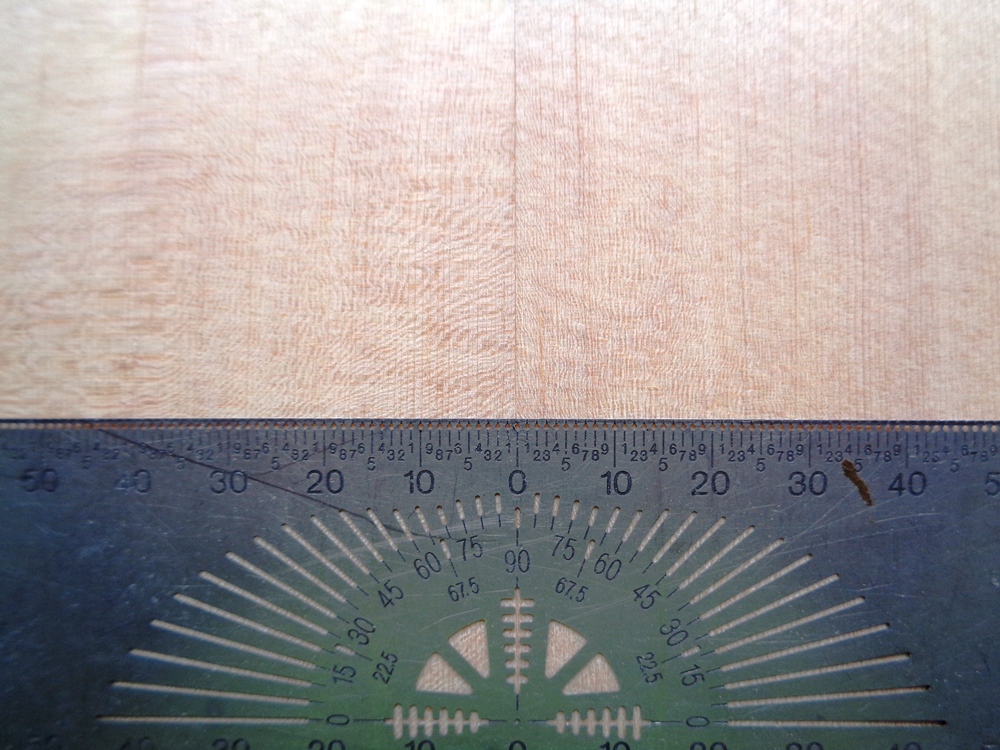 And then flip it over and work on the other side! 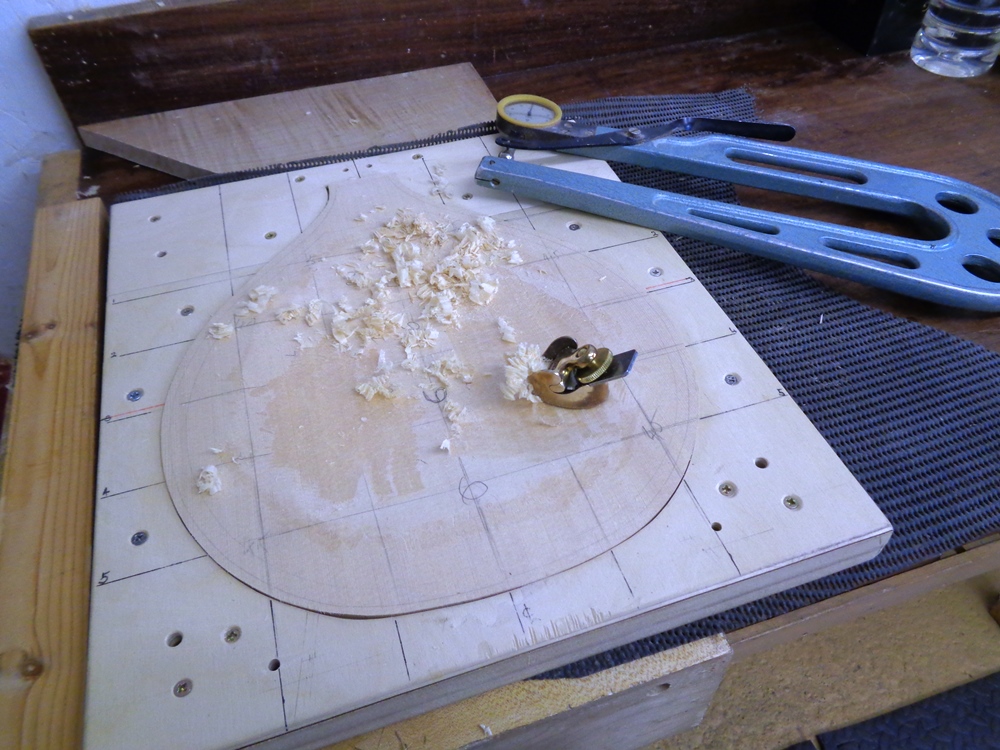 Cheers Gary |
|
garynava
Luthier / Guitar Maker
Posts: 460  My main instrument is: Stanley No.5
|
Post by garynava on May 17, 2019 15:01:44 GMT
So here is the top plate fully shaped and with the sound holes cut and bound. I feel quite strongly that the holes should be bound; it helps protect the softwood edges from accidental damage, strengthens and helps to lessen any risk of cracking at the holes, stop moisture escaping via the end grain and looks jolly nice too! Cheers Gary  |
|
garynava
Luthier / Guitar Maker
Posts: 460  My main instrument is: Stanley No.5
|
Post by garynava on May 25, 2019 16:05:33 GMT
So the next step is fitting the tone bars and here they are in place. If you want the full details of how I do this, I’ve just put a whole bunch of photos on my blog.  Cheers Gary |
|
garynava
Luthier / Guitar Maker
Posts: 460  My main instrument is: Stanley No.5
|
Post by garynava on May 28, 2019 15:10:14 GMT
A video for your viewing pleasure of the progress made so far.......
Cheers Gary
|
|
garynava
Luthier / Guitar Maker
Posts: 460  My main instrument is: Stanley No.5
|
Post by garynava on Jun 2, 2019 15:44:16 GMT
With the archtop’s body together, the next stage is to work on the bindings and purflings. Like most luthier’s, I cut the rebate channels for the bindings and purflings with a router. I don’t know if I’m getting fussier in my old age, but these days I seem to spend more and more time fettling the rebate in search of the prefect fit! 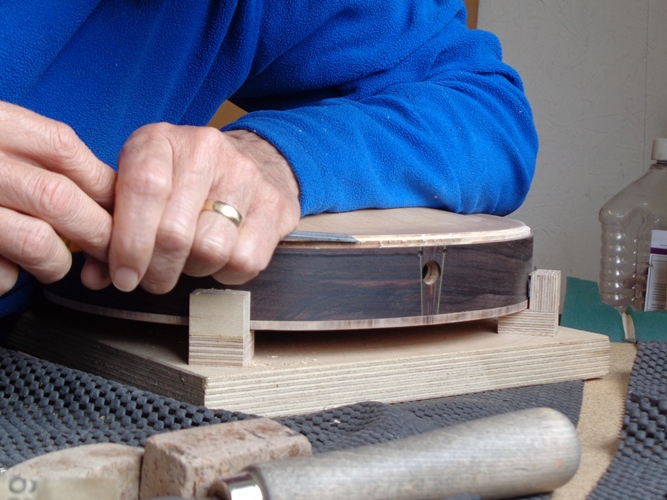 I’ve always liked “rope” purfling and have successfully used it on a number of guitars, but never on a mandolin. I like to have the purflings and rosette matching and the curves on my mandolin rosettes are far too tight to bend the rope purfling around. Anyway, I had a lightbulb moment, “the archtop doesn’t have a rosette!” So, I thought that I’d use rope on this one. Here you can see the purfling being held (whilst the glue dries) in place by some StewMac Orange Multi-Purpose Tape. It’s the first time that I’ve used this tape and I’ve been happy with its performance so far. It might not sound like a big deal, but getting just the right tape is important- tough enough, right amount of tack etc….  And with the purflings in place, I go through my usual mummification process to get the maple bindings glued on. 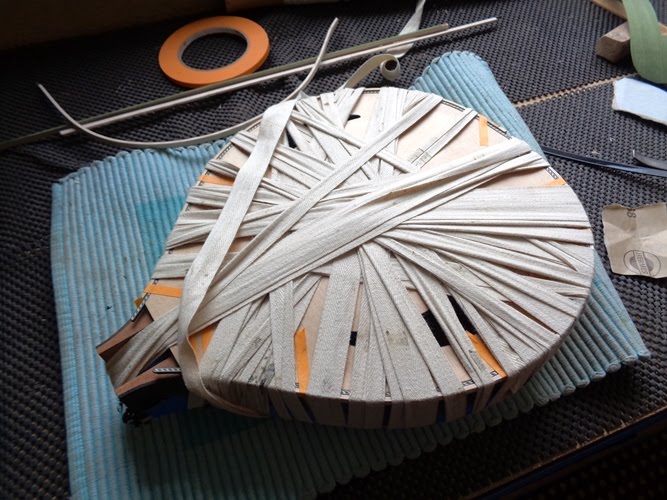 Cheers Gary |
|
garynava
Luthier / Guitar Maker
Posts: 460  My main instrument is: Stanley No.5
|
Post by garynava on Jun 8, 2019 16:00:28 GMT
All the work on the archtop’s bindings and purflings has been completed and here are some photos for you. You know about the rope around the top plate. 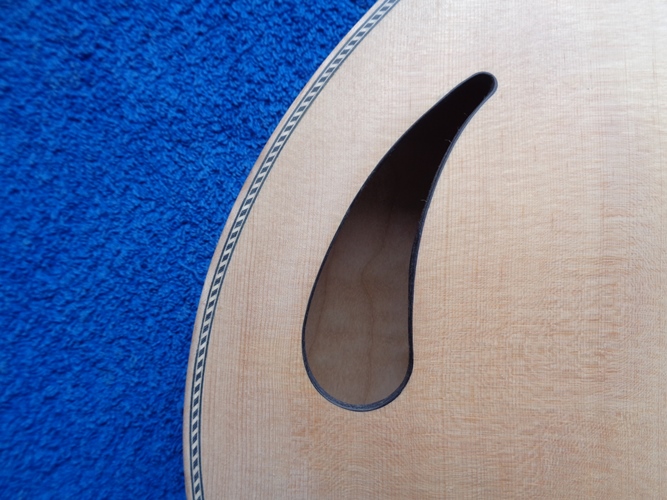 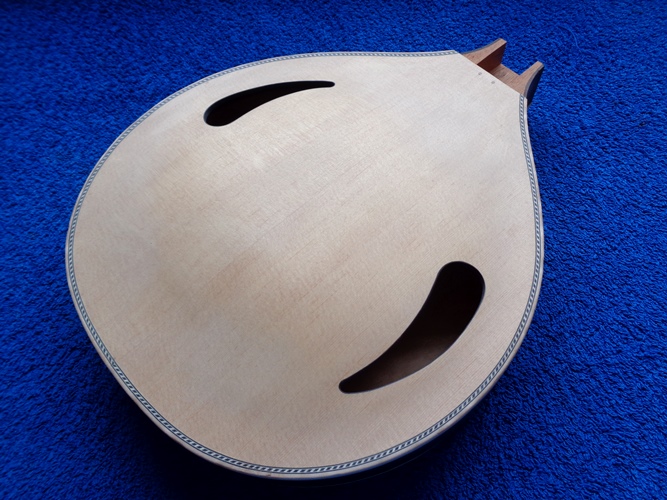 The bindings are maple from the same board as the neck and around the back and sides runs a single dark green line. 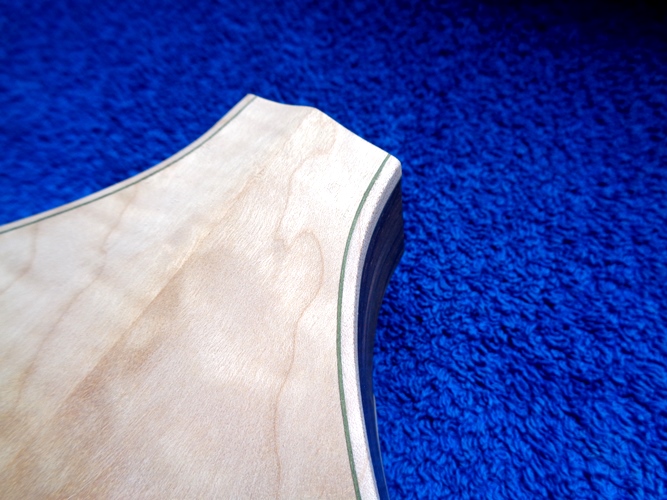 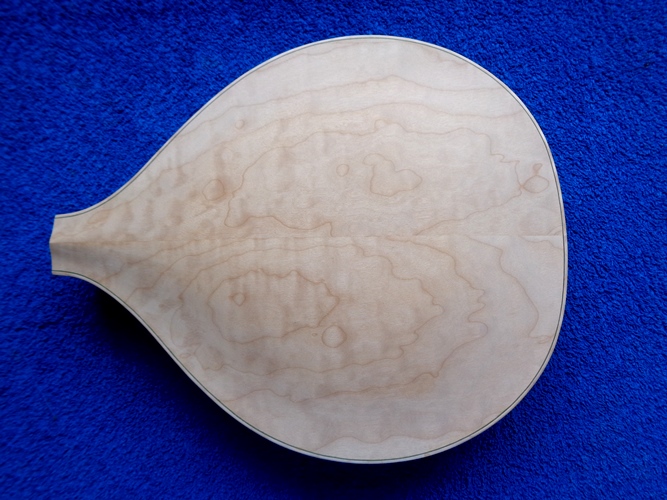  Must say that I’m very happy- all that fettling, well worth the effort! Cheers Gary |
|