Post by lefranglais on Apr 21, 2020 16:53:12 GMT
This isn’t an acoustic instrument so it doesn’t really deserve to be here, but it led to making instruments that were acoustic so, if nobody objects, I’ll carry on.
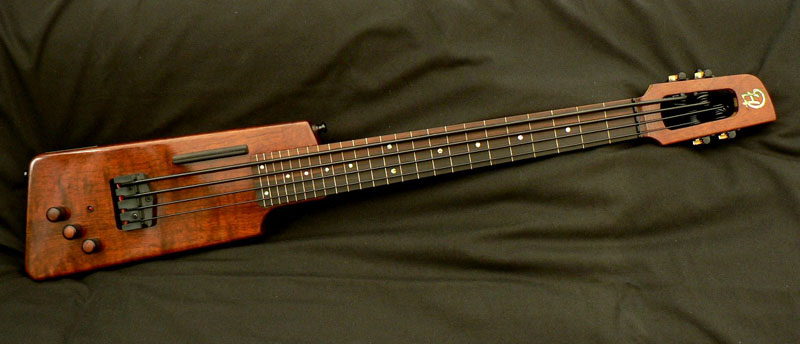
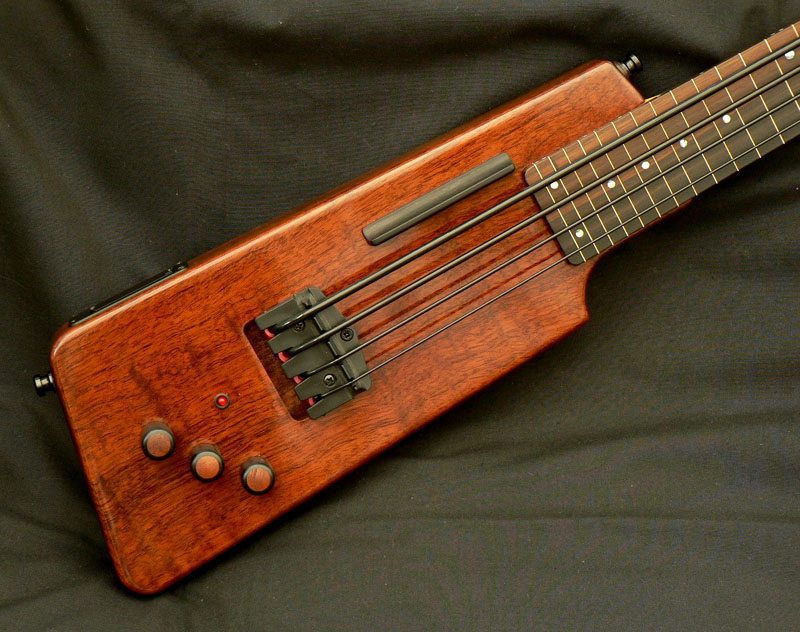
I started this project in October 2006 and when it was almost completed, in April 2007, I had my usual problems with finishing, got fed up with it and started on something else. So about three years later I had another go at it and although the finish wasn’t perfect I decided it would do, so I finally got it together.
So, perhaps somebody is saying “What’s an Ashbory Bass?”
This weird little thing is an Ashbory Bass.

It was created around 1985 by luthier Nigel Thornbory and Alan Ashworth-Jones who designed and made the electronics. It was later produced by Guild and then Fender bought Guild and I think they now sell it under the De Armond name
It has a very short scale (20”), thick silicone rubber strings, and a fretless fingerboard with screen printed position lines and is supposed to sound nearer to an upright bass than any other electric bass.
Around 1990 a short-lived Ashbory MkII was made which looked like this.
It has a very short scale (20”), thick silicone rubber strings, and a fretless fingerboard with screen printed position lines and is supposed to sound nearer to an upright bass than any other electric bass.
Around 1990 a short-lived Ashbory MkII was made which looked like this.

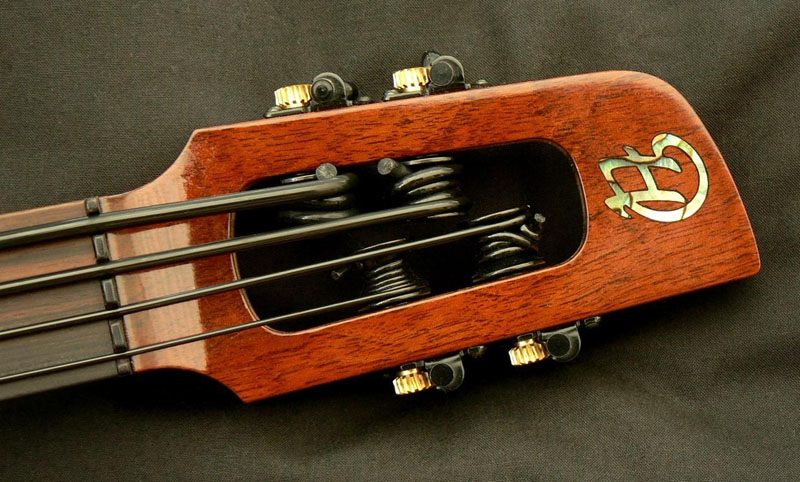
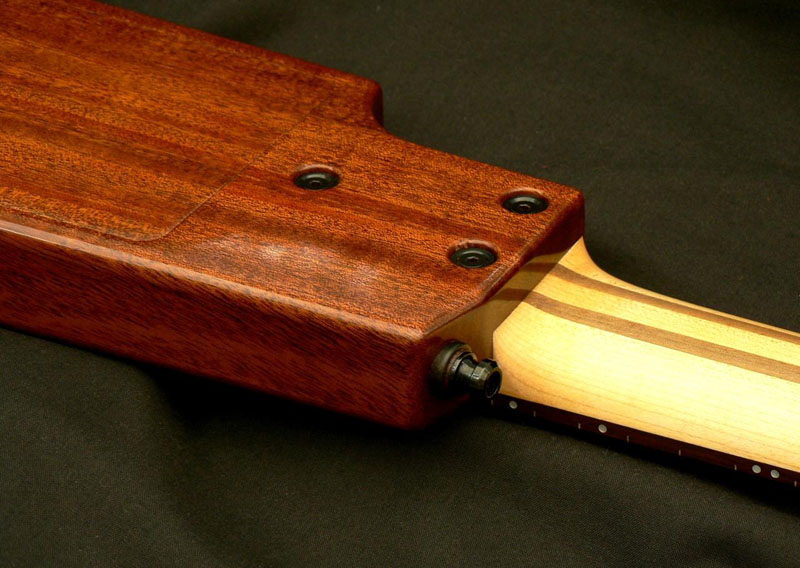
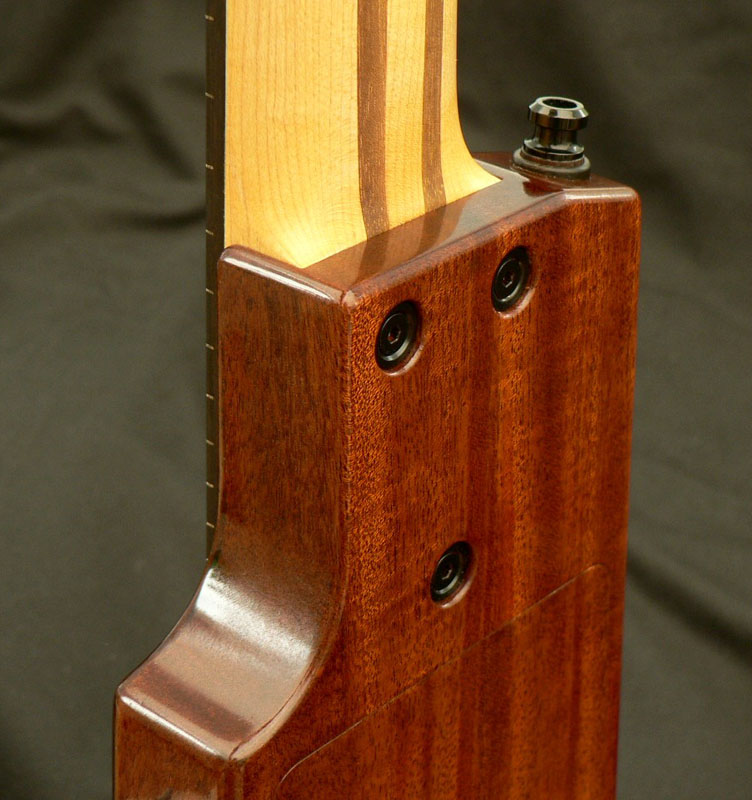
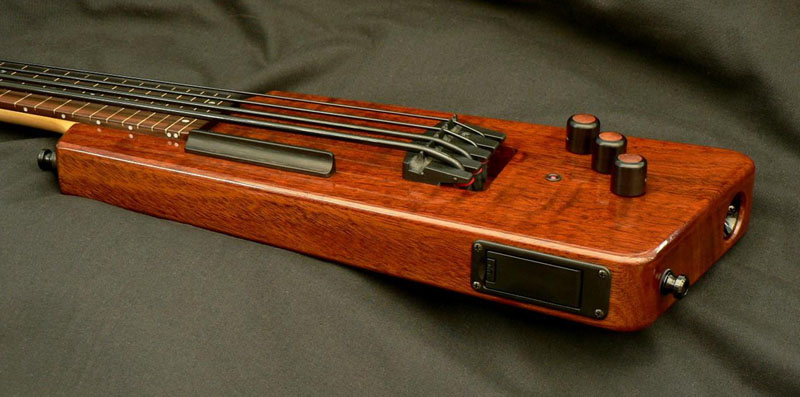
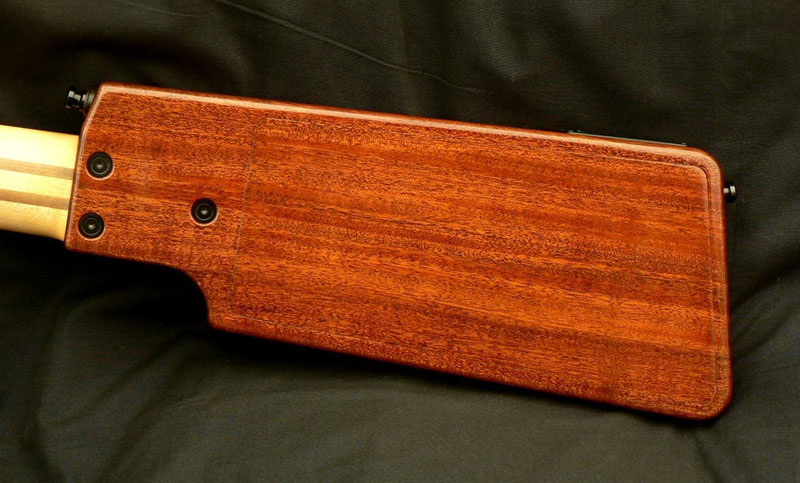
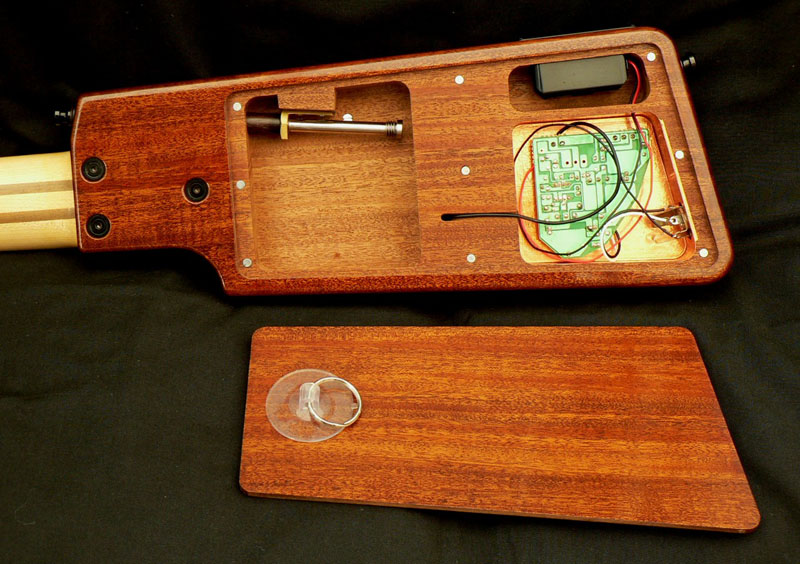
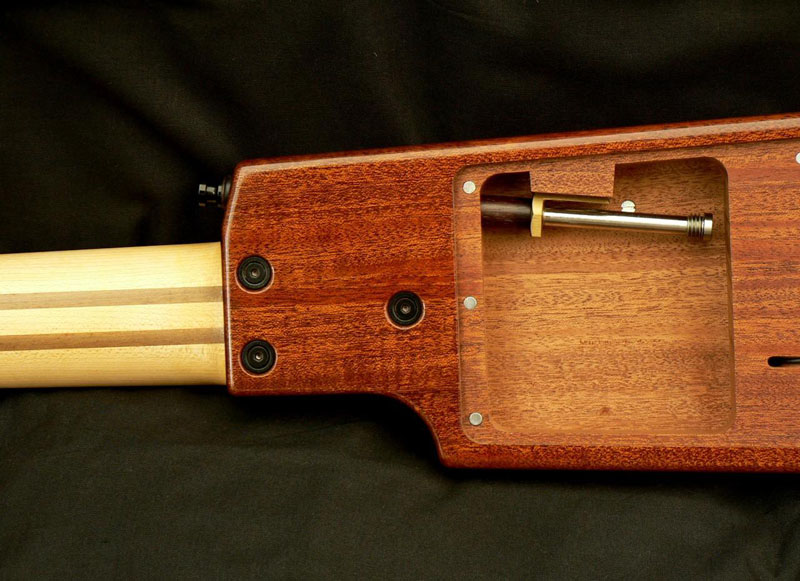
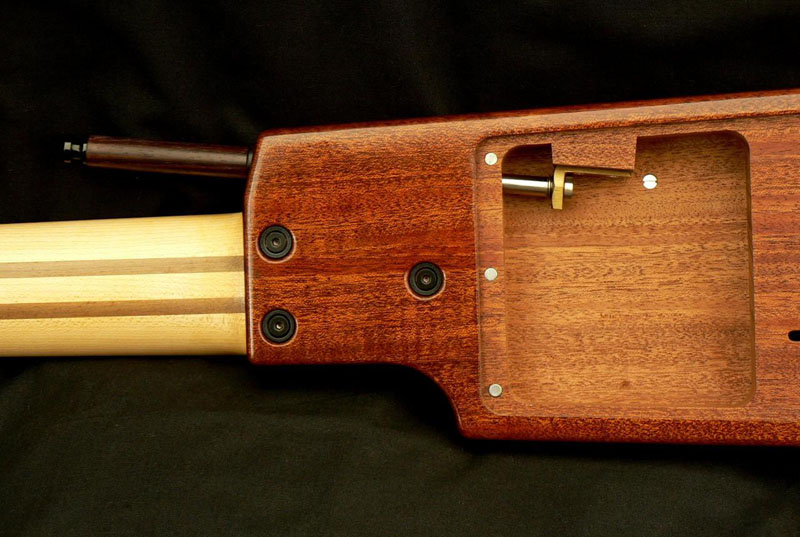
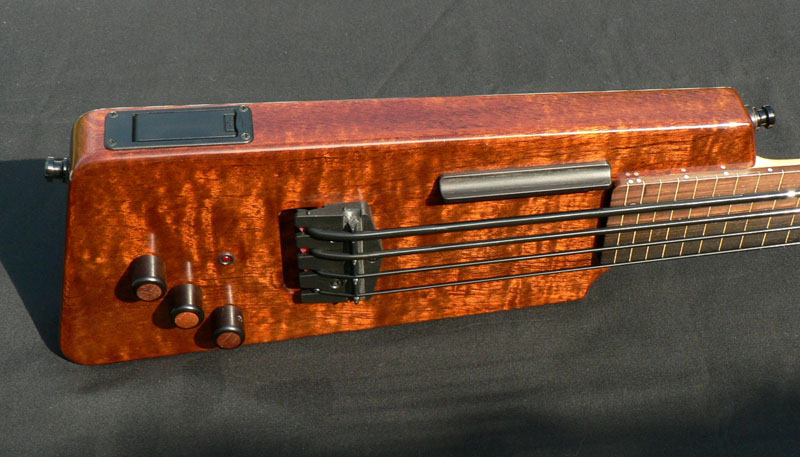
I decided to make a version of a similar shape to the Mk II (which had a 22” scale) with a few modifications of my own.
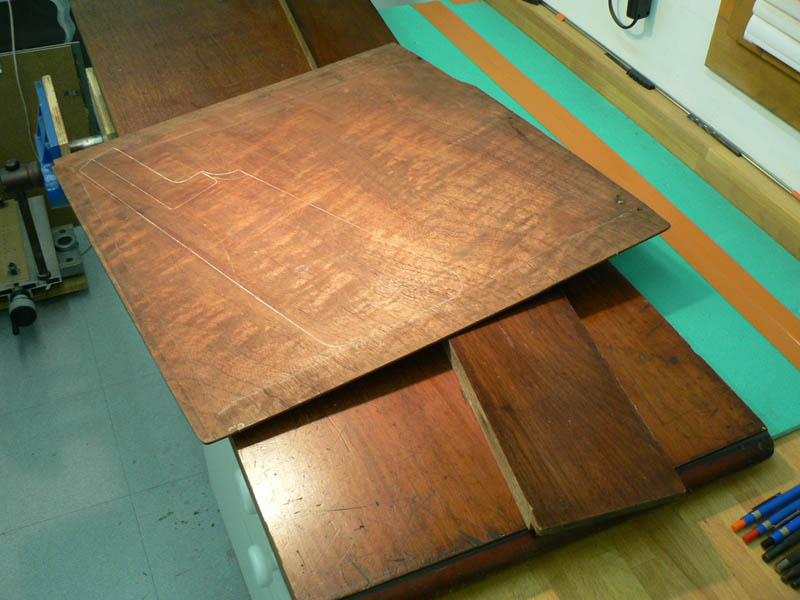
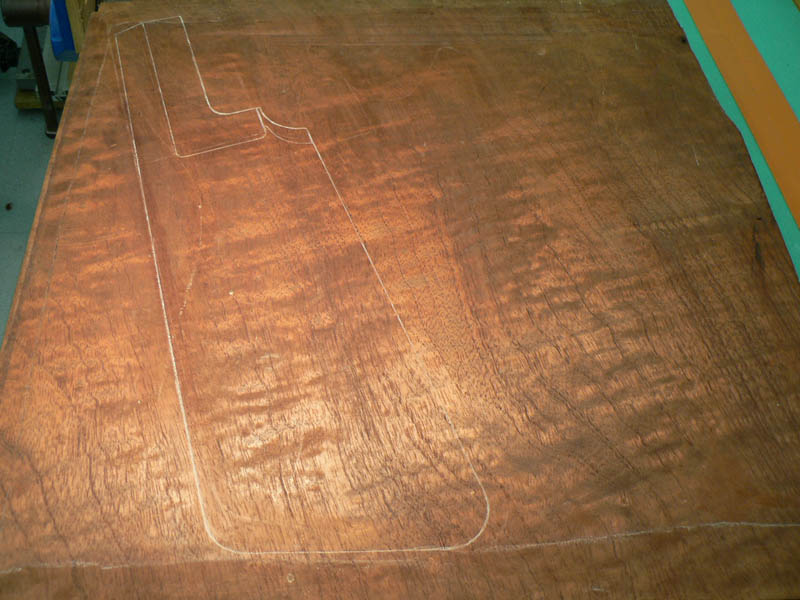
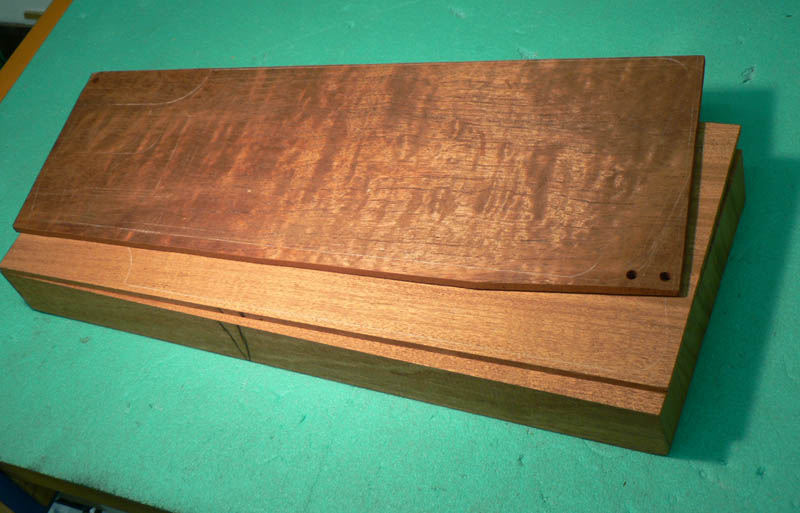
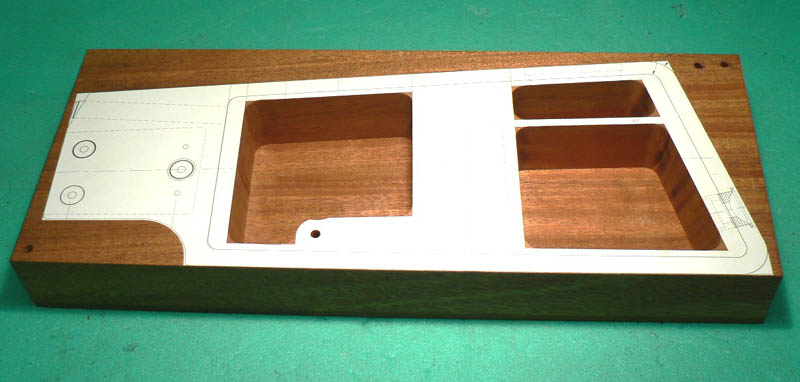
I started out intending to make the body from this (very) old mahogany shelf (rescued from a Georgian house renovation) using one of the last two drawer bottoms from a wrecked antique chest of drawers as a drop top. Some of an old walnut fire surround (the middle piece) will go into the neck together with some plain maple.
I started out intending to make the body from this (very) old mahogany shelf (rescued from a Georgian house renovation) using one of the last two drawer bottoms from a wrecked antique chest of drawers as a drop top. Some of an old walnut fire surround (the middle piece) will go into the neck together with some plain maple.

As you can see there’s some nice figure in this drawer bottom. A cabinet maker once told me that’s why it’s a drawer bottom. They don’t like working curly grained wood and it wasn’t very well finished. Perhaps they didn’t have thickness sanders when this was made.

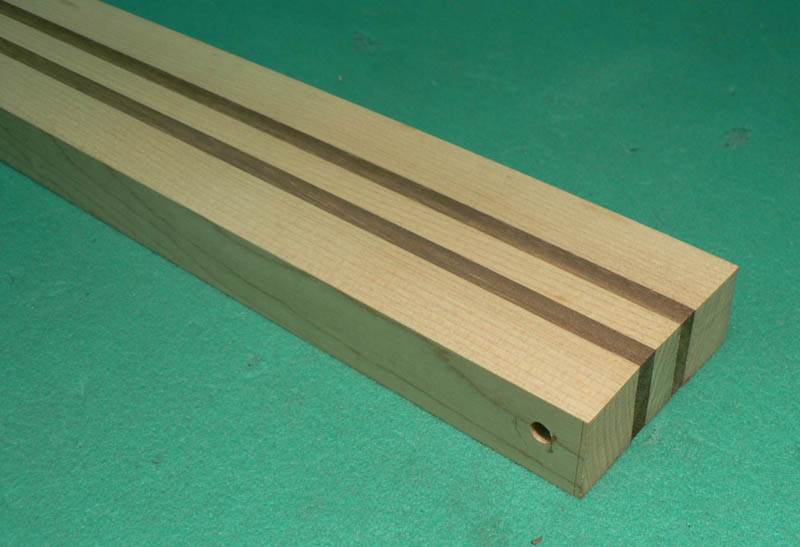
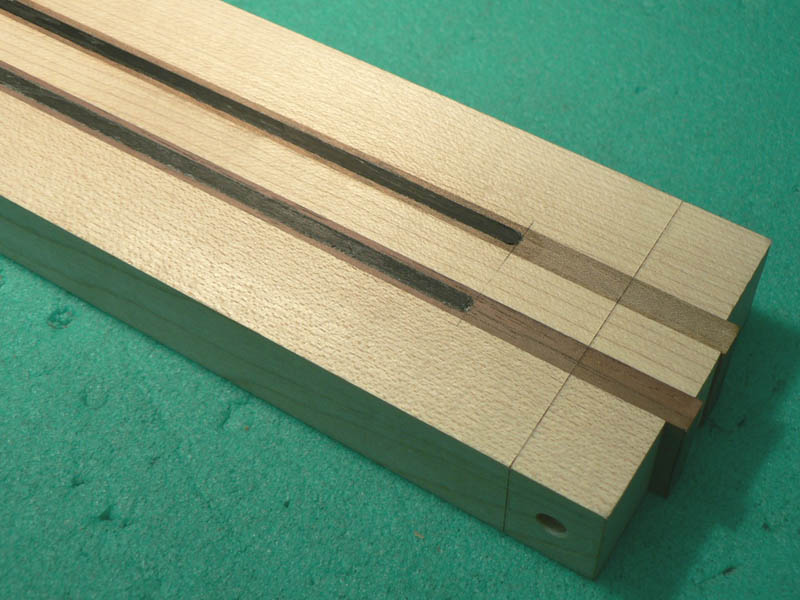
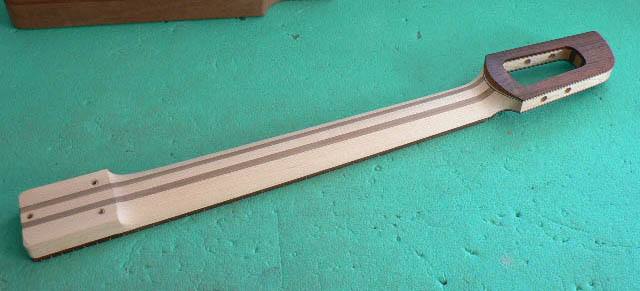
I made the neck first. It’s a sandwich of maple and walnut. The holes are for dowels to stop them sliding around when gluing up. Here they are glued together and thicknessed.

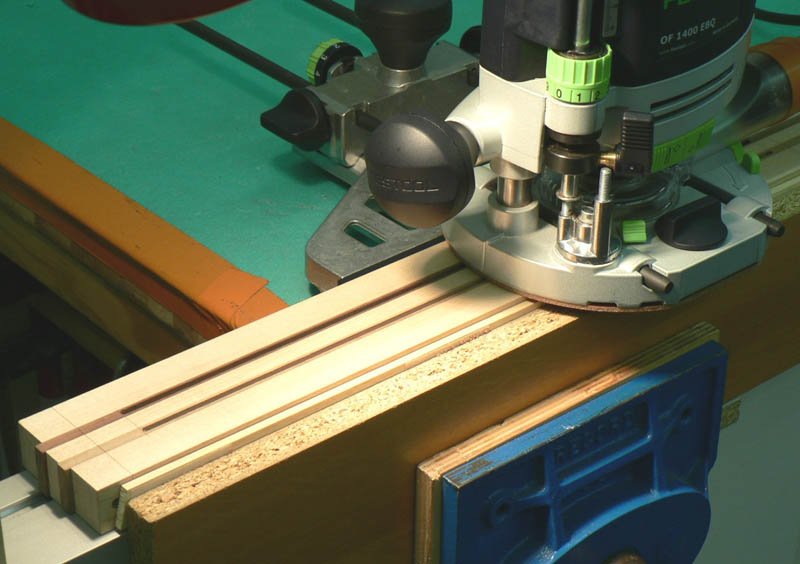
As the scale length is so short and the elastomer strings are quite low tension I didn’t think it was worth incorporating a truss rod, but decided fitting a couple of carbon fibre rods wouldn’t do any harm. Here are the slots being routed for the CF.

The carbon fibre rods are glued in with thin cyanoacrylate glue.

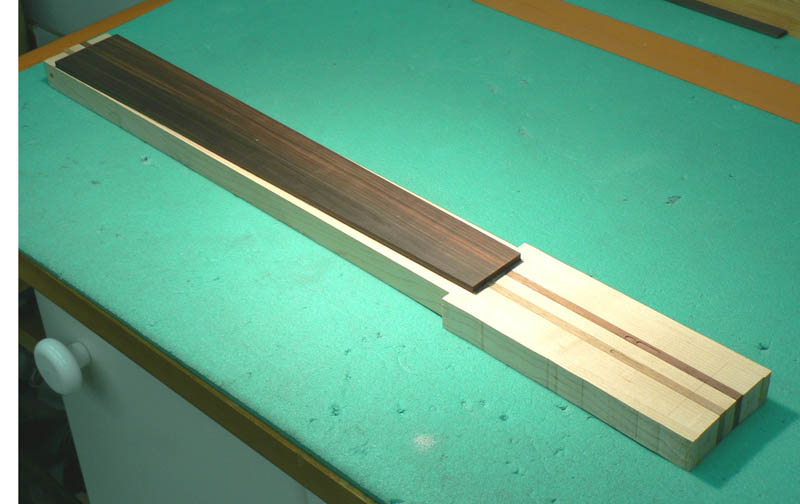
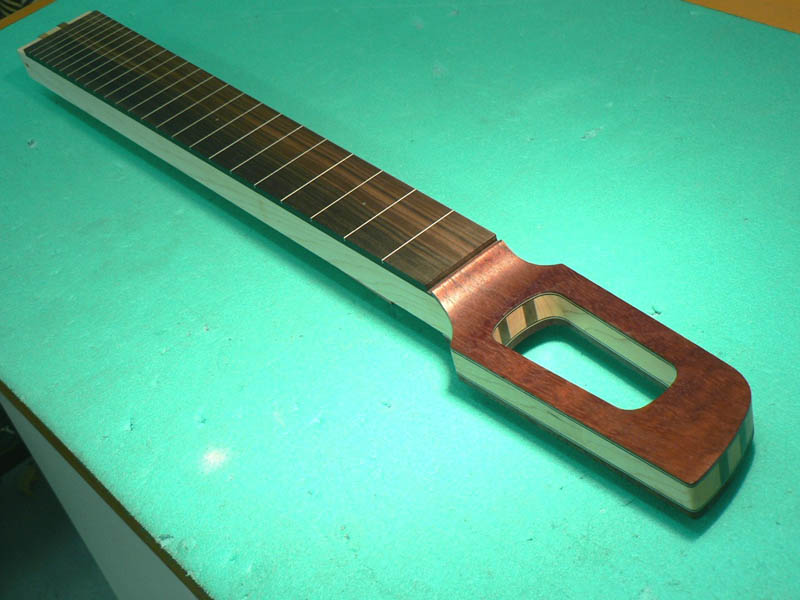
‘Wings’ glued on for the headstock and the fingerboard glued in place.

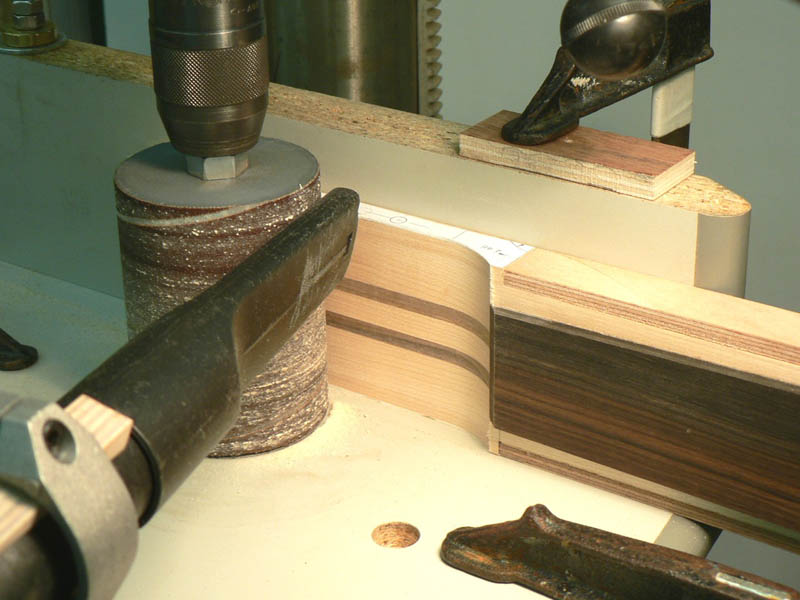
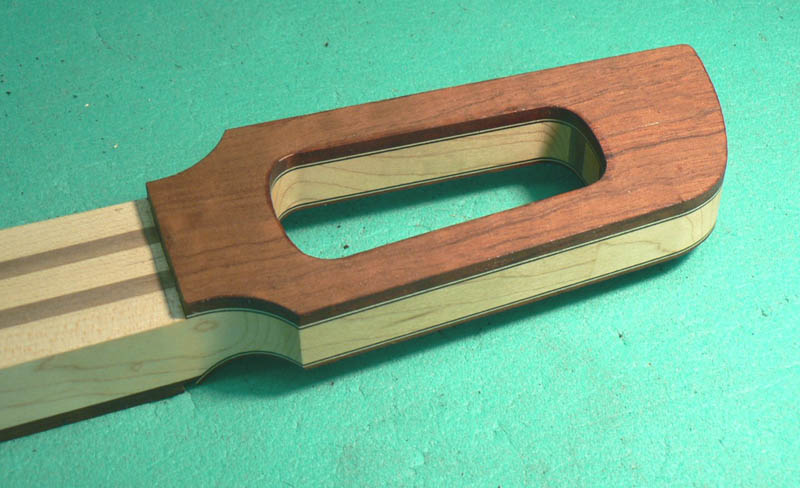
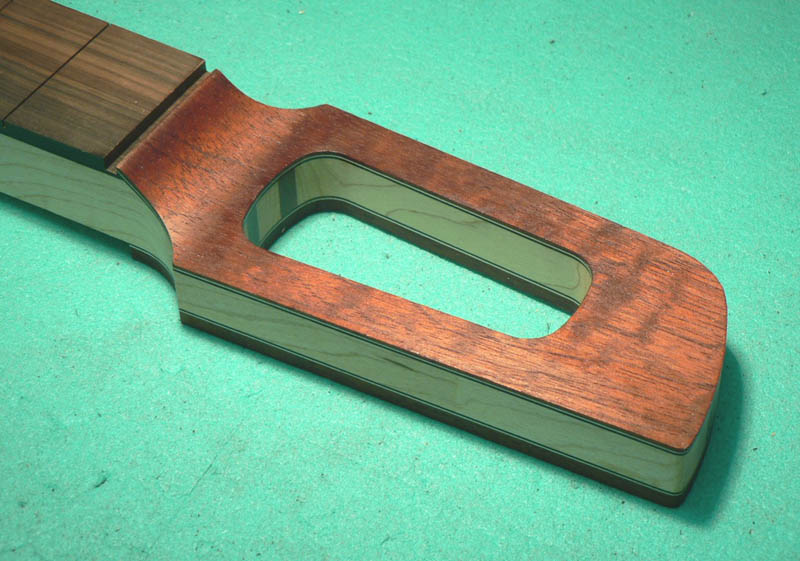
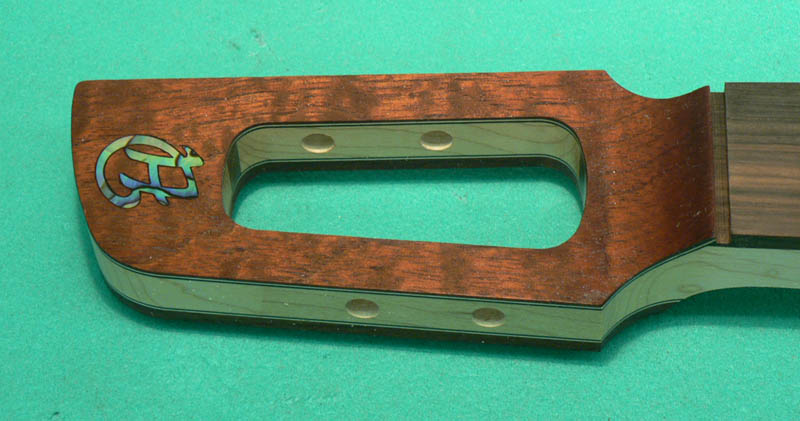
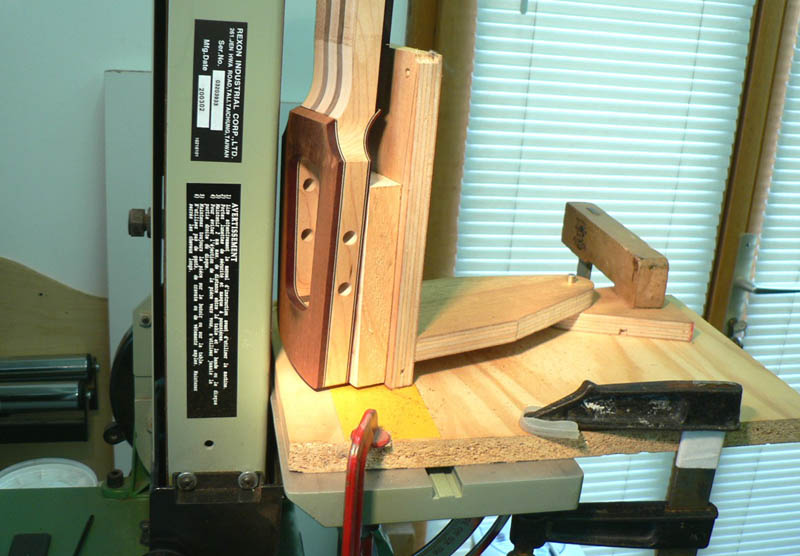
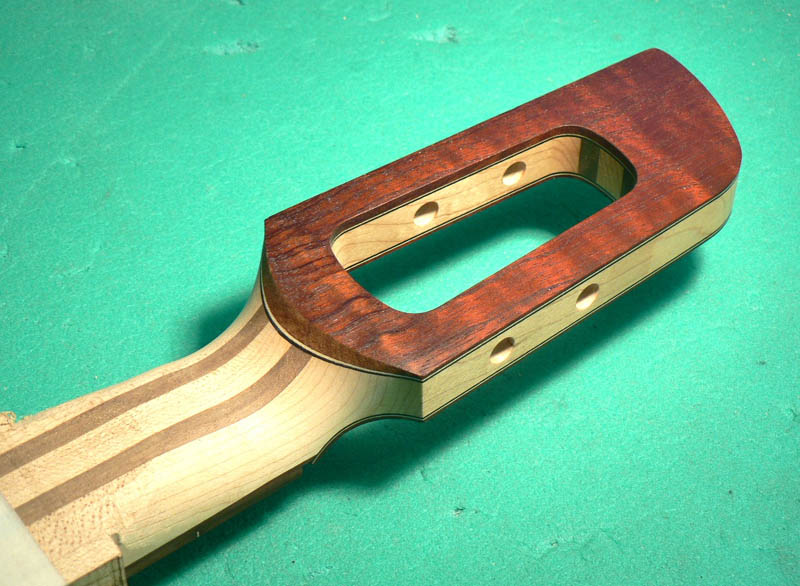
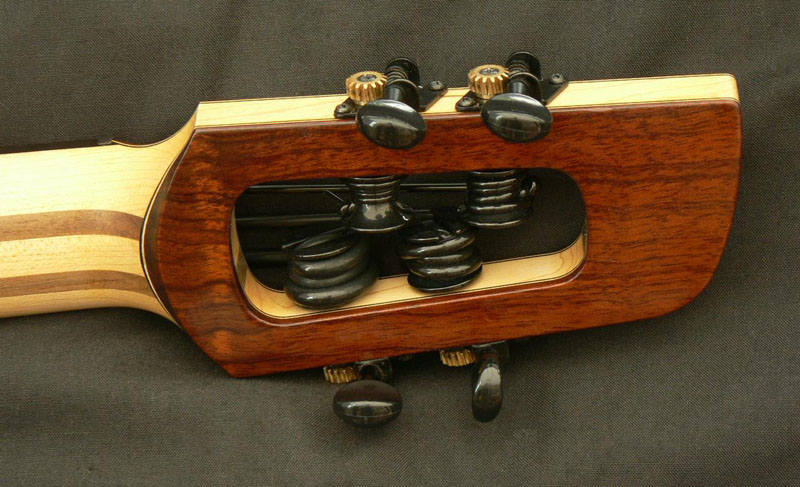
The headstock will be offset like a Fender but with a big hole in the middle (!). After cutting some of the surplus off on the bandsaw it was sanded on the home-made vertical thickness sander thingie.

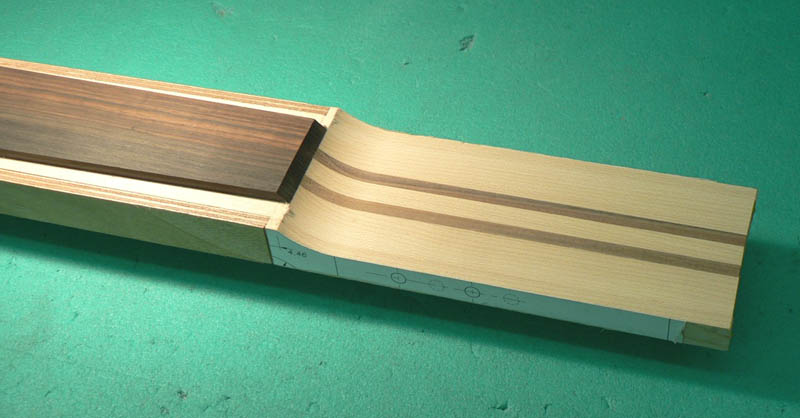
After which it looked like this.

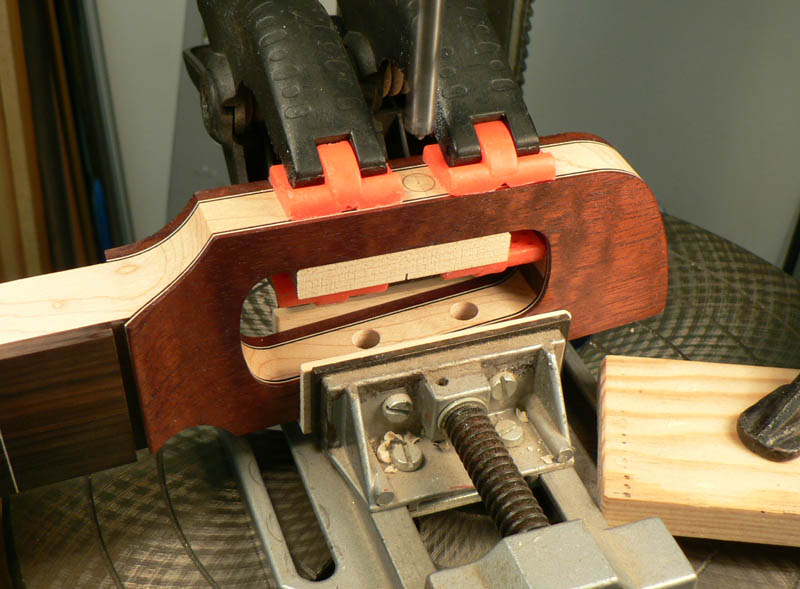
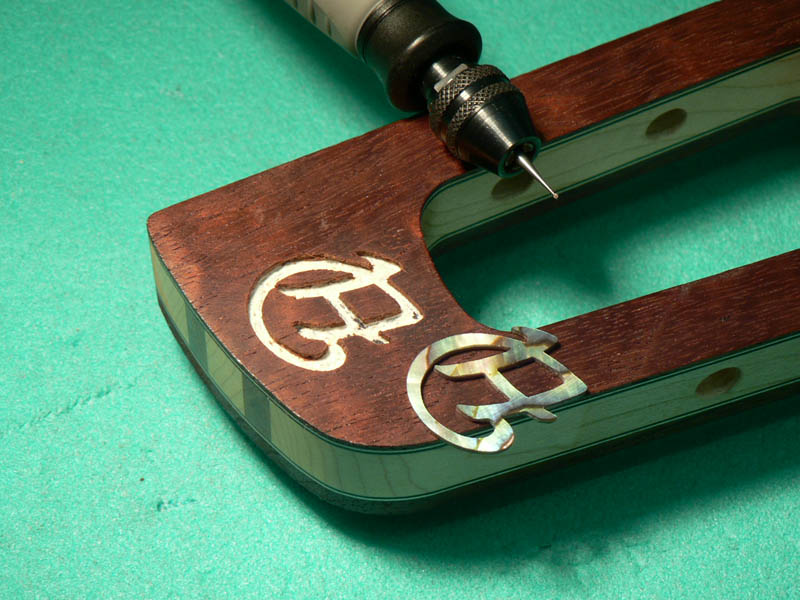
Gluing the headstock veneers. They were pre-bent on a hot pipe; 1/16” mahogany on top of a maple and dyed black veneer.

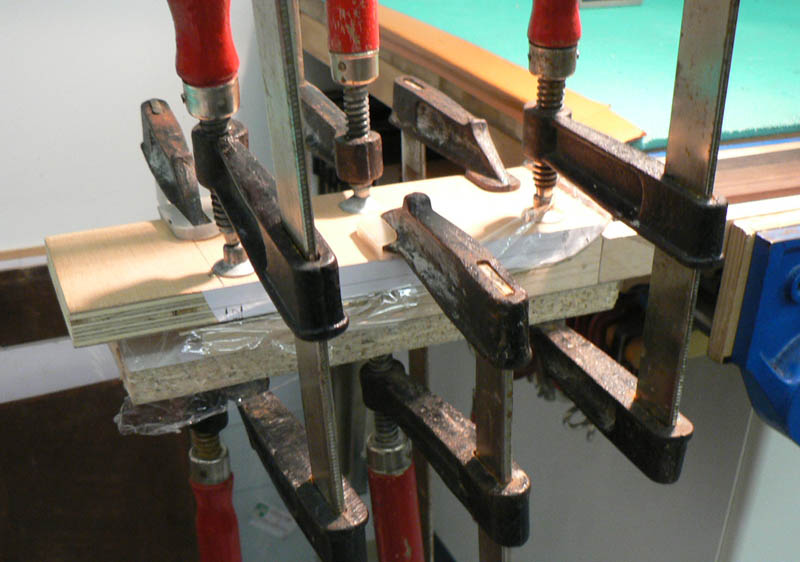
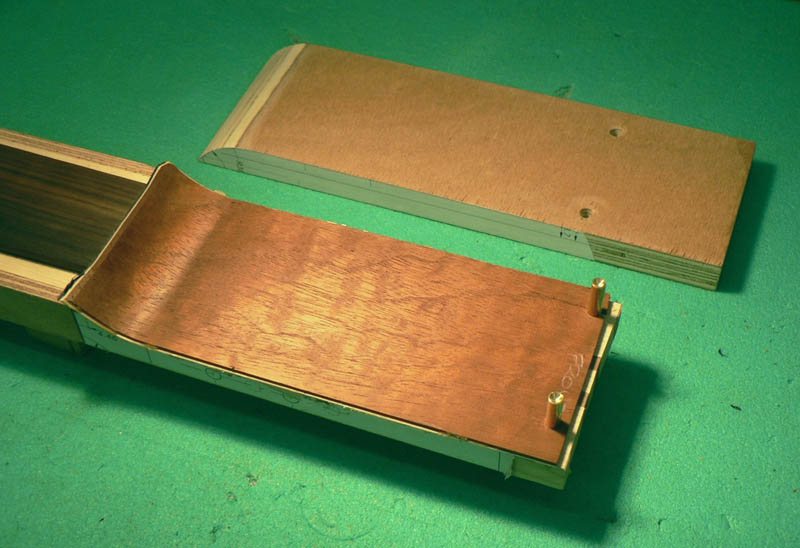
Front veneers glued and the clamping caul and dowels used to stop them sliding around. There’s also a plate about 5mm thick glued onto the back but I must not have taken any photos of that.

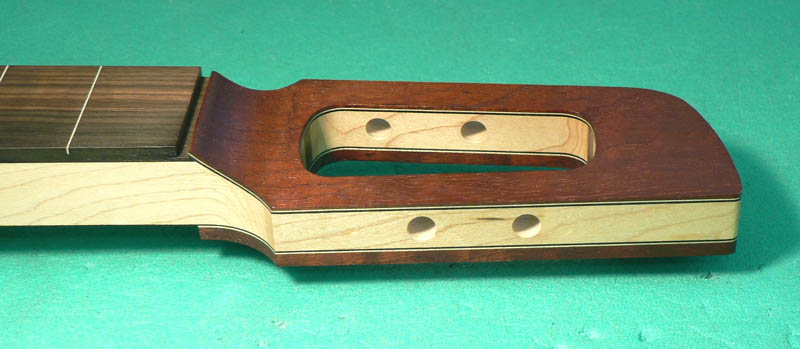
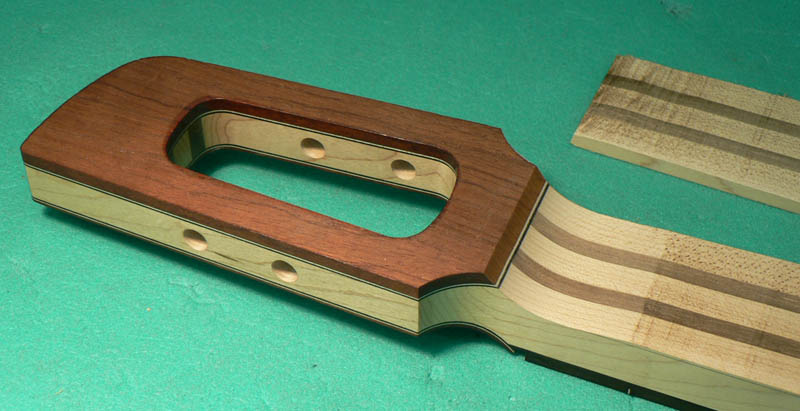
Here you can see the back plate. The headstock has been routed to shape by attaching a template with double sided tape and routing on the router table. (More missing photos)

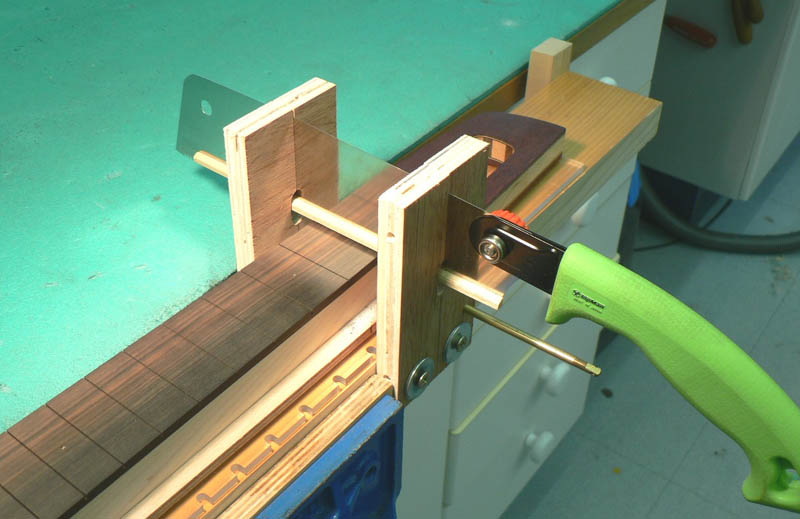
Cutting the ‘fret’ slots. It won’t actually have any frets but, as I’d never tried to play a fretless bass and it’s an odd scale length I thought I’d better have some position markers.

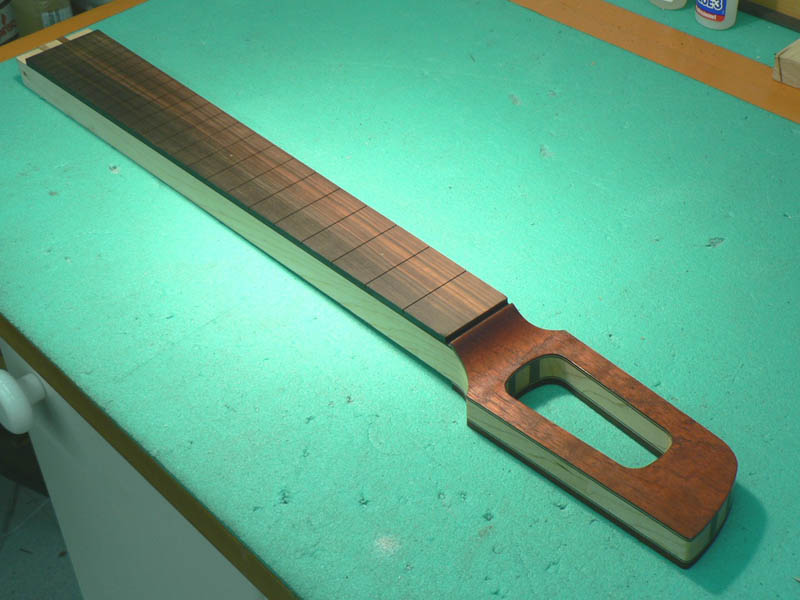
A view of the front with a bit of shellac rubbed on to bring out the colour. The back and front veneers are more bits of drawer bottom. I appear to have also cut the nut slot in this photo... can't for the life of me remember how I did it...

Another view of the whole thing.

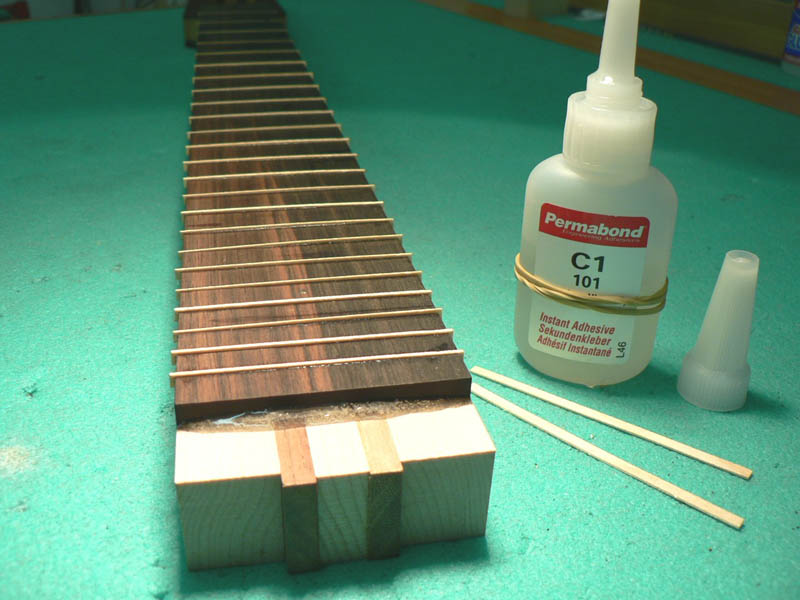
Strips of maple veneer glued in for fret position markers.

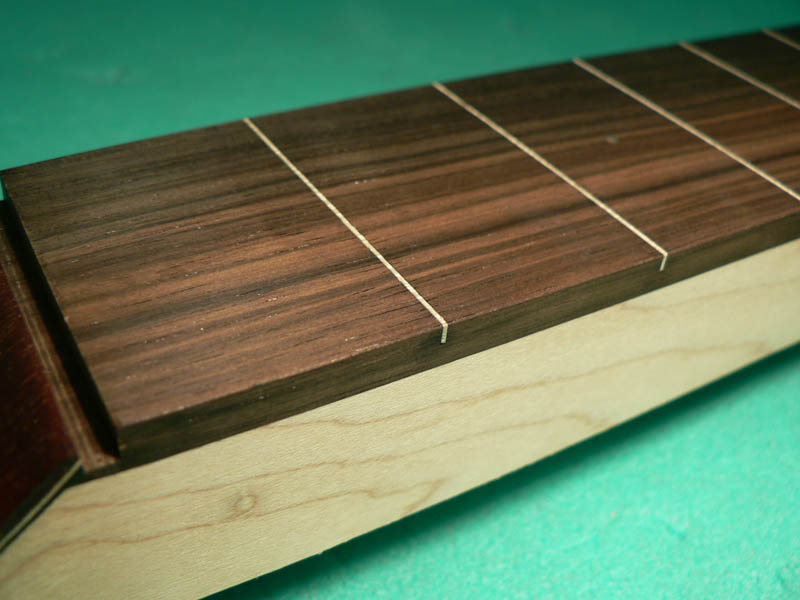
Markers sanded flush.


Back soon.







 Jo whoever he is.


