|
|
Post by lars on Feb 21, 2021 19:36:49 GMT
This is my second guitar build but my 15th steel string instrument. The first guitar was a Grand Concert/00-sized instrument which turned out to be a lovely instrument. Mainly an instrument for finger picking, but also a good instrument for strumming. This time I wanted a larger instrument to compete with a Dreadnaught but more versatile. So I started to design what was supposed to be a Small Jumbo. But when it ended it was very similar to a Grand Auditorium. So I guess this is my take on a GA-guitar.  This guitar shares a lot of design principles with the last one. The lower bout is rounded to push the "sweet spot" forward. So the waist is also pushed forward and the upper bout is slightly smaller than traditional. I continue to experiment with an X/fan hybrid bracing etc. The guitar will be built with an European Spruce top, Sapele back and sides and an African Mahogany neck. It will be a thirteen fretter, as it places the bridge further back on the lower bout. To get access to the higher frets it will have a Florentine Cutaway. A lot of other design- and material decisions are yet to be made. |
|
leoroberts
C.O.G. 

Posts: 26,120  My main instrument is: probably needing new strings
|
Post by leoroberts on Feb 21, 2021 22:18:59 GMT
Looking forward to the photos as the build progresses, lars  |
|
|
|
Post by lars on Feb 22, 2021 17:11:00 GMT
Looking forward to the photos as the build progresses, lars  Thank you, Leo! |
|
|
|
Post by lars on Feb 22, 2021 17:21:49 GMT
|
|
|
|
Post by lars on Feb 22, 2021 19:05:16 GMT
In the last post I meant to say "Here are the mandatory pictures of planing and gluing pieces of wood", but a few words fell away... Next is the rosette. The "ring" is made of Sapele, just as the sides and back. To tell the truth it is made of the wood for the original sides (I buy back and sides in sets). I made an experiment to see if I could take away the bulk of thickness in the thickness planer. It didn't work out. The planer tore large pieces out of the wood. But it left me with some pieces of wood with interesting grain and figure. So that's what I used for the rosette: ![]() 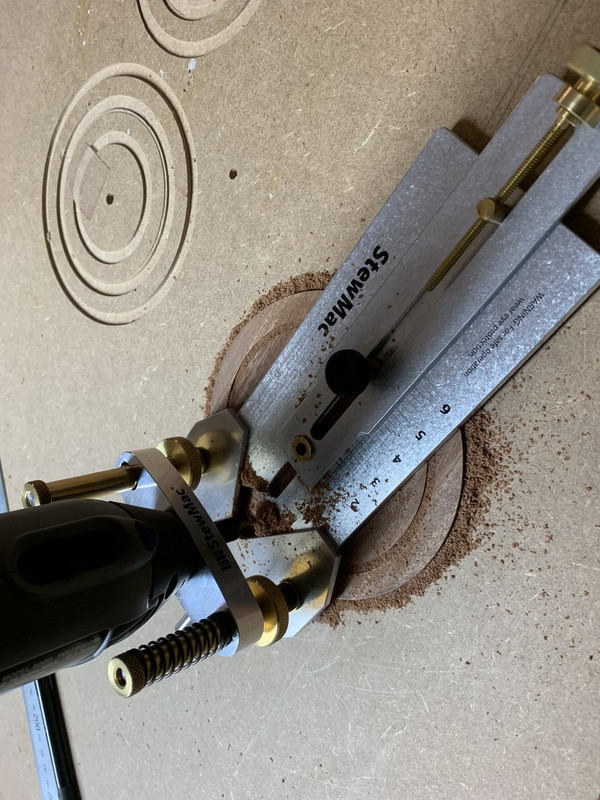 ![]() 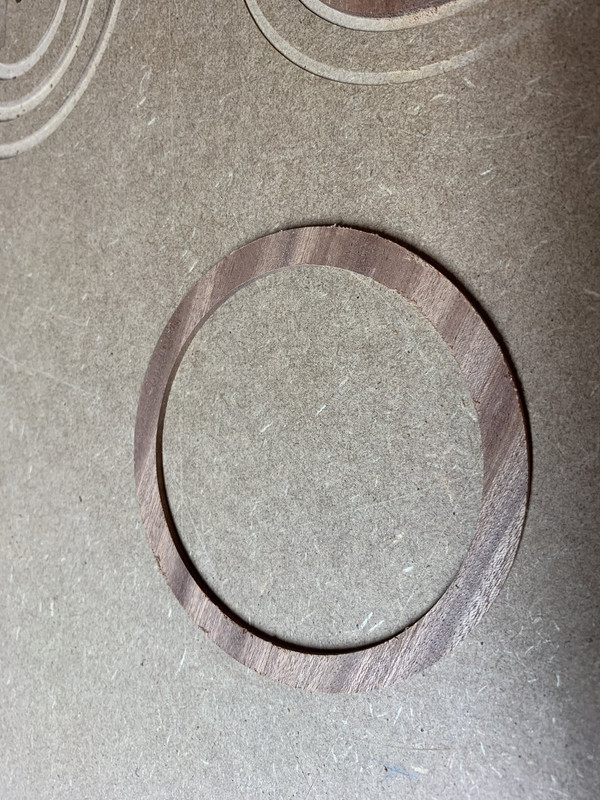 Then I route a circular pocket for the rosette in the top: 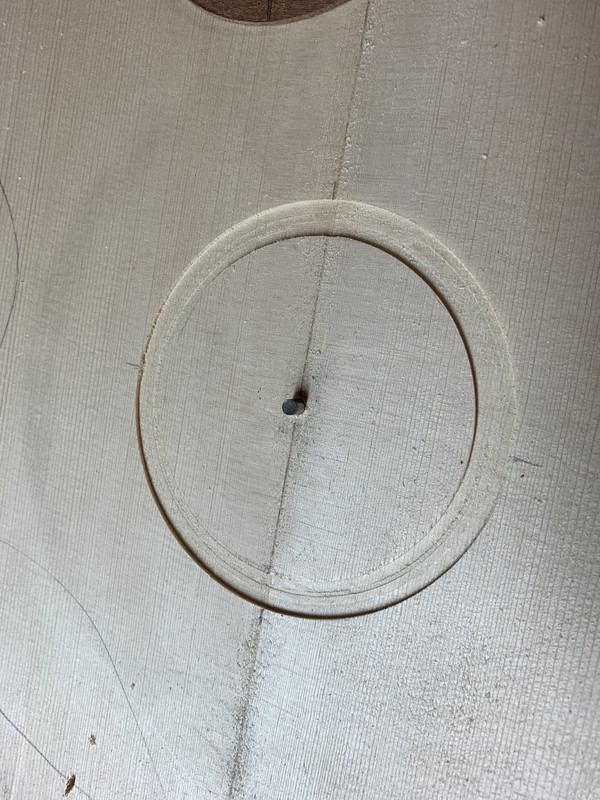 And add a sound hole patch at the back side: 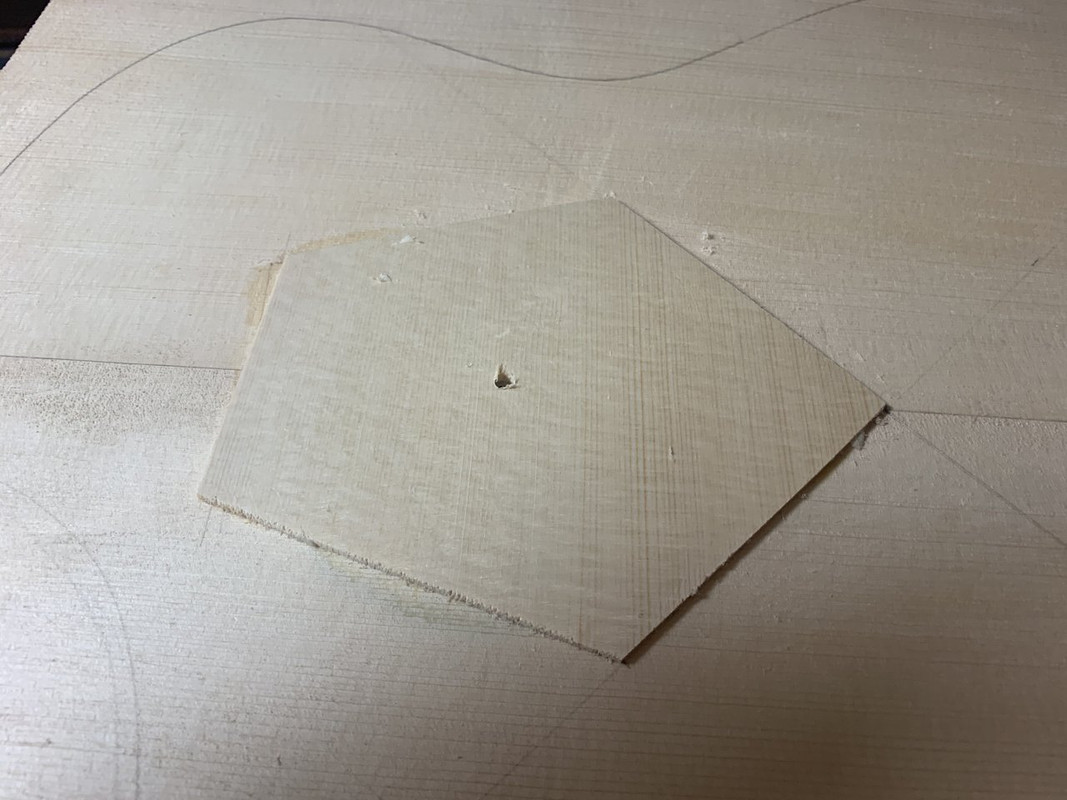 I route a channel for the purfling and then I route the sound hole itself: 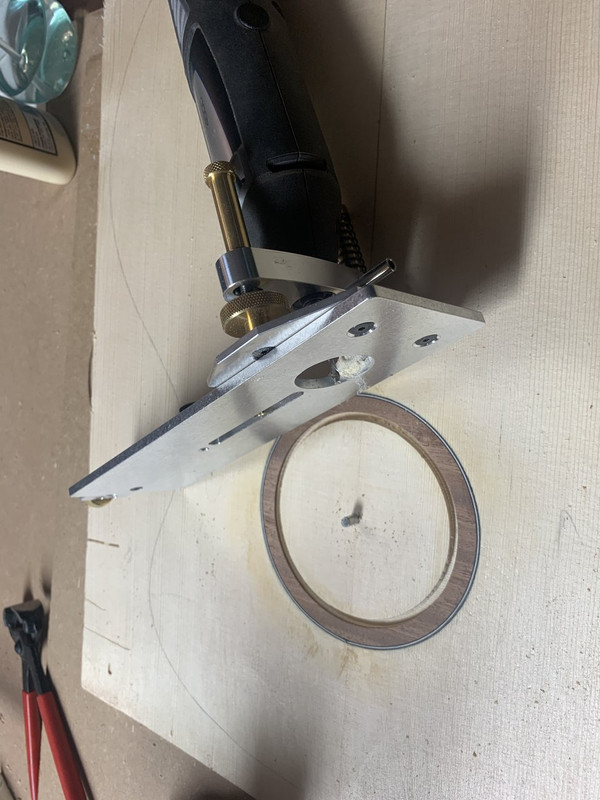 Lastly a Birch wood binding is added to the sound hole: 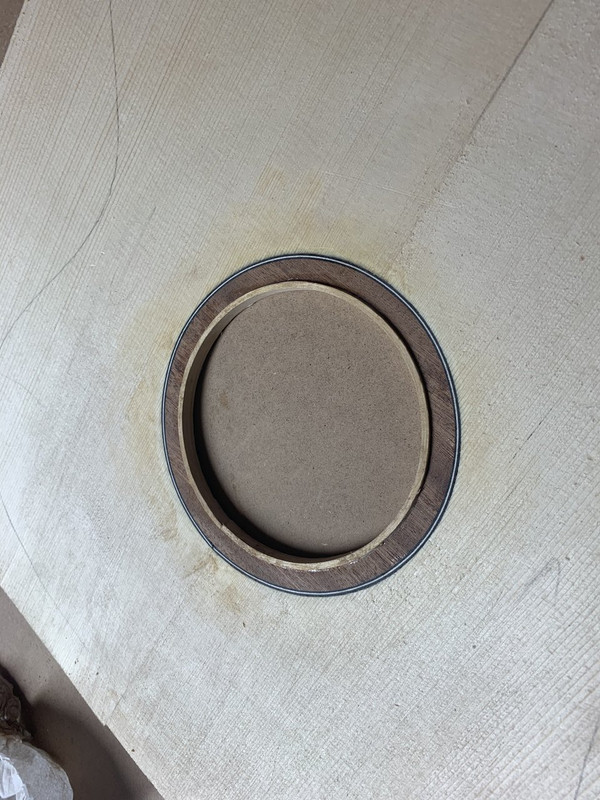 And after some trimming it looks like this: 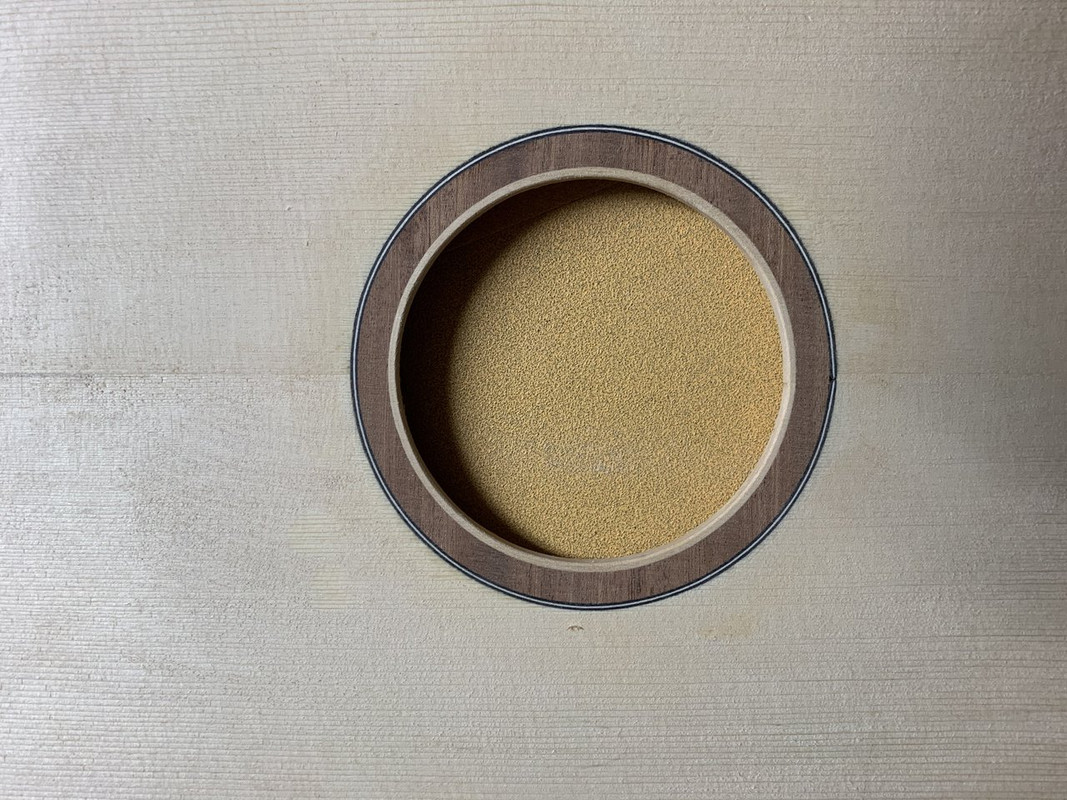 |
|
|
|
Post by lars on Feb 22, 2021 19:53:37 GMT
Bracing the top
The x-braces are profiled in the 25´sanding dish 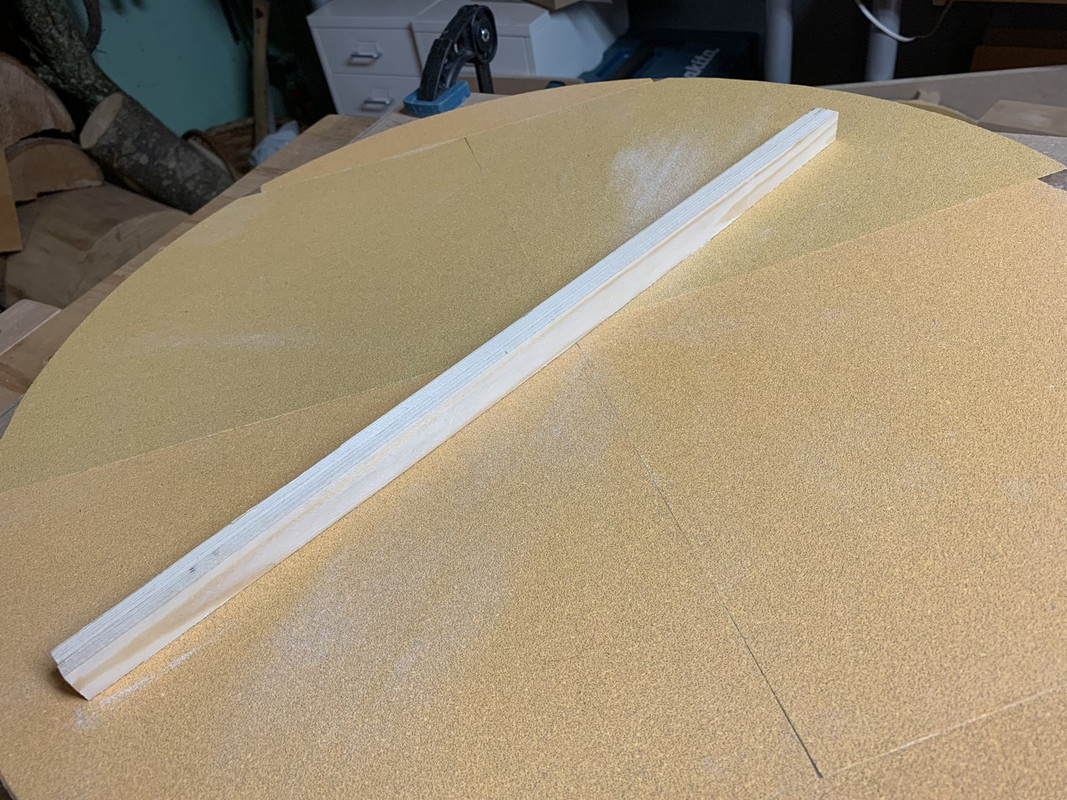 And are notched 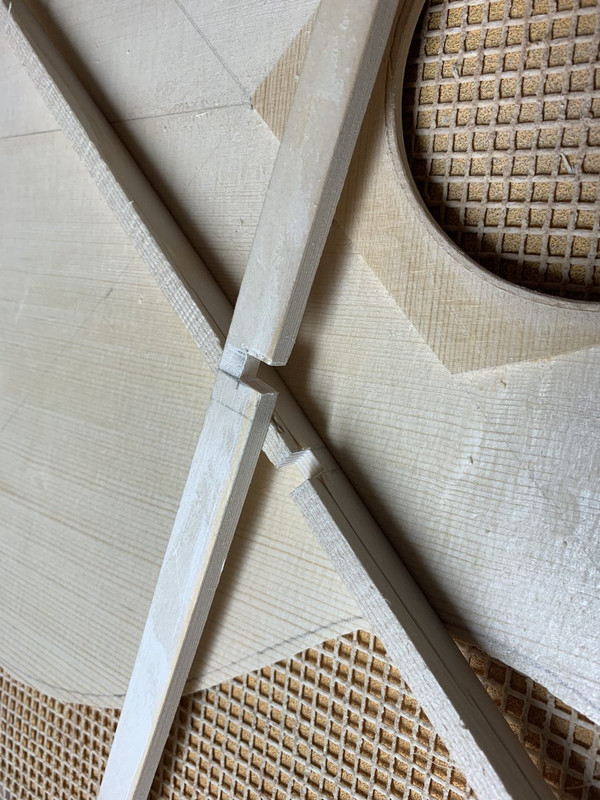 And glued to the top in the "hidden beneath the work bench go-bar deck": 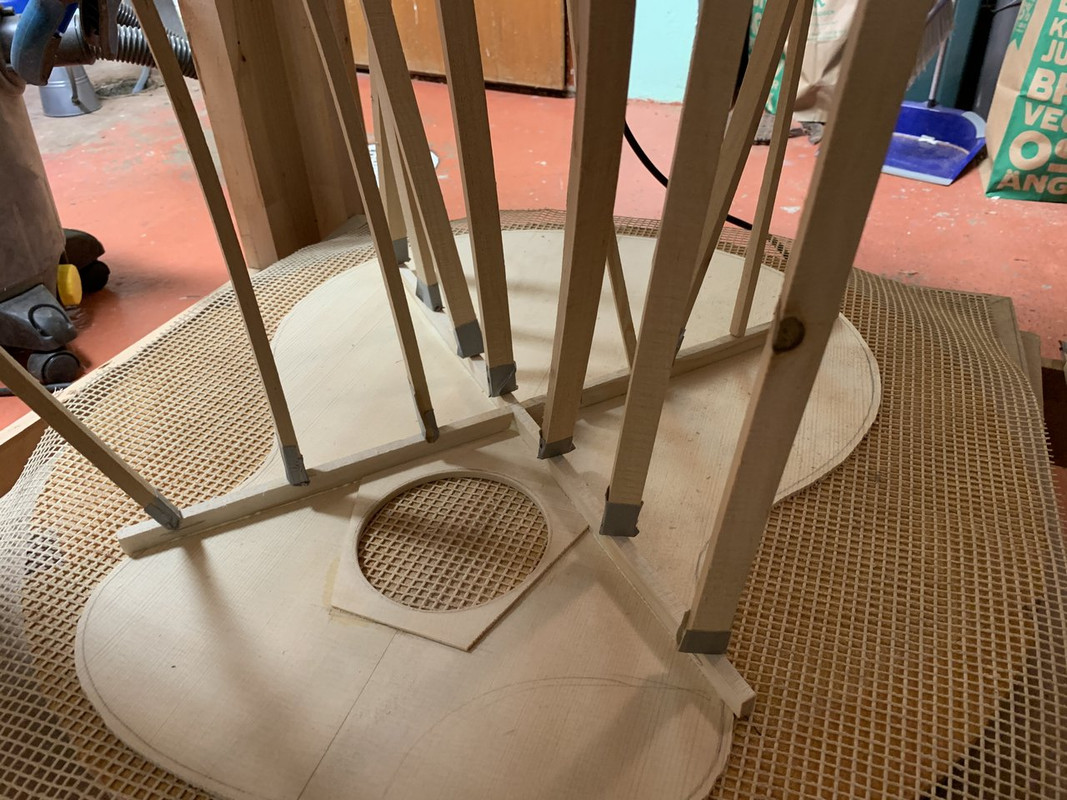 Then the finger braces are added. The top didn't appear to be as stiff as I expected so I went for five fan braces (my original plan was four): 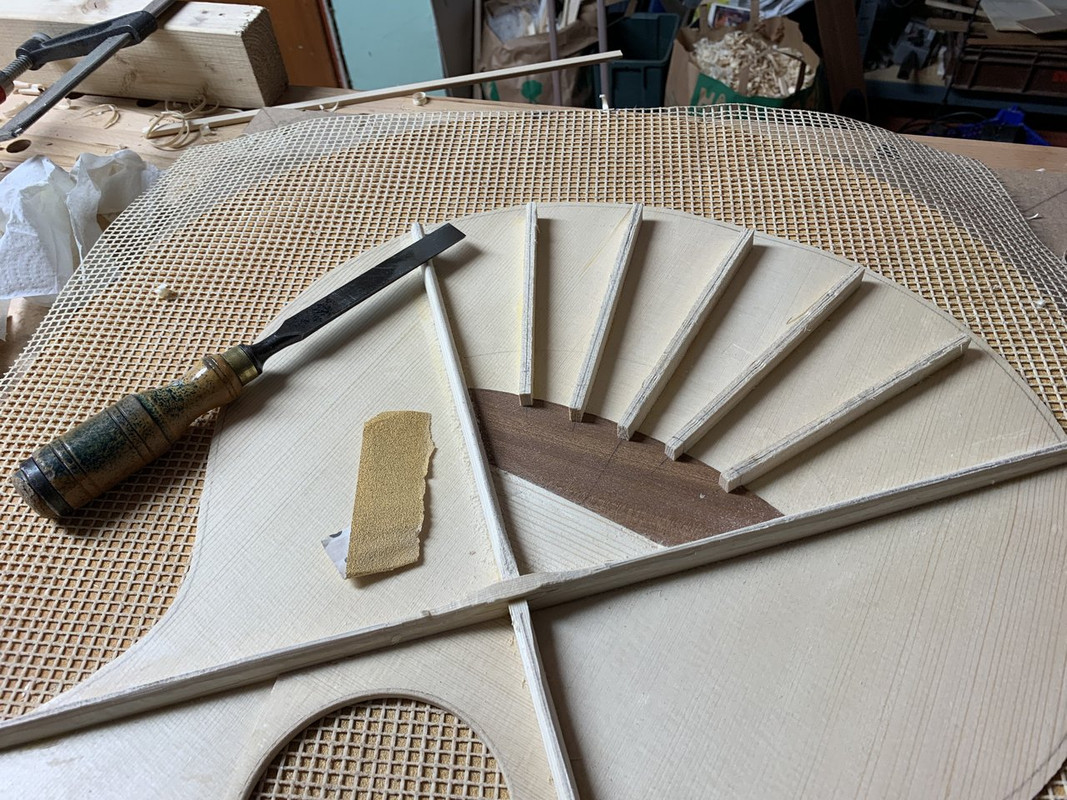 (The bridge plate is also Sapele btw. It may seem like a rather soft hardwood, but the Janka Hardness is a lot higher than Maple and Sycamore, so it's really one of the most suitable woods for this.) For the same reason I went for three finger braces at each side: 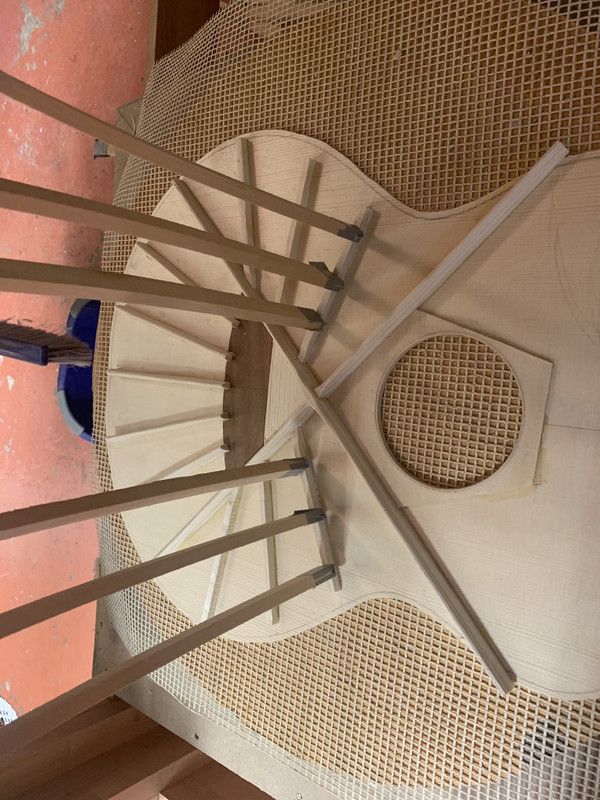 The upper traverse brace is glued. Here I made "fatal" mistake and followed some bad advice on the internet. The advice was "keep everything below the sound hole profiled, but keep everything above the hole straight to give you a correct angle for the neck extension". So I did but it made the top topography a bit awkward. Not a big problem, but it locked me into certain construction and design decisions later on:  Here all the braces are on: 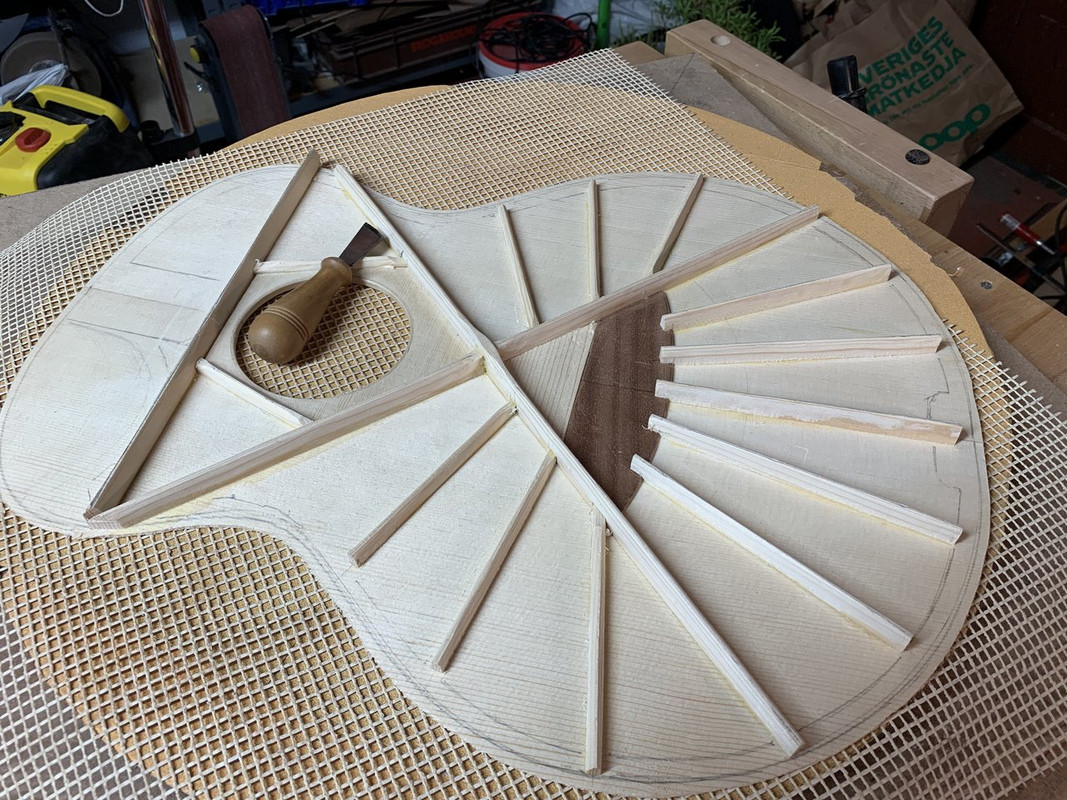 And finally it's time for "voicing the top". This is the part when I whittle on my braces, tap the top and sounds and look like Winnie-the-PooH. This is what the bracing looked like when I was almost finished: 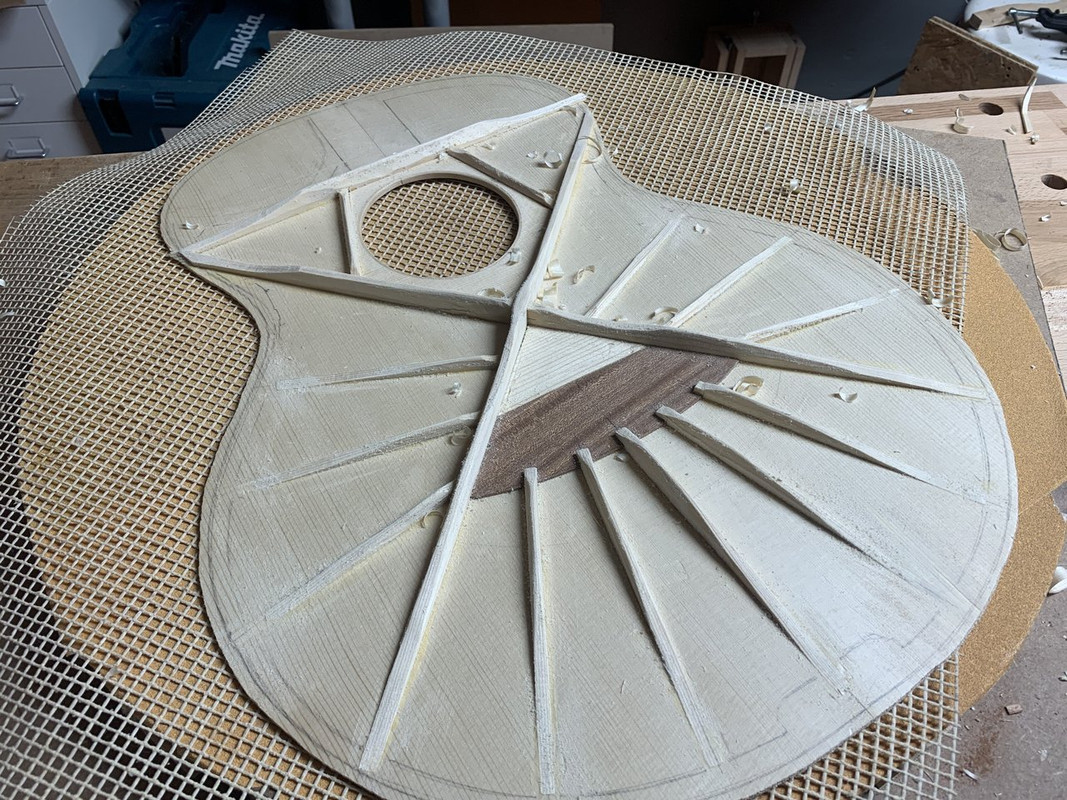
|
|
|
|
Post by lars on Feb 23, 2021 20:41:52 GMT
Making the rim
I bend the sides with a simple "hot pipe" setup. It consists of an aluminium pipe and a heat gun. Similarly to the thickness sander, I don't have the space for a "bending machine" and all the moulds you would need to bend them in a fox style bender. It has its pros and cons to bend by hand - it's one of the most enjoyable parts of building when it works, but it's difficult to get the same consistency. Here are the bent sides resting in the body mould: 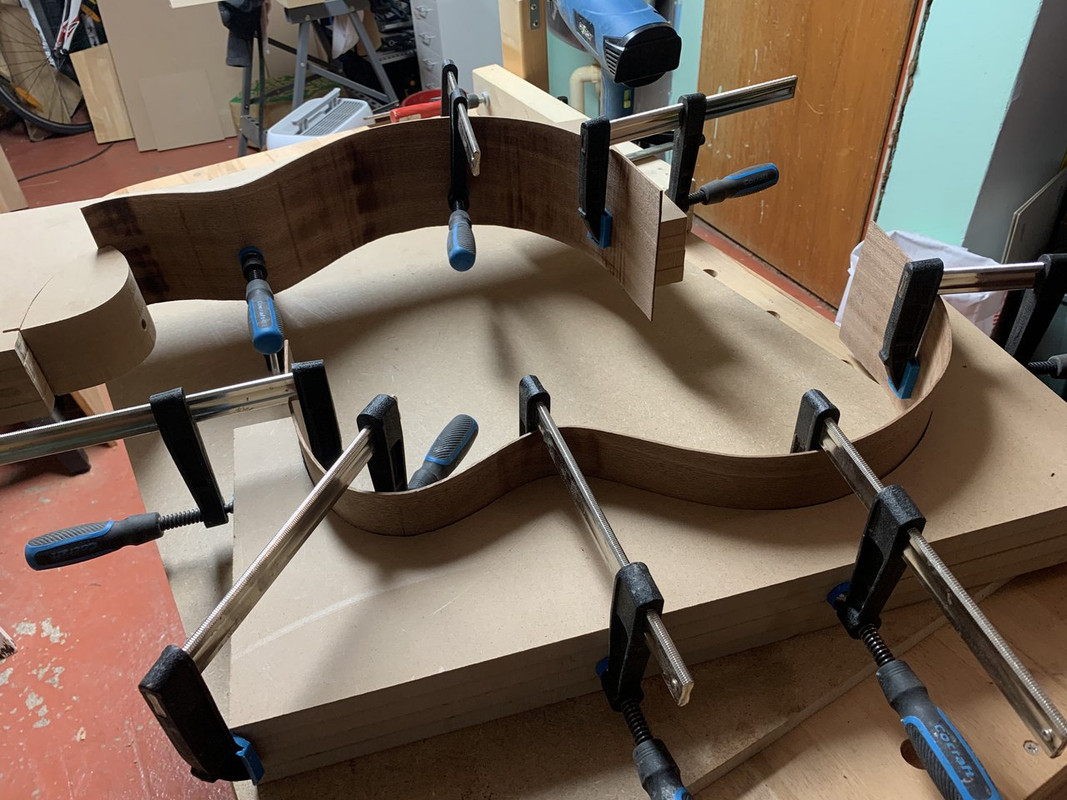 And here is the cutaway part: 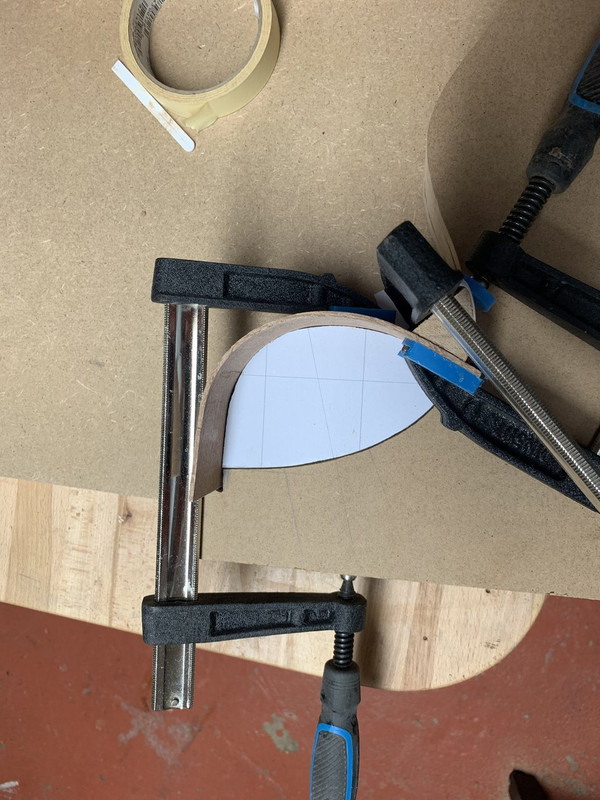 I start by gluing the cutaway with the under side. I use epoxy for this:  Then both sides are glued with the tail block: 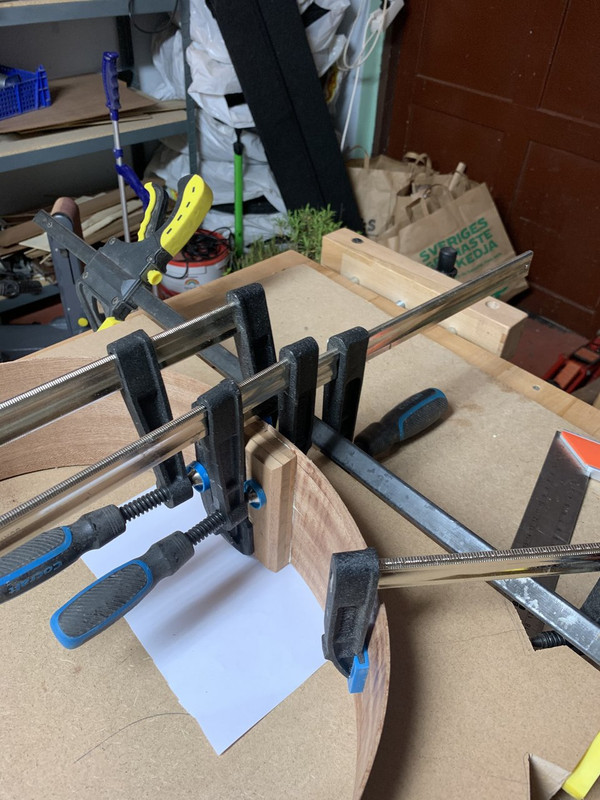 No pictures from the last step, but it's gluing the sides to the neck block. Here the laminated solid linings that I use for the top are glued in a mould: 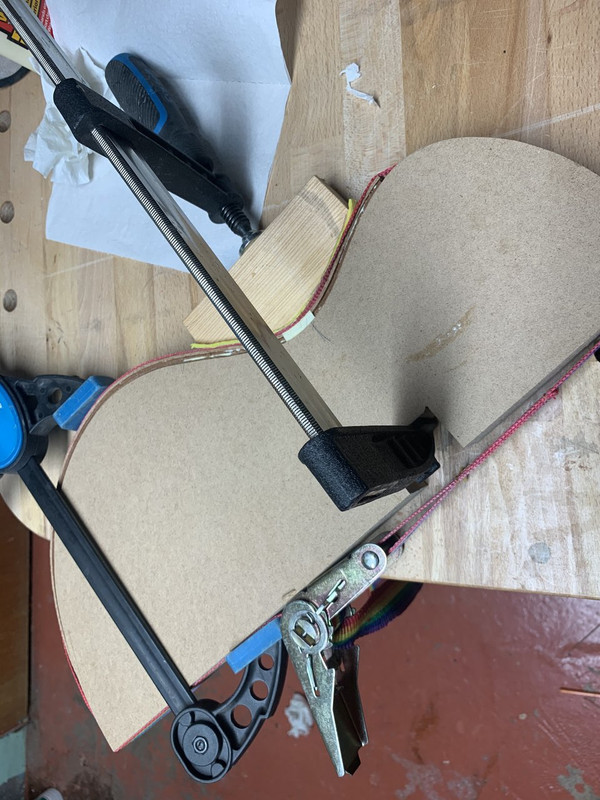 And the result is here: 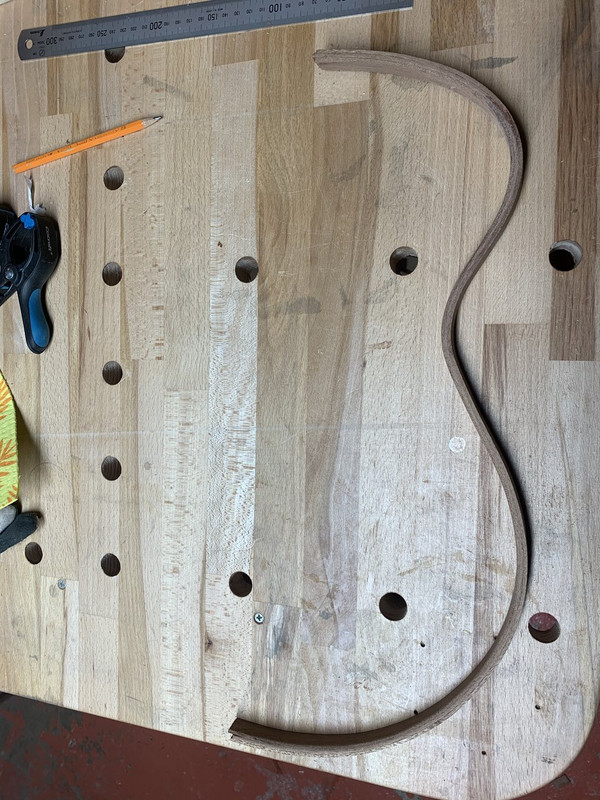 Solid linings glued to the sides:  And reverse kerfed linings are glued to the back side and then sanded to match the profile: 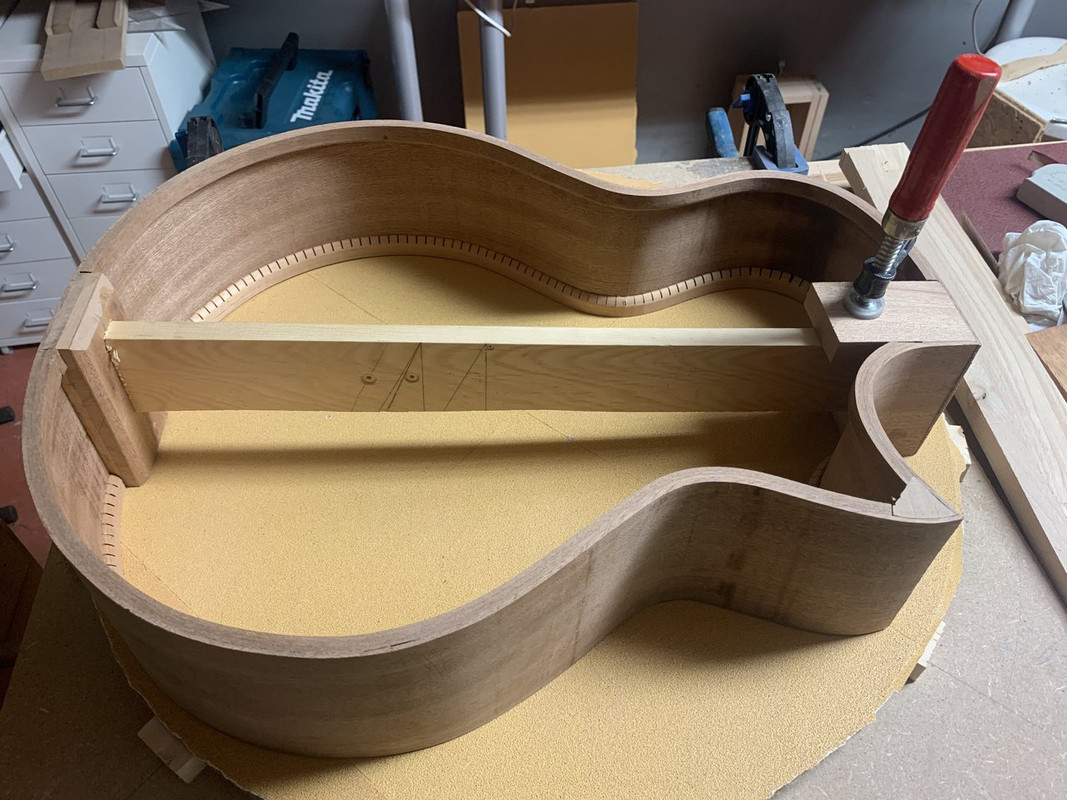 The CF floating rods are added: 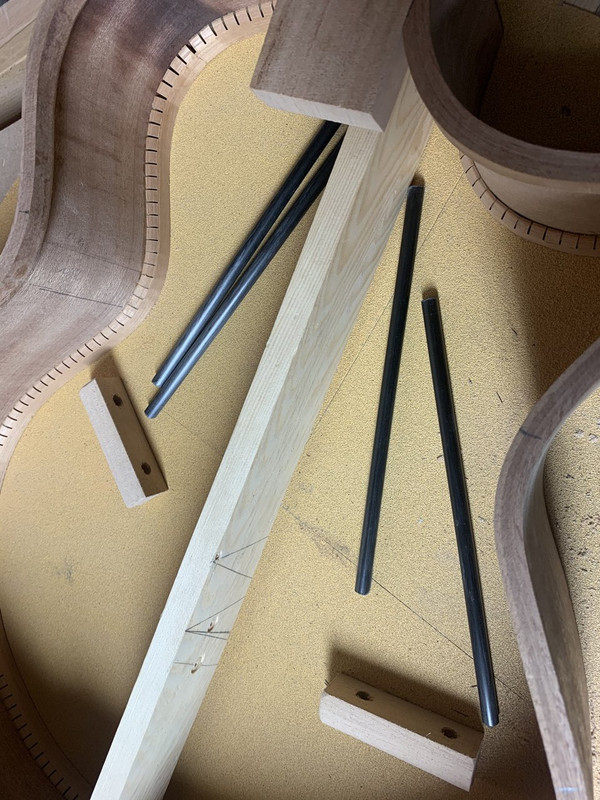 And the side struts:  Finally the sound port is created by drilling a series of small holes and shaping with file. The inside is reinforced with a cross grain veneer:  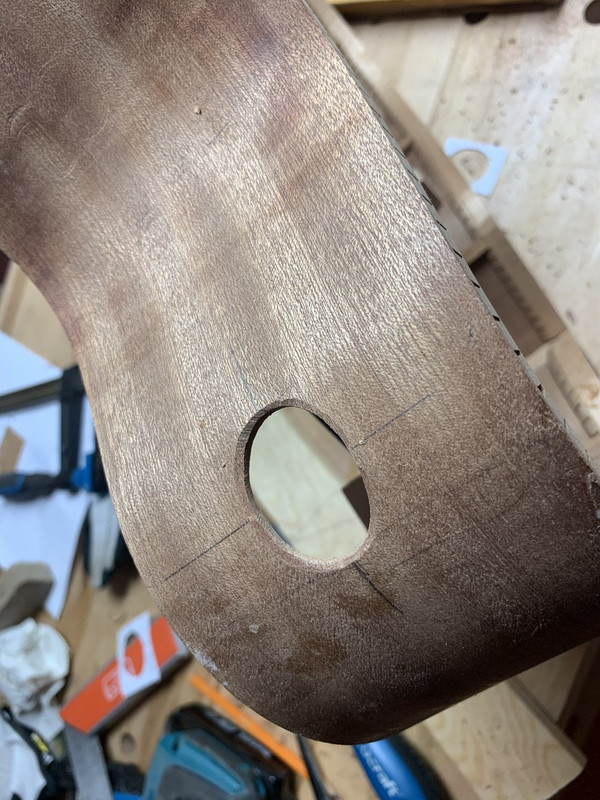 And lastly, here's the finished rim set: 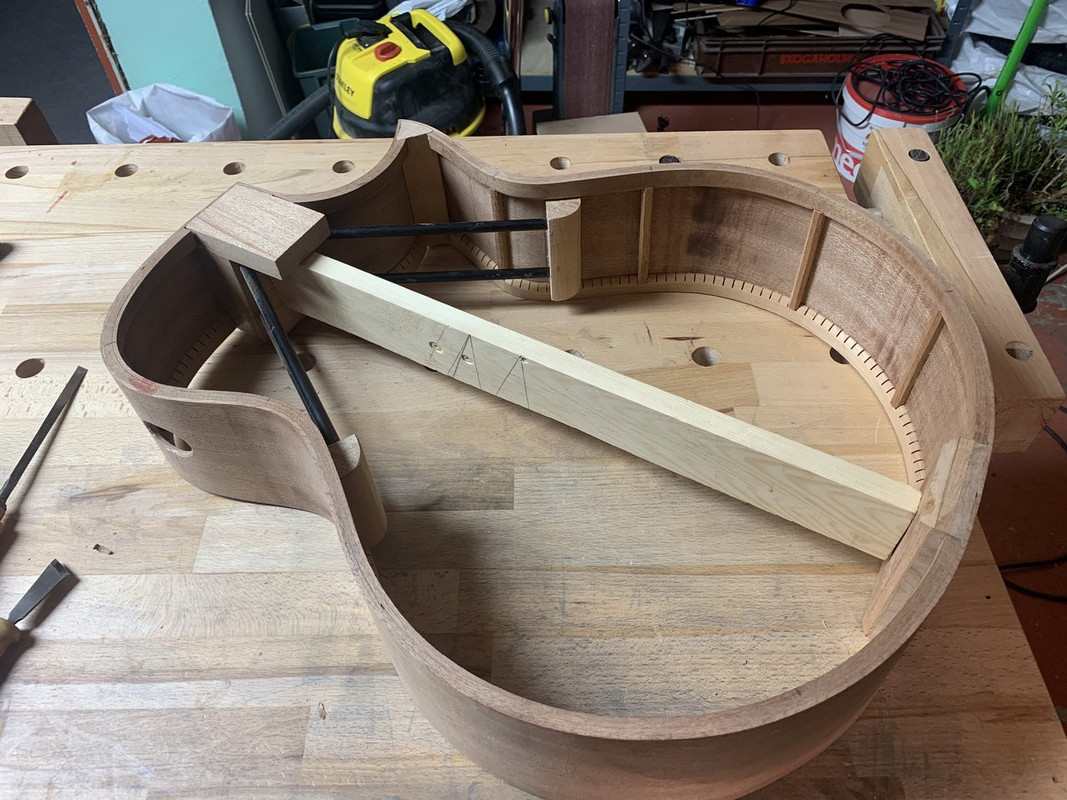
|
|
garynava
Luthier / Guitar Maker
Posts: 460  My main instrument is: Stanley No.5
|
Post by garynava on Feb 24, 2021 16:39:34 GMT
Good to see you building again. Hope that you're keeping well and safe.
Cheers Gary
|
|
|
|
Post by lars on Feb 24, 2021 20:21:04 GMT
Good to see you building again. Hope that you're keeping well and safe. Cheers Gary Thank you, Gary! Your “welcome back” is much appreciated. I guess that I’m well and safe, though the pandemic has been a dread - and still is. I work very hard with my day job as a teacher and try to get a few moments for myself in the workshop. I’m glad this guitar seem to come along very well. |
|
|
|
Post by lars on Feb 28, 2021 12:13:11 GMT
Closing the boxHere's the next installment. First the backstrip is installed. Both backstrip and braces are from European spruce. The ladder braces are profiled to 15`. 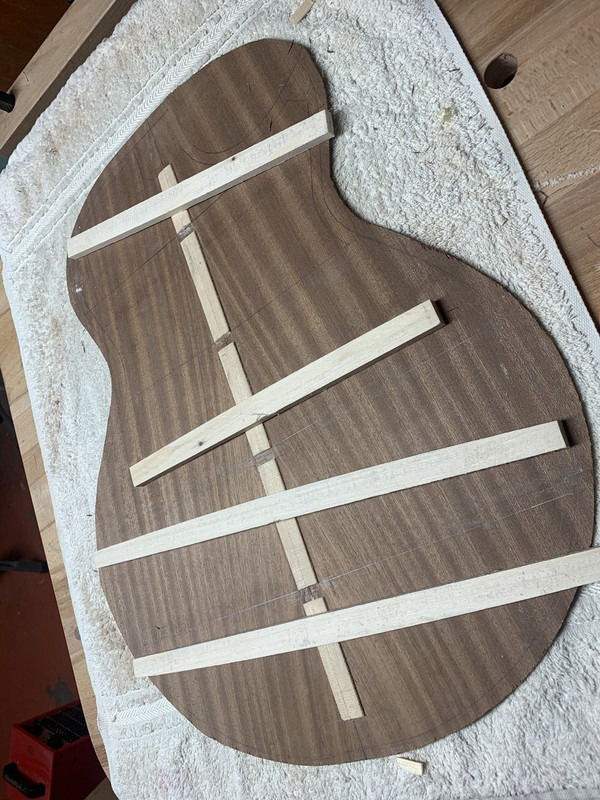 And glued in the go-bar deck. 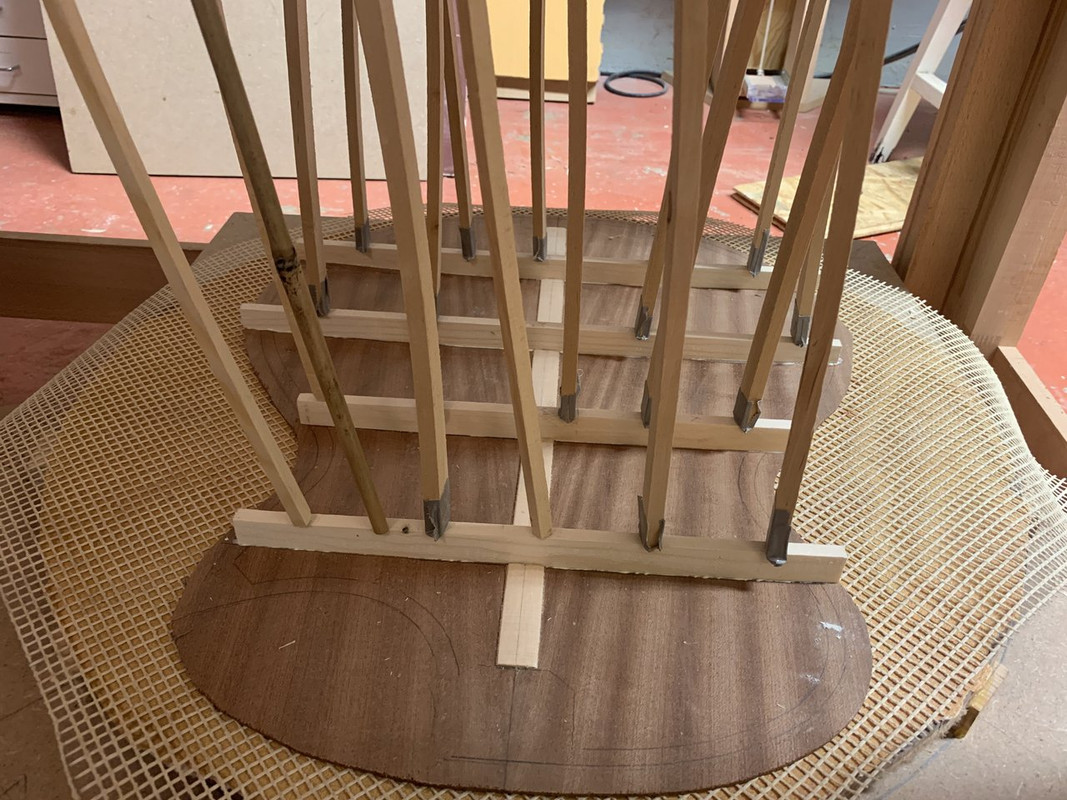 And carved and "tuned": 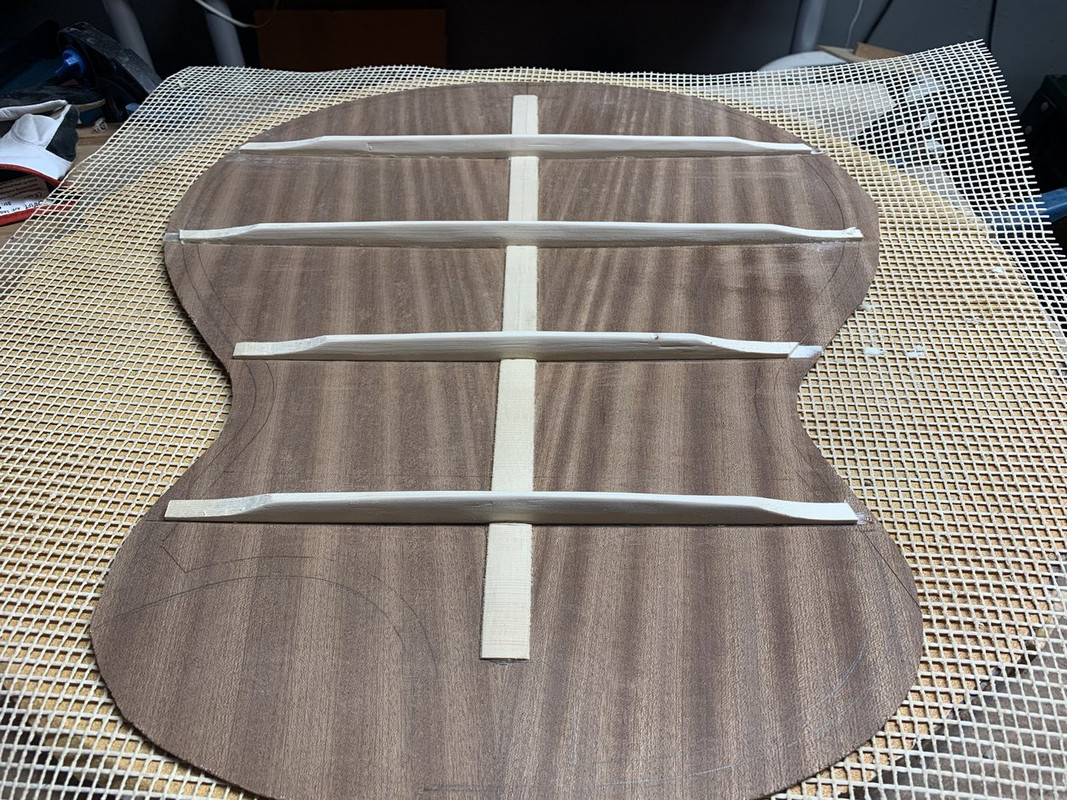 First the top goes on:  This time I've sealed the interior with schellack:  And then the back goes on: 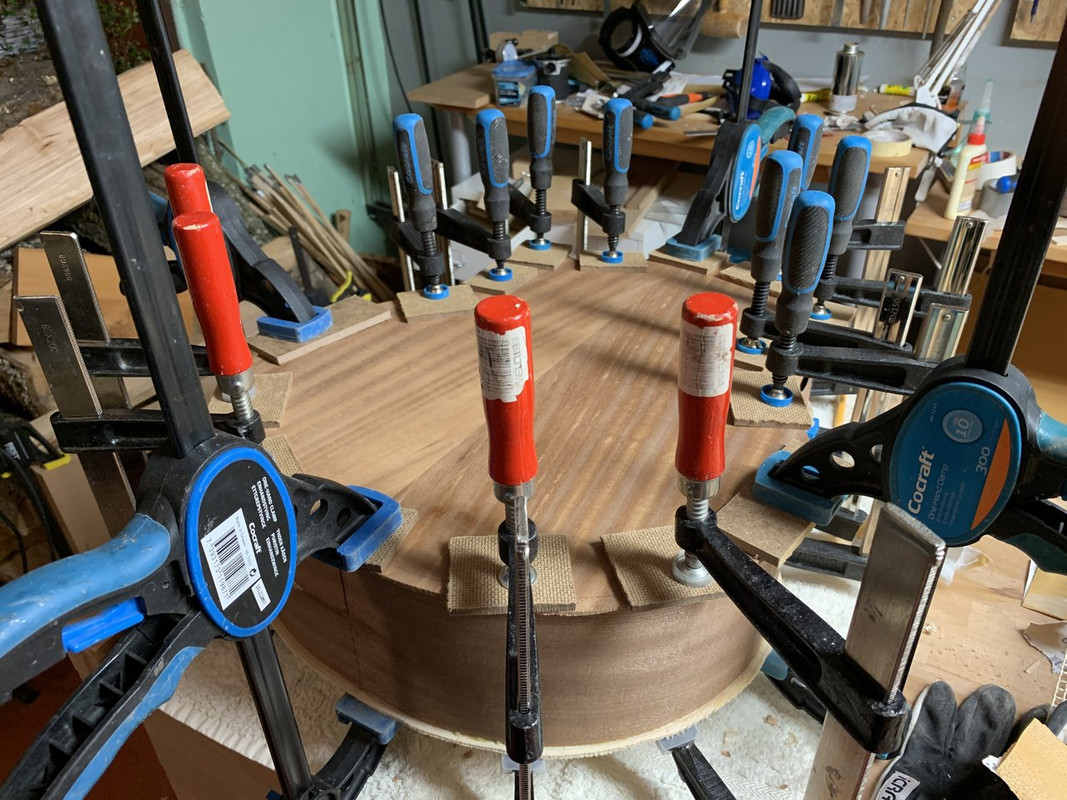 The top is closed and top and back are trimmed flush to the sides: 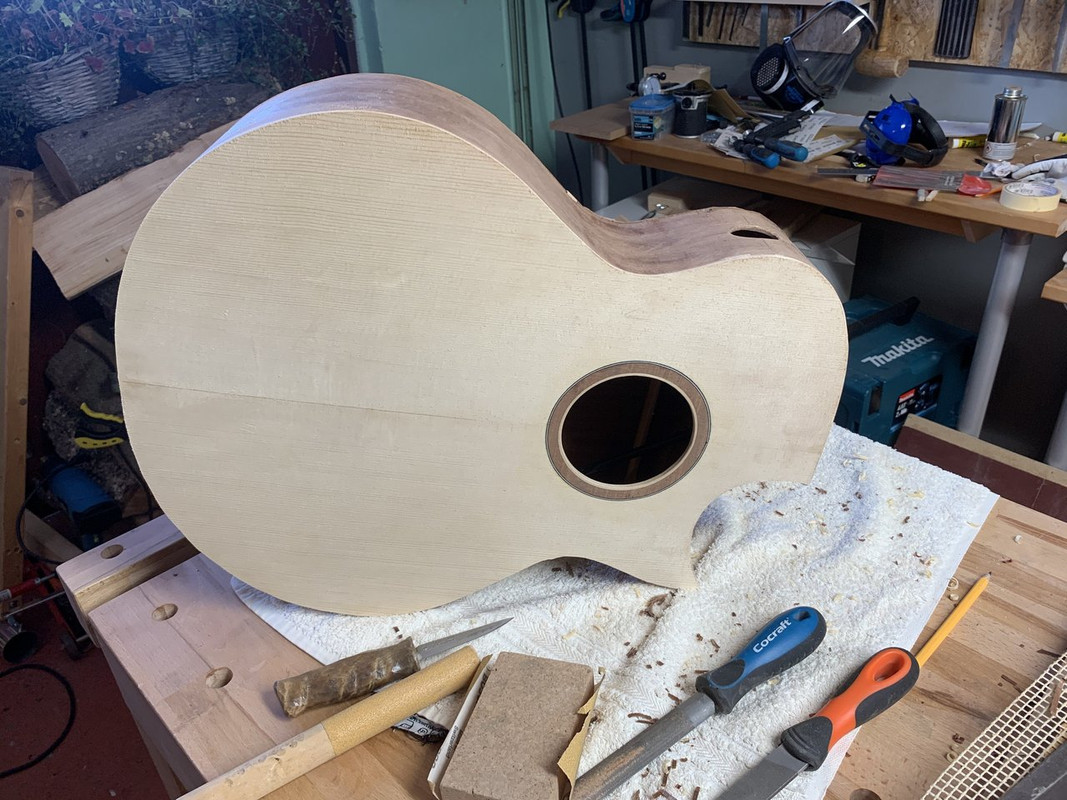
|
|
|
|
Post by lars on Mar 10, 2021 20:09:19 GMT
Binding the bodyFirst I scribe the outline of the end graft and the slot is carved with chisels: 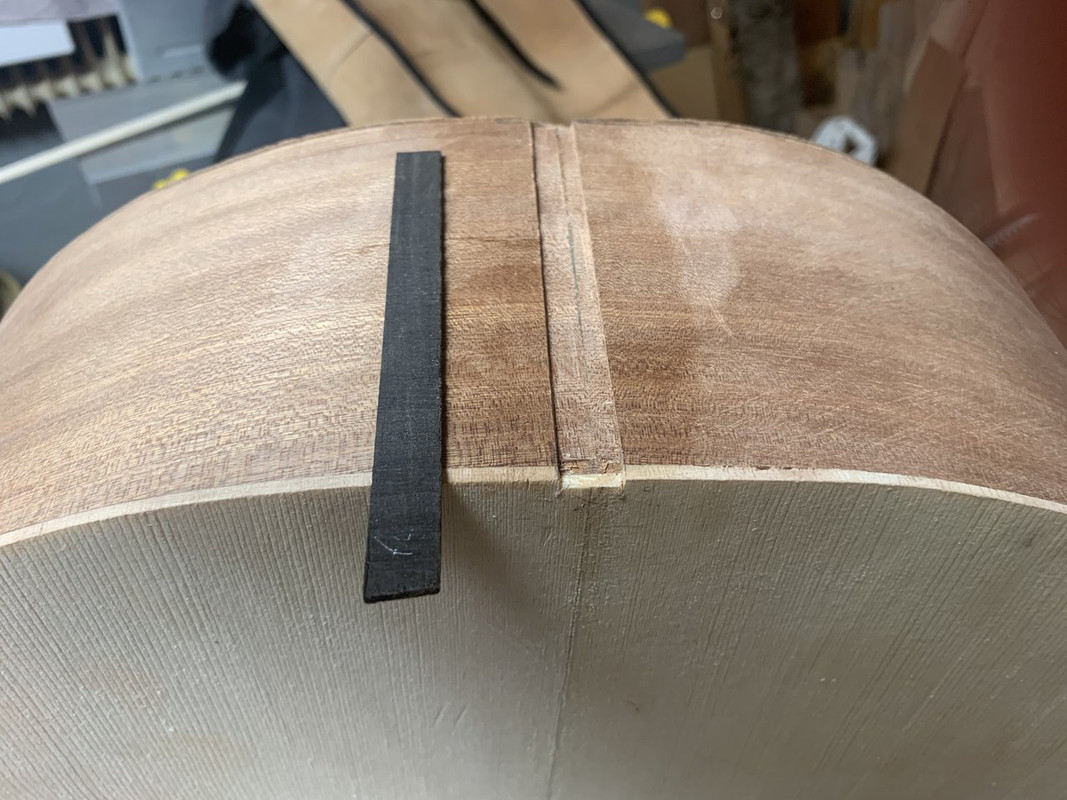 Glued and scraped: 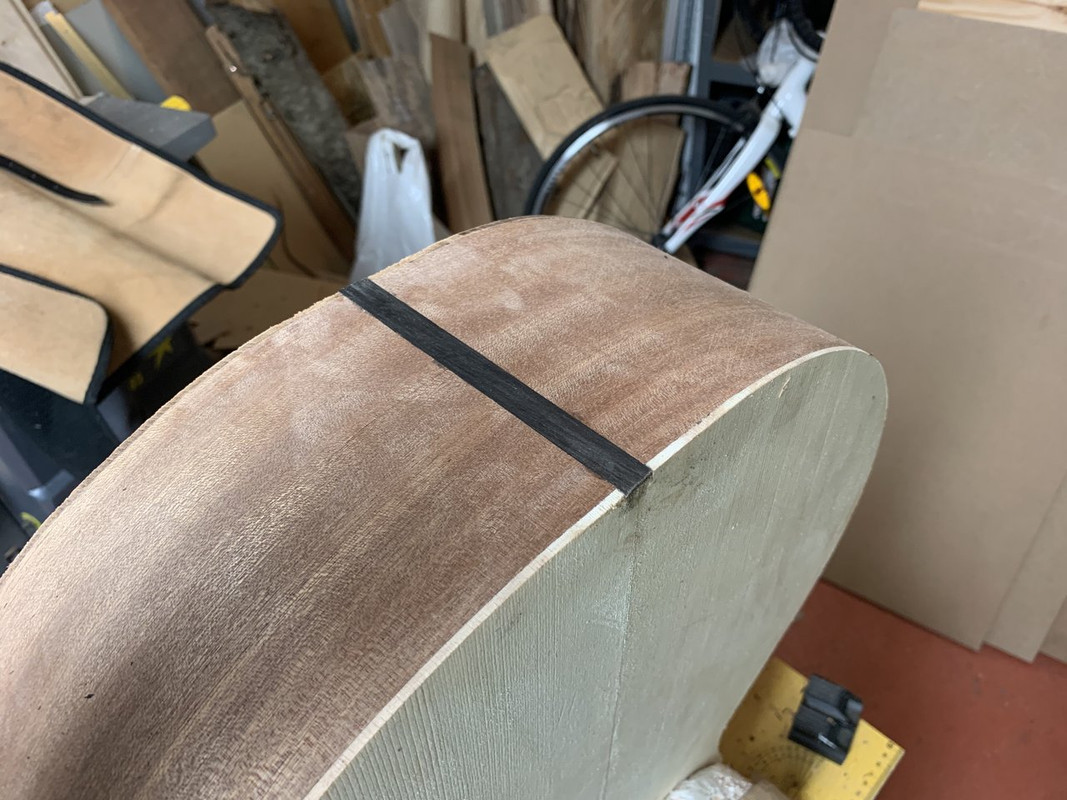 First I route the channels for bindings and side purflings:  Then I route the channels for the top purflings. As you can see I couldn't reach into the cutaway with the router mounted on the binding jig, so I had to do that afterwards while holding the router in my hand: 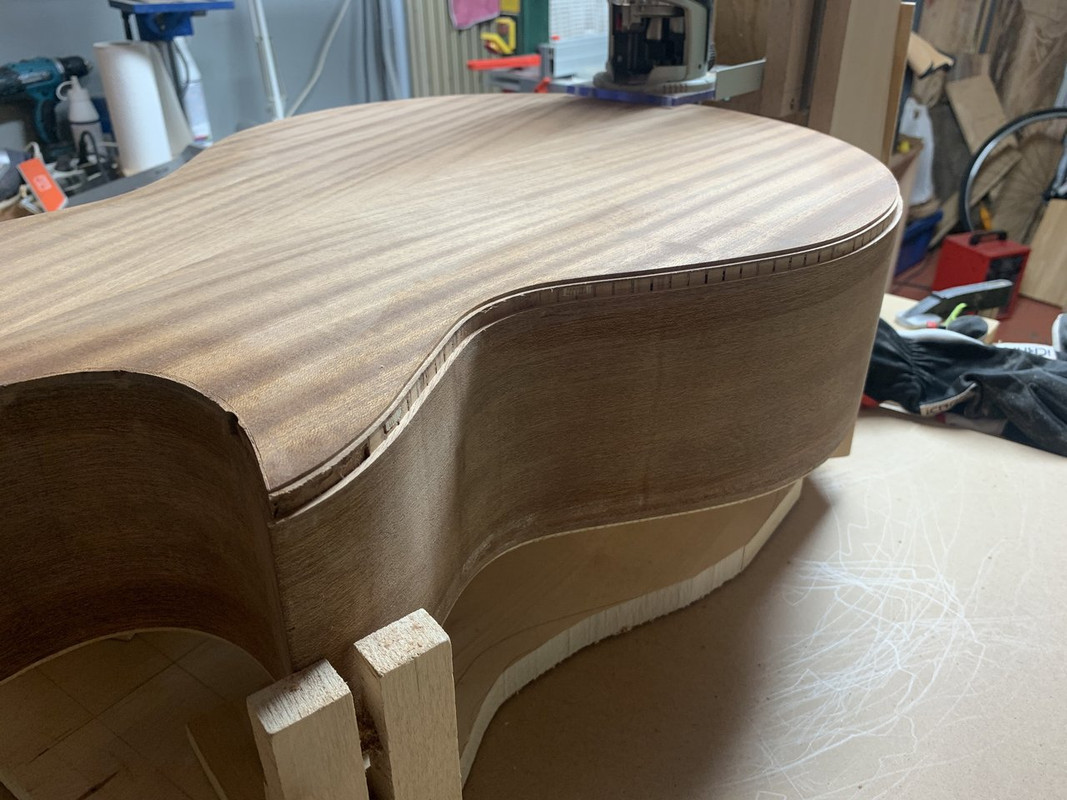 Here the top purflings goes on: 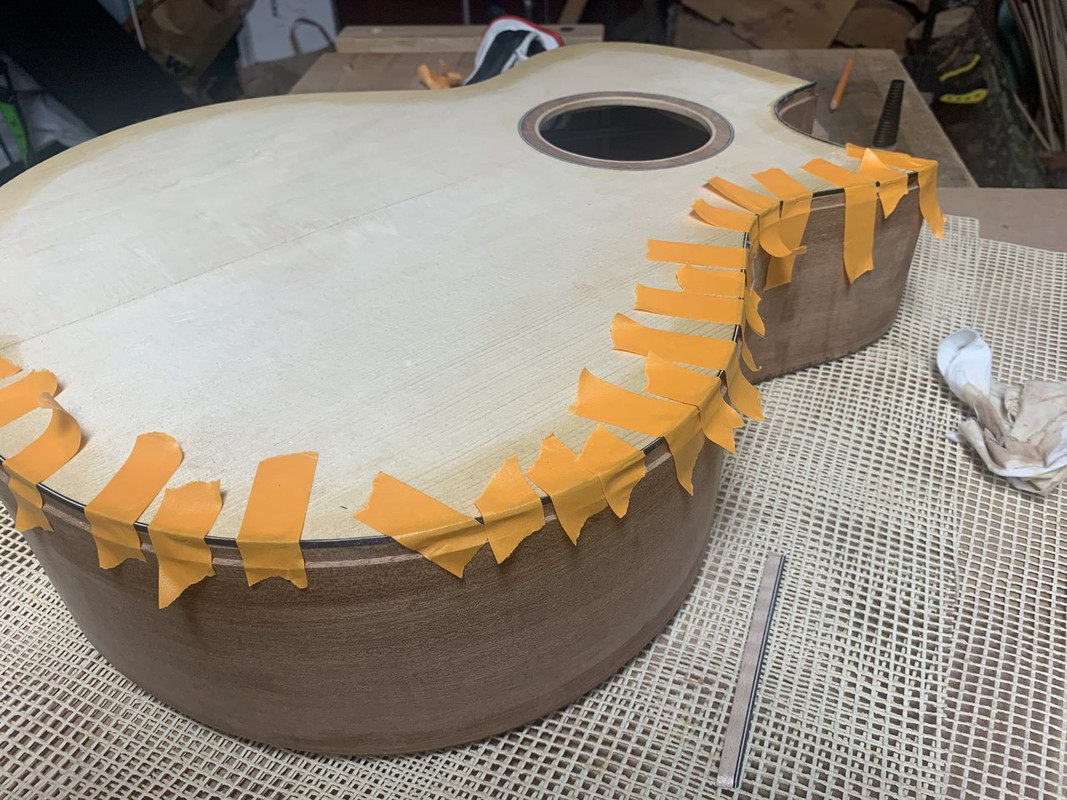 Followed by the bindings with pre-glued side purflings:  And here is the result after some scraping: 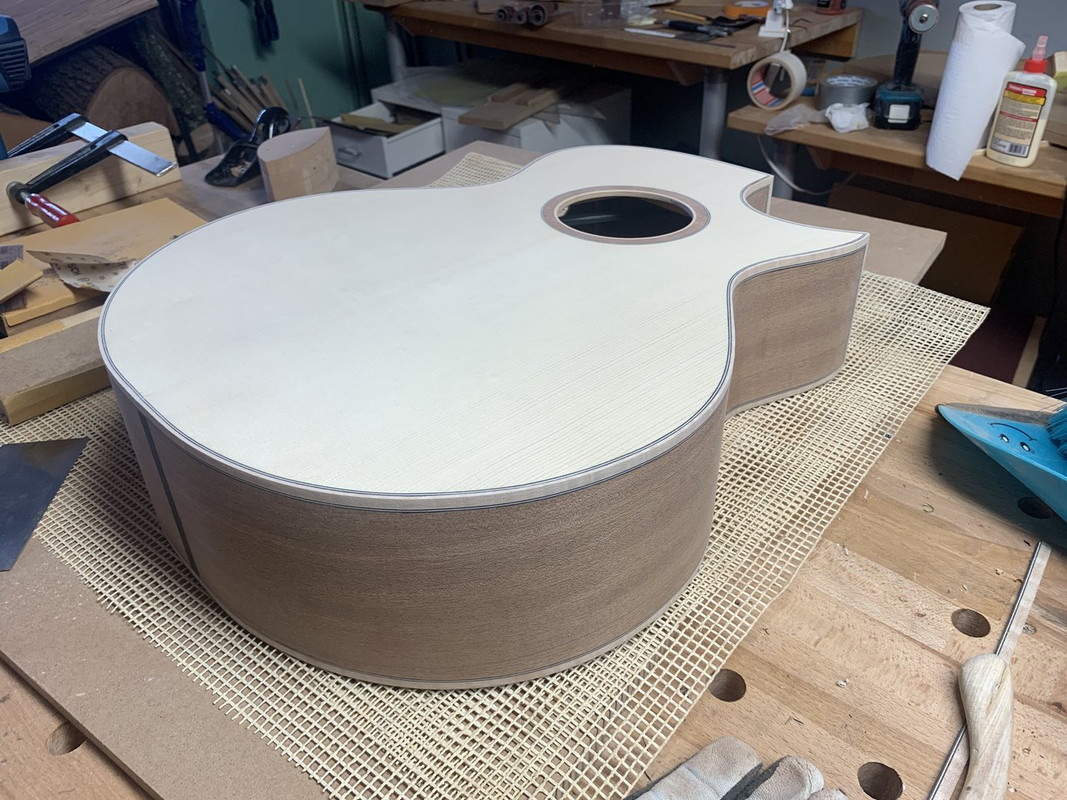 And here. It gets a lot more complicated when you have a Florentine cutaway:  The last step is to route the neck pocket. First I make this very simple jig which is fastened to the sides with double sided tape:  And then I route the pocket: 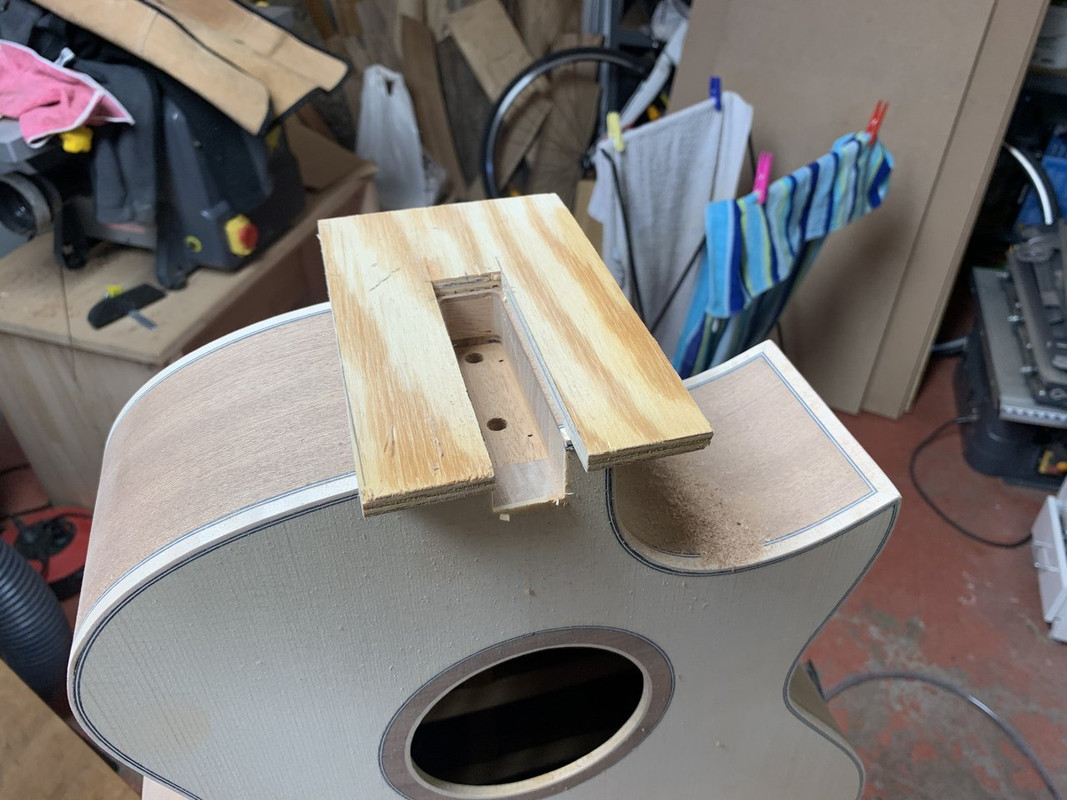 And so all wood work on the body is completed!
|
|
|
|
Post by earthbalm on Mar 11, 2021 16:26:53 GMT
Looking very nice indeed lars. |
|
|
|
Post by lars on Mar 11, 2021 20:35:47 GMT
Looking very nice indeed lars. Thank you very much Earthbalm. I’m glad that you enjoyed it. |
|
|
|
Post by lars on Mar 15, 2021 19:07:10 GMT
The neck, part 1I took one of my neck blanks and as all the others it was sold as African Mahogany. But this one comes from a batch that were much lighter in weight and color than my other blanks, so I'm not altogether sure if this is African Mahogany (Khaya) or Cedrela (Spanish Ceder). Anyway I hope it will be strong and stable enough for a steel string guitar. The first step is to saw the blank in two pieces with 15 degree angle, prepare the surfaces and glue it as a "scarf joint neck". 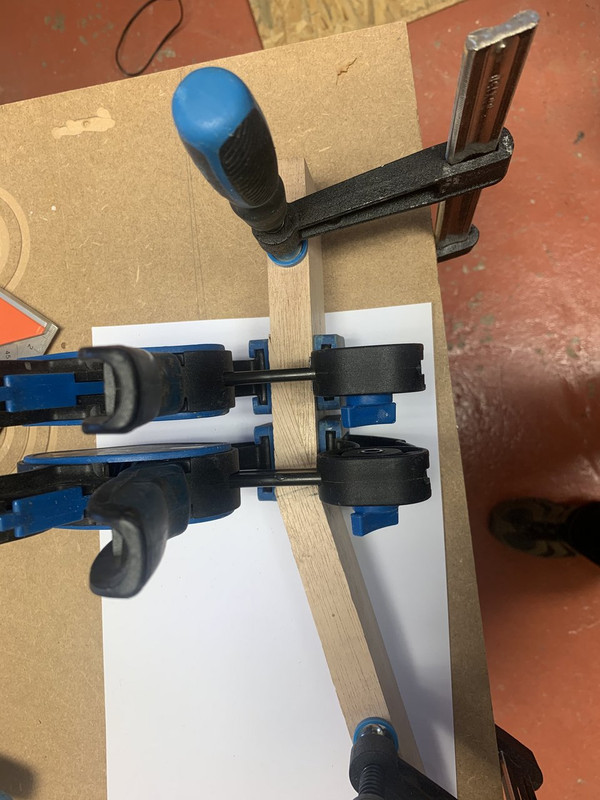 And the heel stack is glued at the other end: 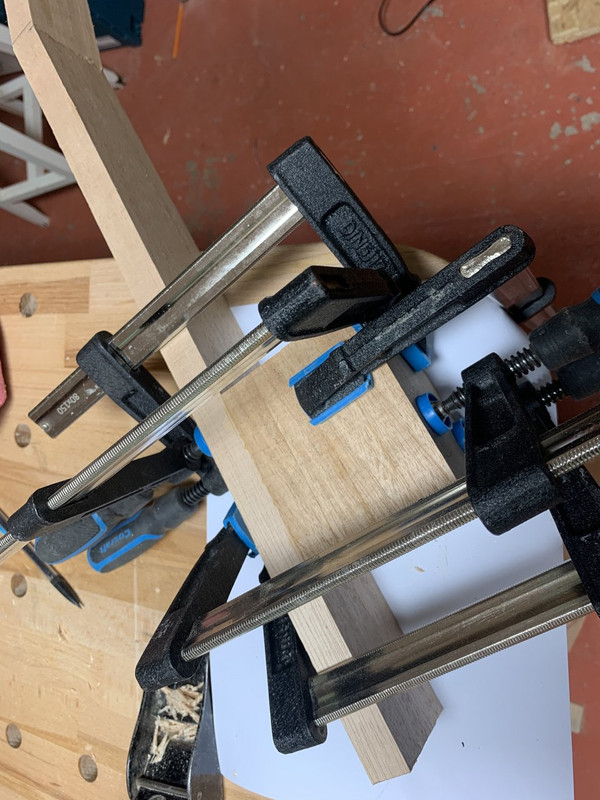 The body/neck alignment is adjusted as closely as possible. In an earlier post I talked about the top geometry or "topography" getting wrong because of a straight upper traverse brace in front of the sound hole. Normally the fretboard leans on the upper part of the top which goes in the same angle as the neck and gives you the right string height for the bridge. But here the angle would be totally wrong. So I decided to change my design and try a method that I've been curious about for a while. So here it goes: 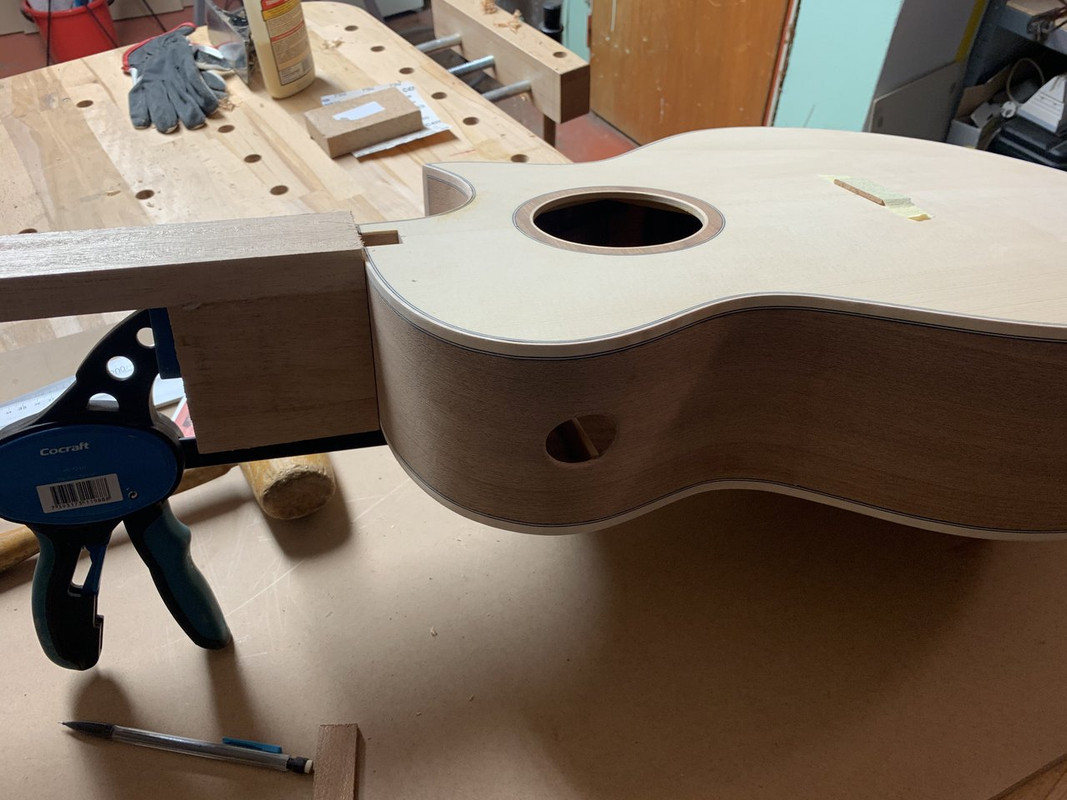 The tenon is cut with a Dremel and follows the angles I've adjusted at the neck block:  The height is adjusted once more and I can scribe where the top meets the neck: ![]() ![]() 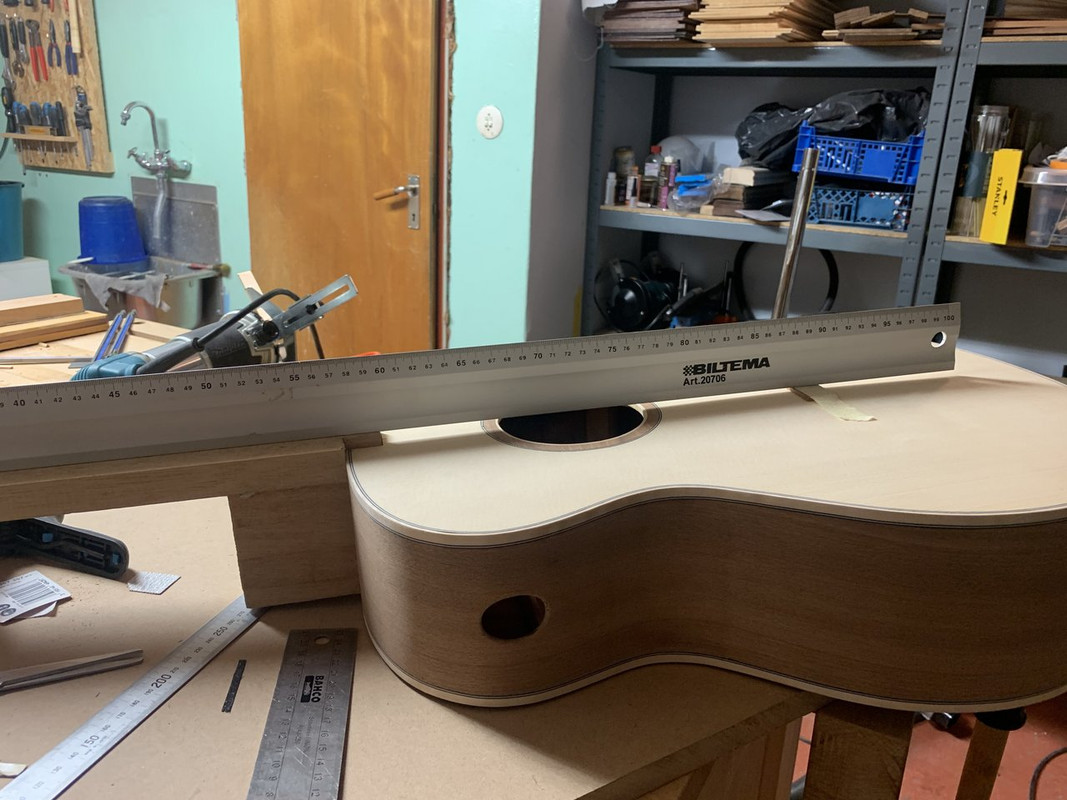 A flat surface is routed to the scribed depth: 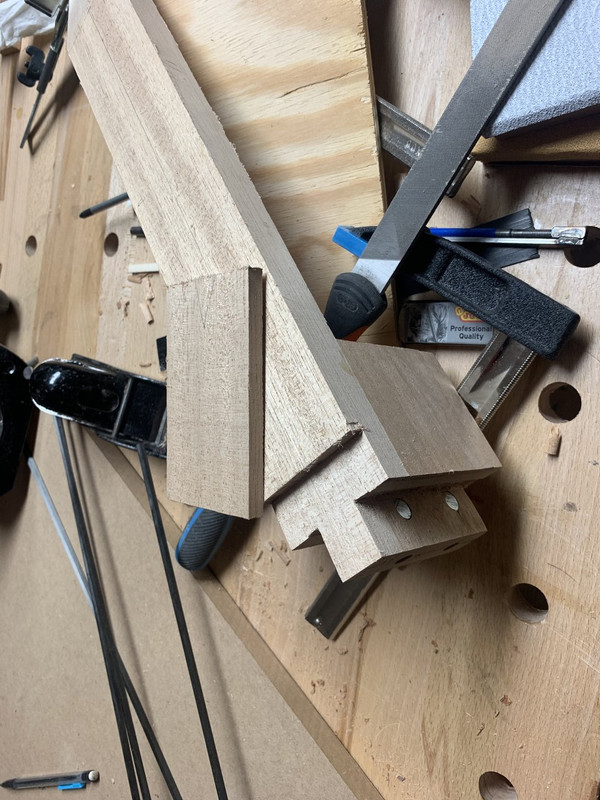 And a scrap piece from the neck blank is used as a neck extension:  Which gives me an elongated neck with an elevated fretboard a bit similar to an arch top guitar. But here the extension is fully supported by the top and neck block extension on the inside. The design is inspired by Edwinson Guitars (just like the bracing pattern). The channels for truss rod and CF-bars are routed. I wobbled for a second as you can see: 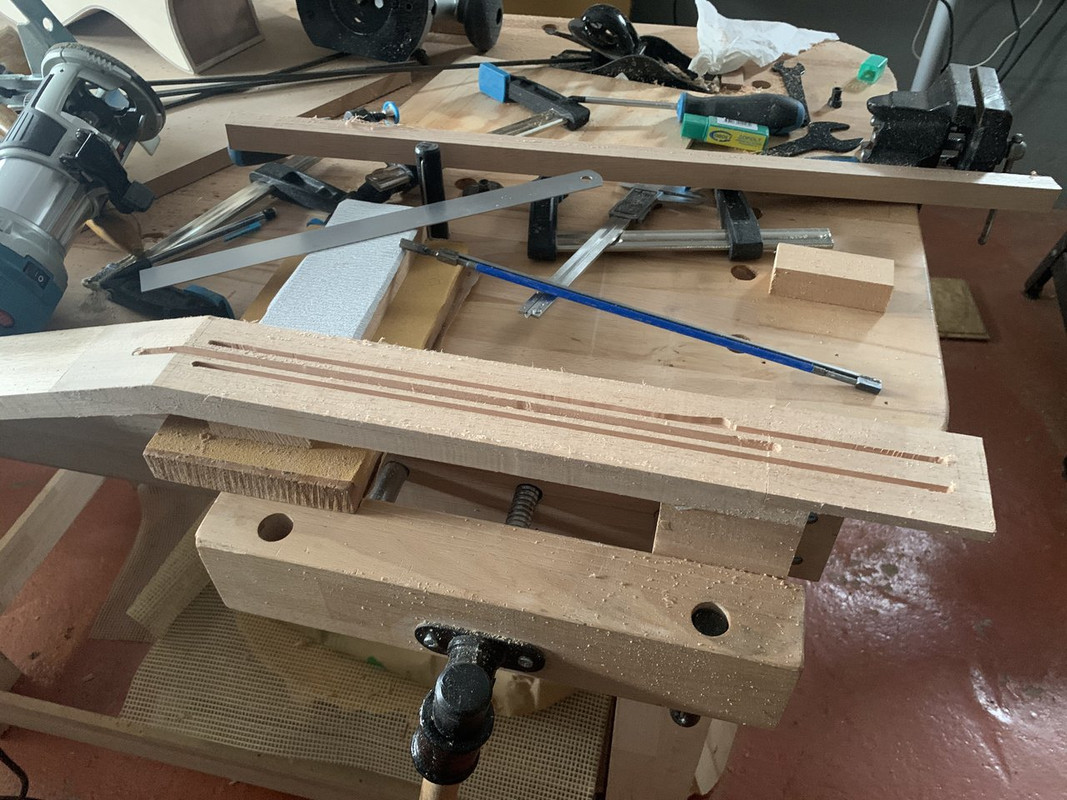 But it was an easy repair and you can hardly see were the mistake was (here the truss rod and CF-rods are installed with mahogany caps): 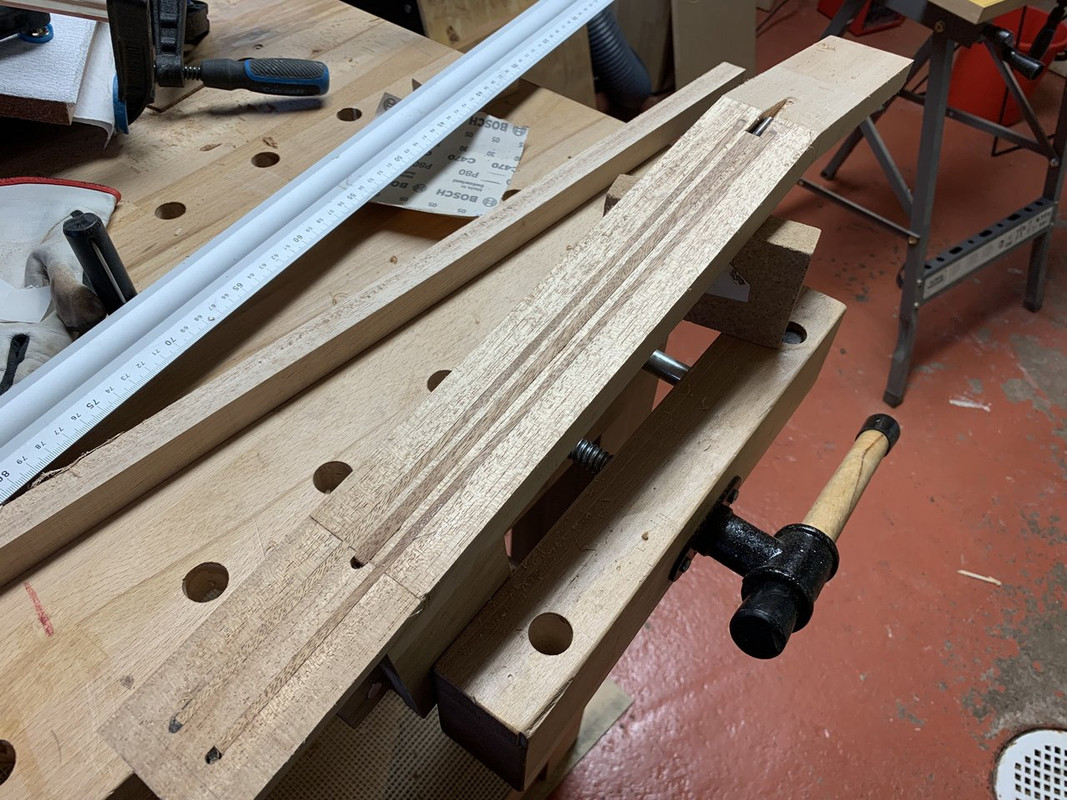 And lastly the wings of the head are added. These are also from the scrap pieces of the neck blank. 
|
|
|
|
Post by lars on Mar 15, 2021 19:28:19 GMT
The neck, part 2There are a few gaps in the story, as I forgot to take pictures a lot of the time. I guess that I'm a bit restless to be finished with the instrument, so I don't have the patience to relax and pick up my iPhone and take pictures. The head got a veneer. It's book matched Sapele (as the B/S) from the same piece as the rosette. 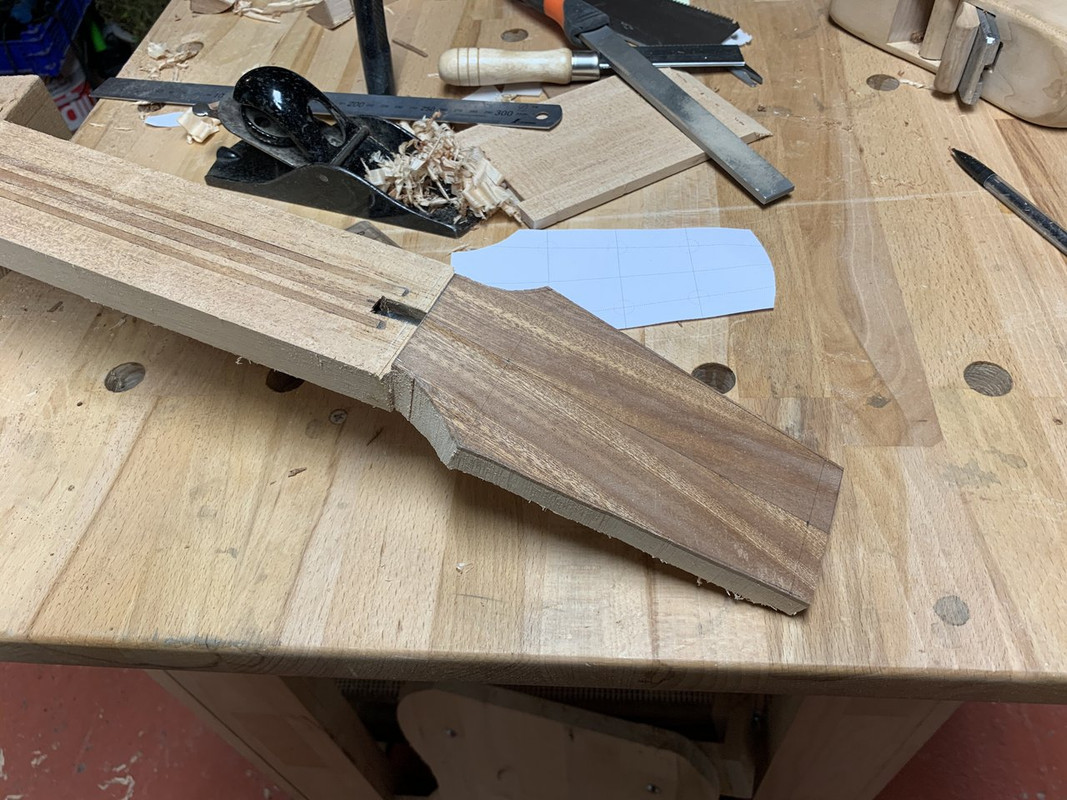 The fret board may look a bit like Ebony. At least it's supposed to. It's a product called Blackwood Tech that I bought from Madinter. I think it's a soft wood that's been prepared to look and feel like Ebony. It's certainly a lot heavier than soft woods, but not as heavy as Ebony. It has a nice ring when it is tapped. I will use it for the bridge as well. Here the fret slots are sawed in a mitre box with a fret template (Martin long scale, 25.34").  The fret board is sanded to a 16" radius  And here the fret markers are added and the fret board is glued to the neck  The frets are added, mainly with a fret caul in my drill press, but the upper frets are hammered in with a special fret hammer. The tops of the frets are painted black 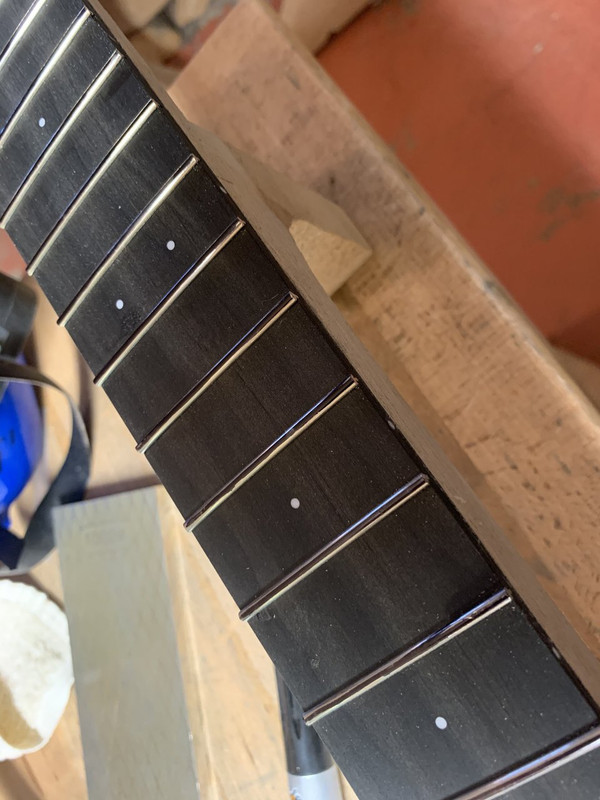 And then they are leveled until the black color has disappeared at the top. 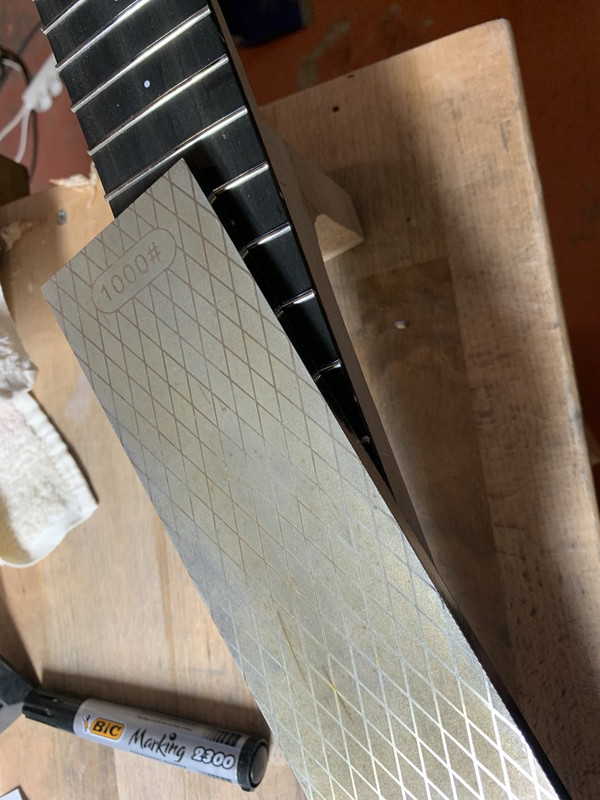 The frets are then crowned again with a fret crown file and the ends are filed flush to the fret board, etc. Lastly the frets are sanded and polished with wet sand paper up to 2000 grit. 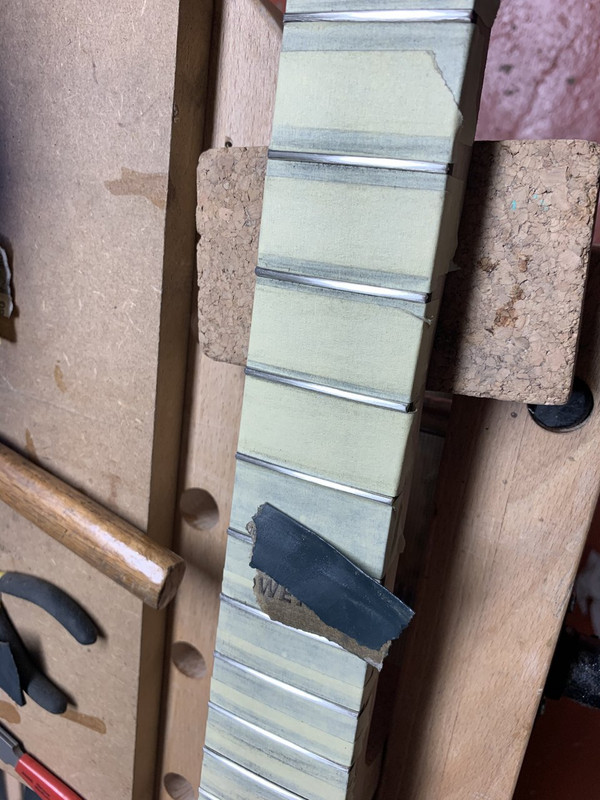 The shaping of the neck begins 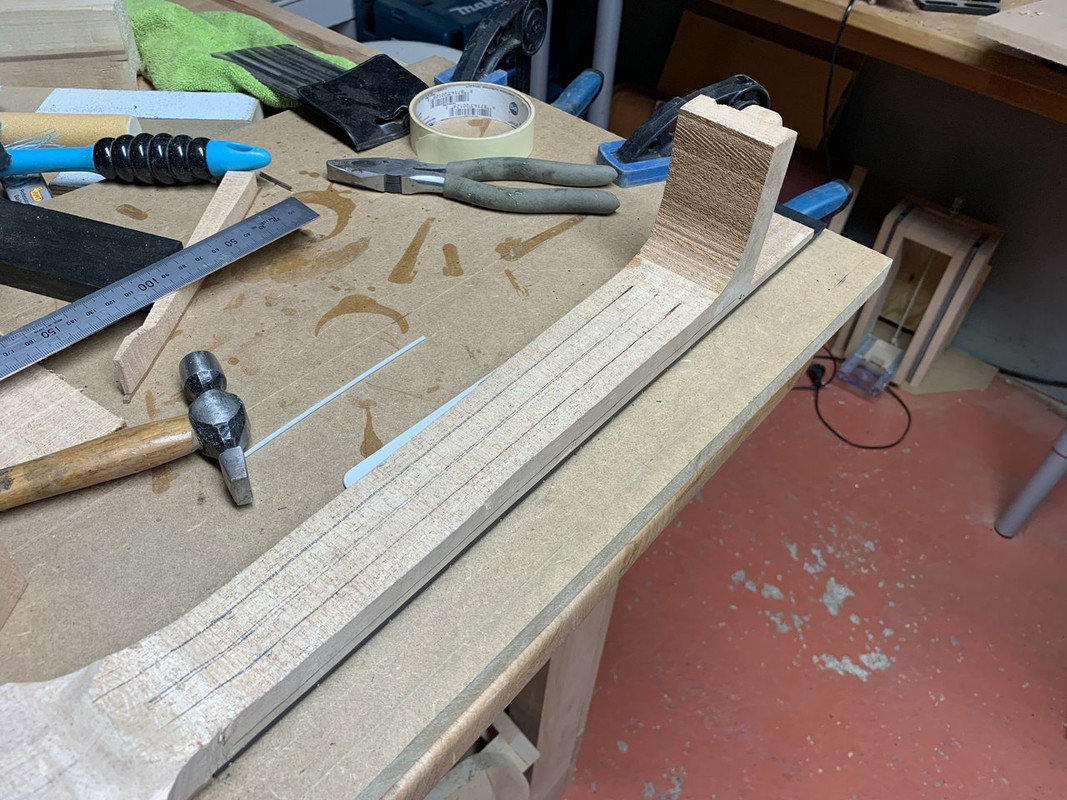 And here I've come a tiny bit ahead 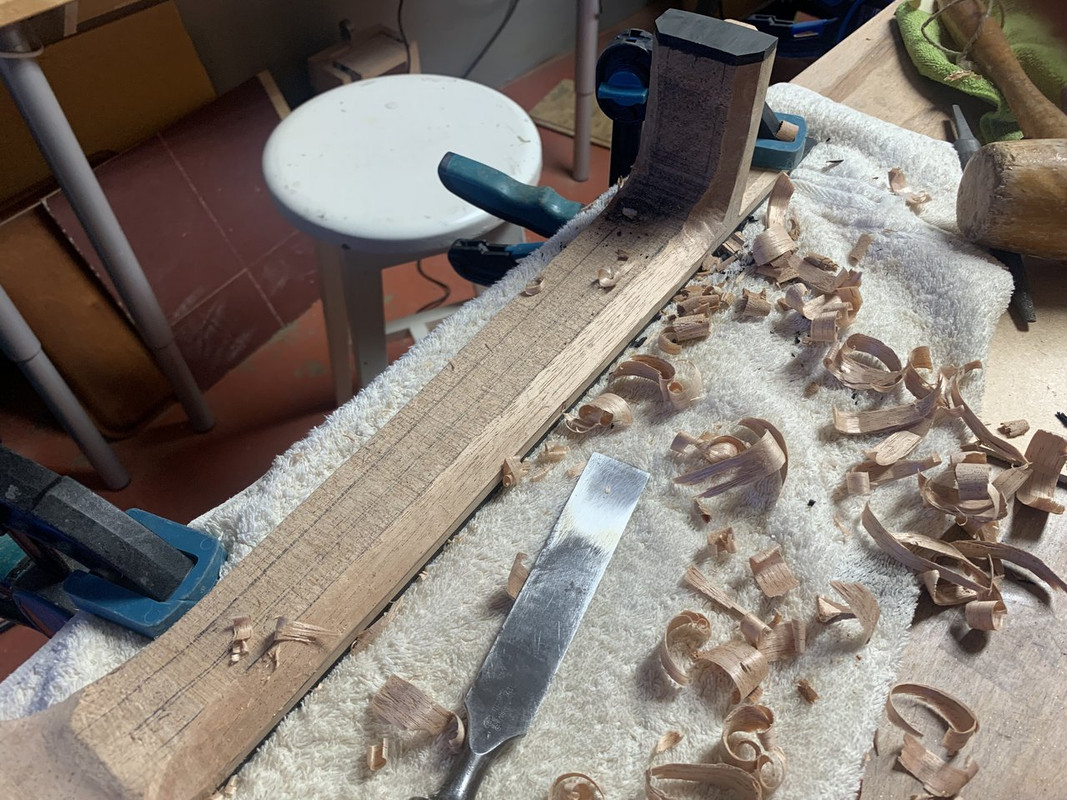 And then I forgot all about taking pictures until after the shaping was done But here the almost ready neck is assembled to the body for the first time! 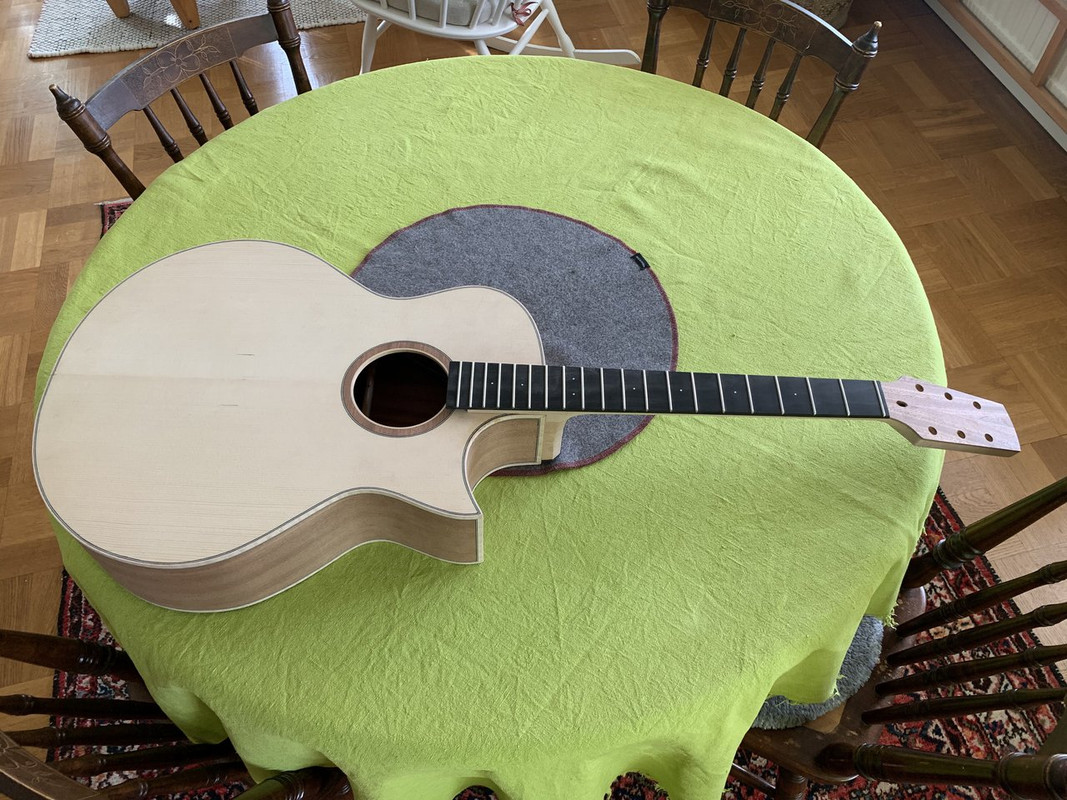 And it starts to look like a guitar!
|
|