|
|
Post by lars on Sept 9, 2017 17:01:08 GMT
My plans and some of my thoughts about design and construction are presented in the previous thread Plans for the "Double-S"-mandolin. Although I still haven't decided upon all details I started the building last night. One advantage of building mandolins is that one guitar top can be used for two instruments, so I used the leftovers from the tenor mandola, planed the joint and glued it together: 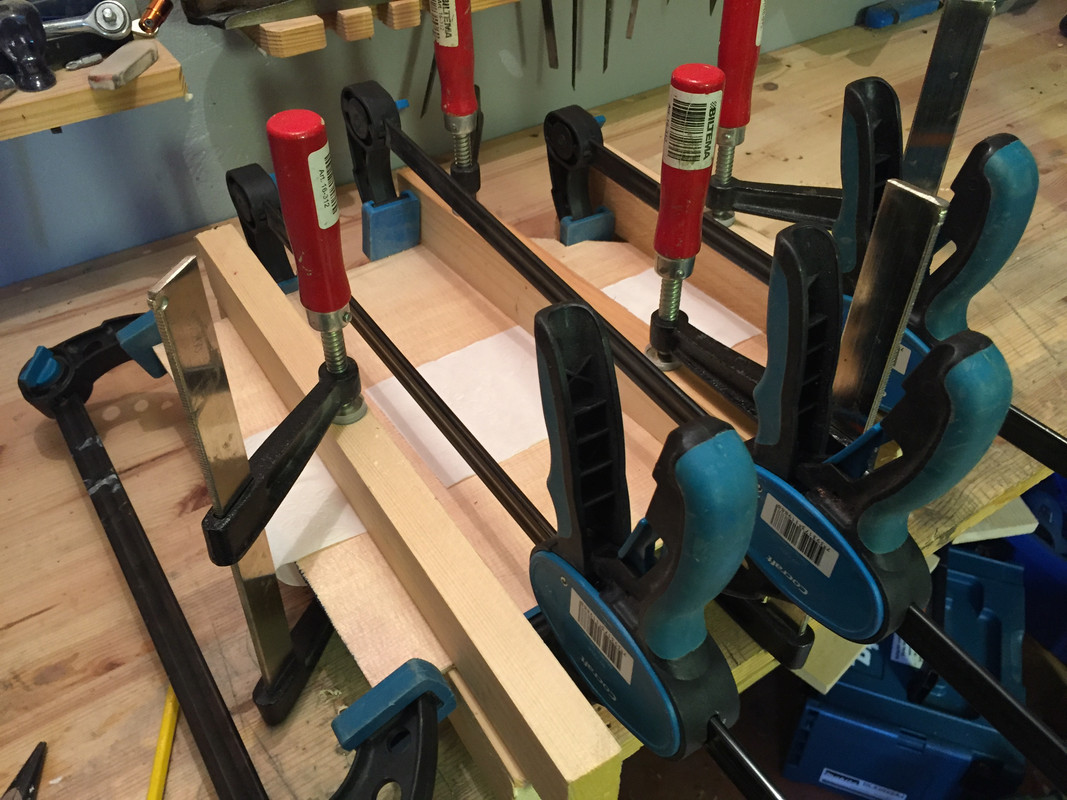 This morning I continued by planing it down to about 2,8 mm: 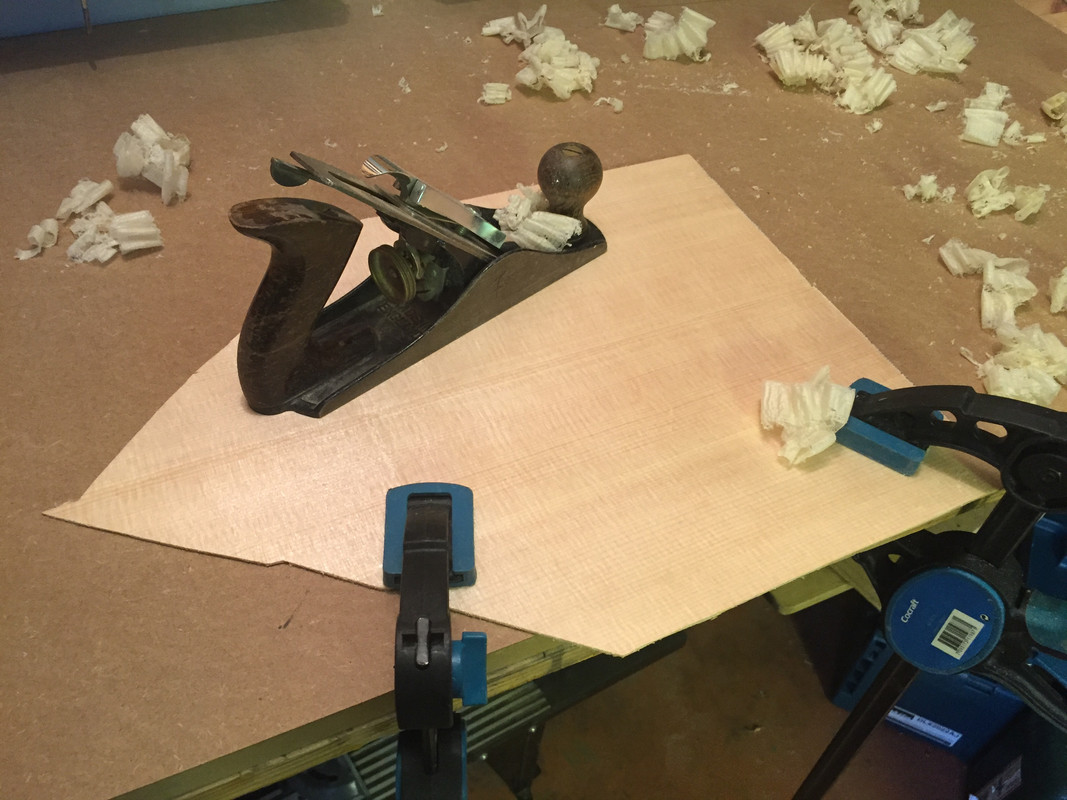 I don't have access to a thickness sander and on my earlier instruments I used a stationary planer/thicknesser with a "cradle" that let me plane to the desired thicknesses. But nowadays I use the classic Stanley smoothing plane and I like it very much! For sides and back I'll use African Mahogany but not the Khaya-specie that you get when you buy tonewood. Instead I use Sipu that I've bought from a local retailer who sells a lot to boat builders. I have no idea about the diffences, but the octave and tenor mandolas have it and sound great. I had sides that I bent for ten years ago, but they needed reshaping. So I set up my "hot pipe" to bend it again. But I guess I was too eager as there was a loud "crack" instead of wood bending. Fortunately I have more of the Sipu, so it was back to the smoothing plane, plane it down to 2,1 mm and bend the new pieces from the beginning. This time it worked fine. I never cease to marvel at the feeling when the wood gets soft and bends under my hands! My original sides just before the "crack": 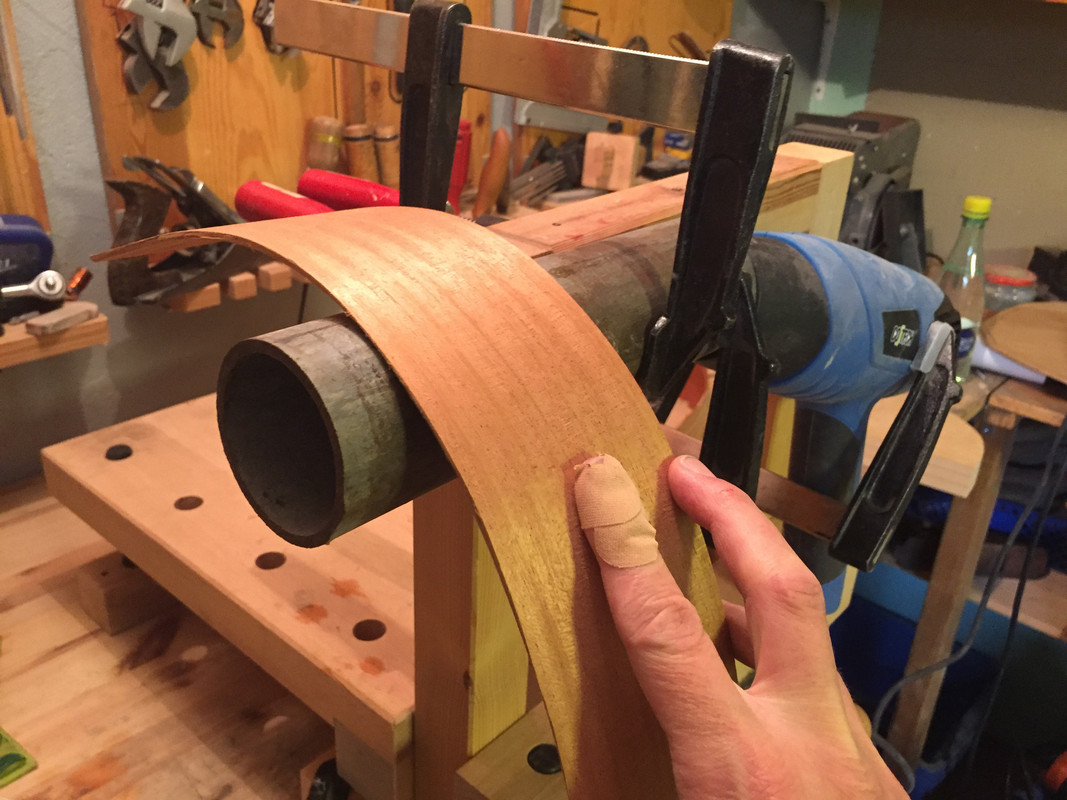 Planing sipu from 5 to 2.1 mm: 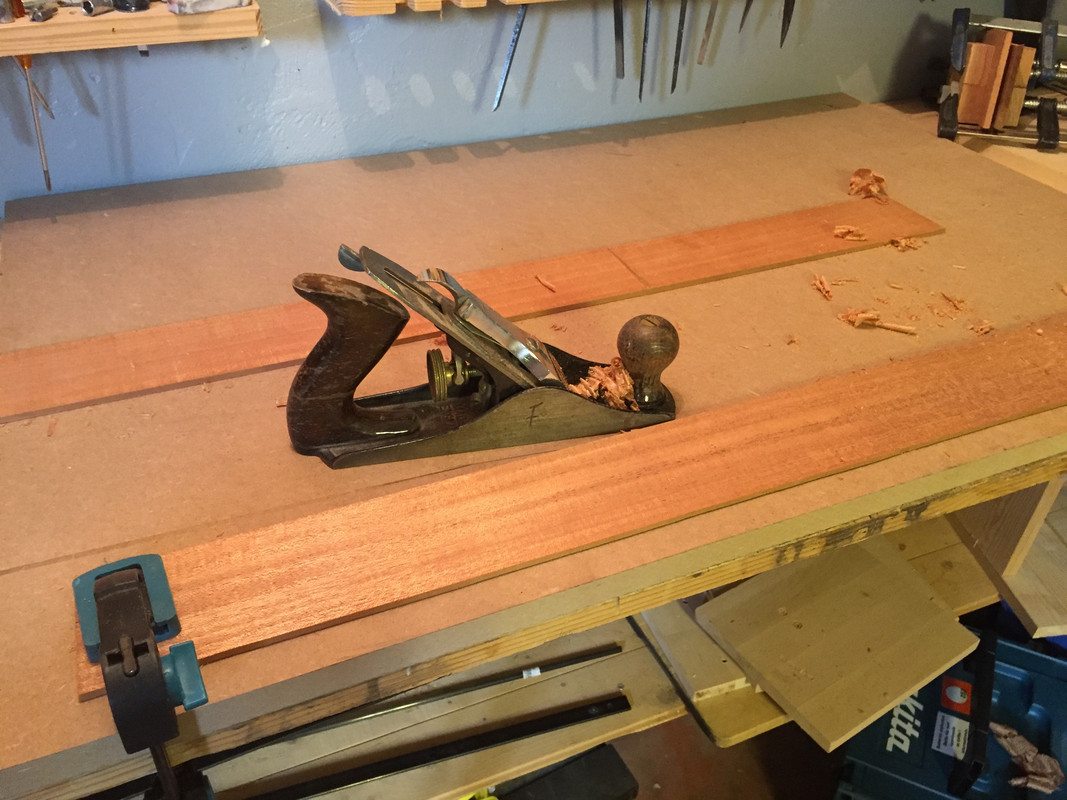 The hot pipe set up again - this time with a high-tec end cap made by a mackerel tin can lid to keep the heat inside the pipe: 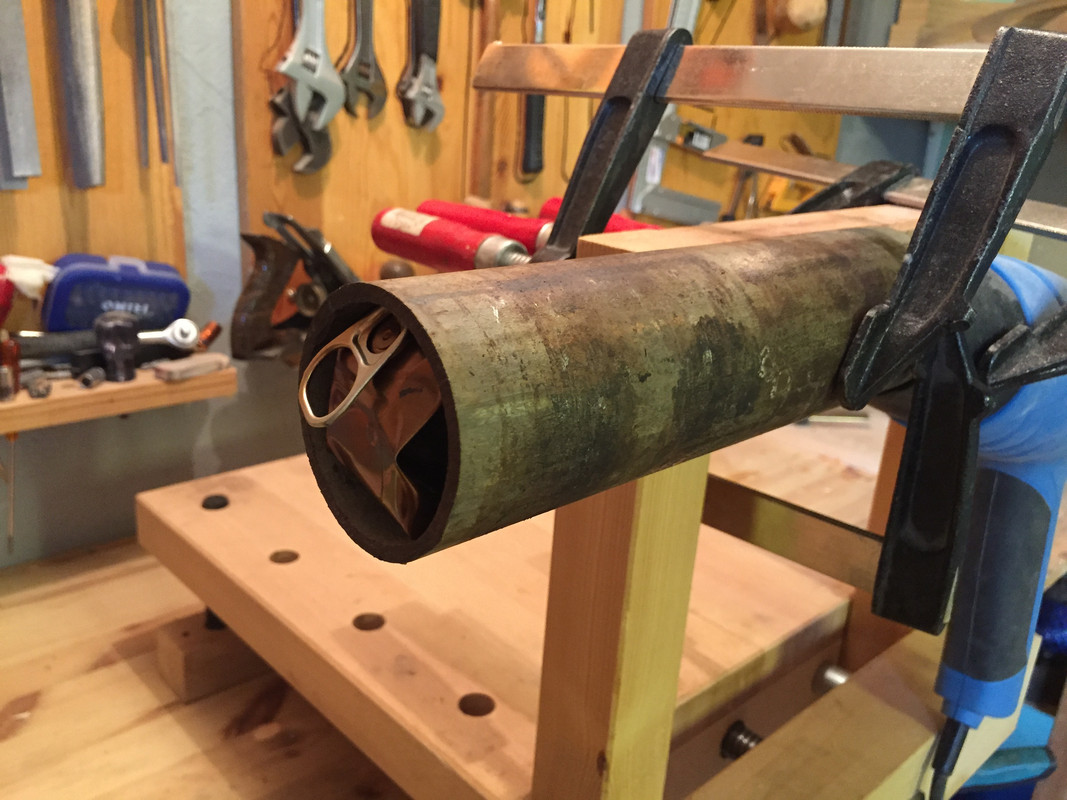 And here are the sides resting in the mould: 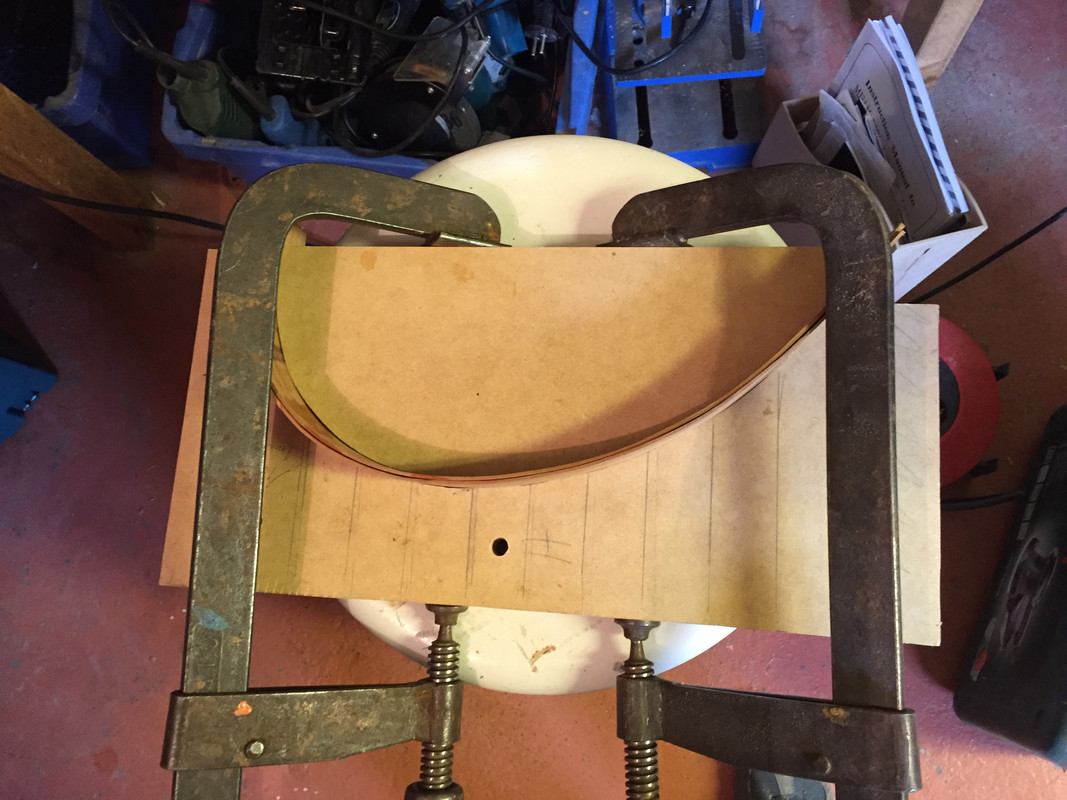 Besides this I've been working with the end and neck blocks. The end block is laminated from three pieces of mahogany. Here it is shaped to match the profile of the rim: 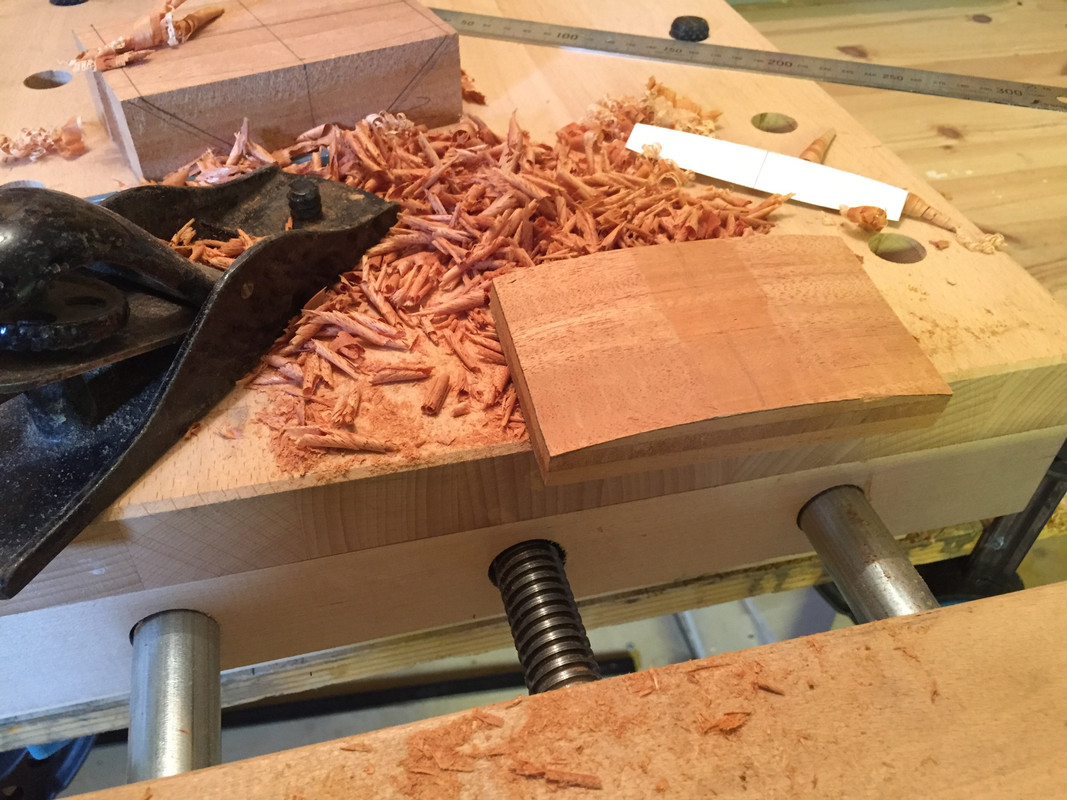 Both blocks half ready with holes for the carbon fibre rods: 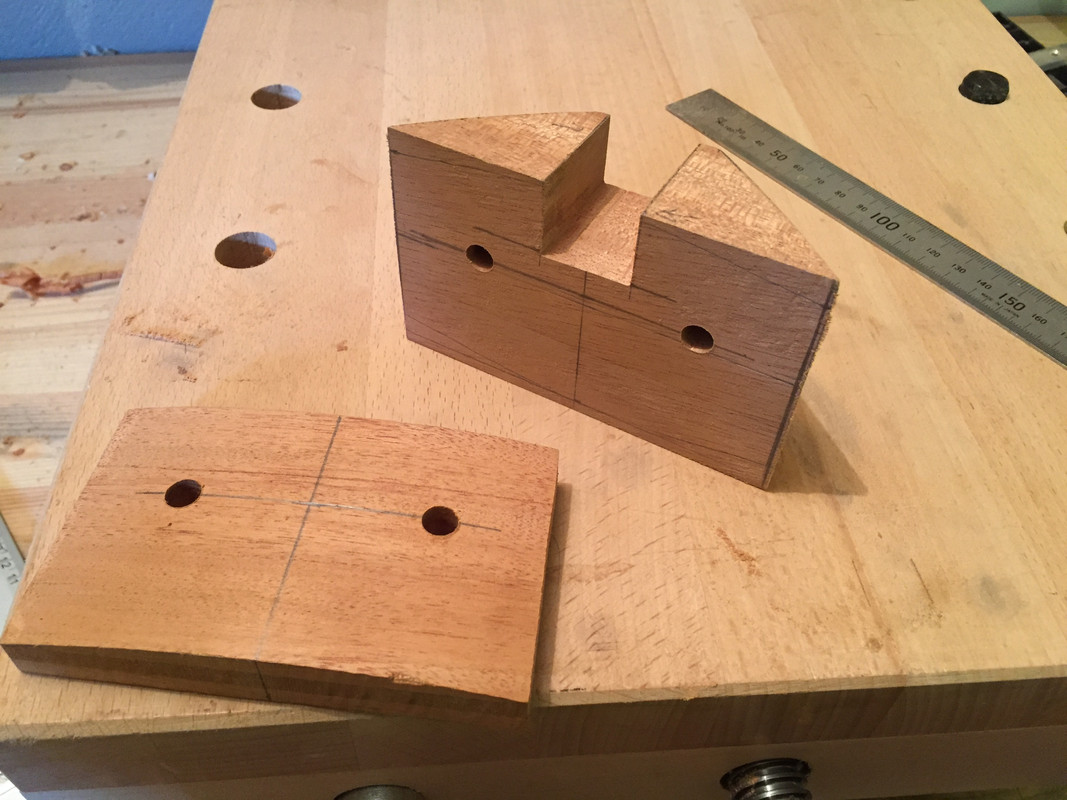 And shaped for the top and back profiles. First with the handy old slojd knife: 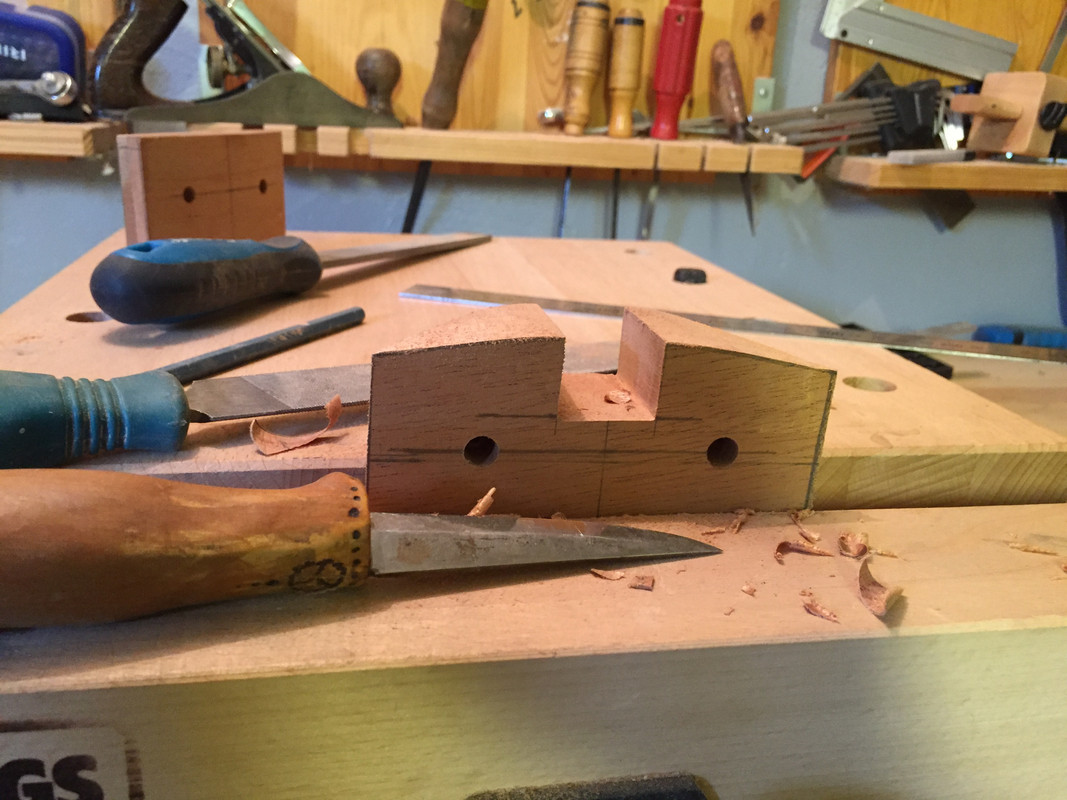 And then on the sanding through that I made earlier this week: 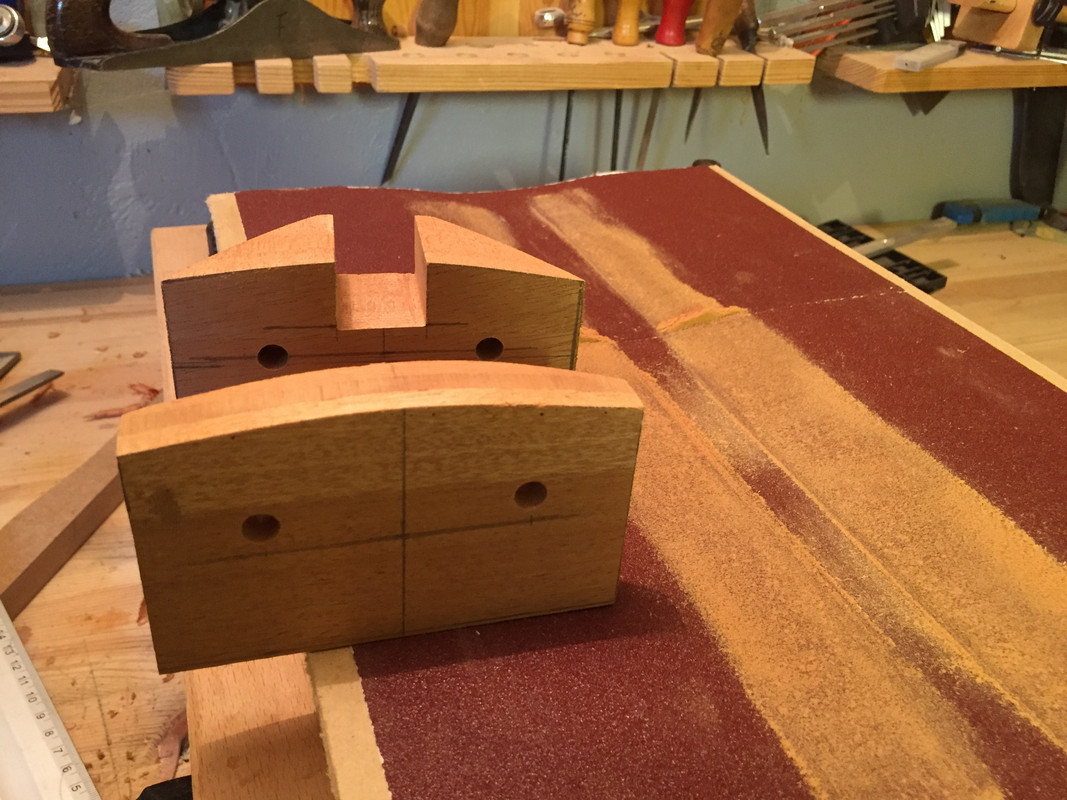 Last step today was gluing the neck block to the sides: 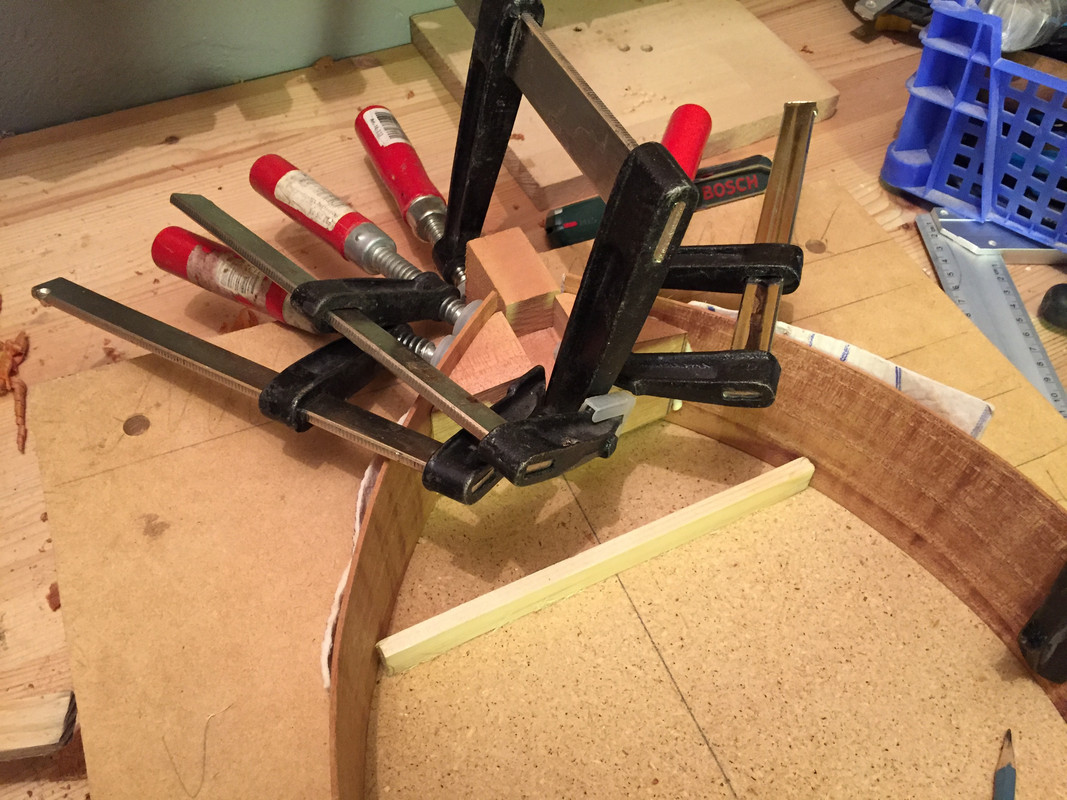 |
|
|
|
Post by lars on Sept 15, 2017 15:04:42 GMT
Here is what has happened since the last post. The end block and the carbon fibre rods were glued at the same time. Epoxy for the rods and titebond for the wood. The tricky part about gluing neck and tail block this time is that they don't have flat surface to rest upon, as they are shaped with the same s-curve on the downside. 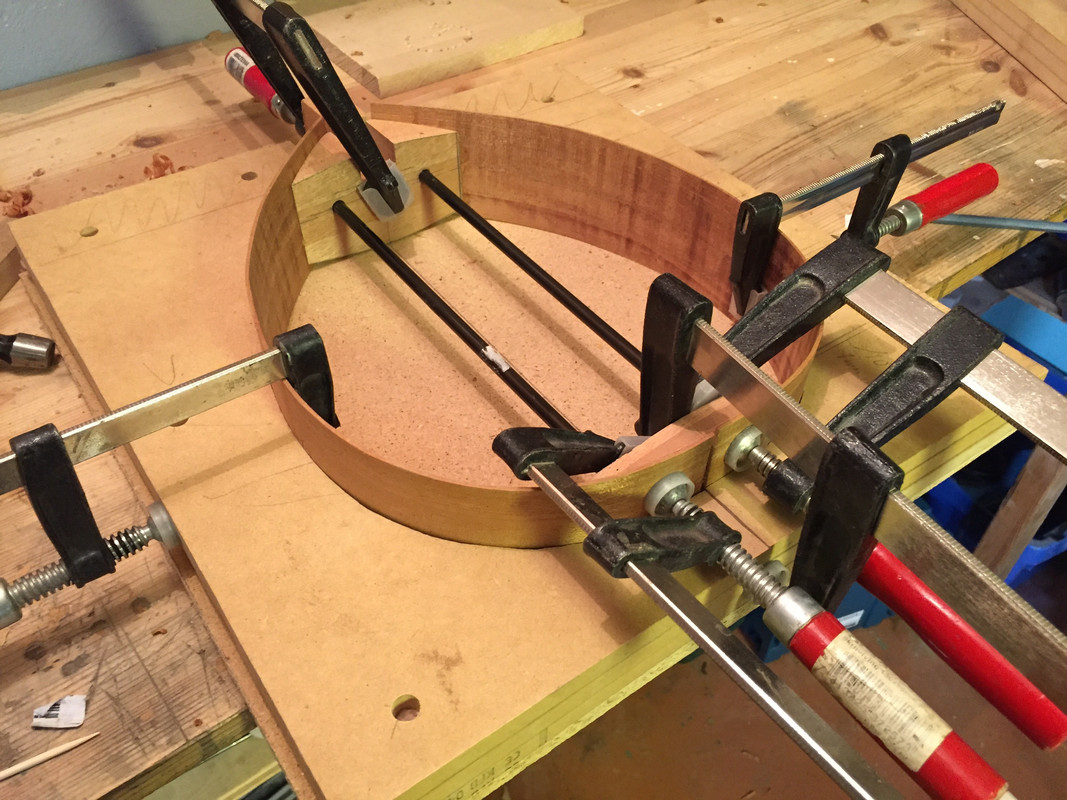 The profle marked out on the sides: 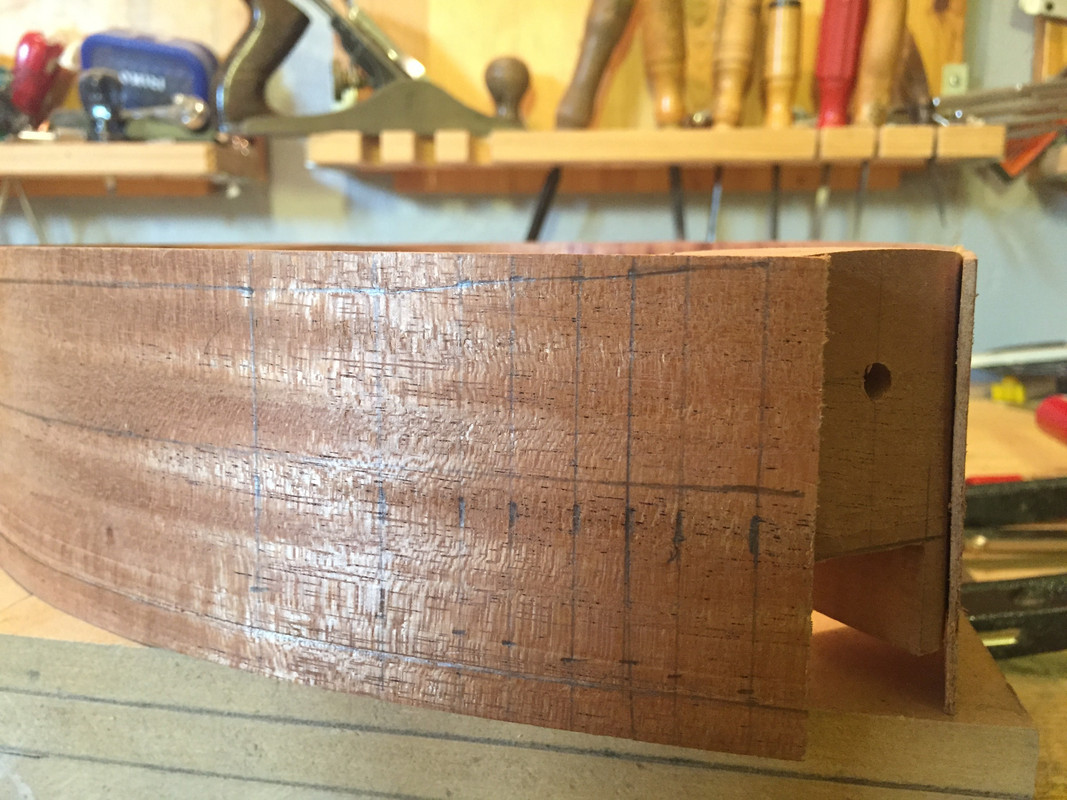 And shaped roughly first with knife: 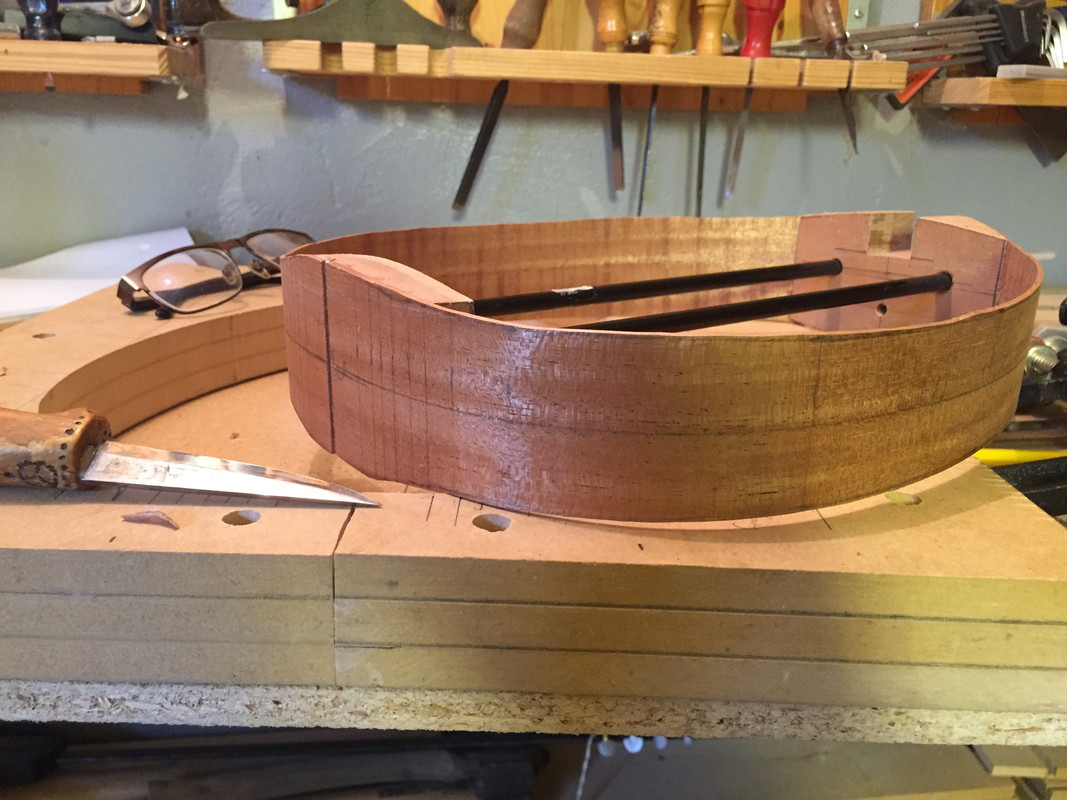 And then in the sanding trough: 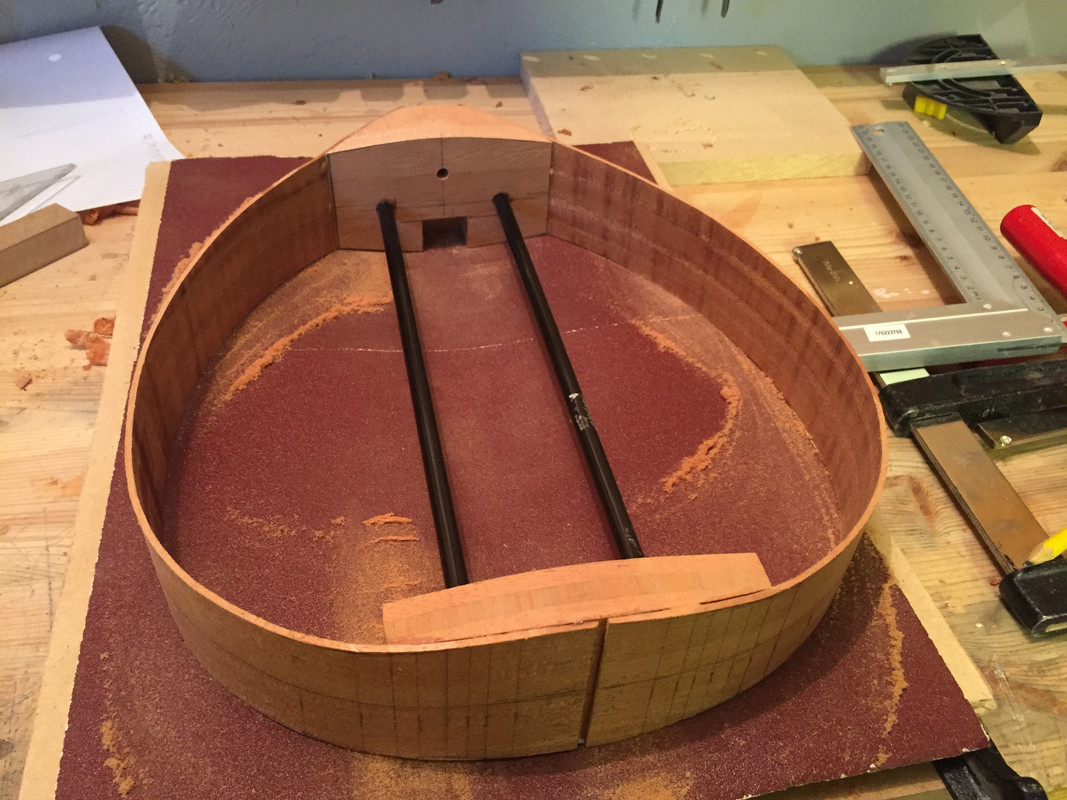 I took the discarded sides, cut them in slices and used them as linings. As the sides are really thin I added a lot of butresses between the linings: 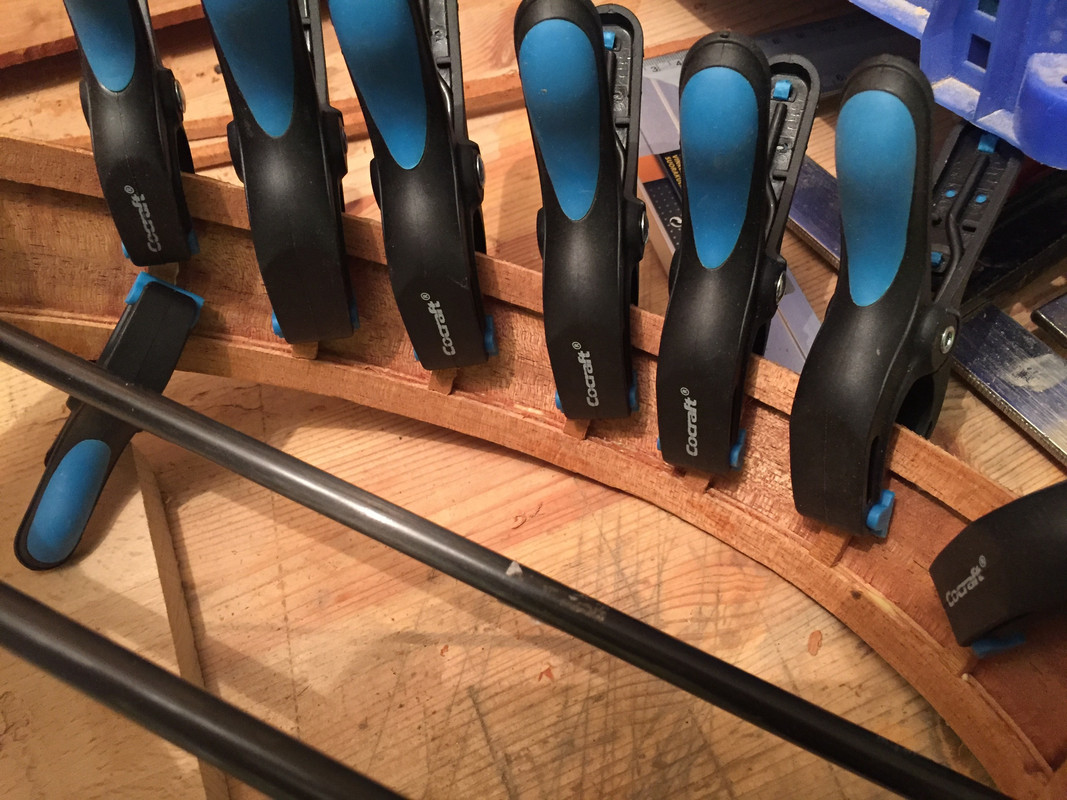 Last step was to sand the rim again in the trough until both sides were shaped to the profile: 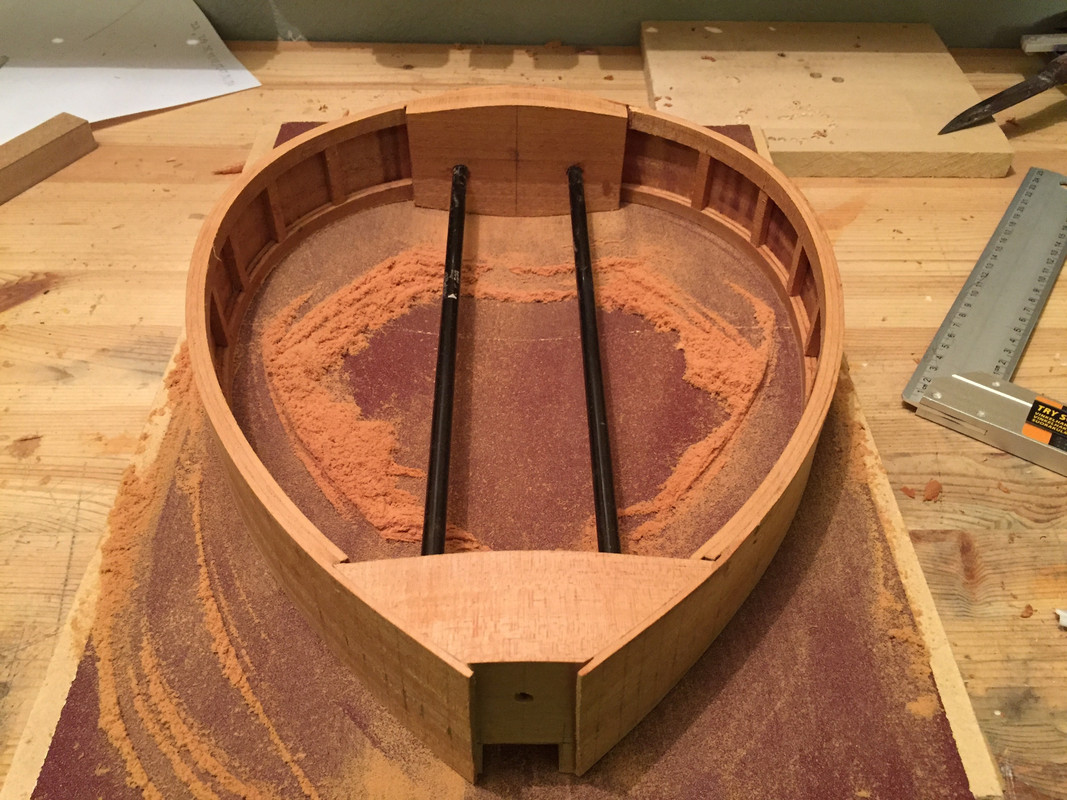 |
|
|
|
Post by lars on Sept 15, 2017 15:23:16 GMT
And I've also made some progress with the soundboard. First I planed it down to about 2.4. My goal is to have it even thinner by sanding the top after I've glued it to the rim. I've been thinking a lot about the soundhole design as I can't have an ordinary soundhole in the middle. It didn't work with f-holes, c-holes, ellipses or blurbs, so I ended up with this strange 6 hole design. 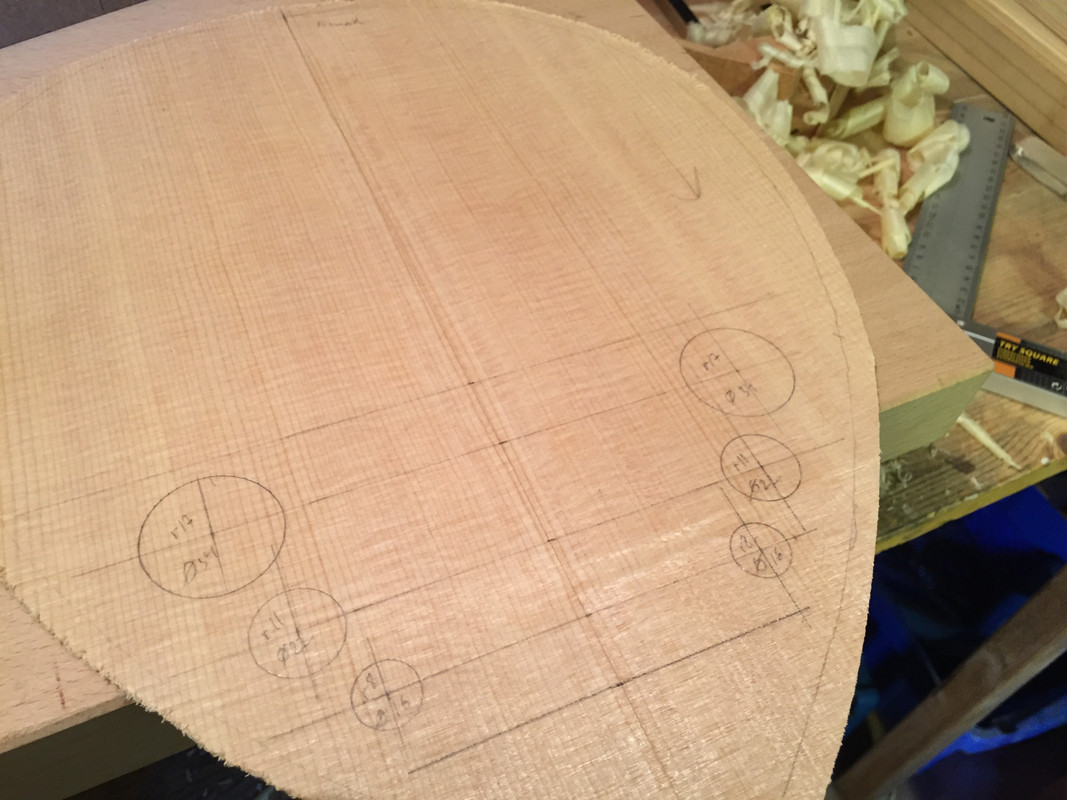 I will keep it simple and omit "rosettes" and bindings. But I glued wood in cross grain direction on the inside: 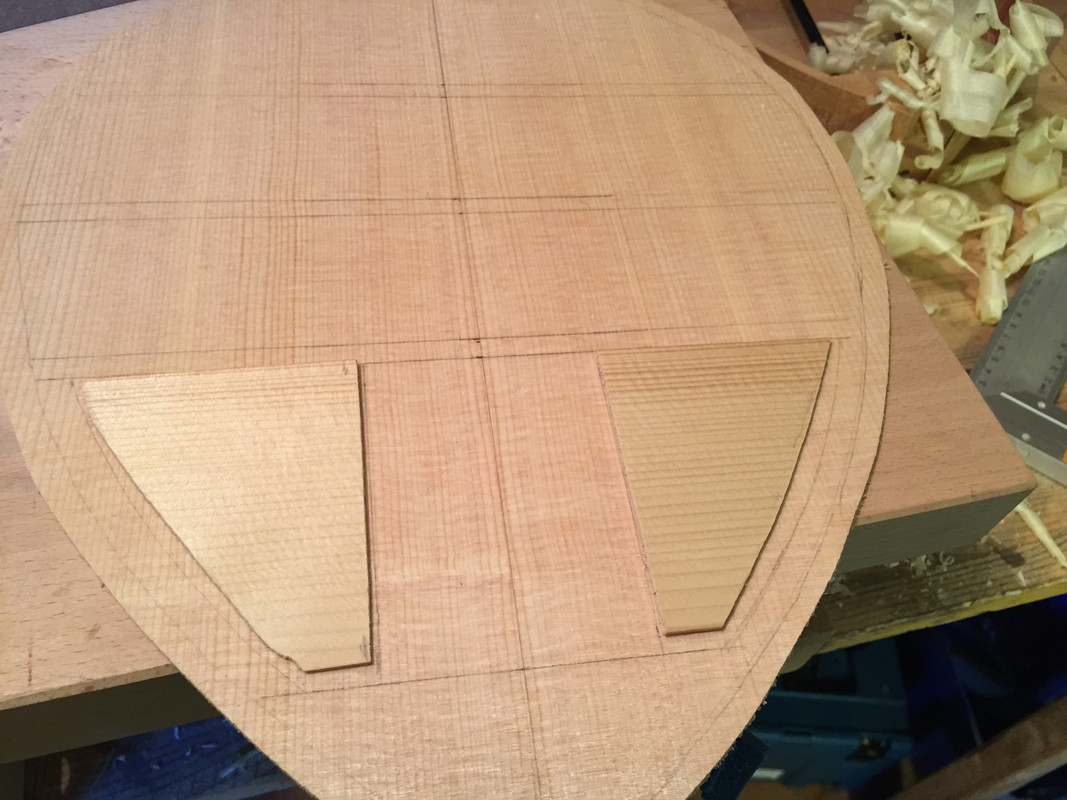 the smaller holes were drilled with drills of the exact radius. the large holes were drilled with a lots of small holes and then cut out with a gouge: 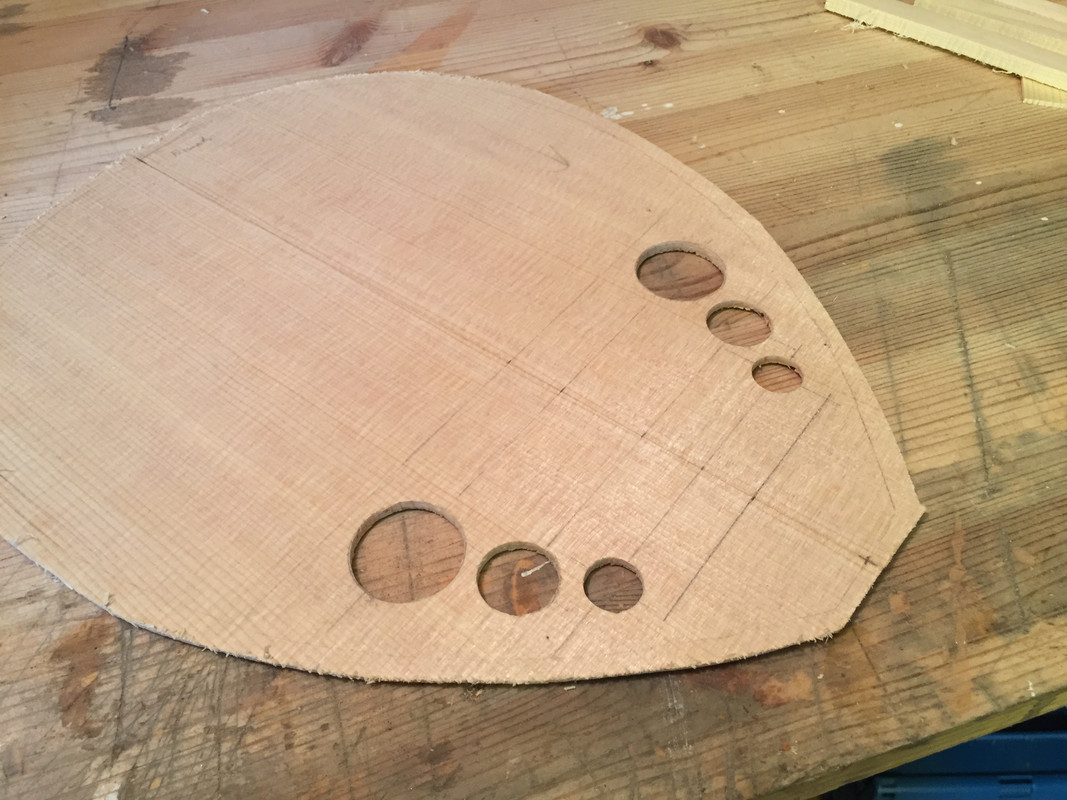 And from the backside (I hade to repair it a little, the image is after gluing the repair parts but before shaping them): 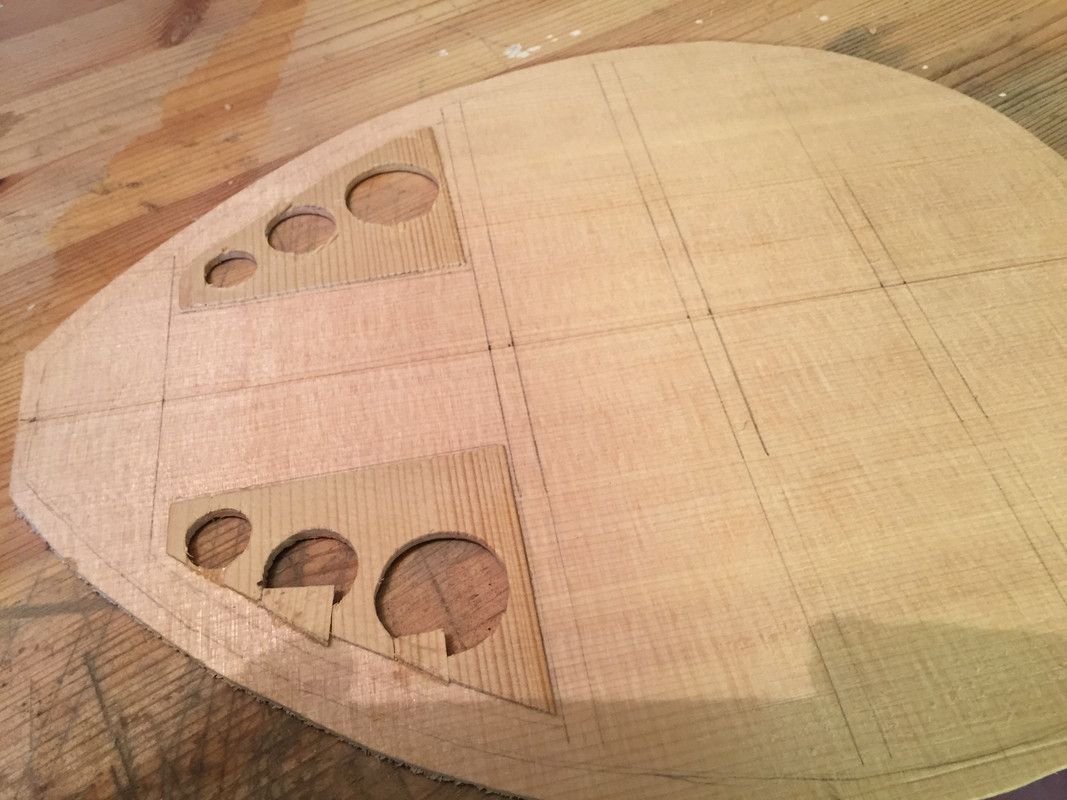 Meanwhile I sanded the braces to the profile. I clamped them together and sanded them as one piece: 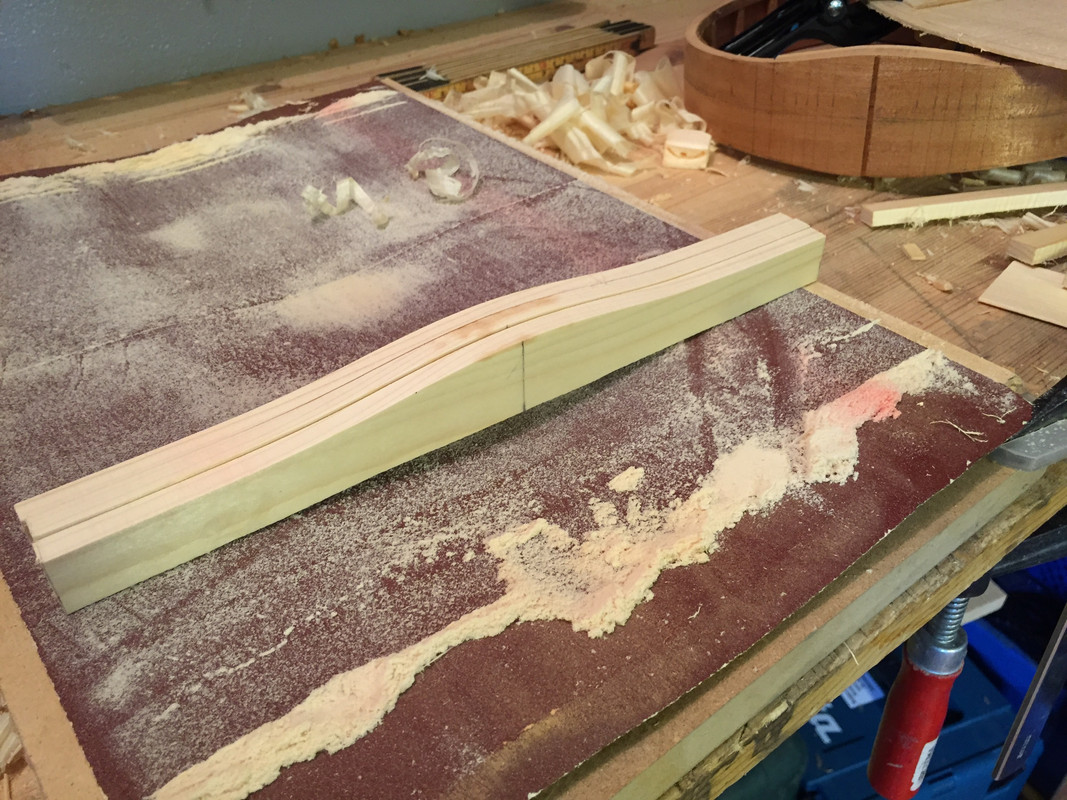 And glued them to the top: 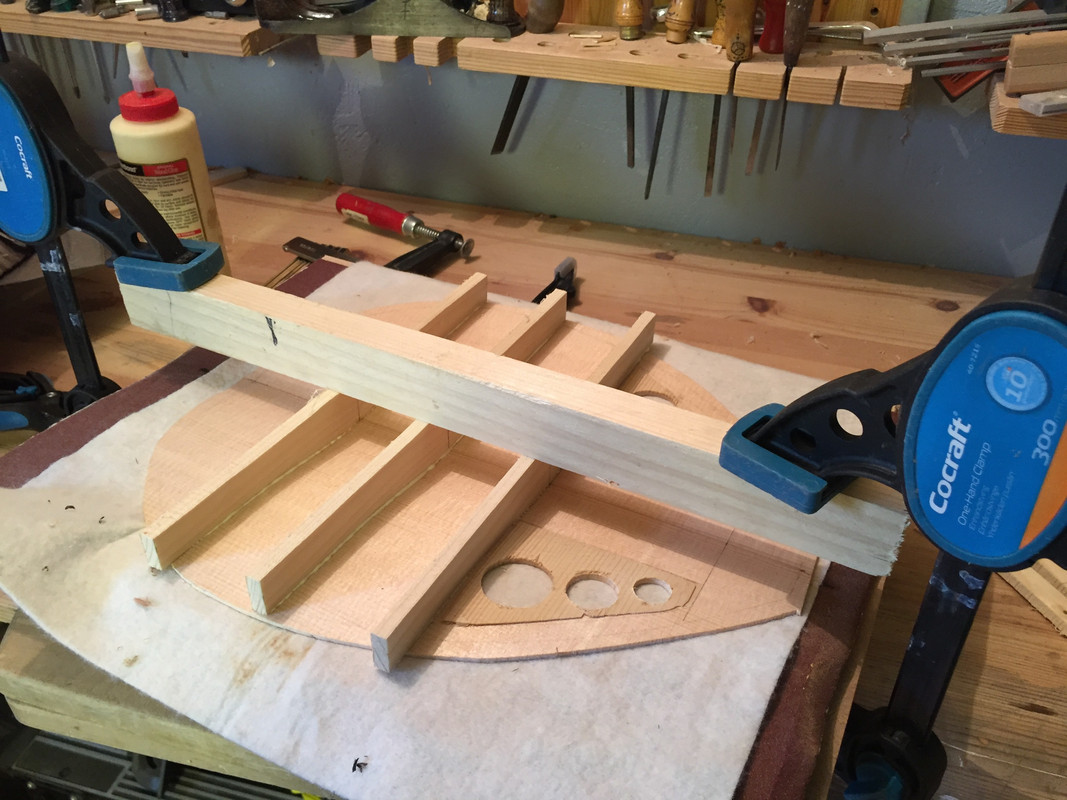 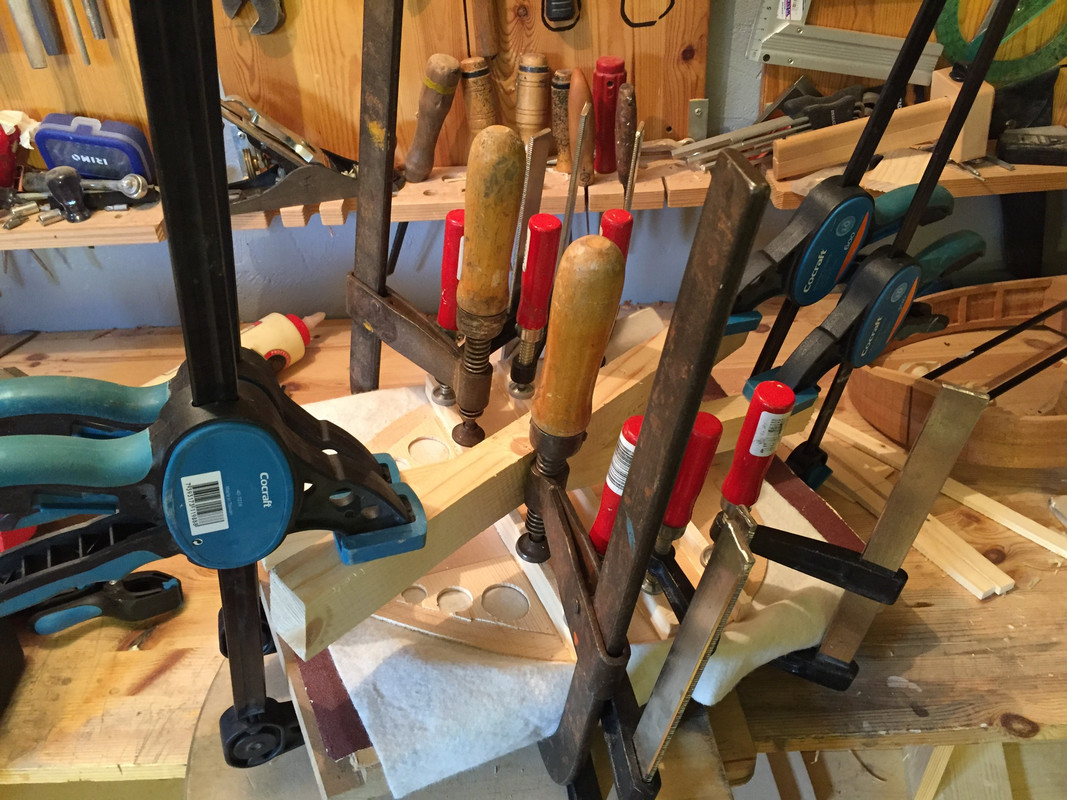 Planed down to a more reasonable height (but this is just a first step): 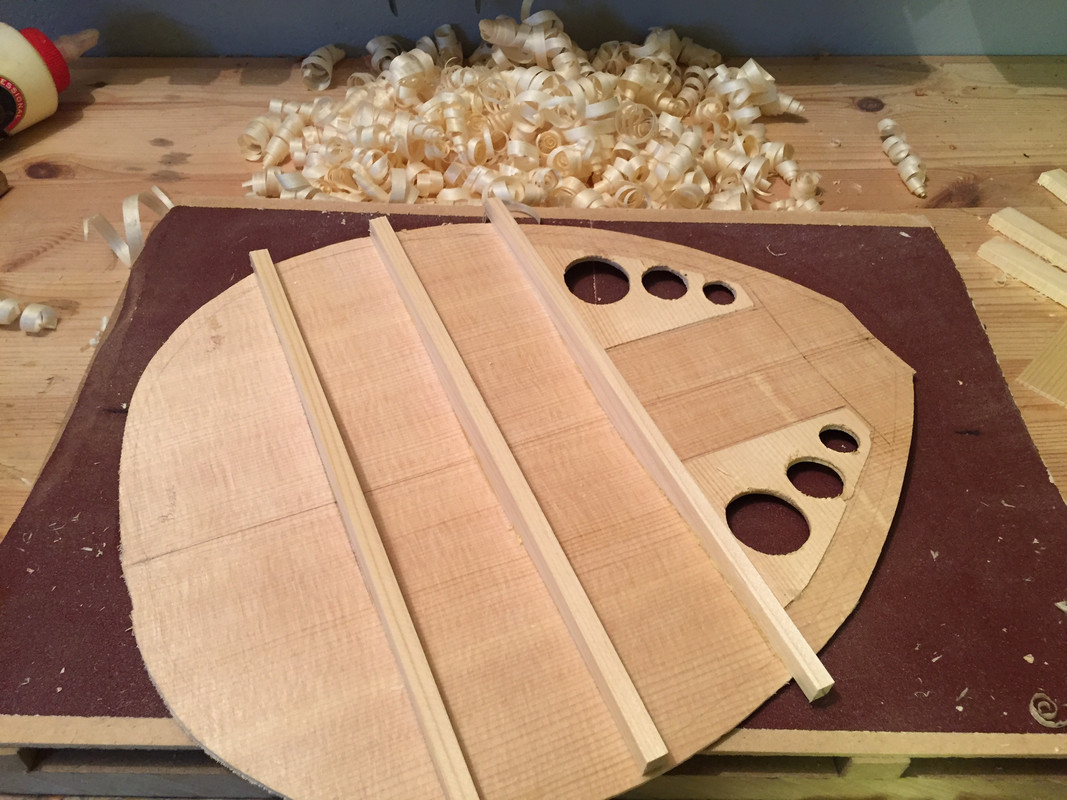 And this is what it looks like now: 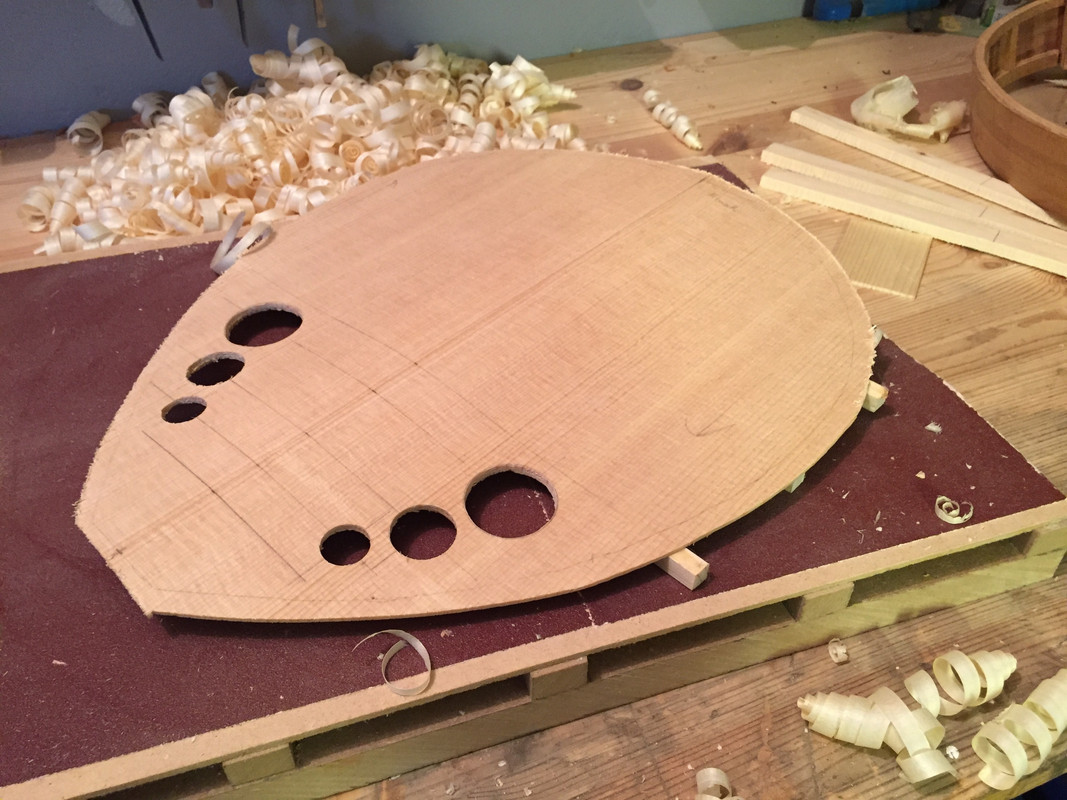 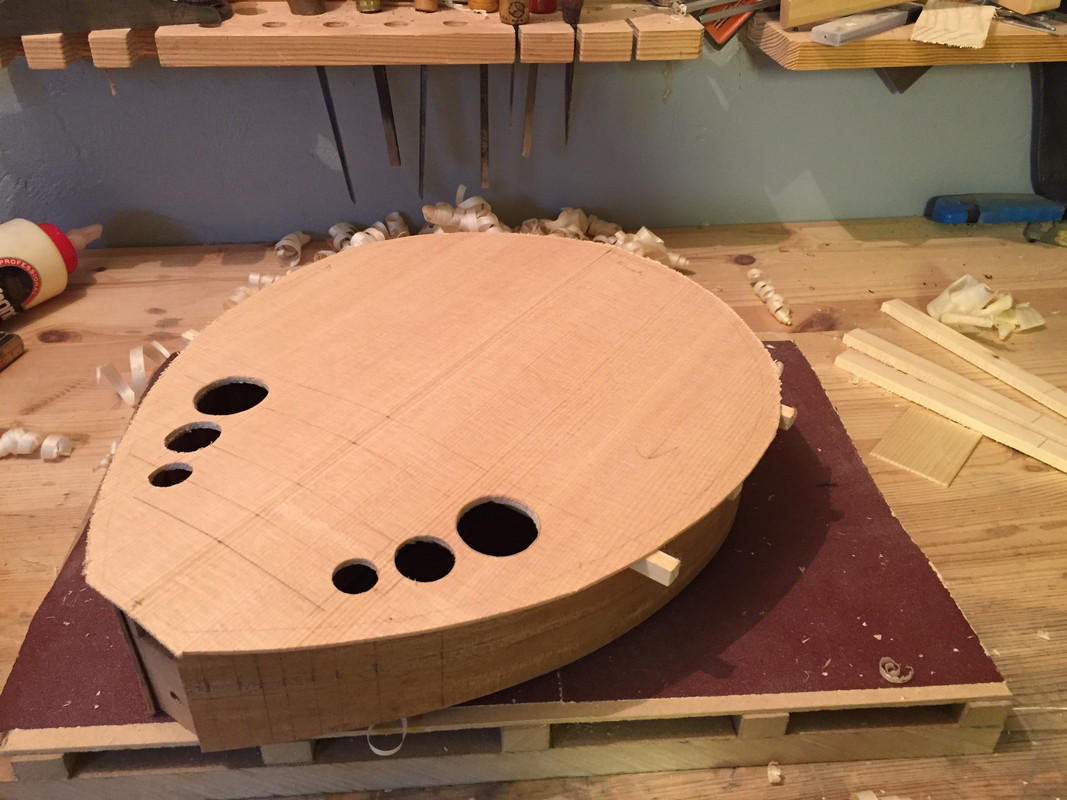 |
|
|
|
Post by lars on Oct 5, 2017 17:38:50 GMT
I haven't had much time to spend on luthiery, but there have nevertheless been some progress: This is the top after shaping the braces: 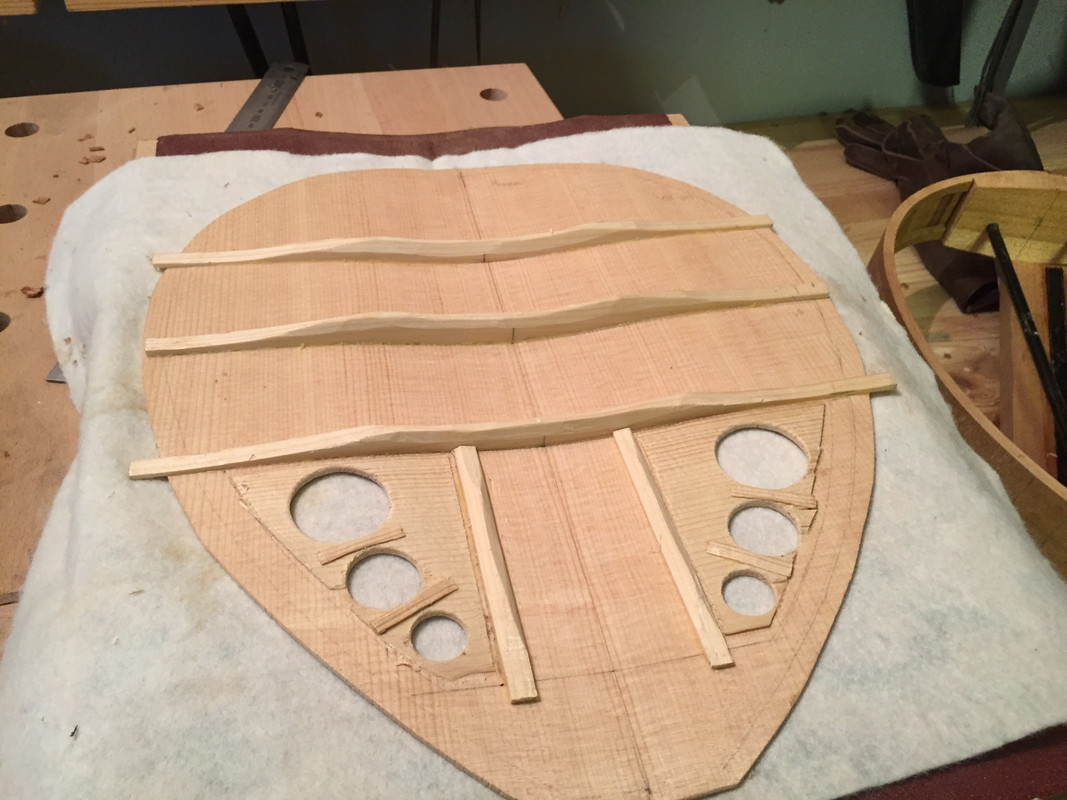 And here is the rim after I cut out notches for the braces: 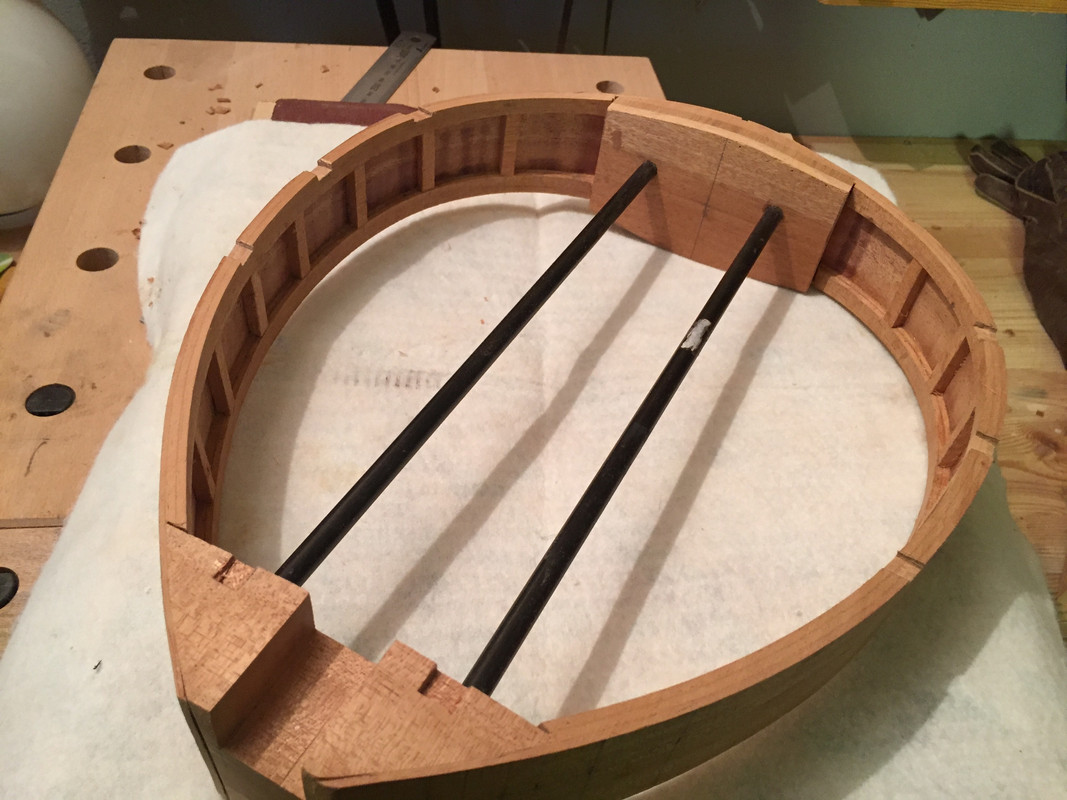 Here I glue the top to the rim: 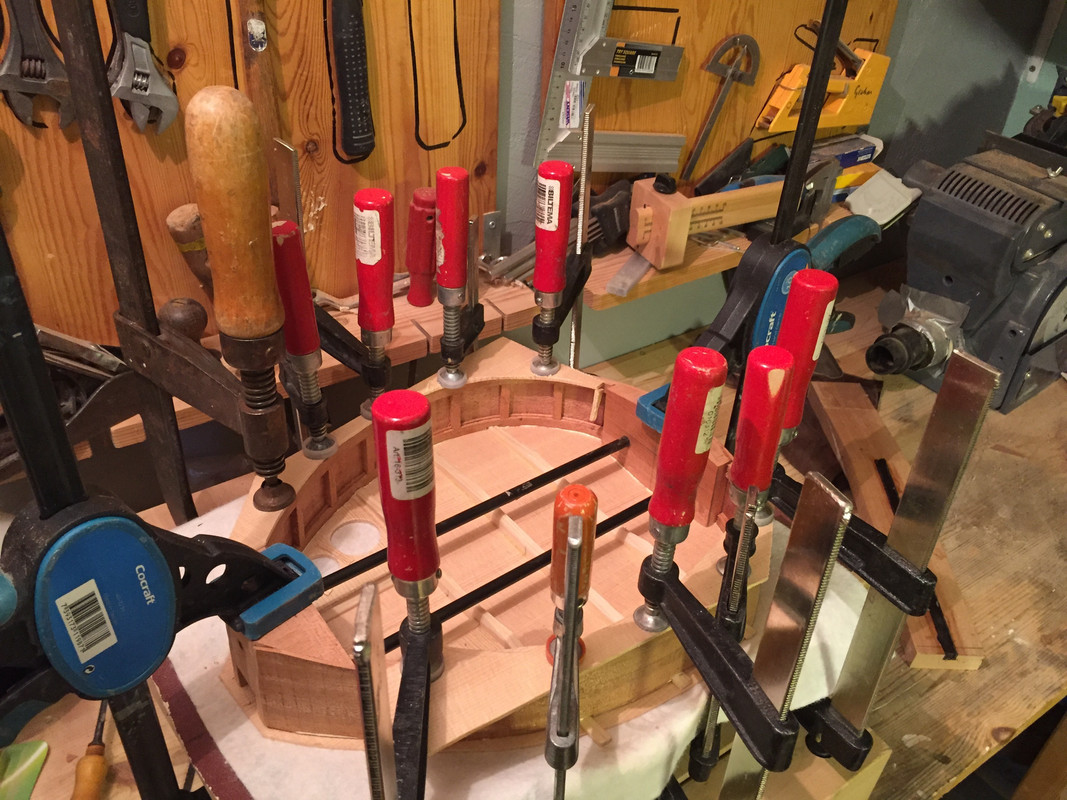 And the result is... 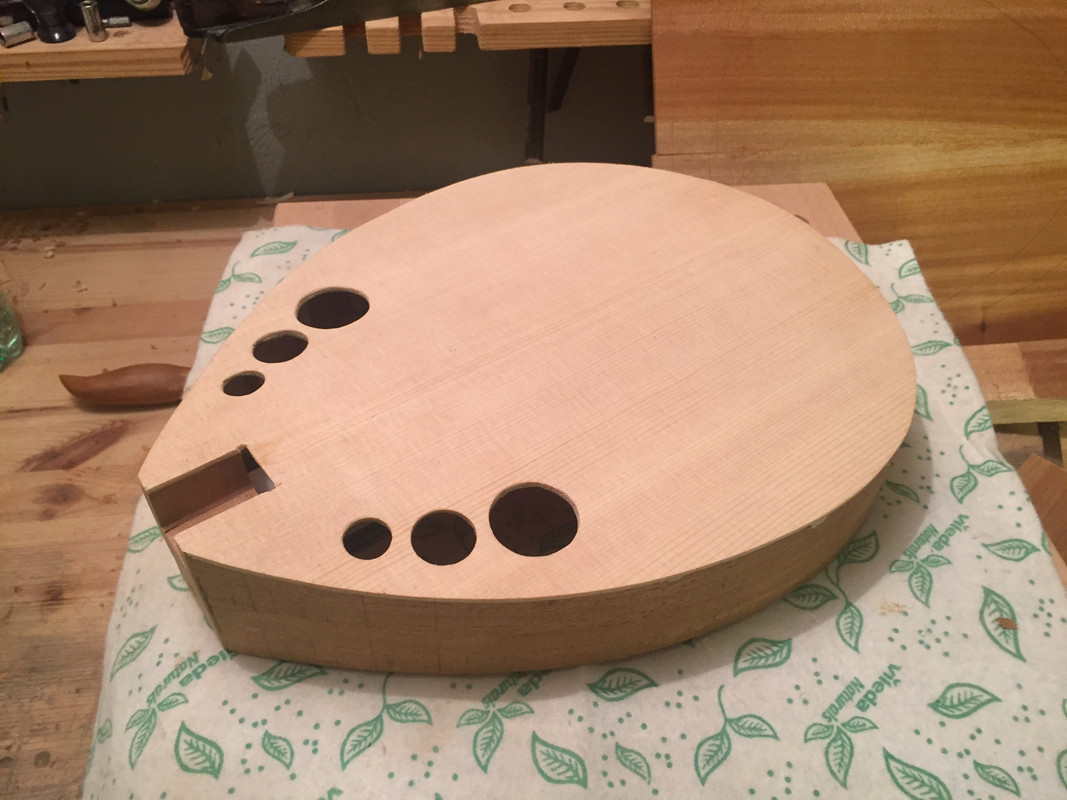 And meanwhile I started to work on the neck. First by cutting it in the band saw with an angle of 13 degrees and gluing the pieces back together like this:  And shaping the surface with a planer. This will be the top of the headstock and I will glue a veneer upon it (after gluing "wings" to the sides to make room for the tuners): 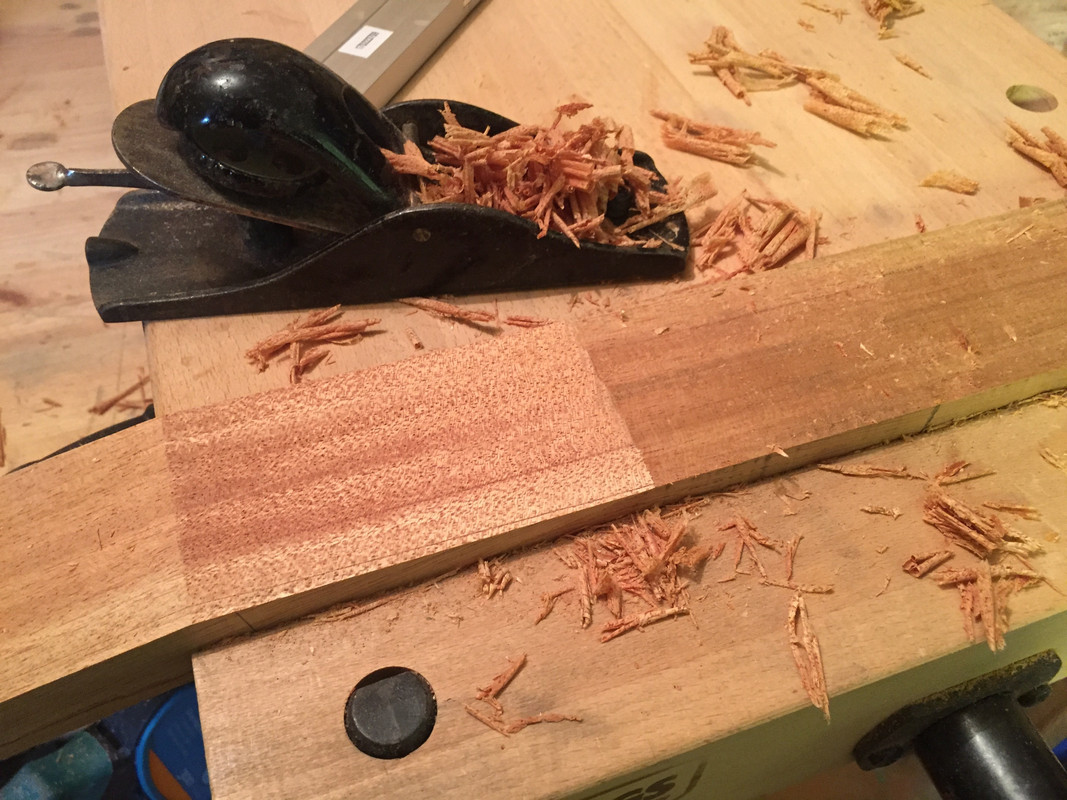 I didn't use a truss rod for this instrument, but made an enforcement of carbon fibre and ebony (1: couldn't find a massive cf-rod, so I took a square tube and filled it with an ebony core. 2: routed the slot too wide by mistake, so I filled up the sides with thin ebony stripes): 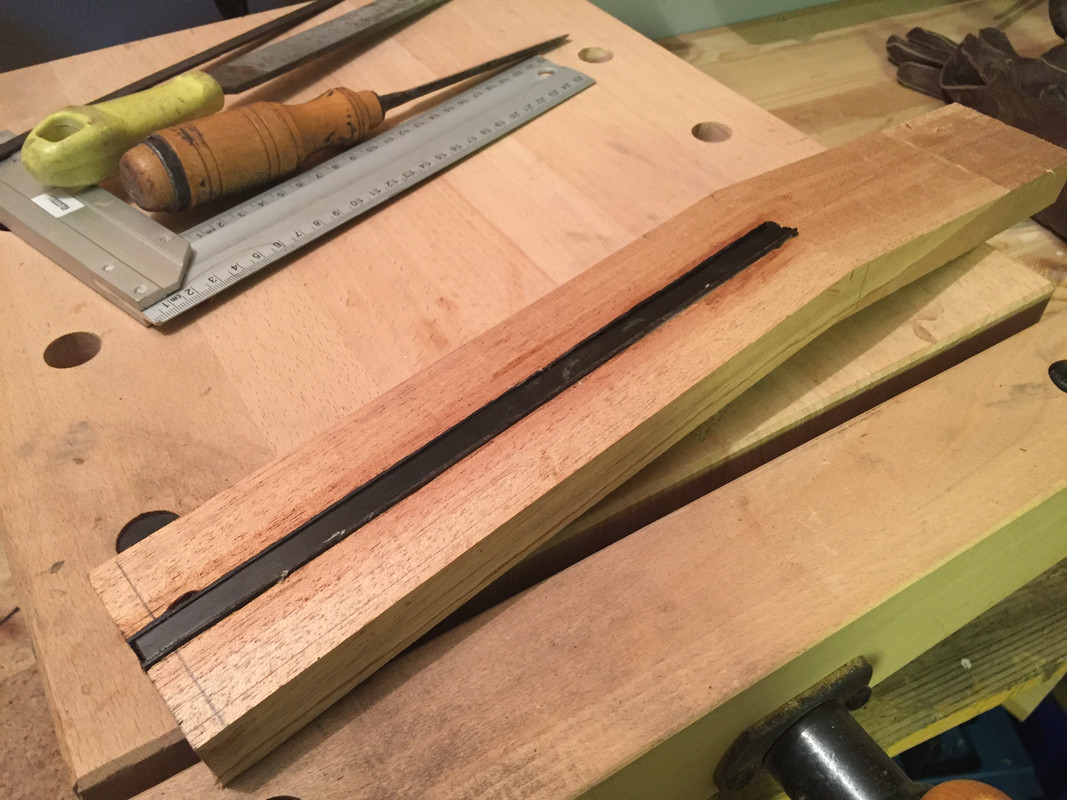 Glued a heel to the neck and cut out for the neck/body connection with an angle of 2 degrees: 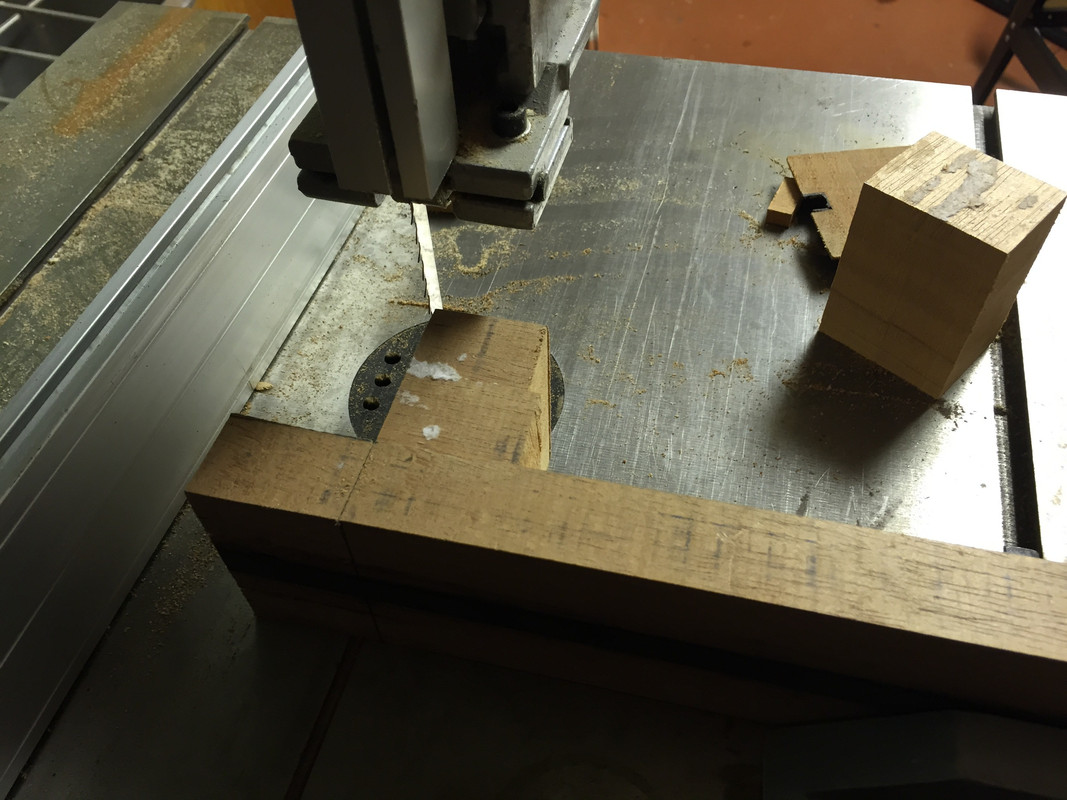 And after some further work the joint looked like this: 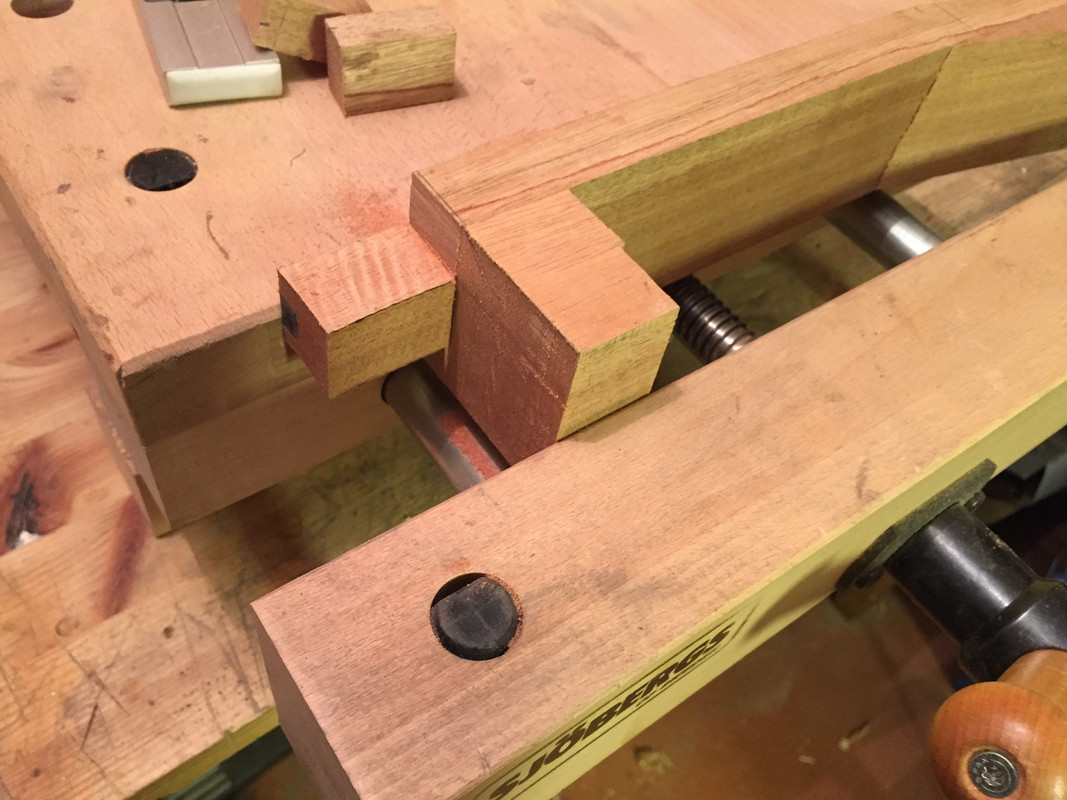 And after more adjustements with chisel and files I could fit the neck and body together like this. And this is the state of the instrument right now: 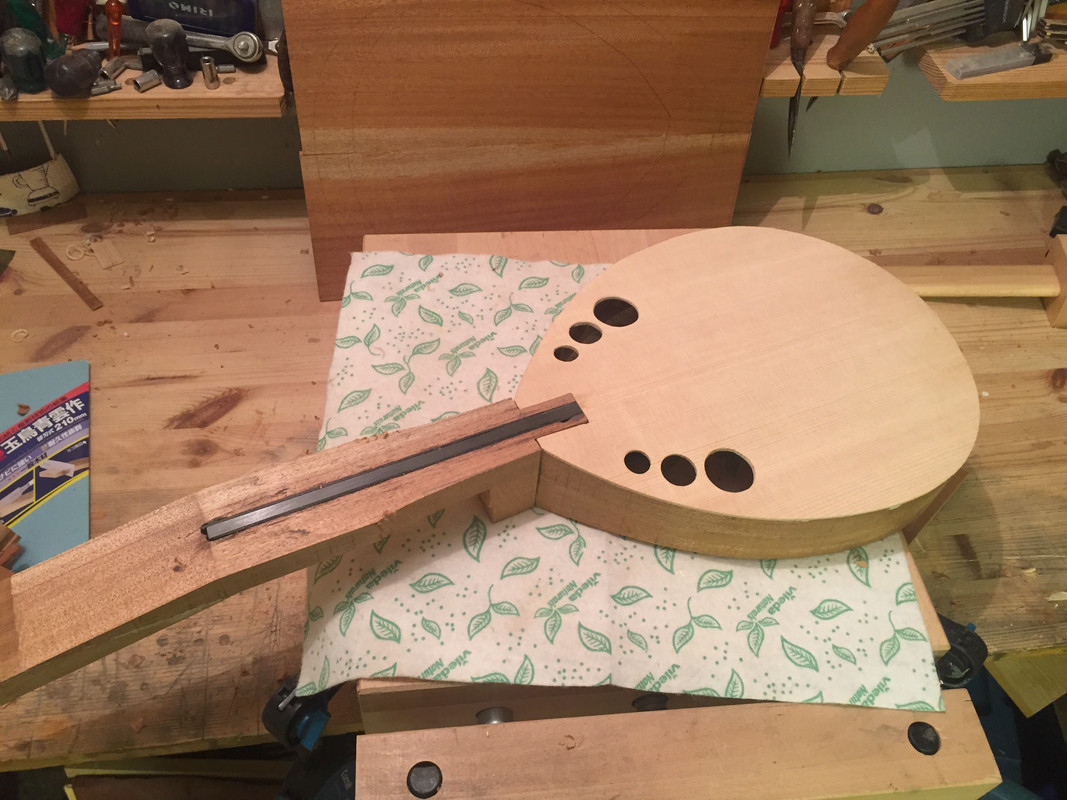 And besides that I've done some preliminary work with the back. No need for a fancy shooting board when you can shape the joint like this: 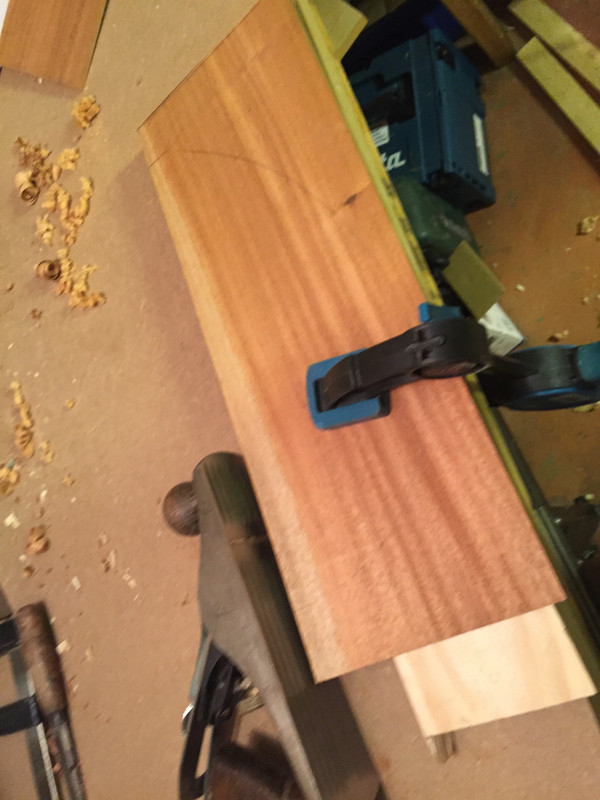 For the first time I tried the wedge and rope method for joining the halves together. And it seems to have worked quite well: 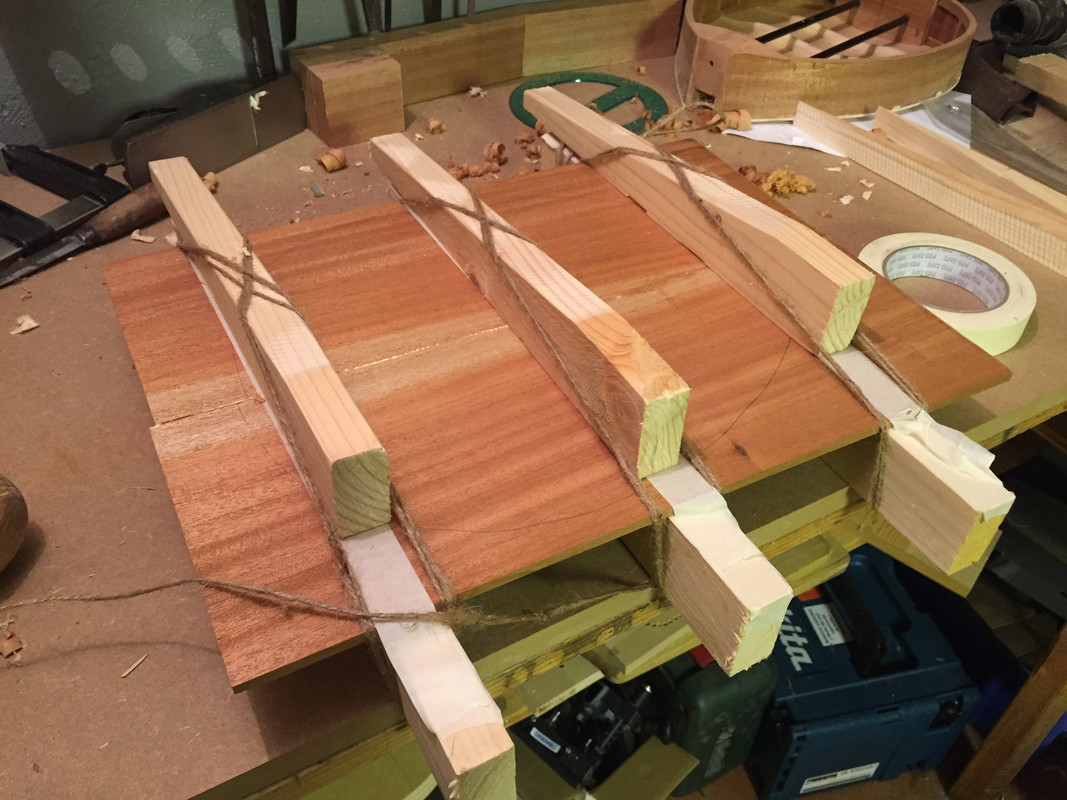 And lastly I've sanded the back braces in the through: 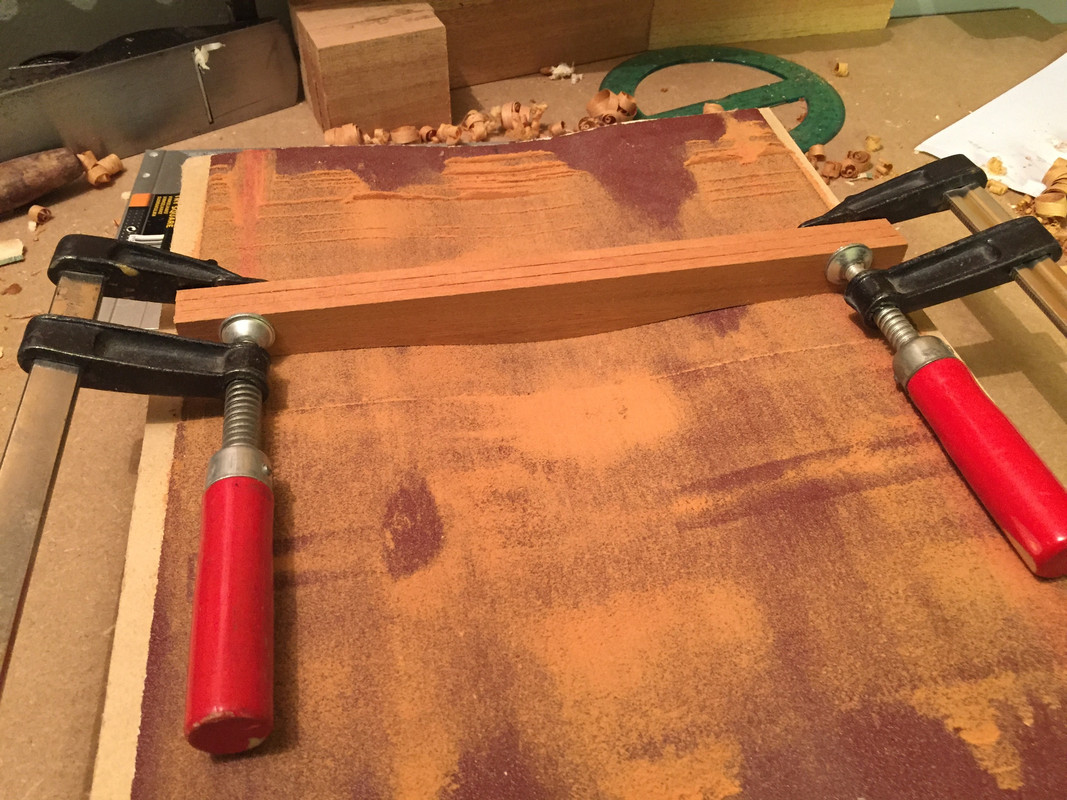 |
|
R the F
Luthier / Guitar Maker
Posts: 1,135  My main instrument is: bandsaw
|
Post by R the F on Oct 6, 2017 6:43:33 GMT
I didn't use a truss rod for this instrument, but made an enforcement of carbon fibre and ebony (1: couldn't find a massive cf-rod, so I took a square tube and filled it with an ebony core. 2: routed the slot too wide by mistake, so I filled up the sides with thin ebony stripes): Music to my ears: a compromise compounded by a cock-up - a man after my own heart. Things seem to be going pretty well, though, and a fine instrument will result. Keep up the good work! |
|
|
|
Post by lars on Oct 6, 2017 7:42:51 GMT
I didn't use a truss rod for this instrument, but made an enforcement of carbon fibre and ebony (1: couldn't find a massive cf-rod, so I took a square tube and filled it with an ebony core. 2: routed the slot too wide by mistake, so I filled up the sides with thin ebony stripes): Music to my ears: a compromise compounded by a cock-up - a man after my own heart. Things seem to be going pretty well, though, and a fine instrument will result. Keep up the good work! Yes, I feel we have a kind of kinship in this 'design by mistake'-filosophy. I hope you are right about the result. Personally I have my doubts, but of course I hope and strive for a fine instrument. Thank you for support! |
|
garynava
Luthier / Guitar Maker
Posts: 460  My main instrument is: Stanley No.5
|
Post by garynava on Oct 6, 2017 14:38:16 GMT
Good to see lots of hand tools used and no over reliance on fancy jigs.
Cheer Gary
|
|
|
|
Post by lars on Oct 6, 2017 16:01:47 GMT
Good to see lots of hand tools used and no over reliance on fancy jigs. Cheer Gary Thank you Gary I have a lot of machines and power tools but really prefer to work with hand tools. I'm glad you chimed in. Your blog have been a big inspiration and source for information and ideas. |
|
|
|
Post by lars on Nov 12, 2017 21:12:18 GMT
The continued story of the haunted mandolin
It's been a long time since I updated. Progress has been slow and full of mistakes and new takes. In one of the last posts I showed how I worked with the back plate. It was actually my second back, but I didn't tell you. The first one had cracked when I tried to bend it to the profile. And guess what happened to the second back:  So it was back to make another (third) back and this time I did it a three-piece, so I didn't have a joint where the strongest tensions was. And this time it worked out fine (I could use parts of the first back as "wings" around a center piece). And i could glue on the braces. I forgot to take any pictures after shaping them, but this is how it looked directly after gluing: 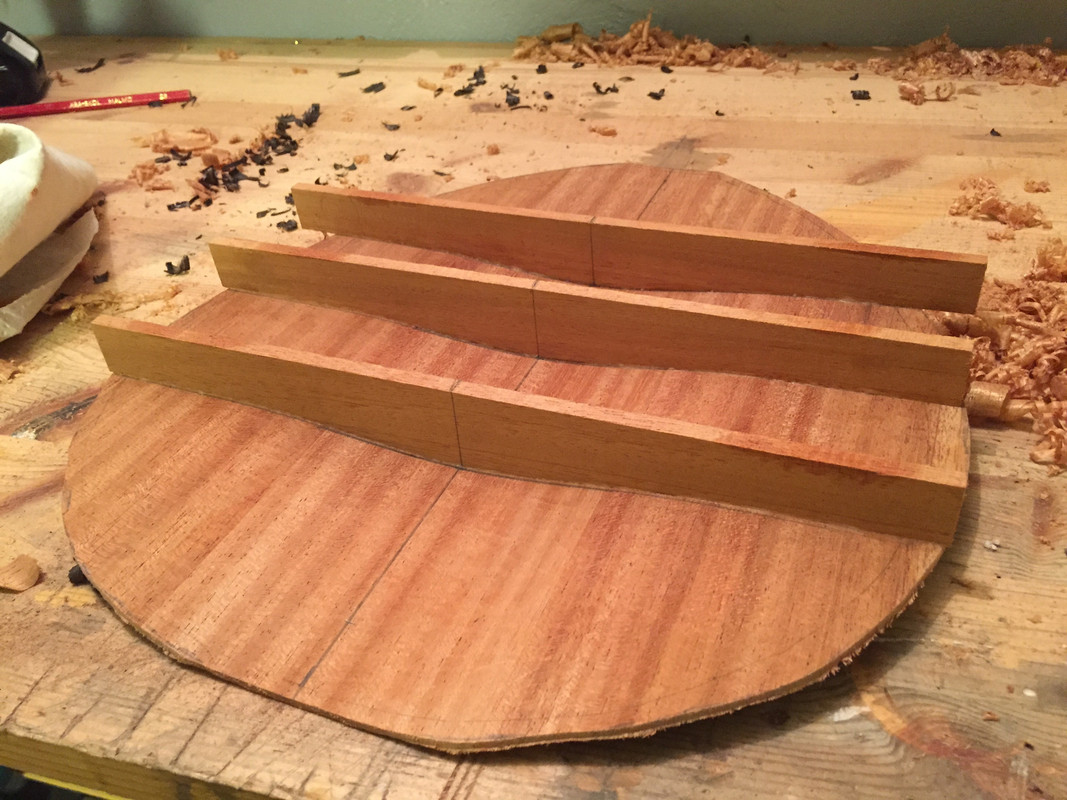 And then it was back to work with the neck. As I don't have a normal sound hole I've decided to glue the neck, but to reinforce the joint with a screw from the inside. As I'd finally found the kind of "nut" that I've seen a lot of you use for bolt-on necks, I decided to try one of those: 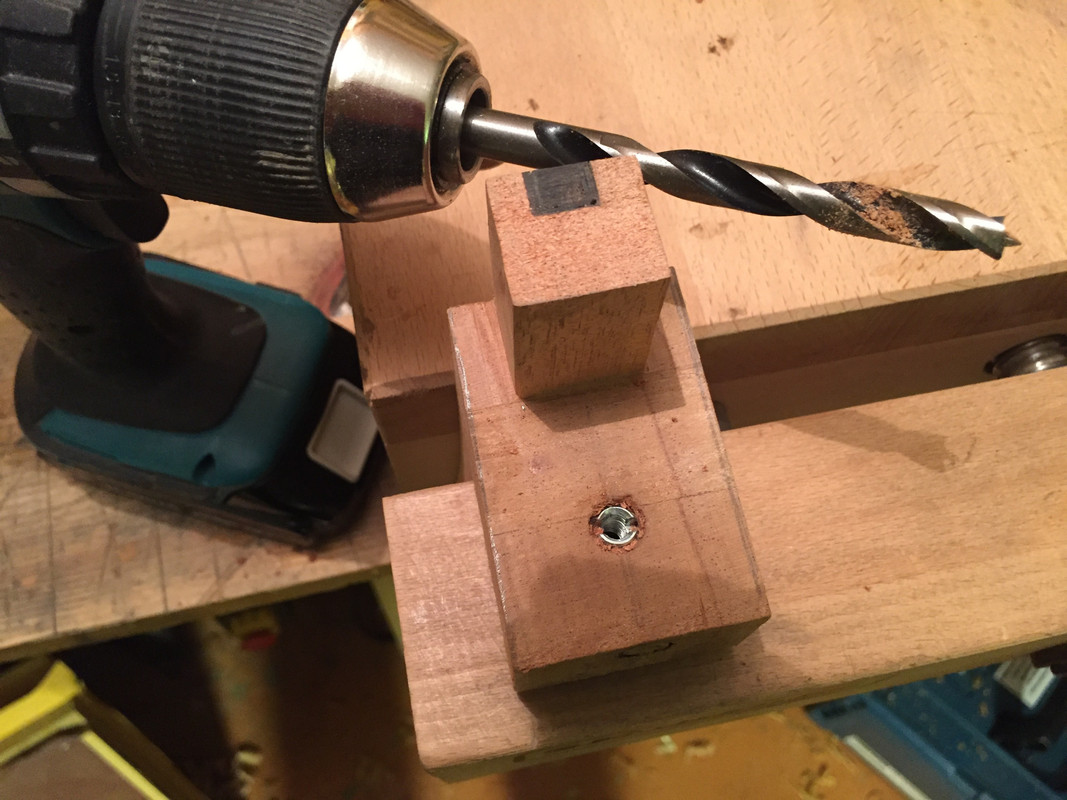 Everything looked great, but when I did a "test drive", the screw screwed up the hole thing - it just broke the heel in two. So I had to cut off the heel and glue on a new one. I decided to skip the "nut" but decided to drill for a wooden dowel, so that the screw wouldn't meet end grain wood. I don't know how, but when I inserted the dowel with the help of a hammer, I smashed the heel! "Gör om - gör rätt" is a Swedish saying meaning "Do it again - do it the right way". And so I did. I was to exhausted to photo document "the making of a completely new neck", but after a while it looked like a neck: 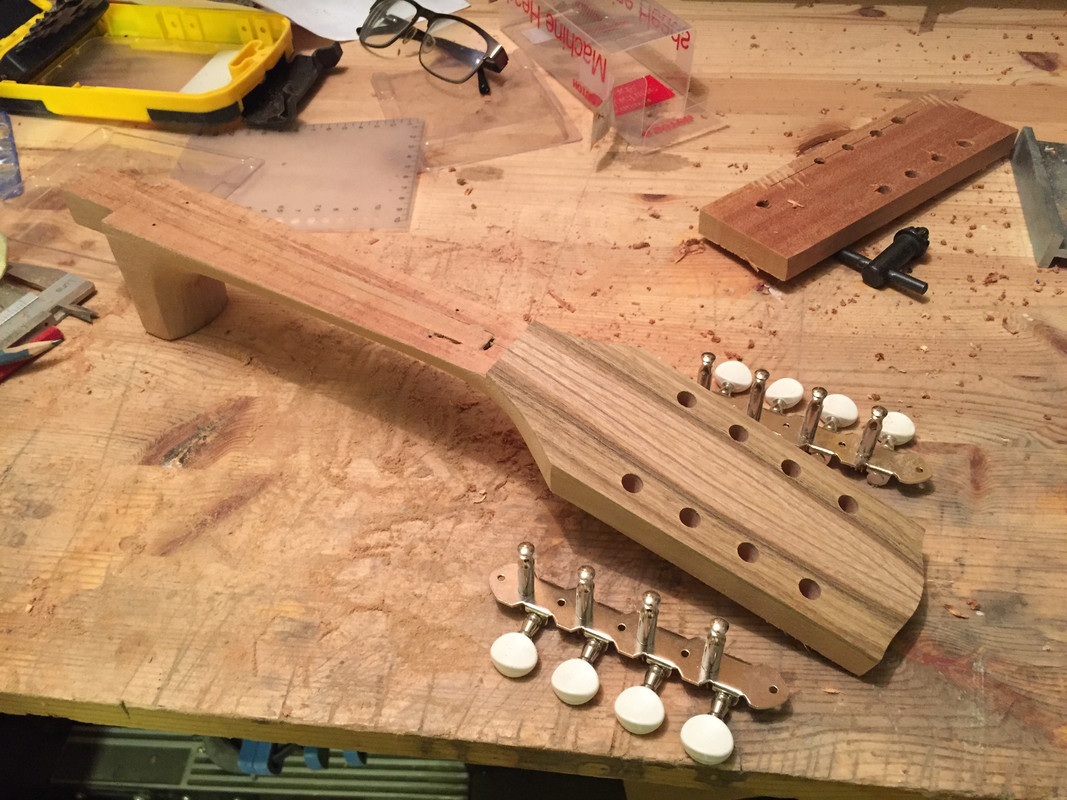 The head plate veneer is laburnum, and I will use it for bindings and "decoration" like I did with the tenor mandola. Right before I should have glued the neck to the body I took a look at the tenor mandola and found that the top was beginning to sink around the bridge area. As I have the same "bold" neck angle of 2 degrees on both instruments, and about the same stiffness in the top bracings, I decided to rework the neck-body joint on this one. So with the help of files, japanese saw and a lot of swearing I changed the angle to about 1.5 degrees. And as a result did the joint become so sloppy so I had to glue it with epoxy - so much epoxy that I'd have to kill you all if I told you. 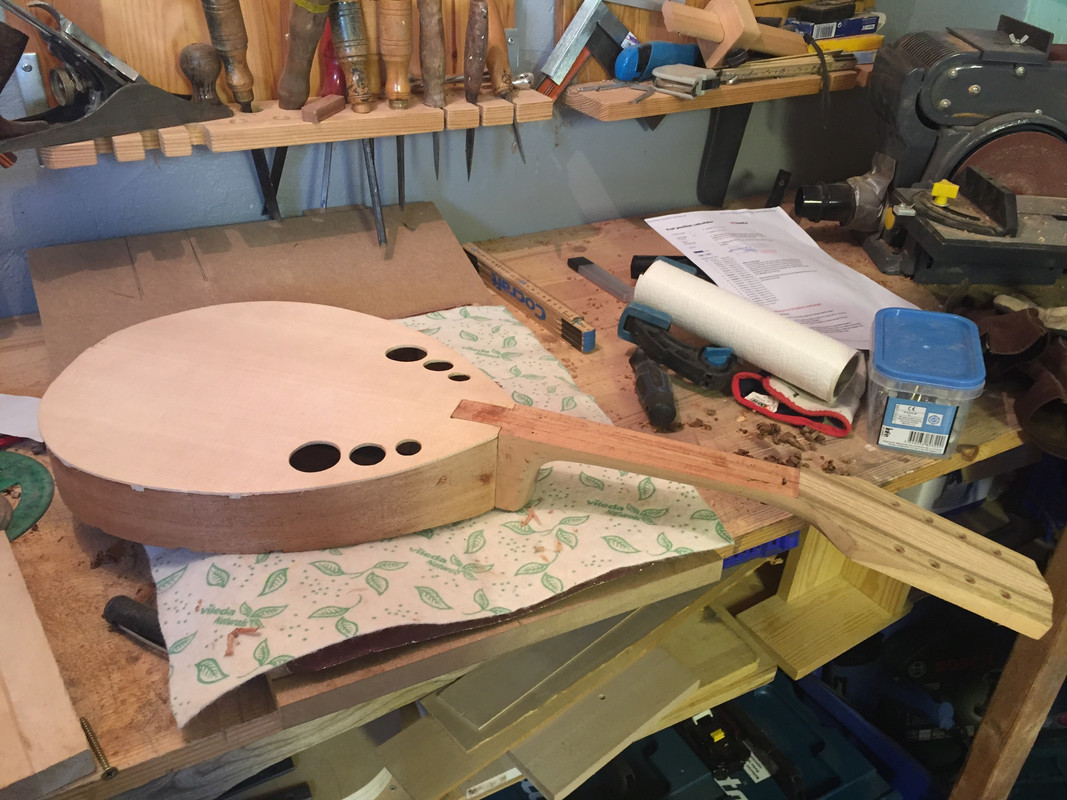 Before gluing the back I did some writing inside: 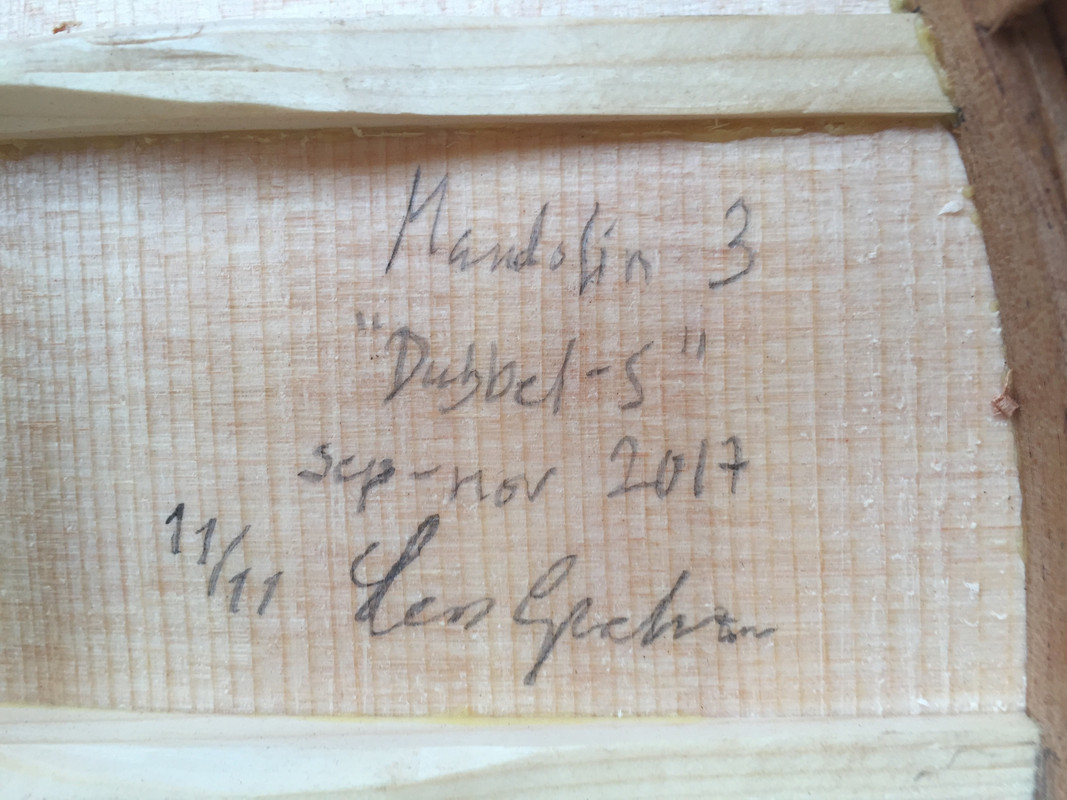 And on with the clamps: 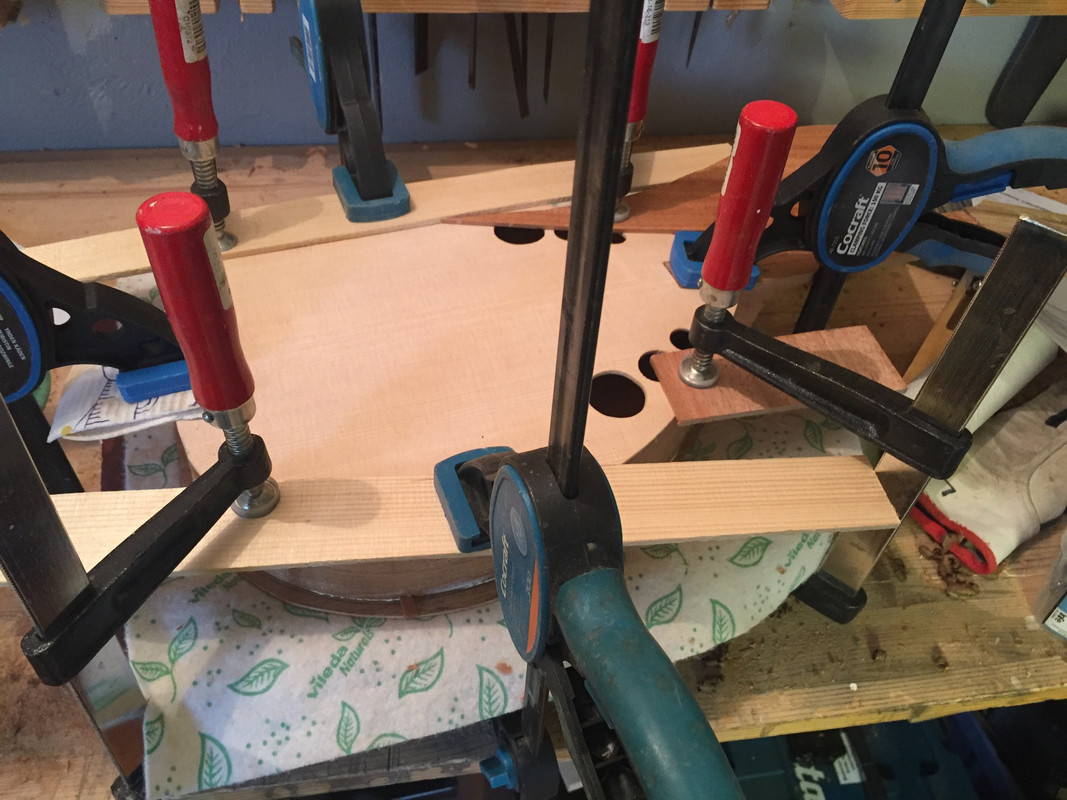 And now I'm in the middle of the process of adding bindings. Due to the complicated curvature i have to cut the channels completely by hand, which is a nerve wrecking job. But this is the current state: 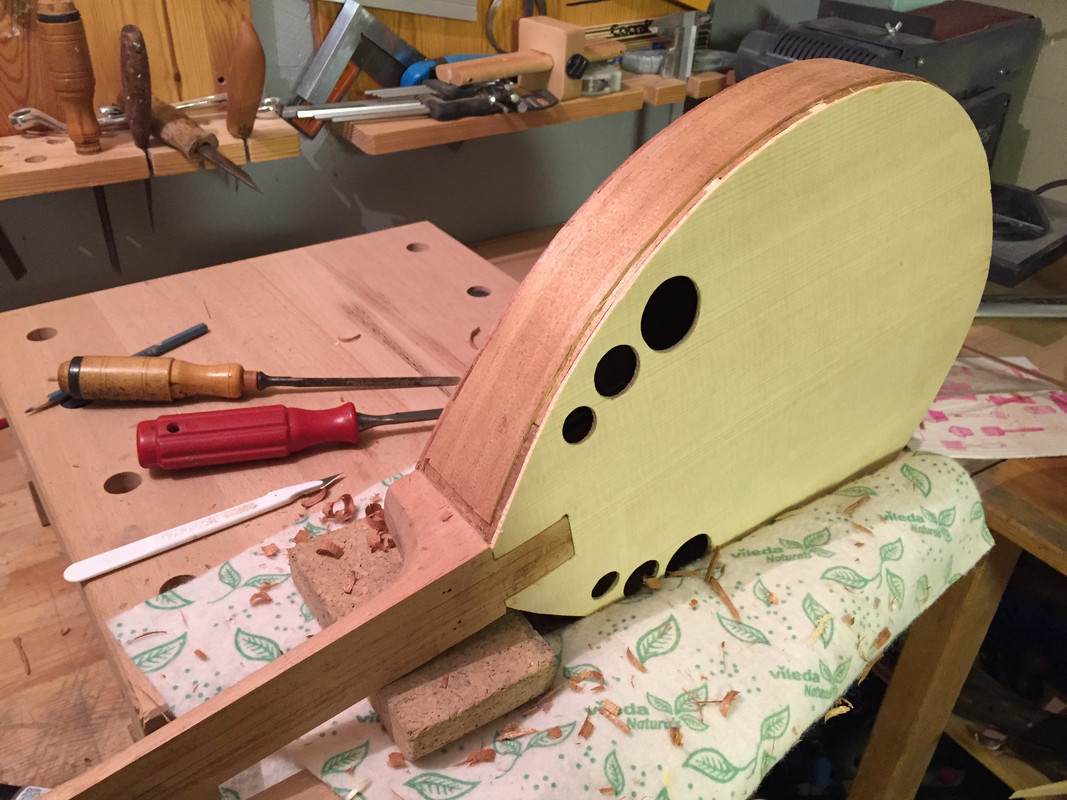 Hopefully to be continued.... Self portrait after breaking the neck: 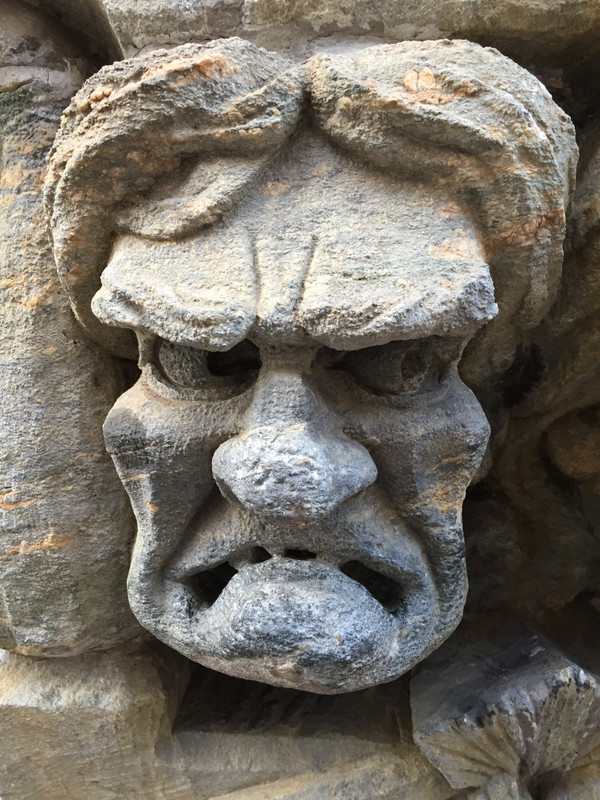
|
|
davewhite
Luthier / Guitar Maker
Luthier
Aemulor et ambitiosior
Posts: 3,548
|
Post by davewhite on Nov 13, 2017 8:04:03 GMT
Lars, Looking good. Mistakes are one of the best learning processes that I know and you've learned lots  |
|
R the F
Luthier / Guitar Maker
Posts: 1,135  My main instrument is: bandsaw
|
Post by R the F on Nov 13, 2017 8:12:38 GMT
Thank you, lars; great photos and amazing application to the task. You have managed to put my own trials and tribulations into perspective! I hesitate to say it but... good luck with the rest of the build. |
|
|
|
Post by lars on Nov 13, 2017 8:53:40 GMT
Lars, Looking good. Mistakes are one of the best learning processes that I know and you've learned lots  Thanks Dave. I have shurely learned a lot... And I even forgot to tell about the fretboard... Ok, that will come in the next post |
|
|
|
Post by lars on Nov 13, 2017 8:56:06 GMT
Thank you, lars ; great photos and amazing application to the task. You have managed to put my own trials and tribulations into perspective! I hesitate to say it but... good luck with the rest of the build. I hesitately accept your wishing me luck :-) |
|
|
|
Post by lars on Nov 15, 2017 20:11:58 GMT
I won't bother talking too much about the fret board that split in two when I hammered in fret nr 17 or the crack in the back that suddenly appeared when clamping the body in the work bench... I'd rather talk about the relative success I've had lately. After closing the box it was time for the bindings. As I said in the last post, I cut it buy hand, first with my home made binding cutter and then with chisels and files. It was a hard work and the result far from satisfying and I promised myself (as I did with my previous two instruments) to never do it by hand again. The laburnum bindings were first bent all four in the profile of the body and then bent two by two regarding to the curvature seen from the side. I ended up with two pair of bindings: 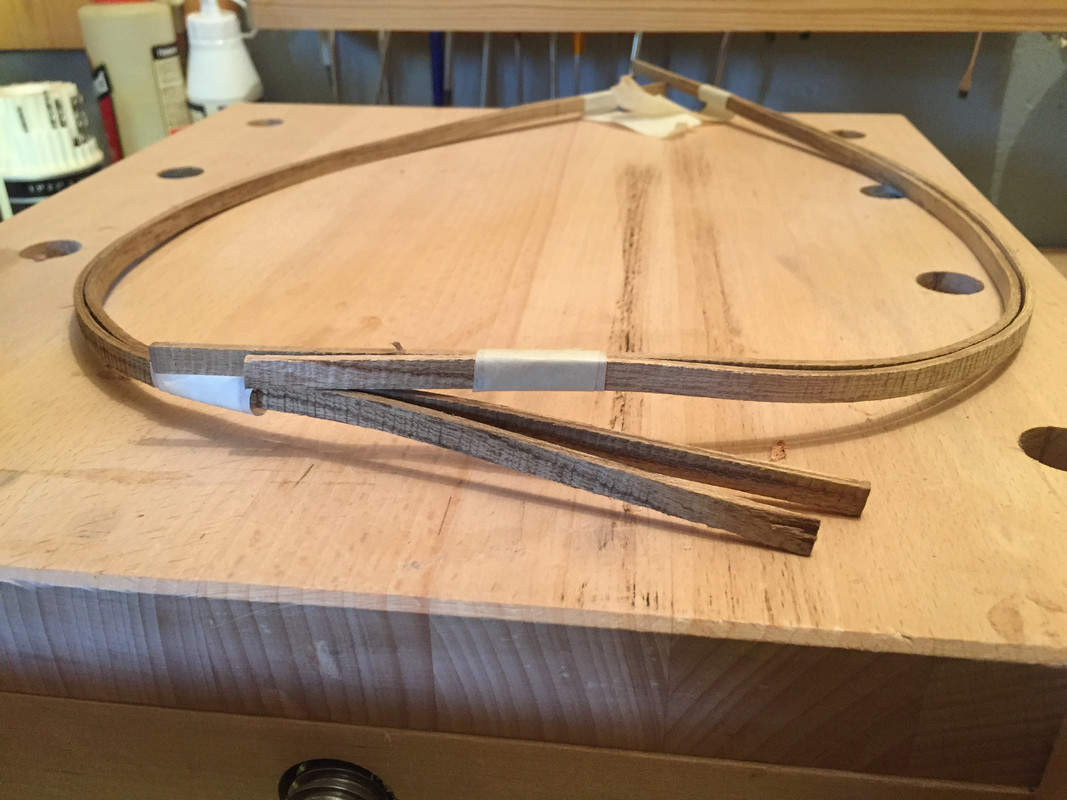 And here the first binding is glued: 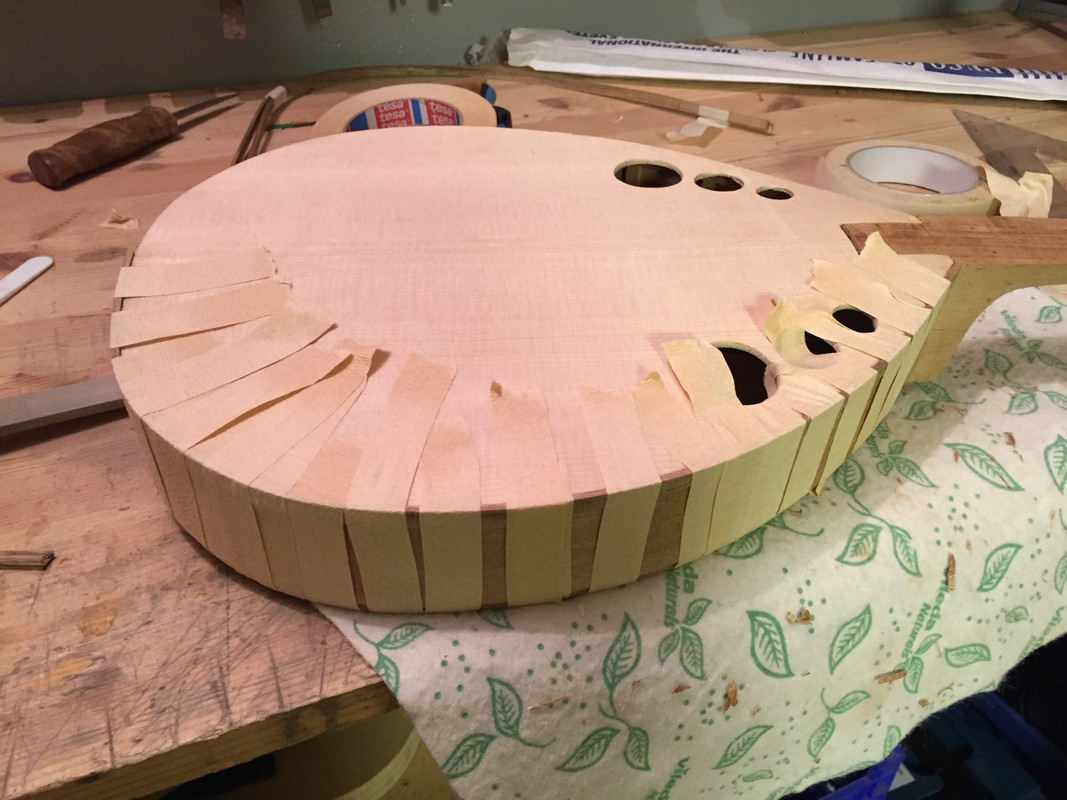 After all four sides were glued there were quite a few gaps which had to be repaired - either by tiny shims that I glued in between the body and the inding - or by saw dust mixed with epoxy. And now it looks like this: 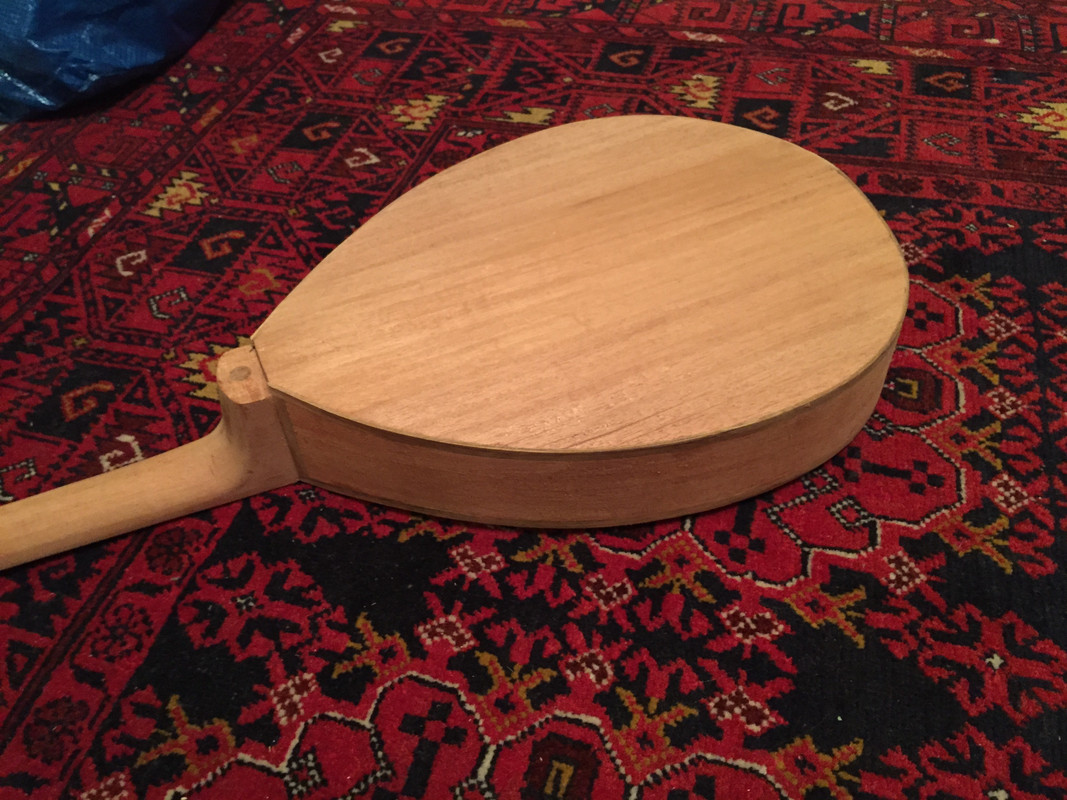 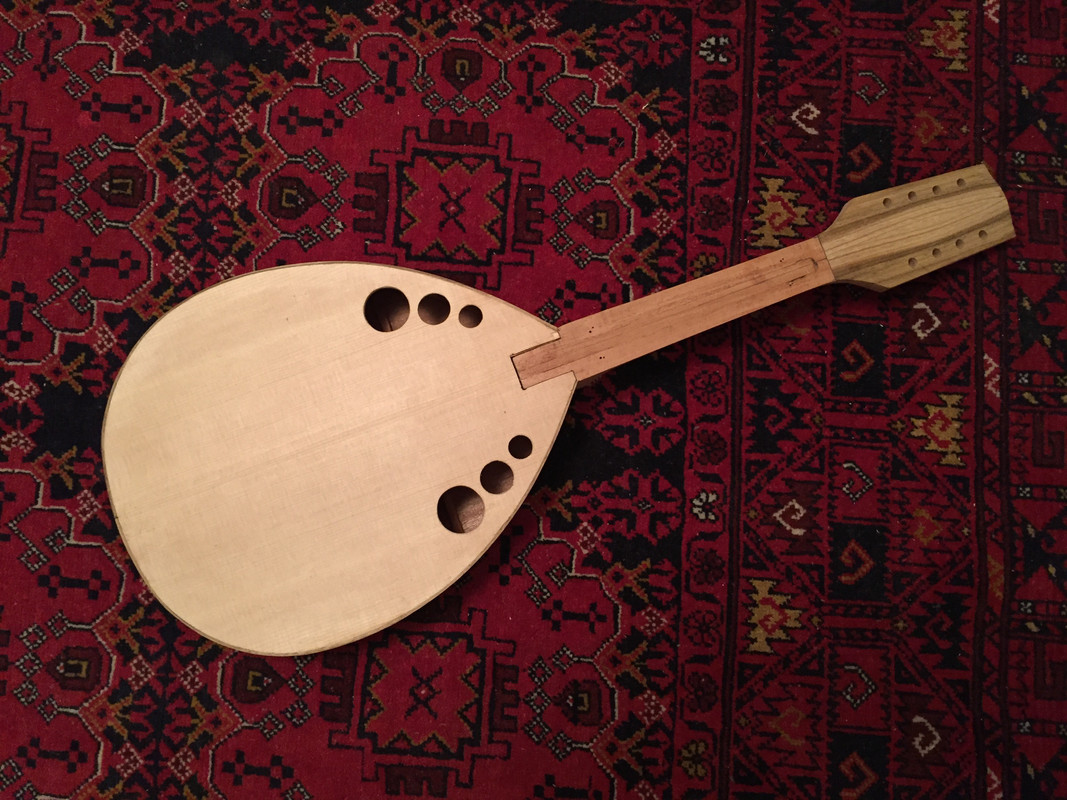 And if I add the fretboard (still unglued) it starts to look like an instrument: 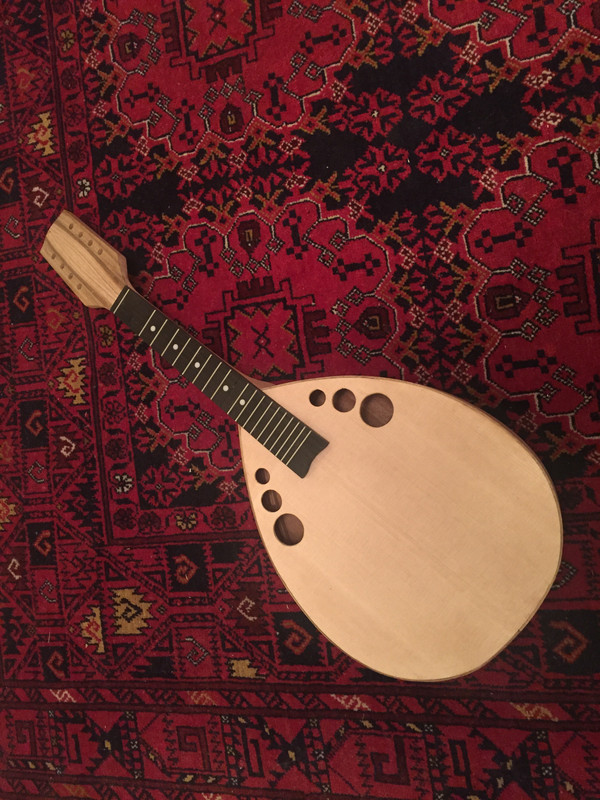 The fretboard is also made of laburnum that has been "ebonized" by a mix of vinegar/steel wool. It replaced the first fretboard of rea ebony. This one actually looks better! Next step will be to make a heel cap. |
|
|
|
Post by lars on Dec 2, 2017 15:03:20 GMT
Last stepsI didn't take many photographs during the last steps. All the sanding, egg-white filling and more sanding is completely undocumented. But it happened (and I got real sick, as I'm over sensitive to wood dust) and one day I could start finishing the mandolin with Liberon finishing oil. 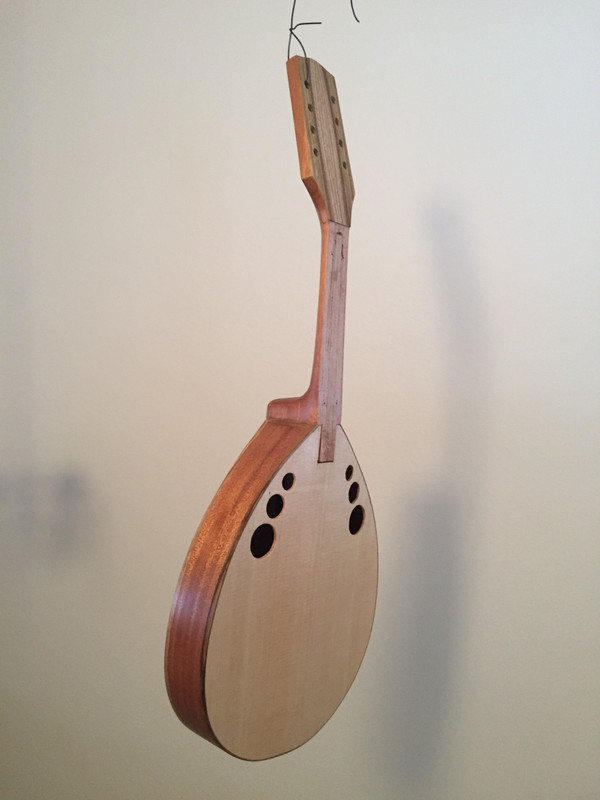 And I could glue the fretboard with the help of four small nails as guides: 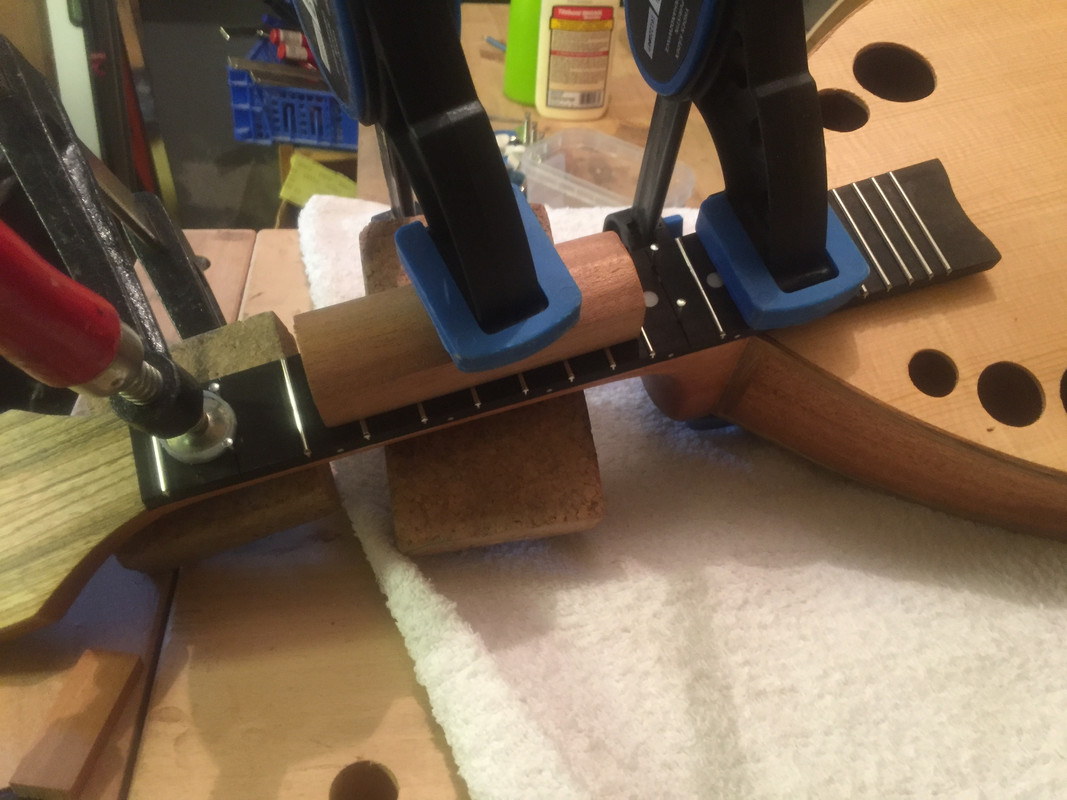 And after that I could hammer in the two last frets and file the ends flush to the sides. So far I haven't made any fret leveling and crowning, but hope that it's sufficient that I hammered all the frets straight down to the fretboard. I started to shape the bridge. A disadvantage with the cylindertop instruments, compared to the more common "disc-shaped" flattops, is that the bridge gets higher (and heavier). 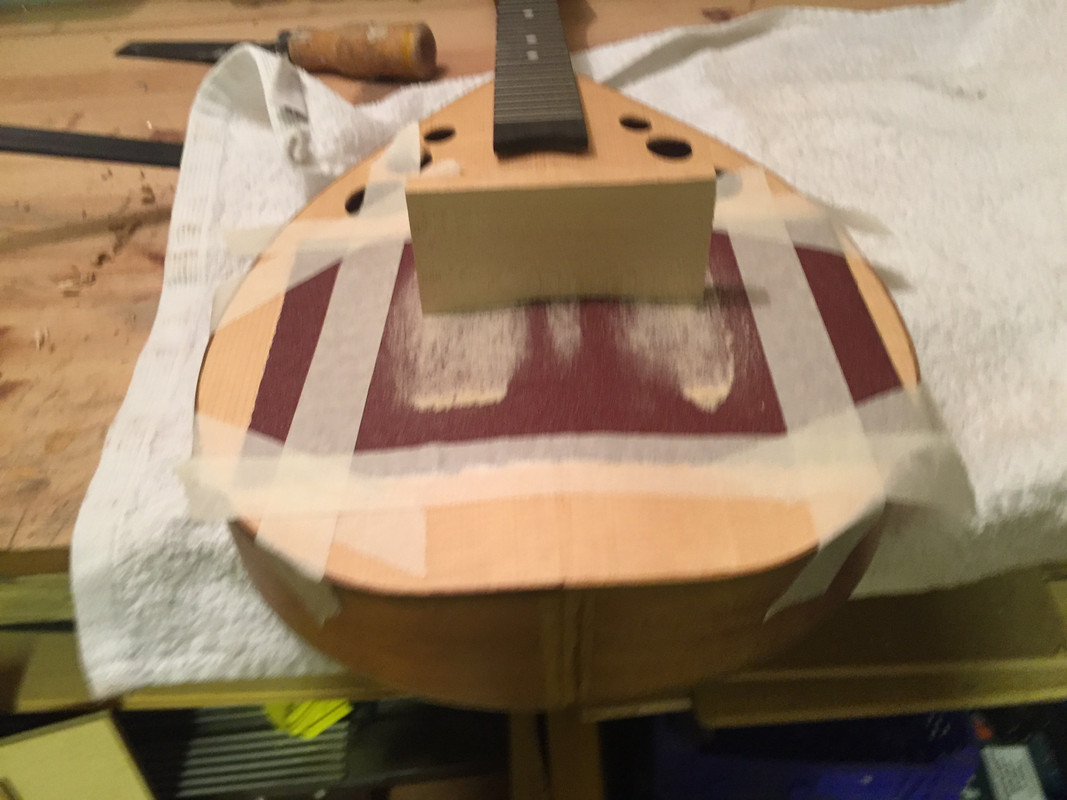 My first attempt to a tailpiece was for loopend strings. But I miscalculated the torque tension from the strings, so it collapsed when I first strung her up. But this what it looked like before that: 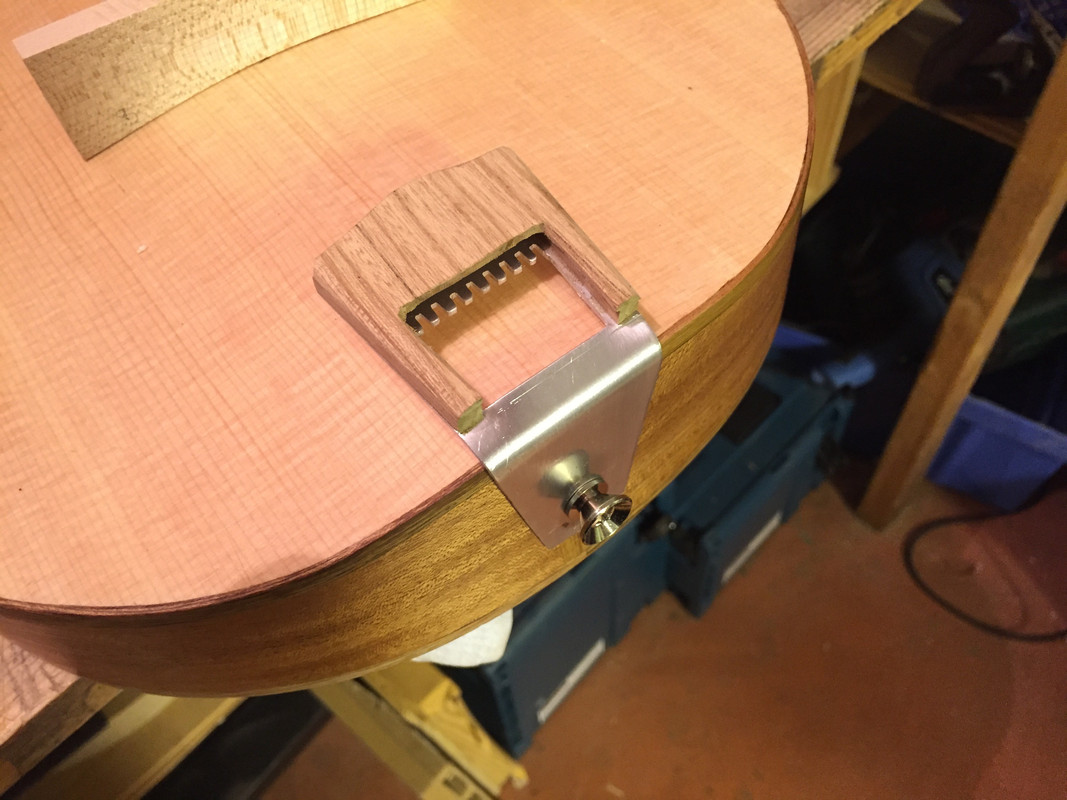 So I had to think of something else. First I adapted a factory made tailpiece, but then I decided to go for ball-end strings and made another custom tailpiece: 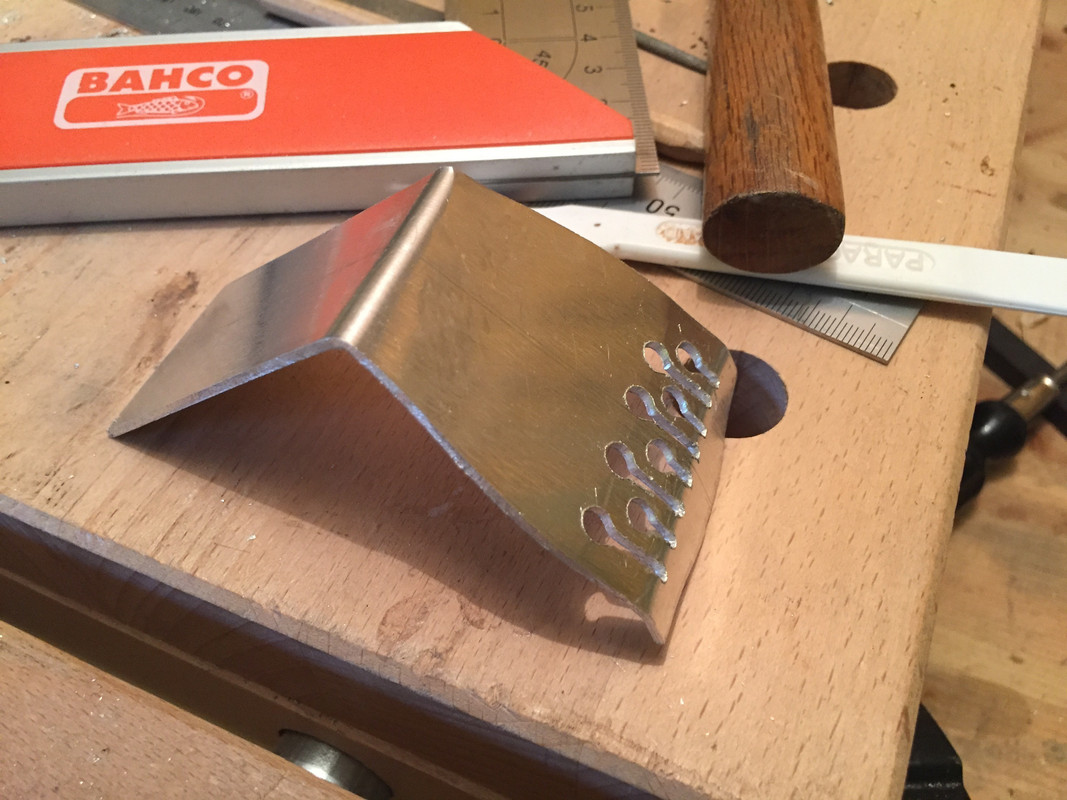 And when it was ready and installed it looked like this (and here you can also see the finished bridge): 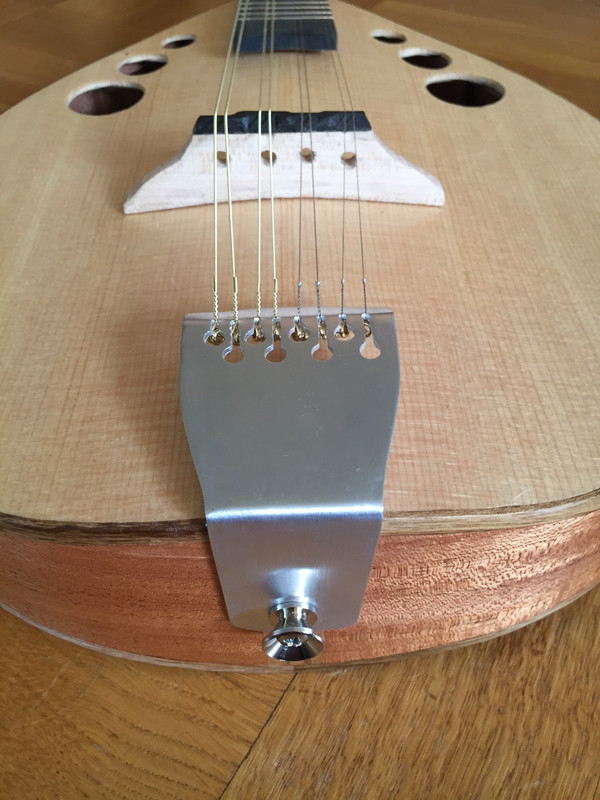
|
|


 Jo whoever he is.


