|
|
Post by lars on Aug 3, 2020 19:23:35 GMT
I too have searched for the Kevin Aram article without finding it, but I found another description that I think is very similar to Aram's a while ago. It was called "Well Oiled With Adamson", written by luthier Stewart Adamson and originally published in Woodworker -92. I found it as a downloadable pdf. Unfortunately I can't find the link anymore, but I can send you a copy if you pm me your mail adress.
Anyway here is a short summary of Adamson's article:
The most important factor isn't the oil, but the preparations with Micromesh pads.
In the first step you sand the wood the normal way with abrasives up to 320 grit. But it's not really the normal way. First of all he uses small pieces of abrasive and uses a Staedtler eraser as a sanding block. He uses gentle and long strokes from one end to the other - no short 'back and forth' strokes. When going from one grade to the next he is careful to clean the wood to remove 'coarse grit' from the previous grade.
In the second step he does the same, but with Micromesh pads. Long, gentle strokes with little pressure and cleaning the wood between the grades. When you've done all the way up to 12 000 grit the wood is polished.
In the third step he applies the oil. He recommends Tru-oil but also mentions Antique oil and Teak oil as examples.
He applies the oil in a thin layer with a cotton cloth - no more than a square foot at the time - and then immediately wipe off the excess oil with a dry cloth and continue repeating the apply/wipe off, one square foot at the time.
He lets the oil dry for 24 hours, does a gentle "rub down" with Scotch Brite ultra fine grade or steel wool 0000. No pressure must be applied when doing this. Cleans the surface well before applying the next layer. He recommends 6 layers for non-porous woods and 8 layers for porous woods like spruce.
Then he lets the oil harden for about a week and as a final step he polishes it. First with Scotch Brite polishing type T or 0000 steel wool. Then he uses the 6000, 8000 and 12000 grit Micromesh pads and finally he applies a thin coat of lemon oil.
Once again - I can't promise this is the method that Aram described in his article, but I'm pretty sure it's similar.
/Lars
|
|
|
|
Post by lars on Aug 3, 2020 17:24:55 GMT
Looking marvellous- as always!
|
|
|
|
Post by lars on Jul 24, 2020 13:47:32 GMT
It looks marvellous!
I hope to see some future build threads and wouldn’t mind some construction pictures from this one!
|
|
|
|
Post by lars on Jul 15, 2020 11:05:58 GMT
Tanglewood makes an Orchestra model with approximately 57 mm bridge string spacing. I bought mine for less than 500£ (but in Swedish currency) three years ago. Unfortunately they have become more expensive now and are only offered with built-in microphone for a bit more than 700£. At least that’s what their website says. But you could probably find a used one in the right price range. The model name is TW 40 O AN (E).
|
|
|
|
Post by lars on Jul 8, 2020 7:42:22 GMT
More work on the neck and fretboardThis is a minor update made from my Summer house, some 200 miles from home and workshop. But this is what I did before I went for vacation: I chose between ebony and laburnum for the fretboard. I'm not totally convinced about the combination of mahogany and laburnum, but it's so beautiful in itself, so the laburnum won. The fret slots are cut in this miter box and a fret scale template. The scale length will be Martin short scale 24.9" which is about 632 mm. I really appreciate to work with a template, knowing it will be exact.  The fretboard is radiused to a 12" radius: 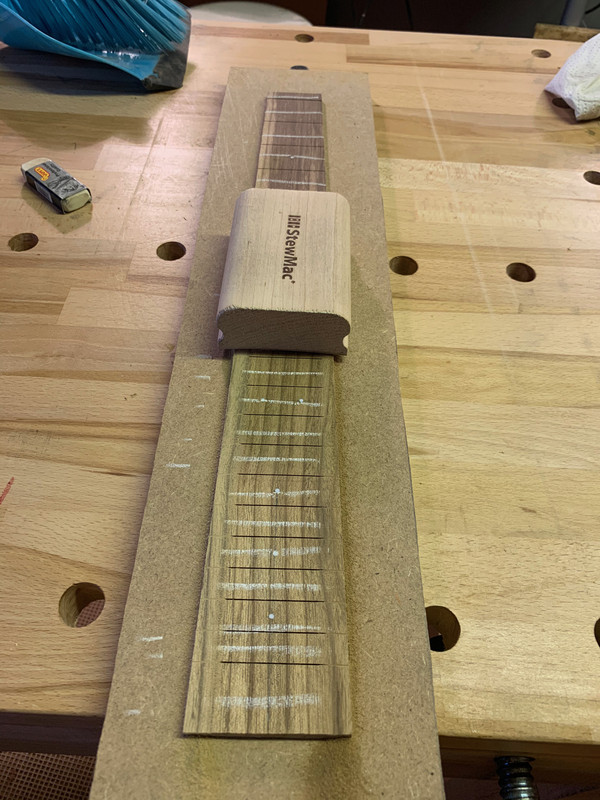 And the result after some sanding and polishing: 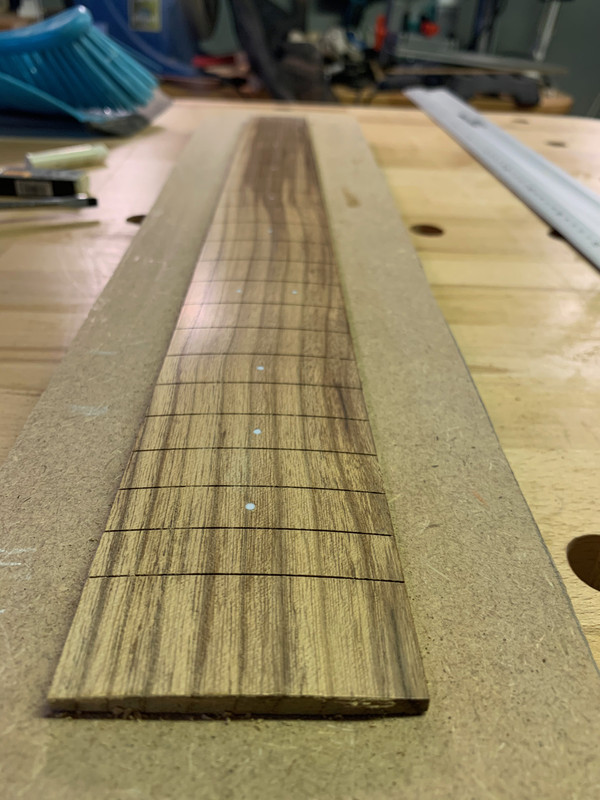 The neck profile is cut on the band saw: 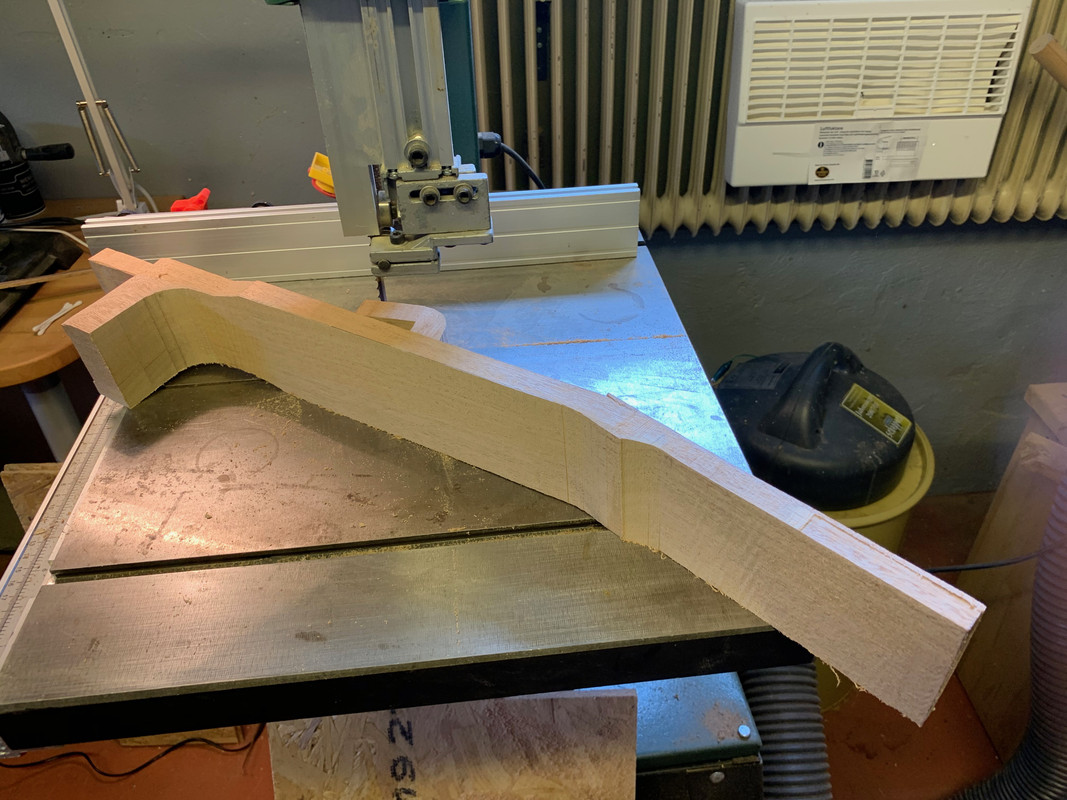 The fretboard is aligned on the neck with the help of a simple center guide and a straight edge: 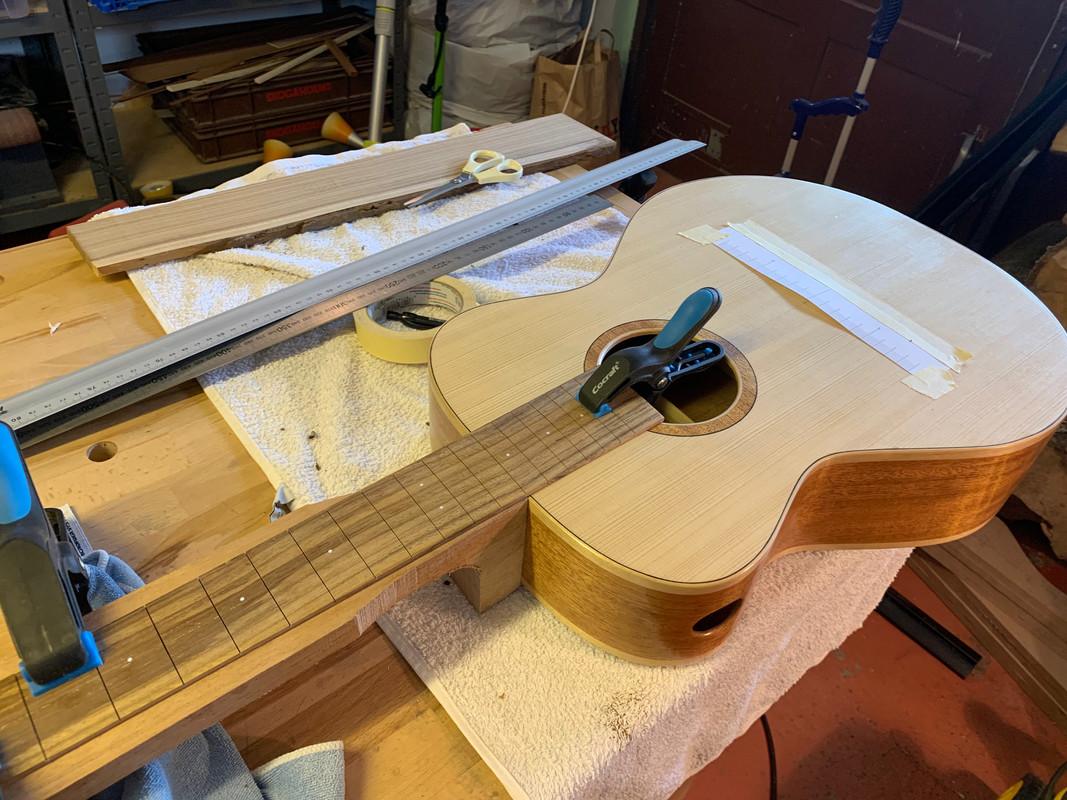 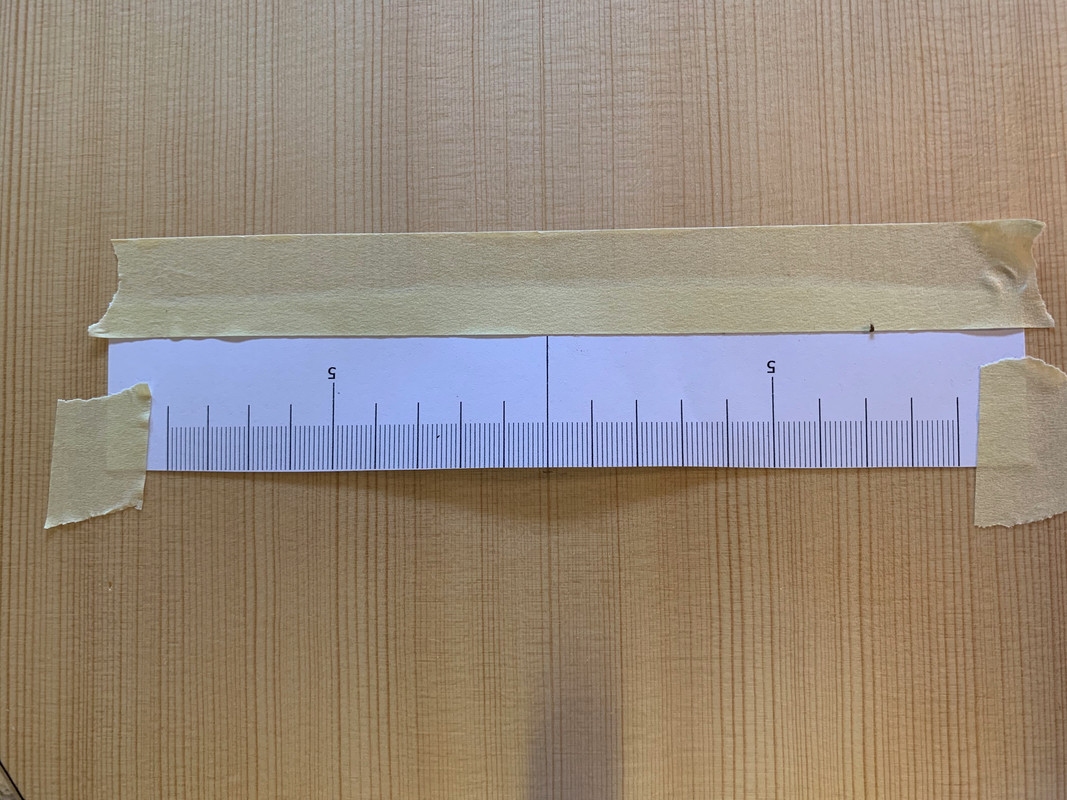 The upper frets are hammered in before gluing the fretboard. That is because the fretboard isn't fully supported by the neck extension: 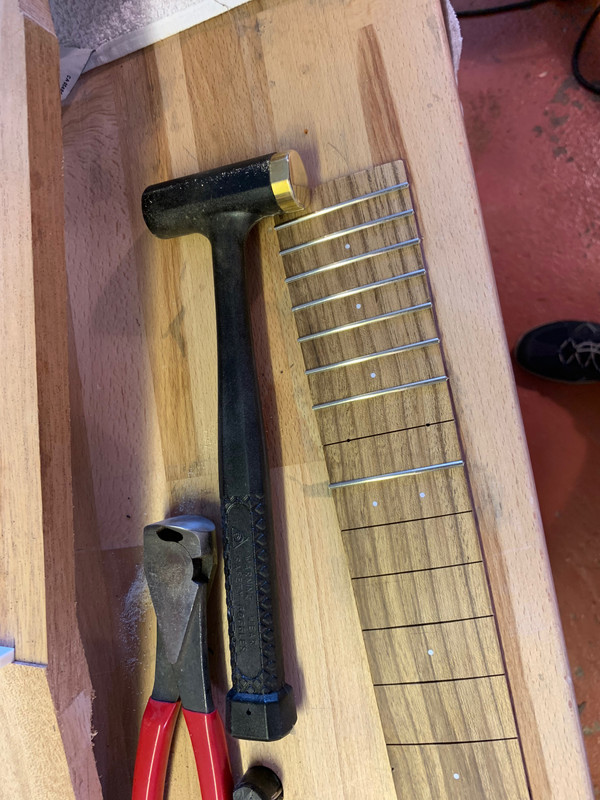 The fretboard is glued to the neck. The position is secured by four small nails in two of the fret slots: 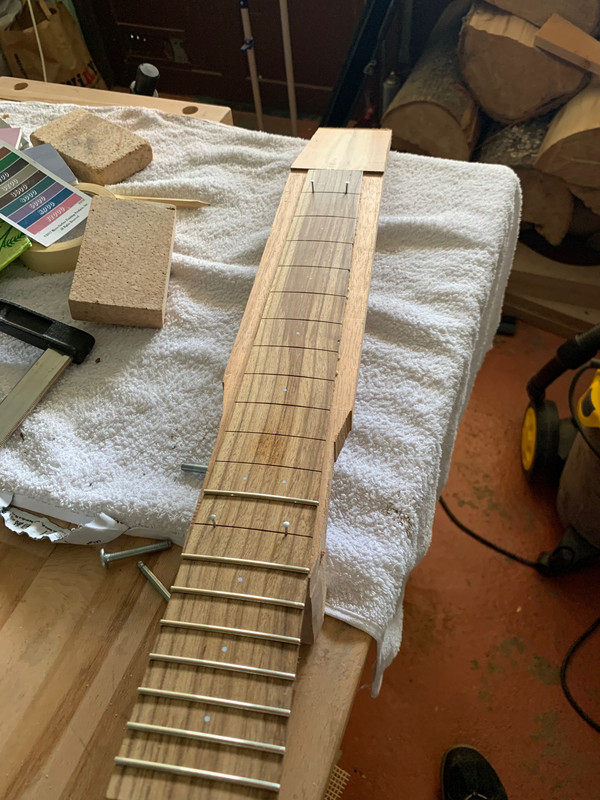  The rest of the frets are put on with fret press and hammer. The fret ends are filed down, the frets leveled with a diamond stone and recrowned with fret files. No pictures were taken. The neck and heel profile is shaped in several steps with chisels, knife, rasp, file and sand paper: 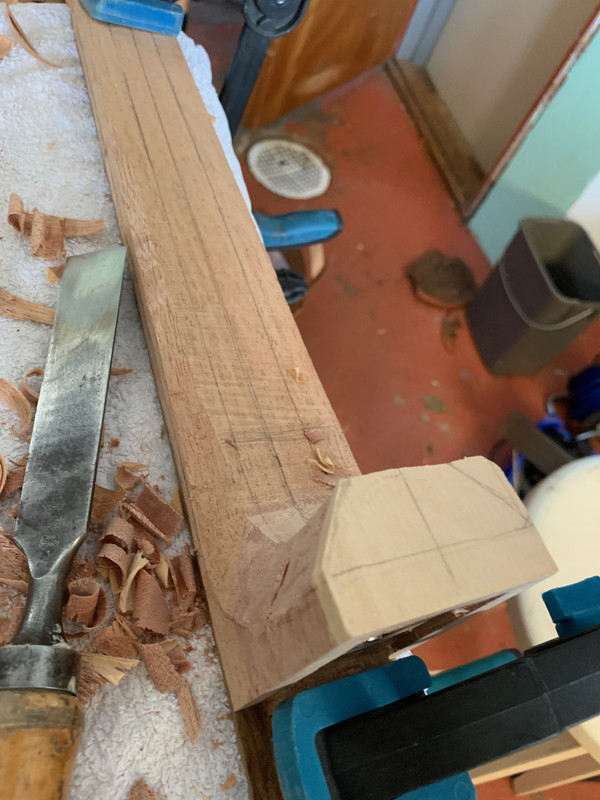 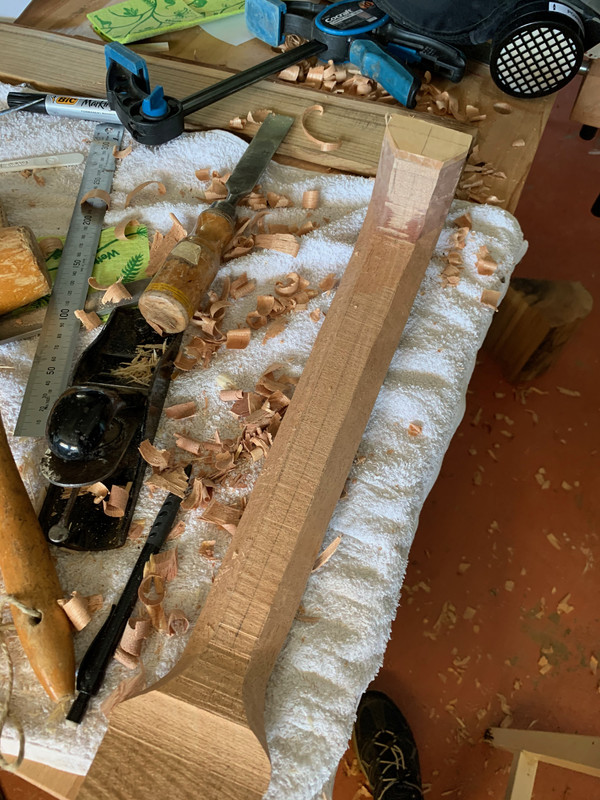 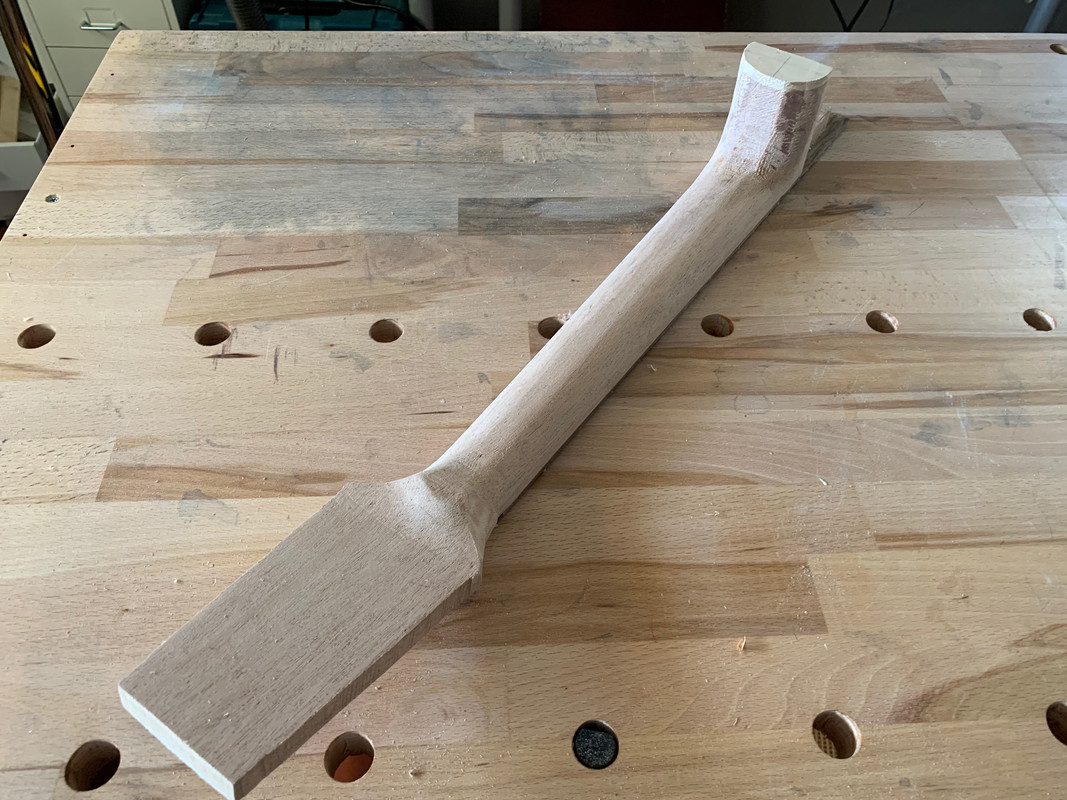 And the instrument is assembled to get an idea of the result: 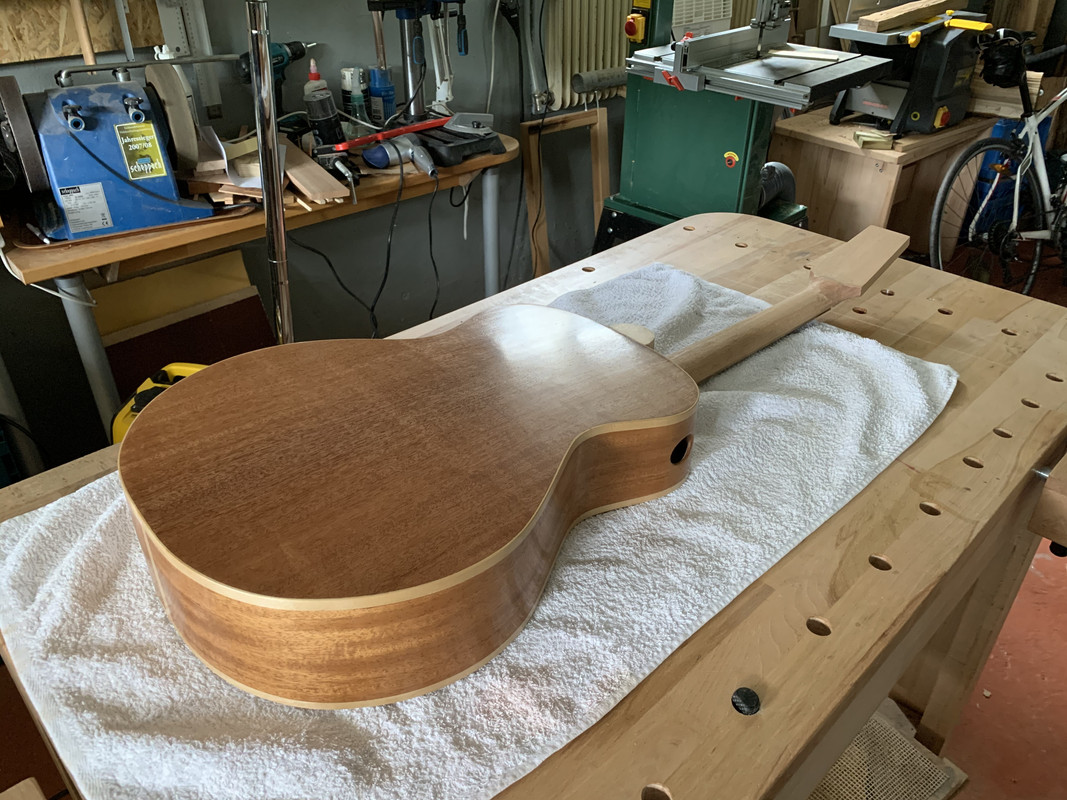 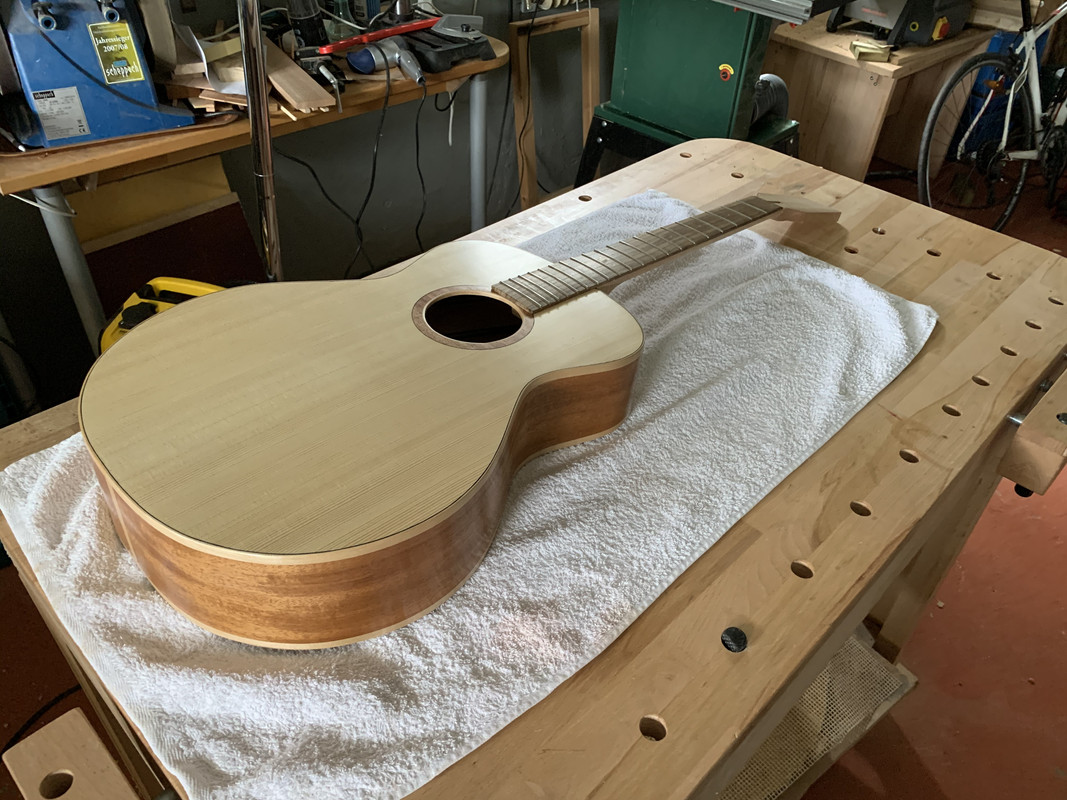  The body is already finished with an oil finish, but I'll describe that in a separate post. The work will be continued at the end of the summer...
|
|
|
|
Post by lars on Jun 10, 2020 15:50:13 GMT
Starting with the neck
The neck made of African Mahogany (Khaya) is a scarf joint neck. So I cut the neck blank in a 15º angle, shape the surfaces with a planer and re-glue them like this: 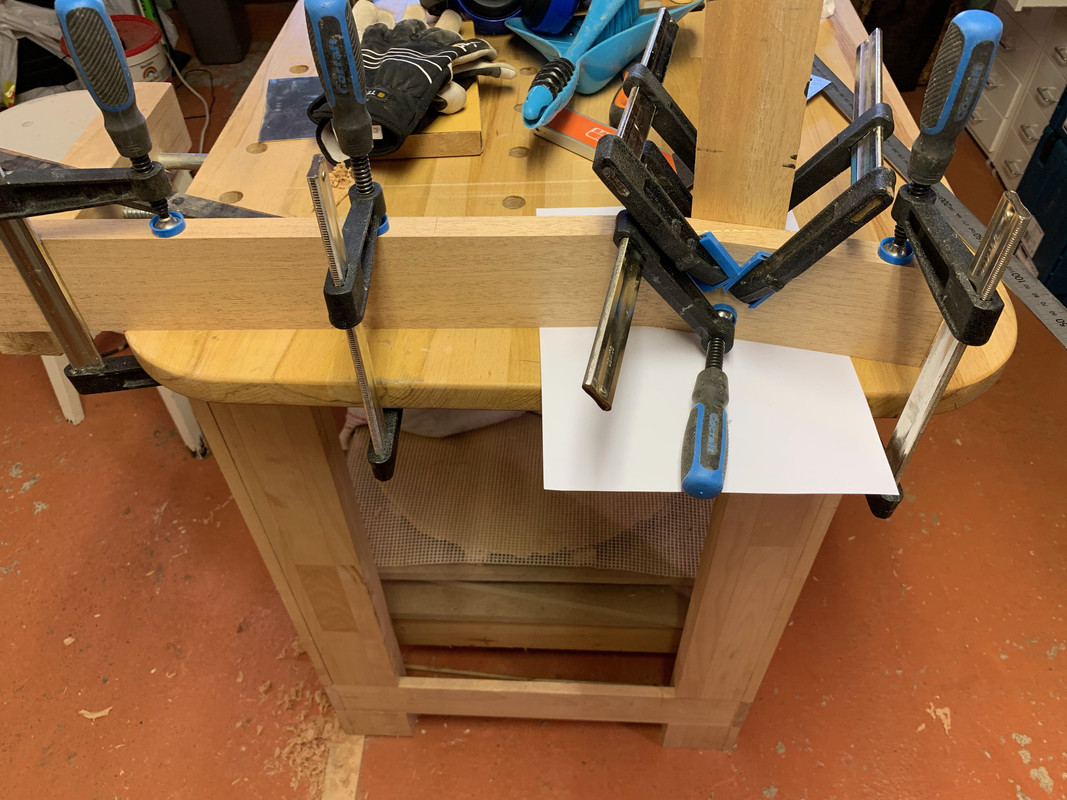 A stacked heel was added: 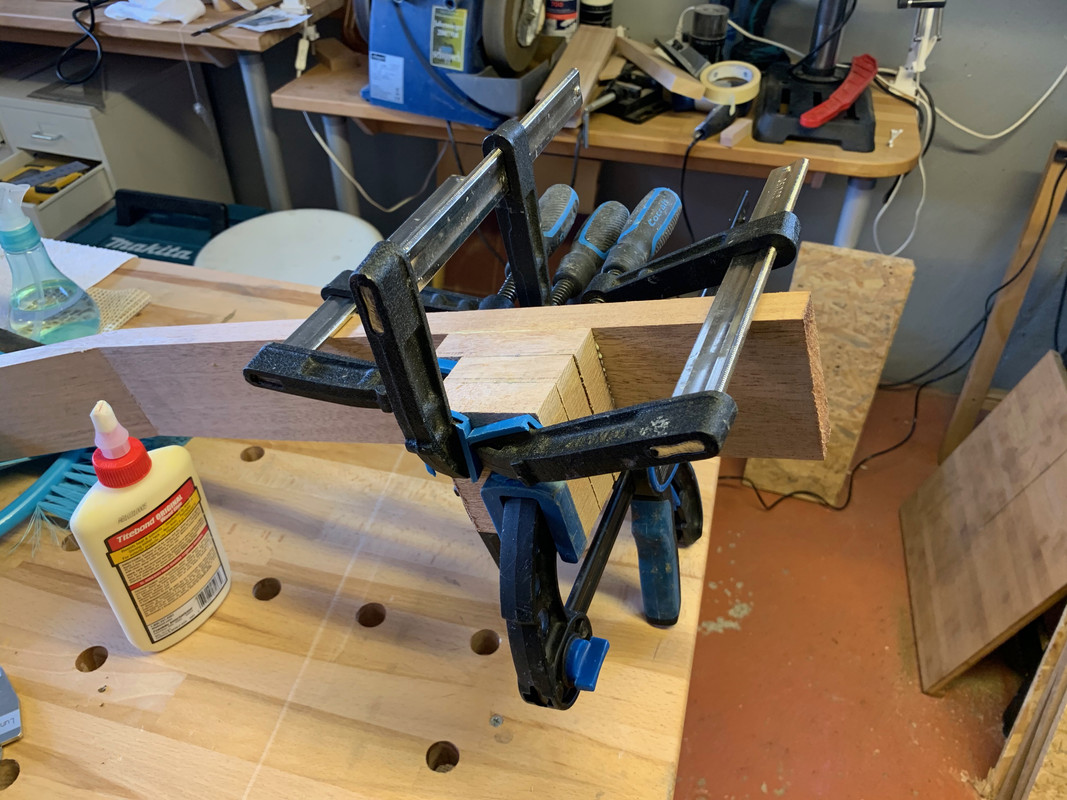 And slots for the truss rod and carbon fibre rods were routed with my laminate trimmer: 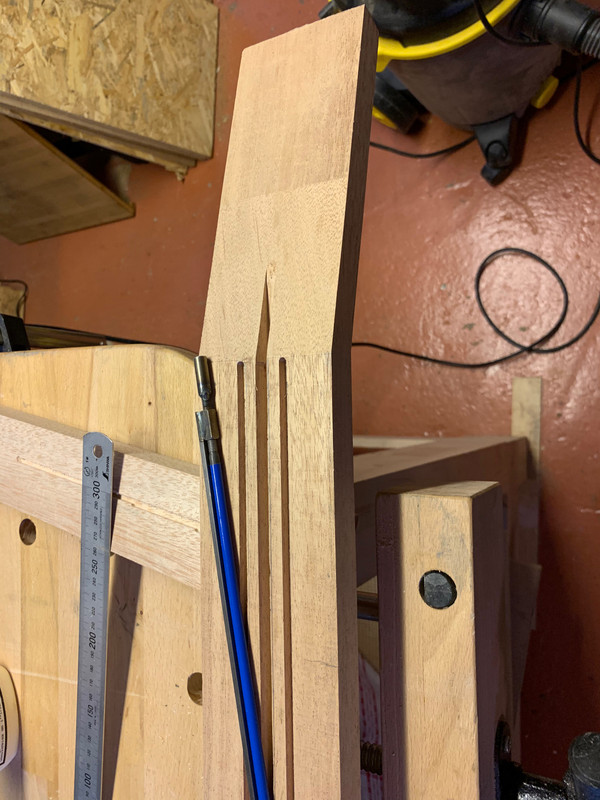 The truss rod was inserted and cf-rods were glued with epoxy and all three got wooden covers that were glued and then scraped flush with the neck: 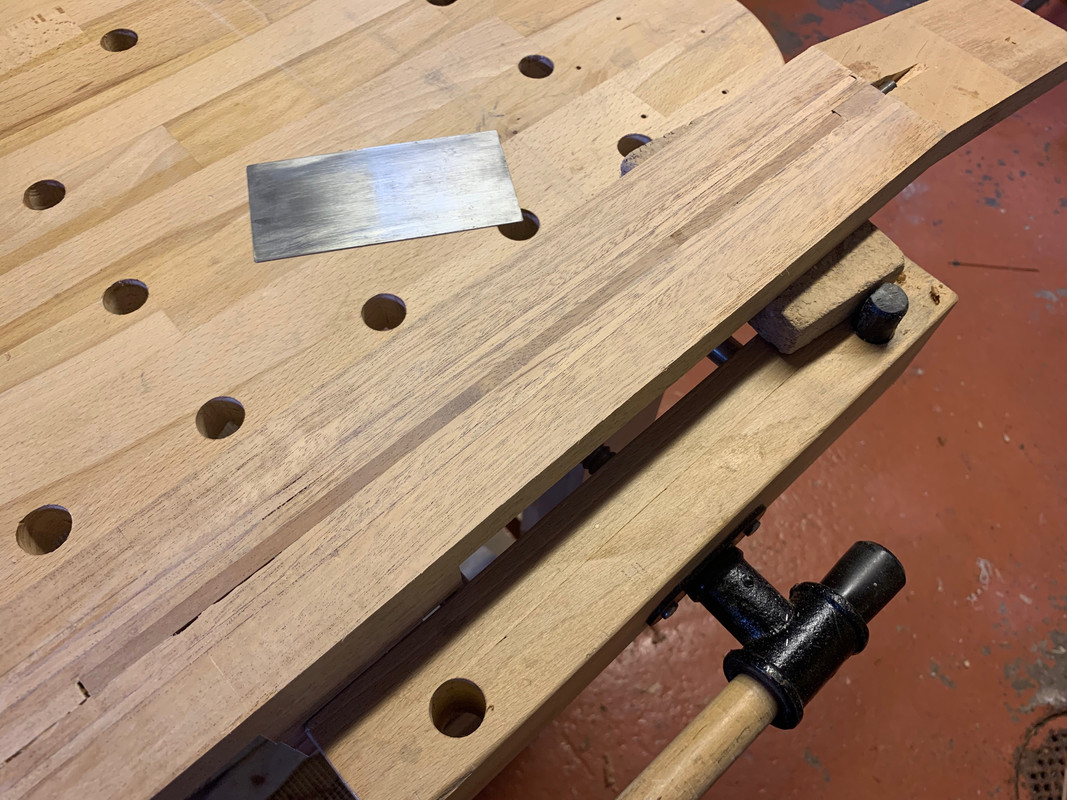 The neck angle was transfered from the body like this (the top is resting on a thin piece of wood at the bridge position to give the correct height ):  Cutting the heel so that the neck got its right position in all dimension was frustrating and time consuming. I started with a neck designed for a zero fret but ended with a neck just long enough for a conventional nut! I've made myself lots of "notes to self" how I should and shouldn't do it the next time. But eventually I got it right: 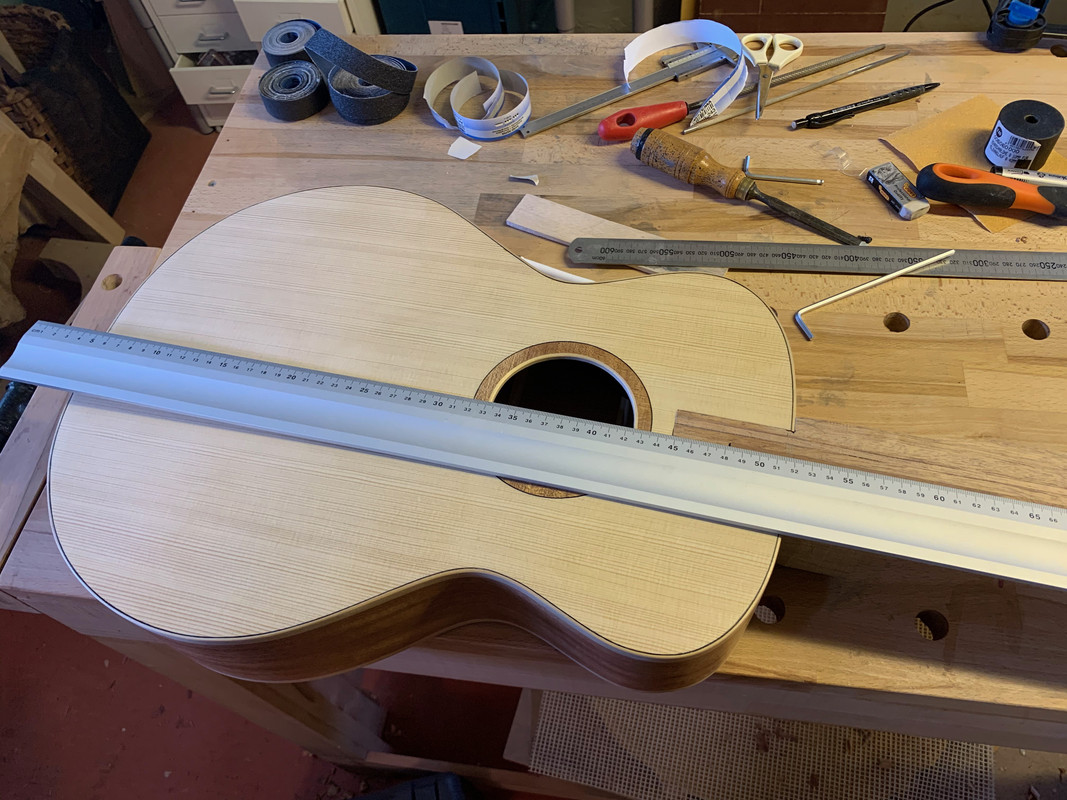 And I couldn't resist to assemble the body with the neck-in-progress, just to get a glimpse of what the guitar will look like: 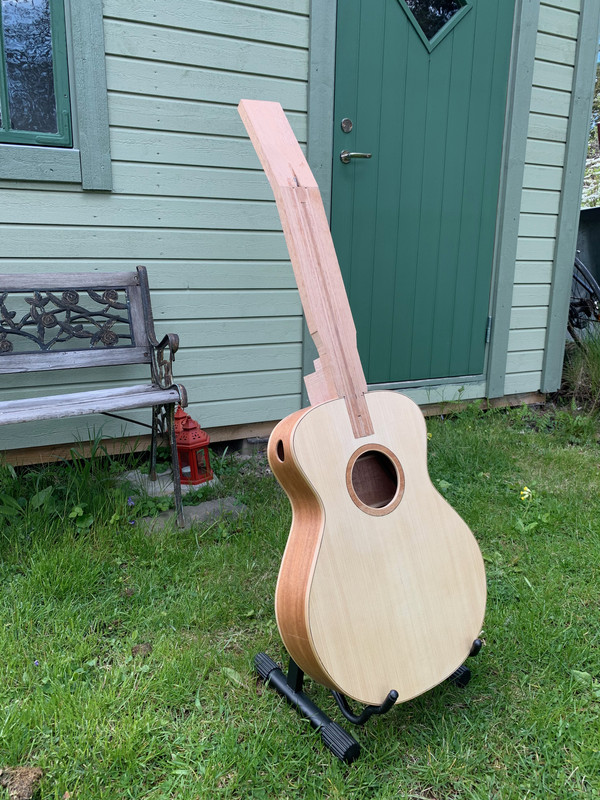 This will be all for now. I've made some more progress with the neck and fingerboard, but haven't uploaded those images yet.
|
|
|
|
Post by lars on Jun 10, 2020 15:32:34 GMT
Ooops! Almost three months later...I'm sorry I haven't made any updates for so long. Different circumstances gave very little time for building and even less time to spend blogging. In the last post I closed the box, so the next job was the bindings. I went for birch bindings from locally grown birch. It looks a lot like maple, but not as fancy. First I cut the slot and installed the end graft. 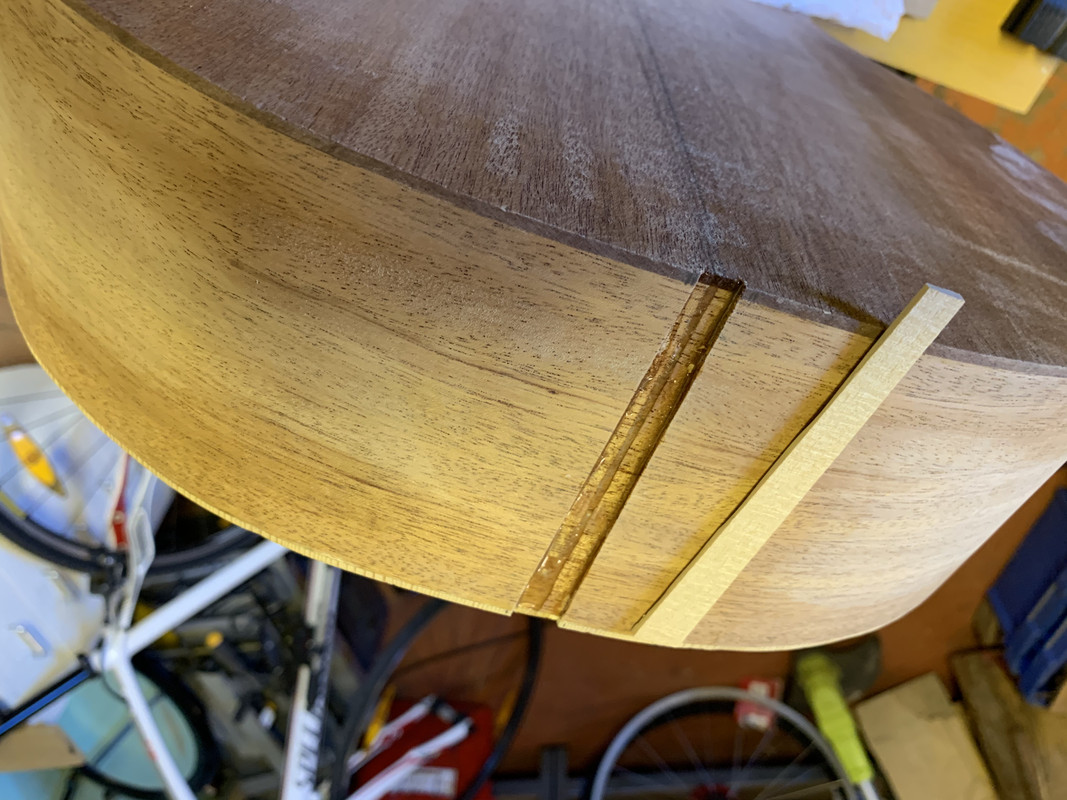 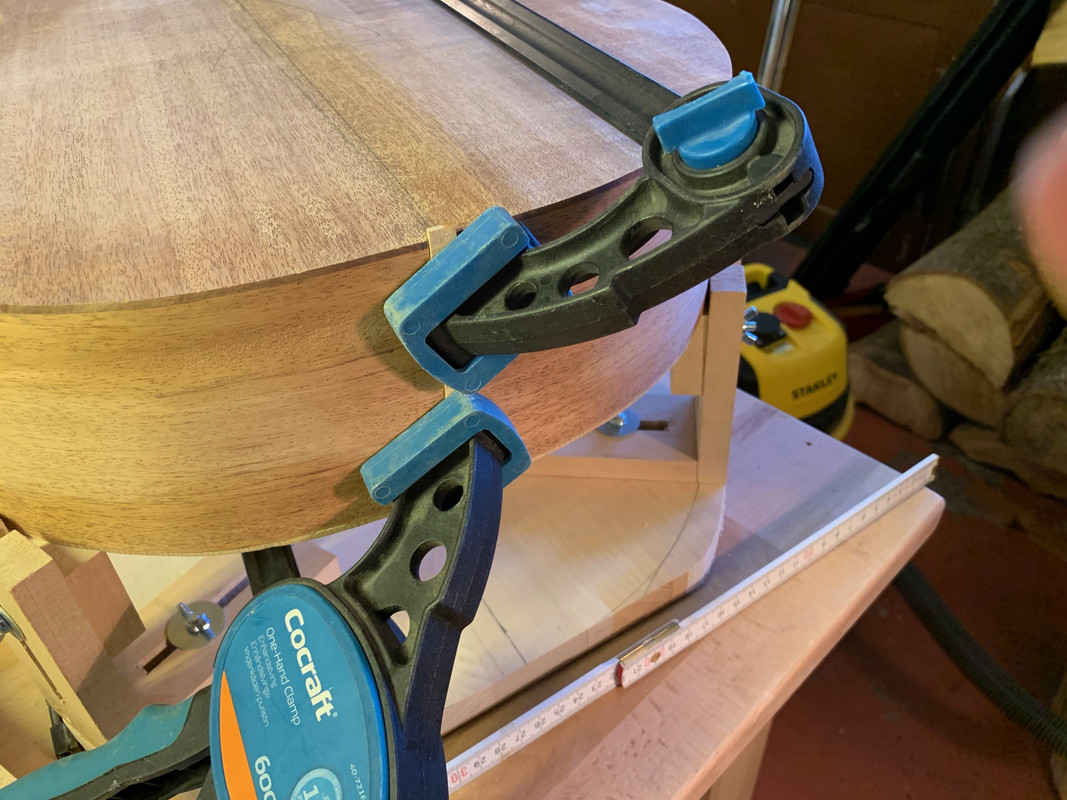 And then I cut the channels for the bindings, using my binding jig:  And glued the bindings. For the top I added a 0.5 mm black dyed maple veneer as a simple kind of purling. 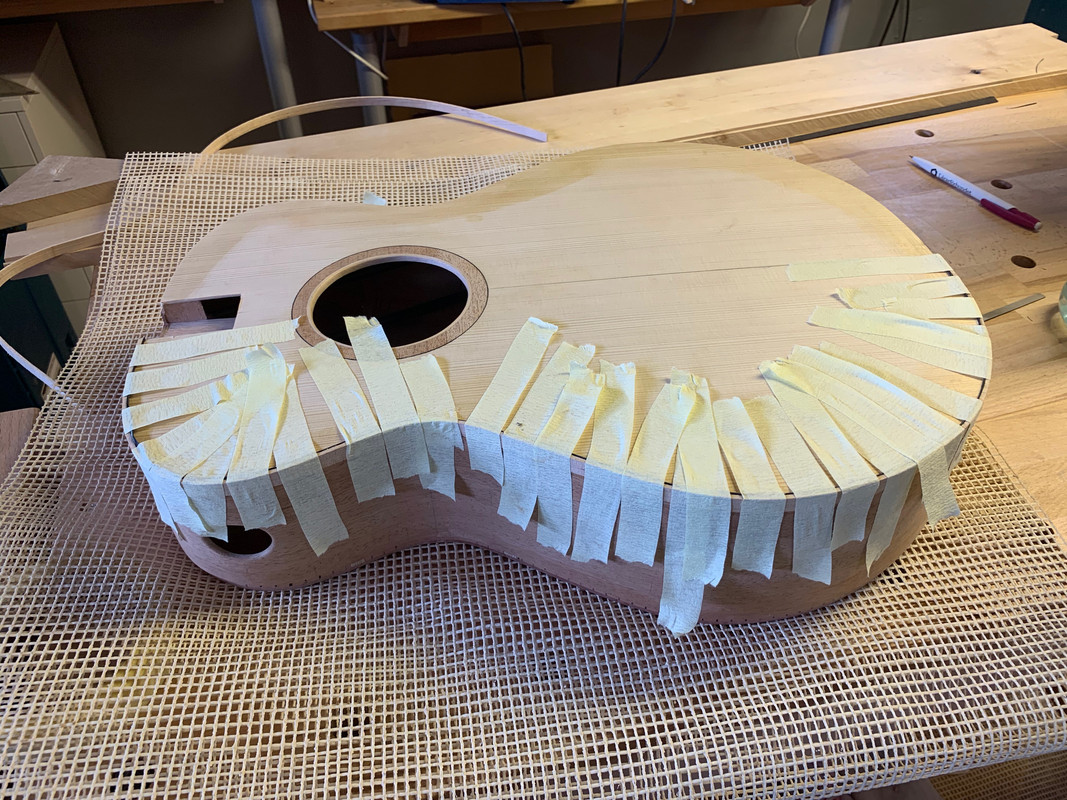 Here I had quite a lot of problems. The bindings where obviously a tiny bit to thick. No matter how I pre bent them on the hot pipe, they had to be pressed against the channel surface with some power - more power than I could get with my tape. So after the original gluing I had to add CA glue and press with clamps. Sometimes I was nervous that I would break the body with those clamps. In the end I got a decent result: 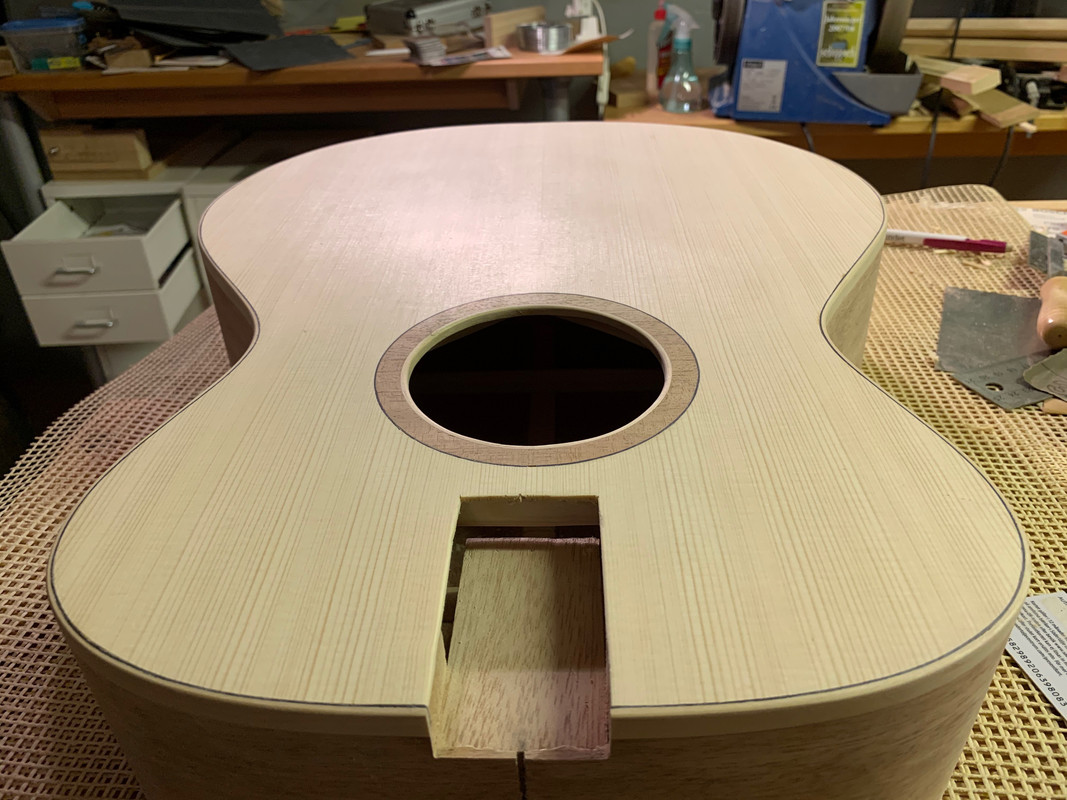
|
|
|
|
Post by lars on Jun 8, 2020 13:28:38 GMT
I want to say a big Thank You for all your contributions here (build threads and helpful comments) and all resources and information on your web site. They’ve been very important in my own quest to learn the trade.
I wish you the very best in your new semi-retired life and am glad that you won’t stop building completely. And I hope you’re still willing to share your knowledge in a comment or two!
|
|
|
|
Post by lars on May 4, 2020 20:39:35 GMT
Thanks for posting, Gary. Very inspiring. That mandolin really has a special and very pleasing sound.
|
|
|
|
Post by lars on Apr 28, 2020 20:43:05 GMT
Nigel, I've really appreciated to read all your posts, both here and at your blog!
|
|
|
|
Post by lars on Apr 28, 2020 20:40:11 GMT
I'm just through a dreadful binding experience. So I ordered binding tape and super glue yesterday (together with lots of other things) at the StewMac department at Madinter. Only problem is that they only sell the orange version of binding tape, which is mainly for plastic binding. Which one did you use? Ps/ I love your pop rivet dots! Lars I used the Stew Mac orange tape on a number of binding jobs, works just fine and a little less prone to tearing when pressured than the traditional brown tape. Still loved the brown. I've also used the fibre reinforced clear packing tape, that also works really well. Thanks, Colin. It sounds reassuring! |
|
|
|
Post by lars on Apr 23, 2020 5:08:55 GMT
I'm just through a dreadful binding experience. So I ordered binding tape and super glue yesterday (together with lots of other things) at the StewMac department at Madinter. Only problem is that they only sell the orange version of binding tape, which is mainly for plastic binding. Which one did you use?
Ps/ I love your pop rivet dots!
|
|
|
|
Post by lars on Apr 10, 2020 16:41:29 GMT
Sorry, but if you're using Safari on a Mac or iPhone you won't be able to see any of the pics. Oh, I wasn't aware of that, Lars. What a shame. Yes, it’s a shame. I don’t know if the shame is on Apple or Proboards, but it’s a shame. Luckily I’ve got other browsers and a PC so I can follow your thread. Thanks for sharing! |
|
|
|
Post by lars on Apr 8, 2020 6:44:01 GMT
Is it just me who can't see the pics? No, the images embedded in my earlier posts are not visible; however, they should be visible in my latest post. As the earlier image files are located on my web server, I've taken the matter up with my service provider. I'm hopeful that I can have them restored. Sorry, but if you're using Safari on a Mac or iPhone you won't be able to see any of the pics. |
|
|
|
Post by lars on Mar 29, 2020 12:02:42 GMT
I'm very sorry to hear about the finish - so many hours more or less wasted. But I look forward to follow the new build.
|
|