|
|
Post by lefranglais on Mar 23, 2020 14:10:27 GMT
Nice work Lars. I've used Colin's method for side templates for a few instruments. Works perfectly. The advantage of shaping the sides before bending them is it often gives you an offcut wide enough to use for bindings on the same, or another, instrument.
|
|
|
|
Post by lars on Mar 24, 2020 19:46:34 GMT
Hi Colin! I'm glad you're enjoying it. I'll definitely try your method in my next build. At least to make the paper template. I'll decide later whether I'll preshape the sides or shape them after bending. I think that I at least want to keep the top edge flat while gluing the sides with the blocks. I understand why it has become a standard method. It really simplify things. Thanks! /Lars |
|
|
|
Post by lars on Mar 24, 2020 19:49:31 GMT
Nice work Lars. I've used Colin's method for side templates for a few instruments. Works perfectly. The advantage of shaping the sides before bending them is it often gives you an offcut wide enough to use for bindings on the same, or another, instrument.
Thank you, Dave! Nice to hear that you have good experiences of Colin's method. I'll use it for the next build. I'm looking forward to see more of your builds. Everything I've seen so far have been very impressing. /Lars |
|
colins
Luthier / Guitar Maker
Posts: 2,397 
|
Post by colins on Mar 24, 2020 20:01:57 GMT
Lars, I recommend shaping the back edge before bending, so you can more easily establish the taper.
|
|
|
|
Post by lars on Mar 24, 2020 20:07:15 GMT
Lars, I recommend shaping the back edge before bending, so you can more easily establish the taper. I'll do that! Thumbsup |
|
|
|
Post by lars on Jun 10, 2020 15:32:34 GMT
Ooops! Almost three months later...I'm sorry I haven't made any updates for so long. Different circumstances gave very little time for building and even less time to spend blogging. In the last post I closed the box, so the next job was the bindings. I went for birch bindings from locally grown birch. It looks a lot like maple, but not as fancy. First I cut the slot and installed the end graft. 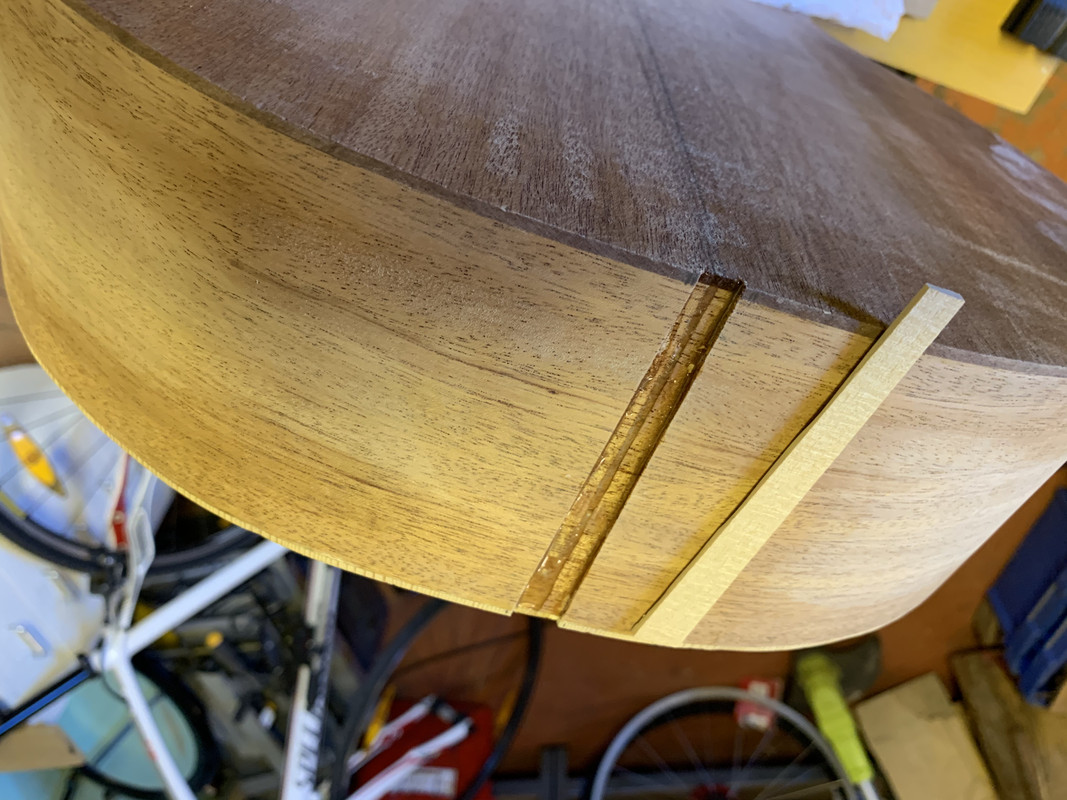 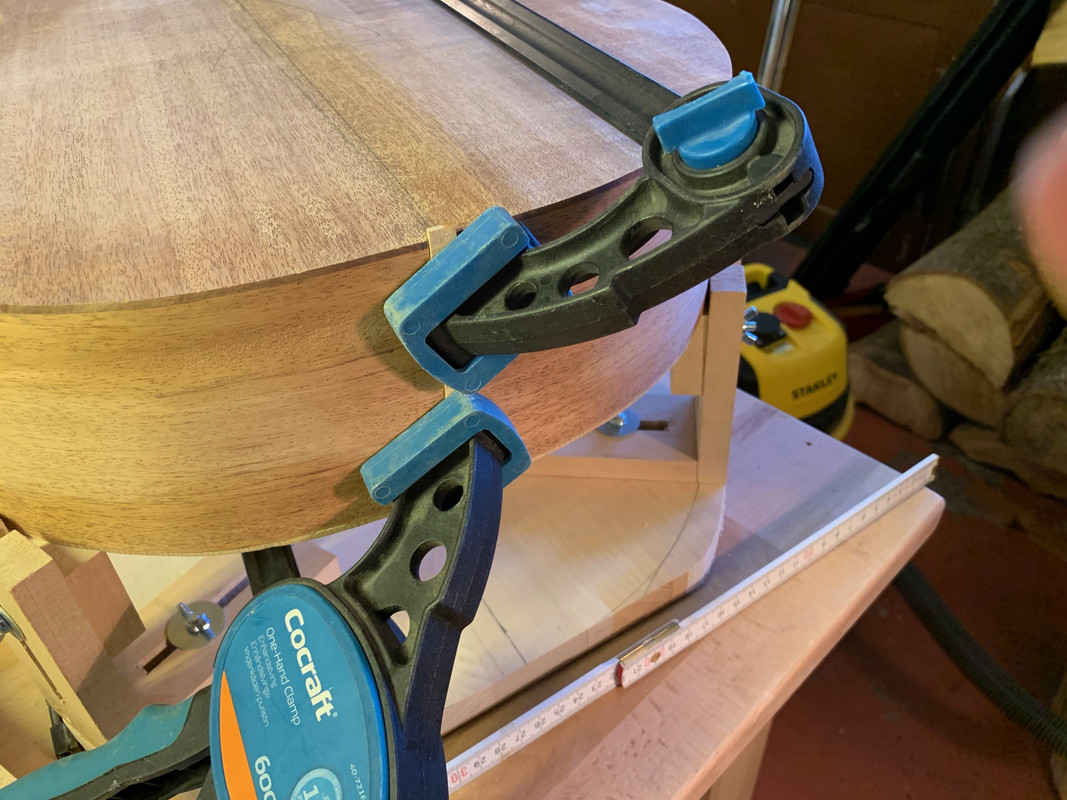 And then I cut the channels for the bindings, using my binding jig:  And glued the bindings. For the top I added a 0.5 mm black dyed maple veneer as a simple kind of purling. 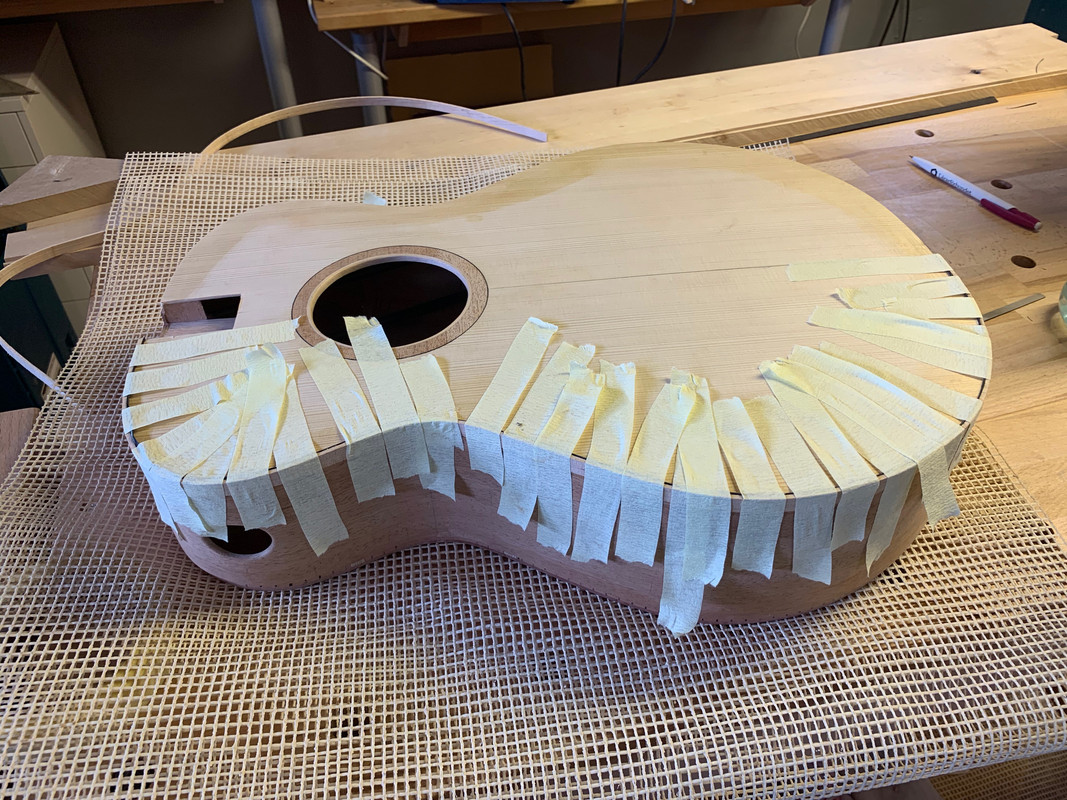 Here I had quite a lot of problems. The bindings where obviously a tiny bit to thick. No matter how I pre bent them on the hot pipe, they had to be pressed against the channel surface with some power - more power than I could get with my tape. So after the original gluing I had to add CA glue and press with clamps. Sometimes I was nervous that I would break the body with those clamps. In the end I got a decent result: 
|
|
|
|
Post by lars on Jun 10, 2020 15:50:13 GMT
Starting with the neck
The neck made of African Mahogany (Khaya) is a scarf joint neck. So I cut the neck blank in a 15º angle, shape the surfaces with a planer and re-glue them like this:  A stacked heel was added:  And slots for the truss rod and carbon fibre rods were routed with my laminate trimmer:  The truss rod was inserted and cf-rods were glued with epoxy and all three got wooden covers that were glued and then scraped flush with the neck: 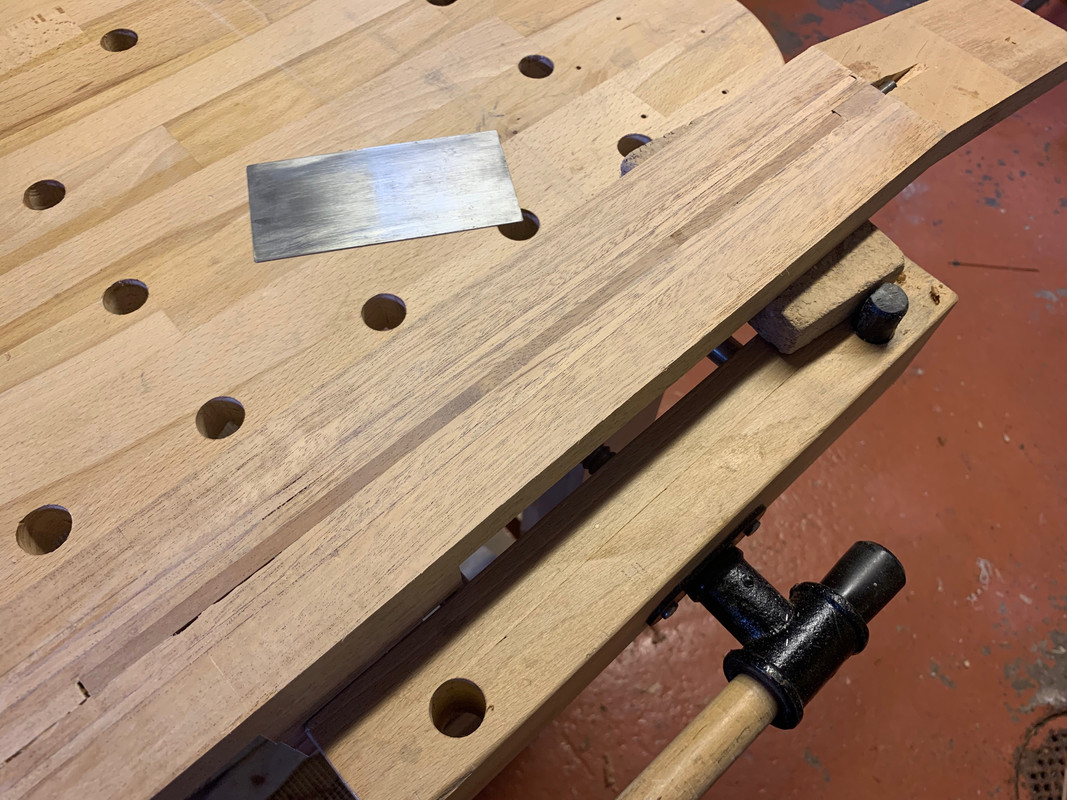 The neck angle was transfered from the body like this (the top is resting on a thin piece of wood at the bridge position to give the correct height ):  Cutting the heel so that the neck got its right position in all dimension was frustrating and time consuming. I started with a neck designed for a zero fret but ended with a neck just long enough for a conventional nut! I've made myself lots of "notes to self" how I should and shouldn't do it the next time. But eventually I got it right: 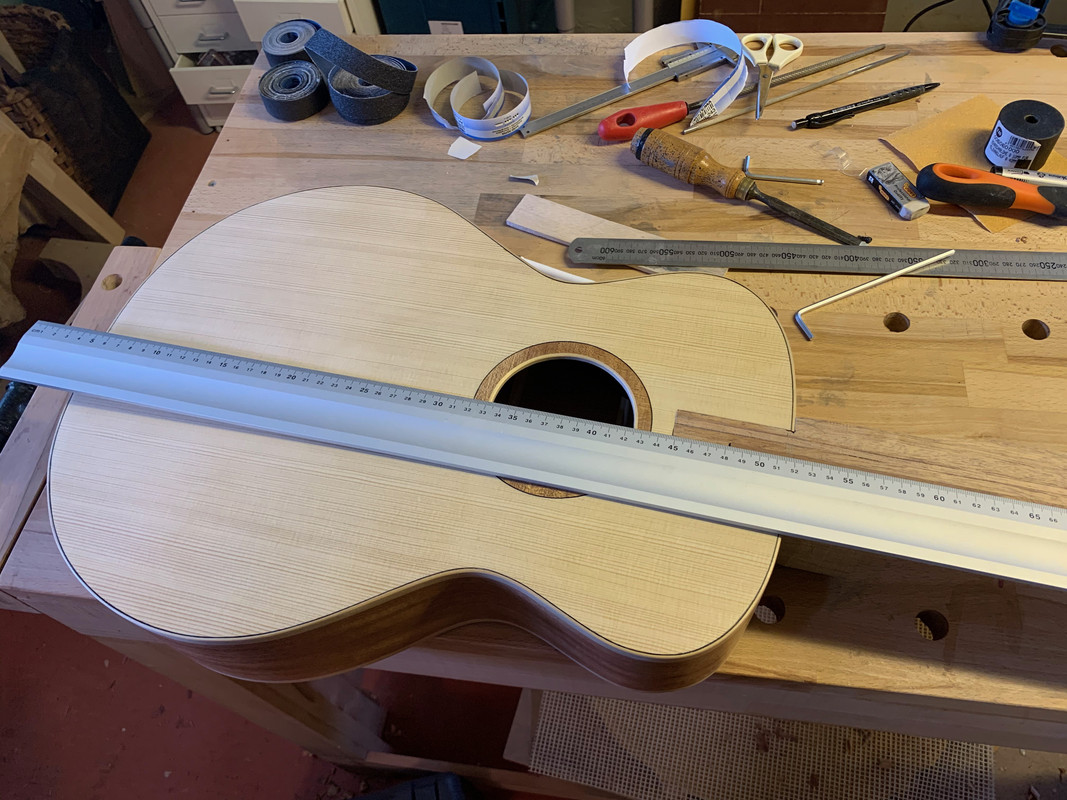 And I couldn't resist to assemble the body with the neck-in-progress, just to get a glimpse of what the guitar will look like: 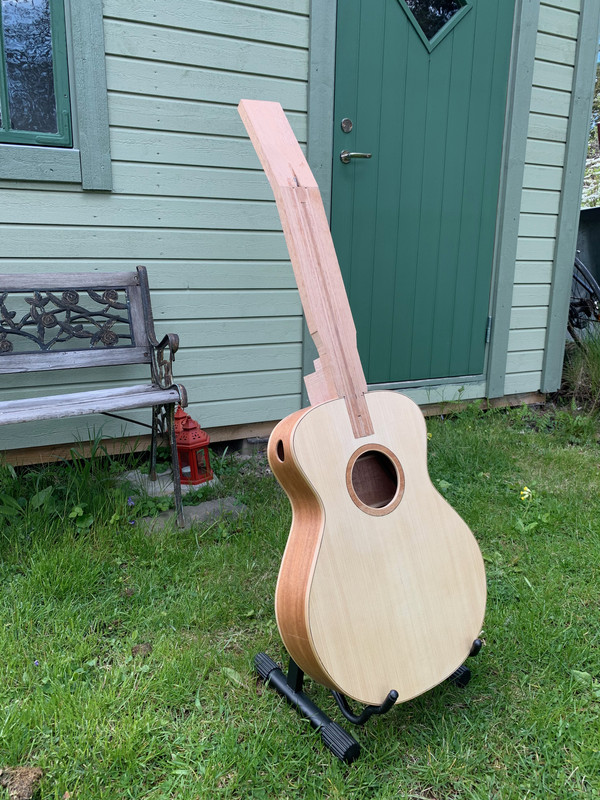 This will be all for now. I've made some more progress with the neck and fingerboard, but haven't uploaded those images yet.
|
|
|
|
Post by lars on Jul 8, 2020 7:42:22 GMT
More work on the neck and fretboardThis is a minor update made from my Summer house, some 200 miles from home and workshop. But this is what I did before I went for vacation: I chose between ebony and laburnum for the fretboard. I'm not totally convinced about the combination of mahogany and laburnum, but it's so beautiful in itself, so the laburnum won. The fret slots are cut in this miter box and a fret scale template. The scale length will be Martin short scale 24.9" which is about 632 mm. I really appreciate to work with a template, knowing it will be exact. 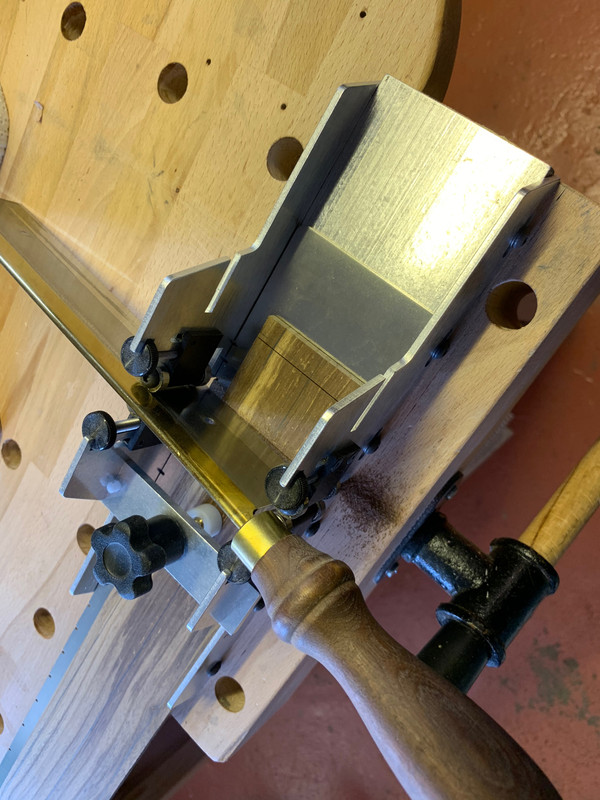 The fretboard is radiused to a 12" radius:  And the result after some sanding and polishing:  The neck profile is cut on the band saw:  The fretboard is aligned on the neck with the help of a simple center guide and a straight edge:   The upper frets are hammered in before gluing the fretboard. That is because the fretboard isn't fully supported by the neck extension:  The fretboard is glued to the neck. The position is secured by four small nails in two of the fret slots:  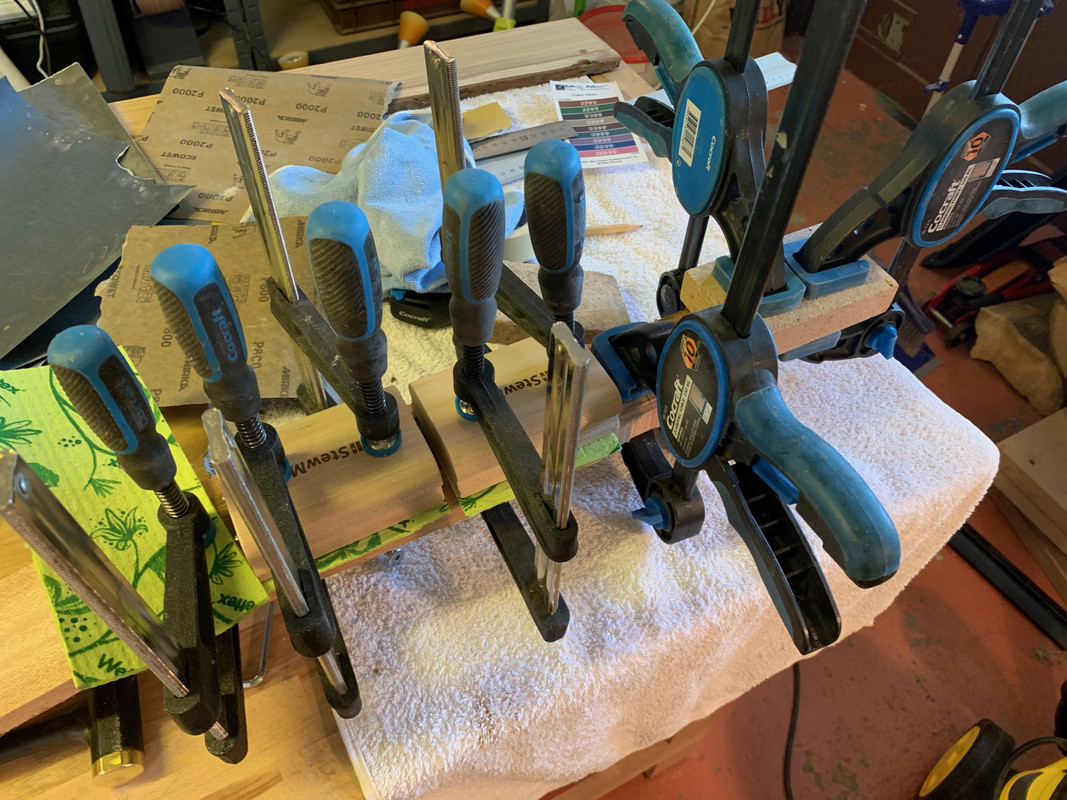 The rest of the frets are put on with fret press and hammer. The fret ends are filed down, the frets leveled with a diamond stone and recrowned with fret files. No pictures were taken. The neck and heel profile is shaped in several steps with chisels, knife, rasp, file and sand paper:    And the instrument is assembled to get an idea of the result: 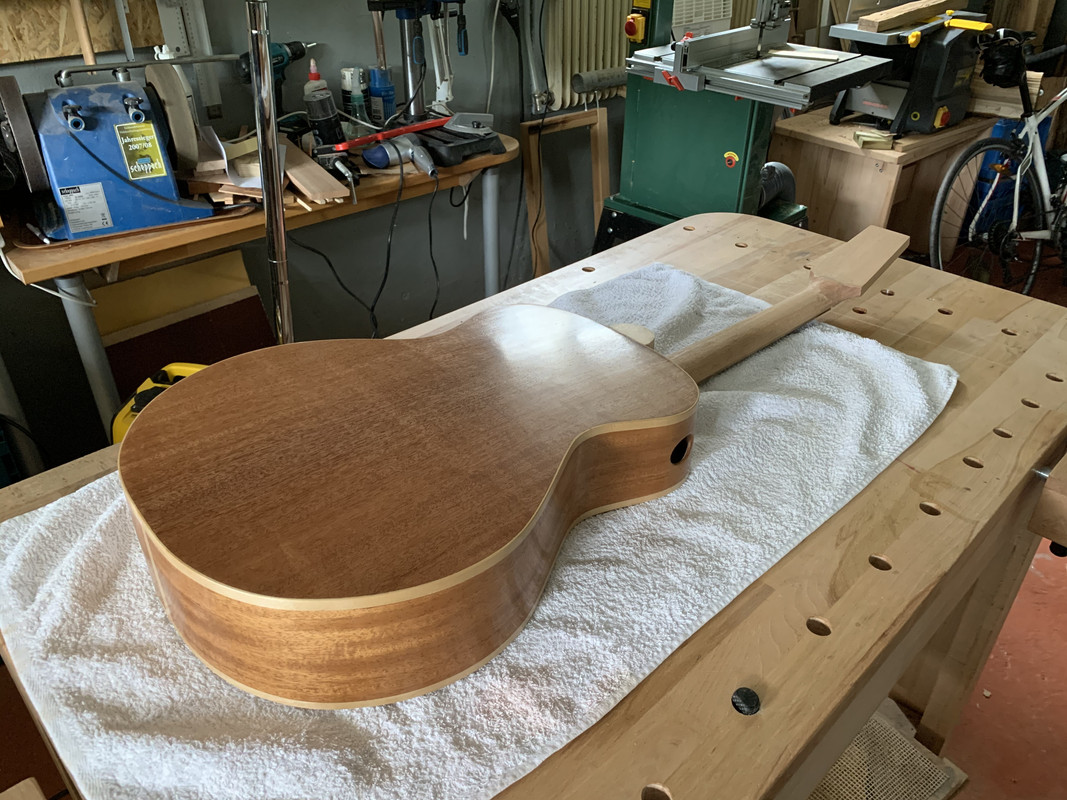 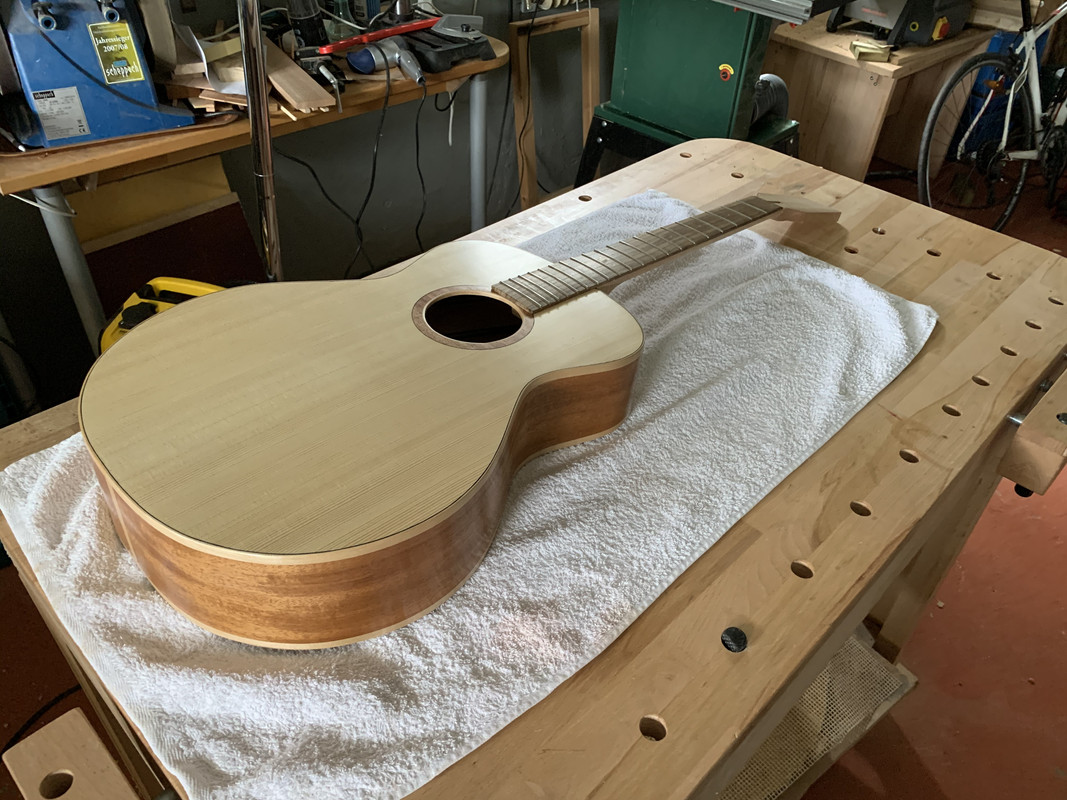 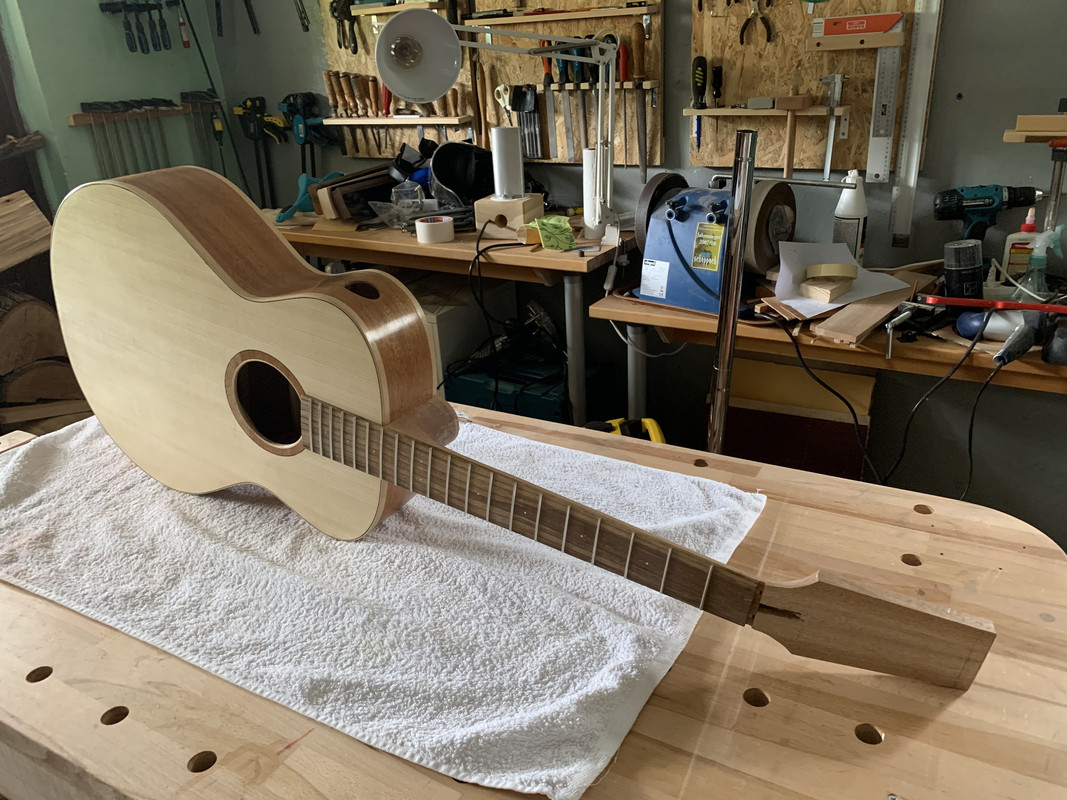 The body is already finished with an oil finish, but I'll describe that in a separate post. The work will be continued at the end of the summer...
|
|
|
|
Post by lars on Aug 29, 2020 15:43:00 GMT
The last steps
Here are some glimpses of the last steps. This is my first glued on pin bridge - I've only made floating bridges for tail pieces before. When I decided to make the fret board of Laburnum, I also decided to make the bridge the same. I made this jig from scrap pieces, to give me the correct angle for the saddle slot: 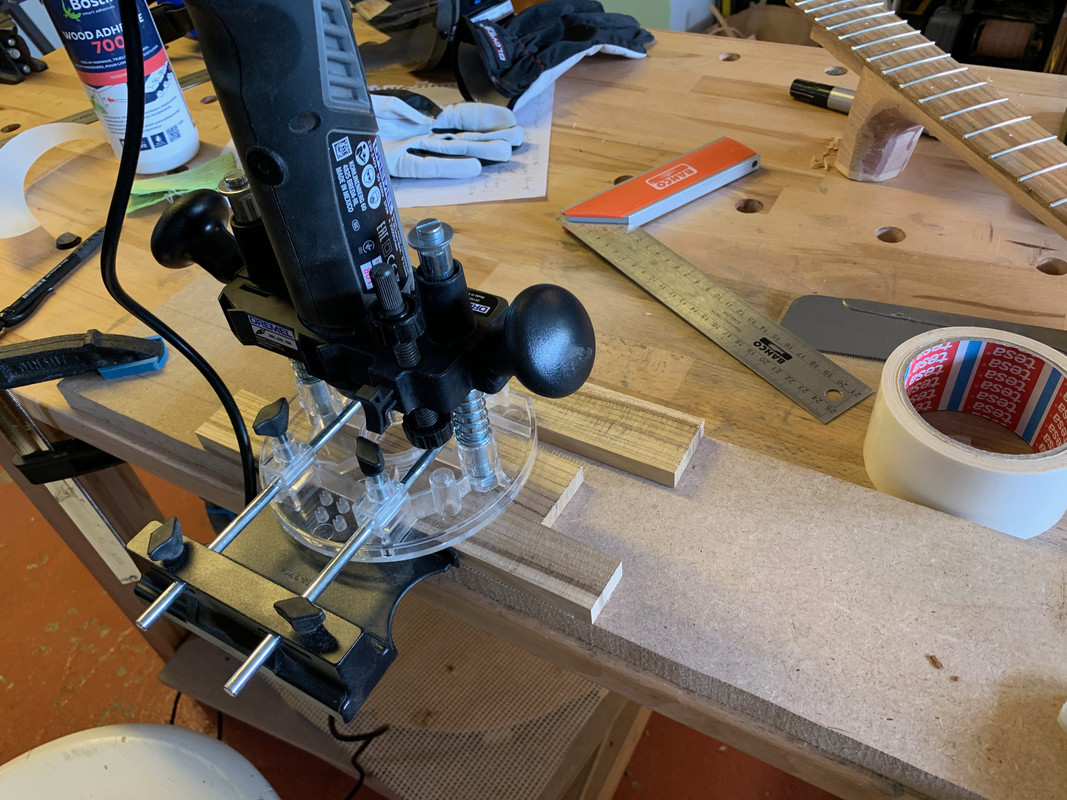 And here the slot is cut and holes for pins are drilled: 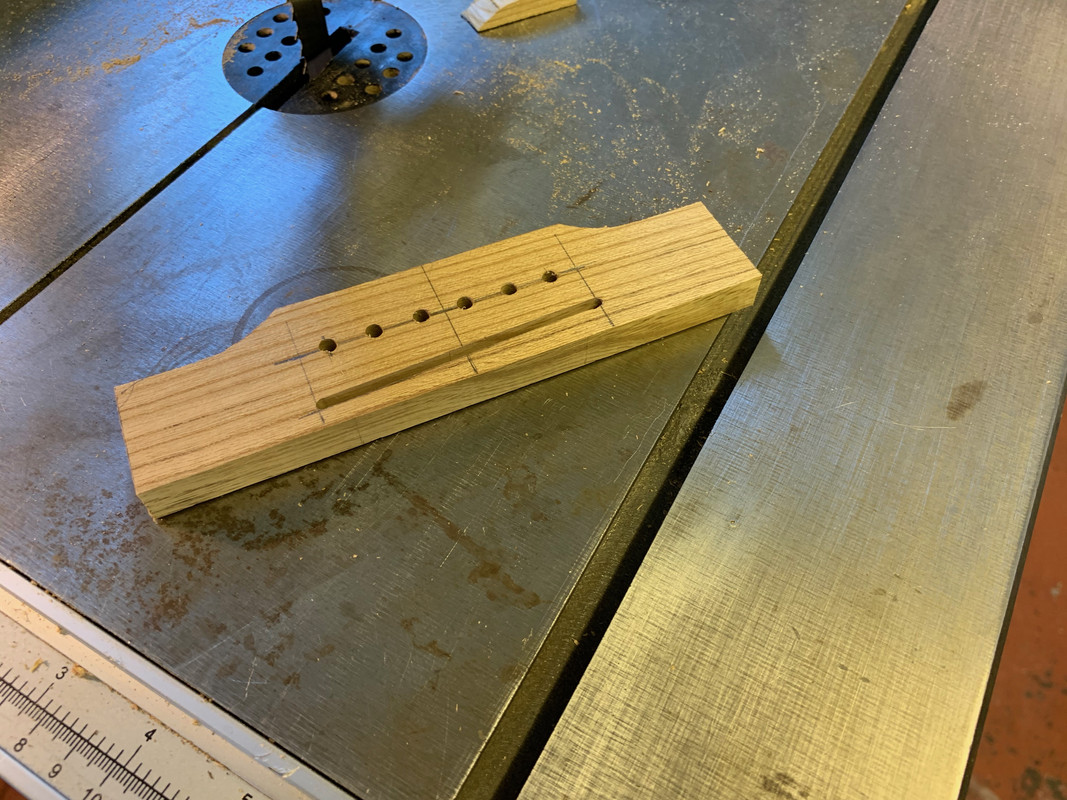 And no more pictures were taken before the bridge was shaped and sanded. And to tell you the truth. The first two photos was from my first attempt to make a bridge. The finished bridge is another one. Here it is loosely positioned on the top to admire the result: 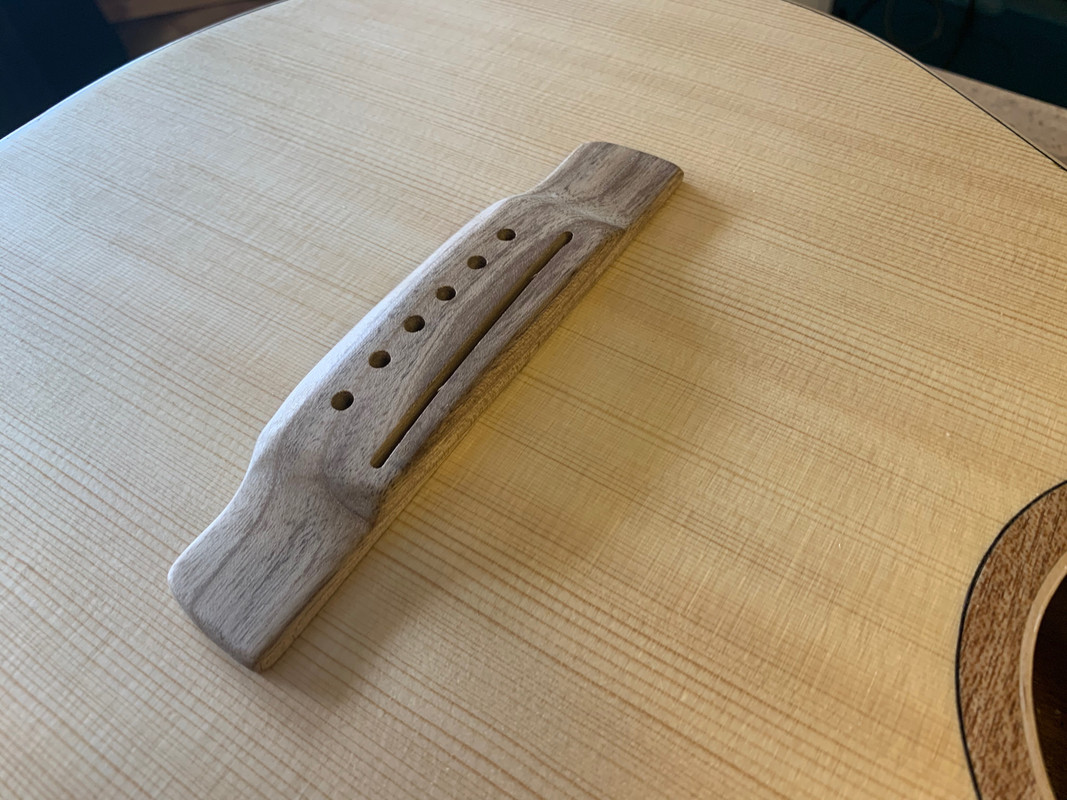 The bridge is placed in the (hopefully) correct position and the two outermost holes are drilled through and temporarily fastened with bolts. Then the contour of the bridge is scribed with a sharp knife: 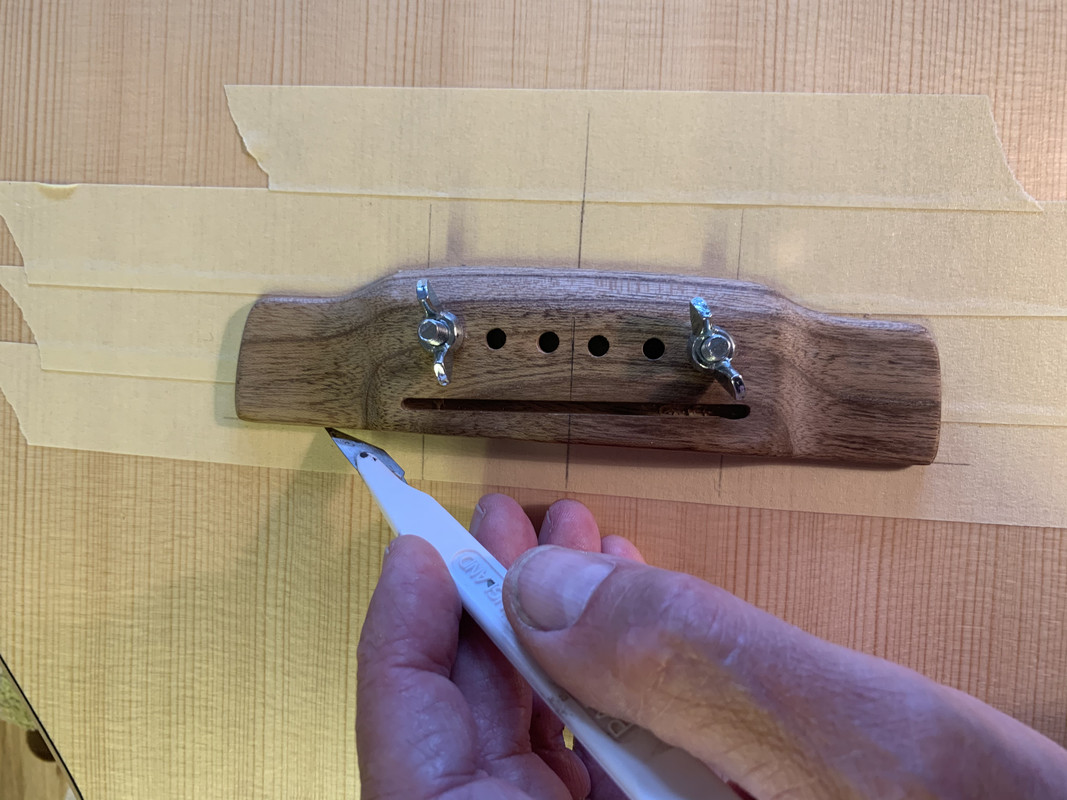 The oil finish is then carefully removed with chisel and sand paper: 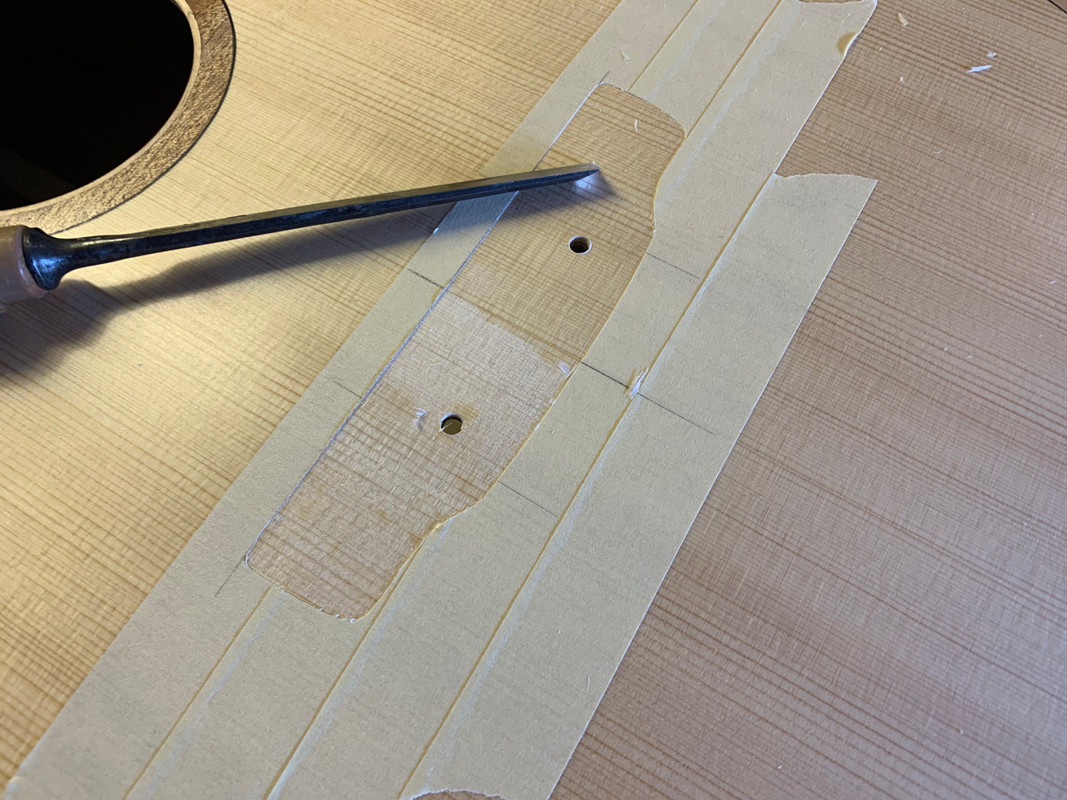 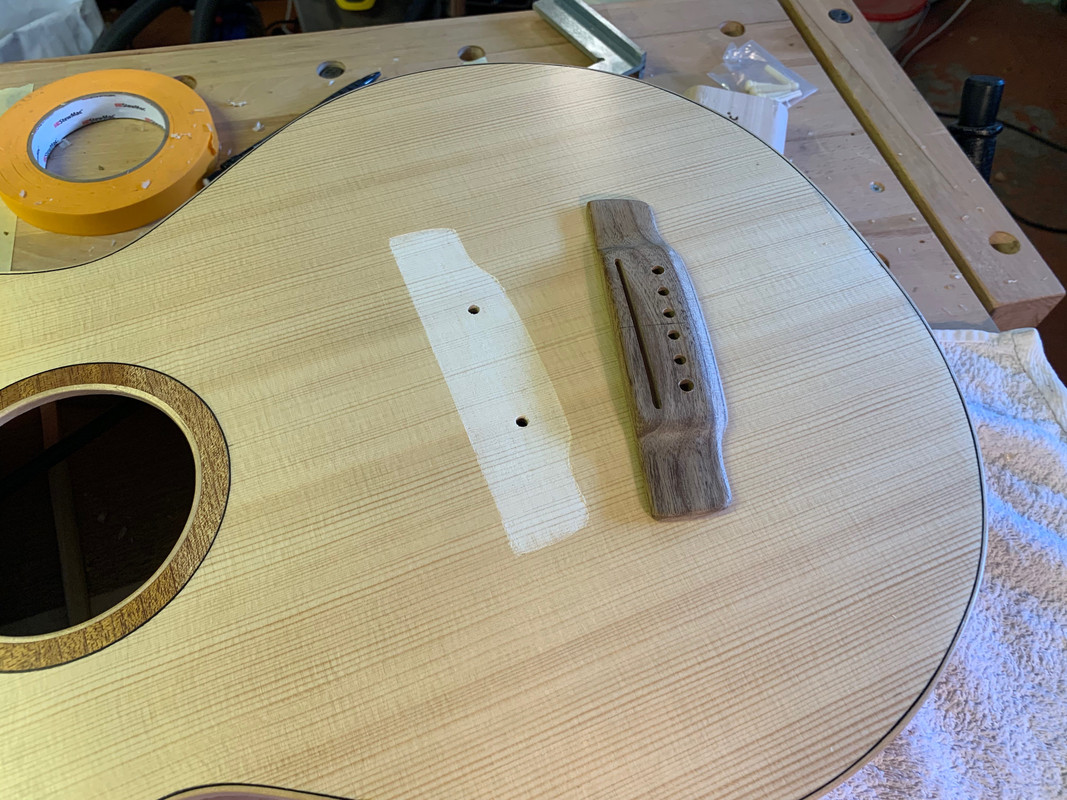 And finally the bridge is glued to the top. The bolts and wing nuts also acts as clamps. The two centre clamps have a "caul" beneath while the outer ones are clamped against the x-braces:  Time to mount the tuners. These are open gear Gotoh SE-700. I love the vintage look of them: 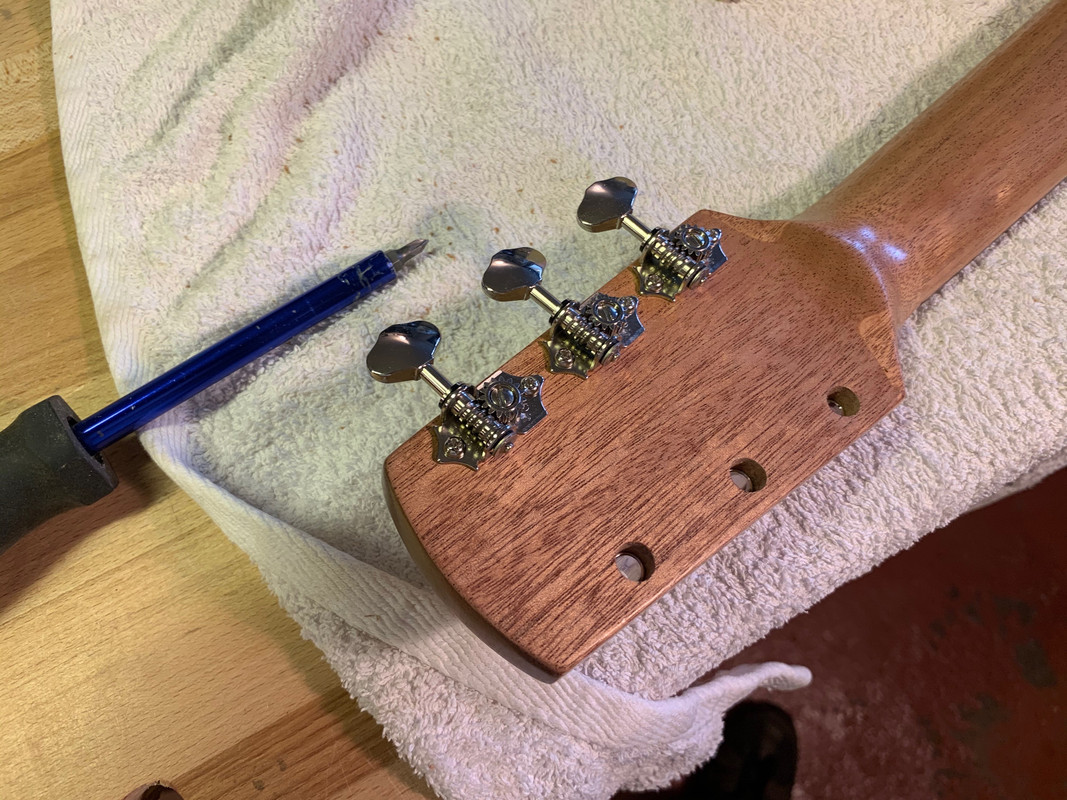 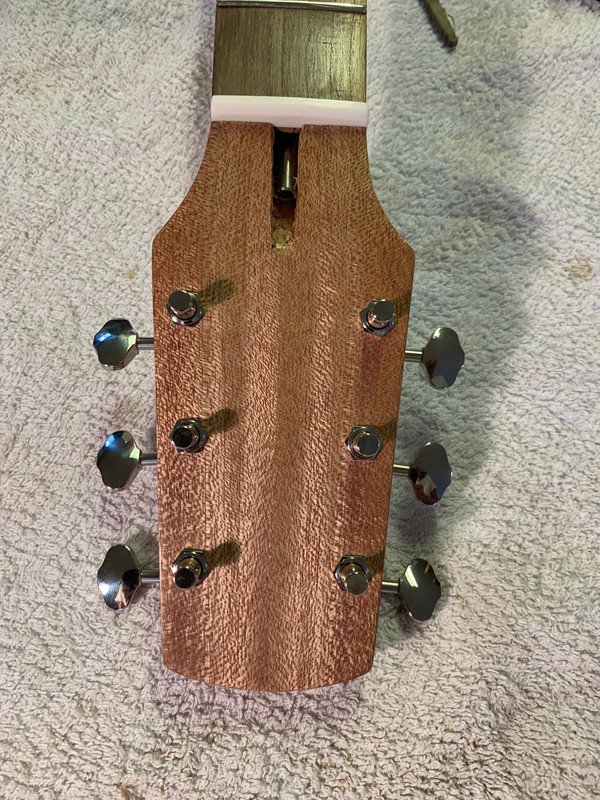 Lastly the compensated saddle was shaped from a bone blank: 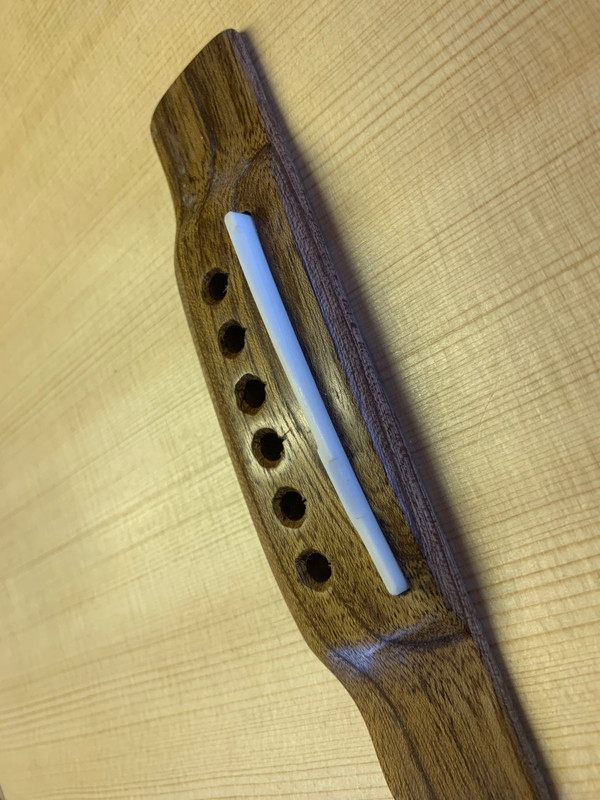 I've omitted many small steps, like reaming the bridge holes, making the nut, the cover for the truss rod, etc, etc. I've also omitted the finishing process, so I'll give you a short resume. Sides, back and neck was pore filled with the egg white method that I've learnt on this site. All wood was then sanded up to 2000 grit. First I applied two layers of schellack and then I added a couple of layers of Osmo hard wax oil. I think it's the same that is branded in the UK as PolyX. After hardening I've polished the finish with 000 steel wool and the finer degrees of Micromesh pads. The result is good on all except for the top which is descent but not more than that. The fretboard and bridges got a thin coat of Teak oil. Today is a dull, grey and rainy day, so the photos are rather shitty. But here are two shots on the guitar after it's strung up: 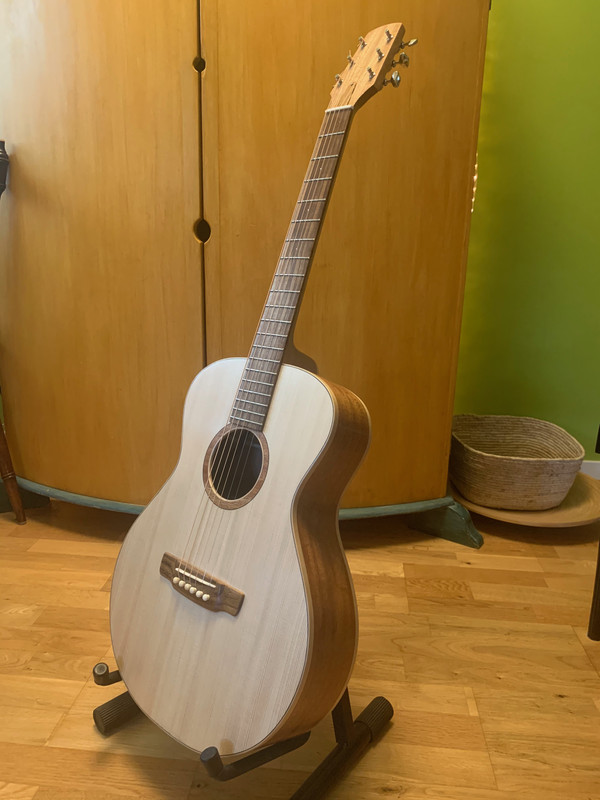 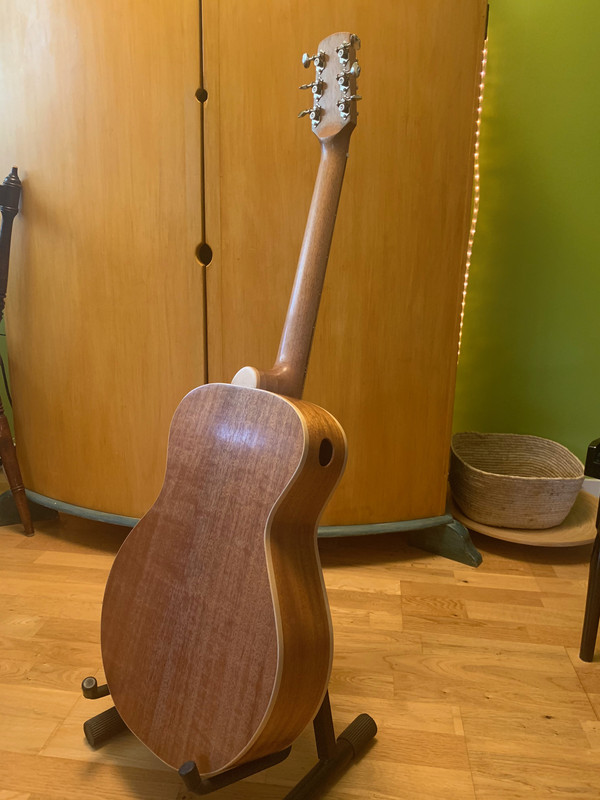 I'll take more and better pictures in a short while. It's been exciting to test play the guitar. I must say it's very promising. It seems to be particularly aimed for finger picking or gentle cross picking - but that is according to the plan. The string height is too high at the moment, but I'll let the instrument live with the string tension for one or two weeks before I remove the saddle to adjust the height.
|
|
|
|
Post by lars on Aug 30, 2020 6:09:53 GMT
A few more pictures...... and the specifications
Here are some slightly better pictures. But first the specifications: Size: Approximately 00 or Grand Concert size Lower bout: 358 mm Waist: 220 mm Upper bout: 256 mm Body length: 478 mm Total length: 990 mm Depth at tail block: 103 mm Depth at neck block: 83 mm Theoretical scale length: 24.9" Martin short scale, app. 632,4 mm Top: European Spruce Back and sides: African Mahogany (Khaya) Neck: African Mahogany (Khaya) Fretboard and bridge: Laburnum Rosette and Head veneer: African Mahogany (probably Sipu) Bindings: Birch + black dyed maple veneer Tuners: Gotoh SE700 Bridge pins: Bone   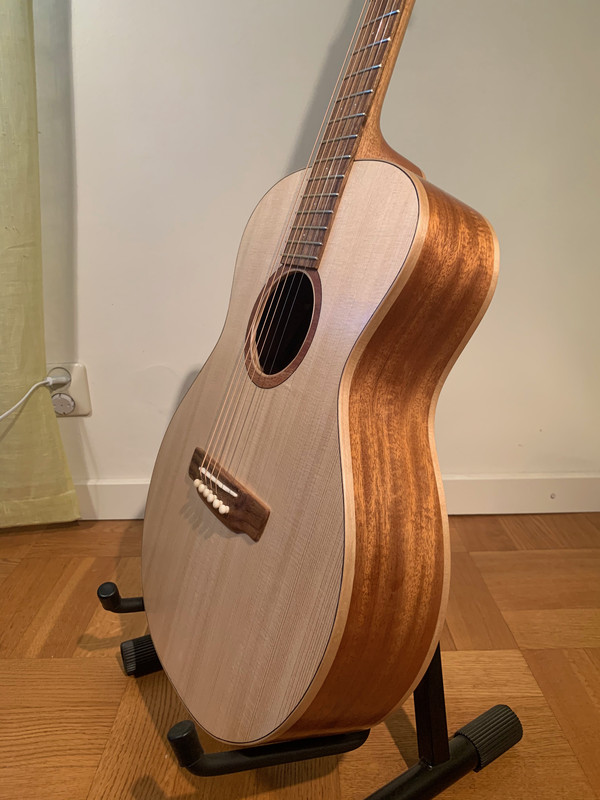  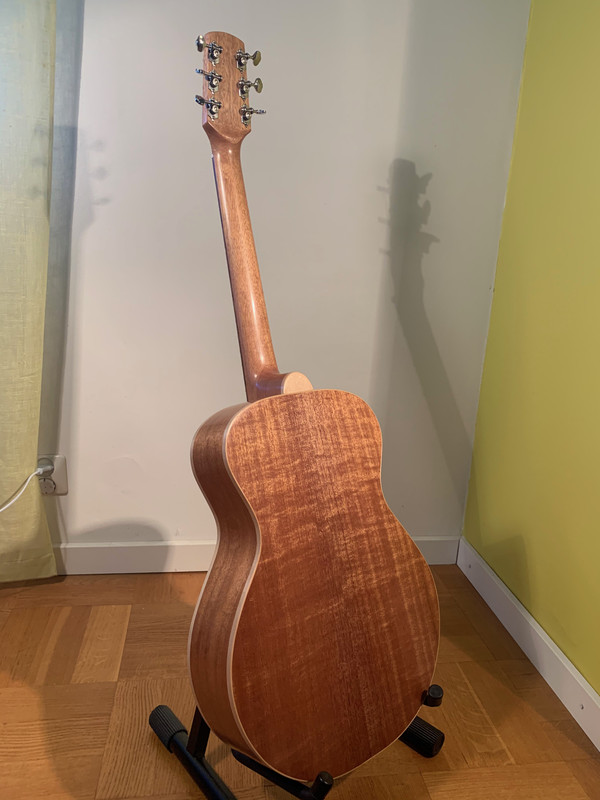 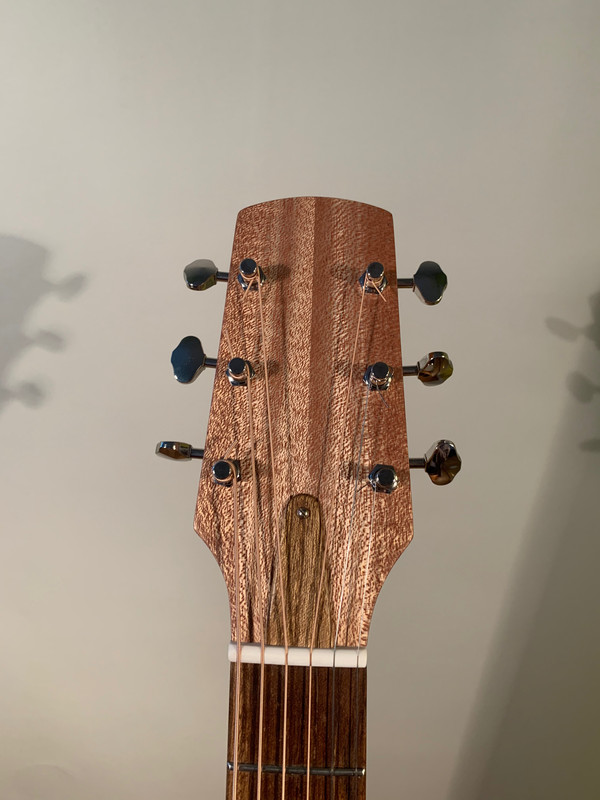 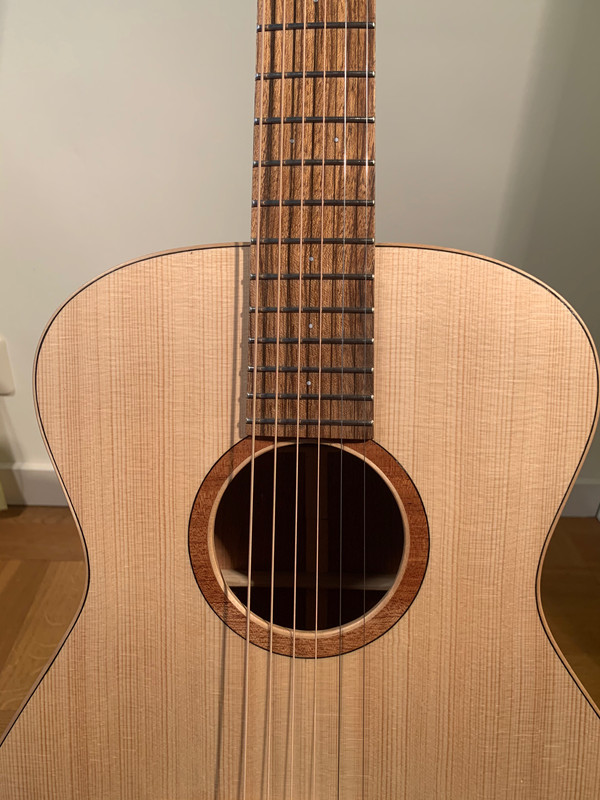
|
|