|
|
Post by ntredwell on Mar 20, 2014 14:30:02 GMT
Well here goes with another build. I have been wanting to build a parlour sized guitar for a while now and have been working on my own design for one on and off for a while. I plan to incorporate a new design feature for me which will be a completely removable neck utilising a continuation of the neck to support the underside of the fretboard as used by several other builders (including Dave White who you all know well from this forum). This type of construction makes much more sense to my thinking rather than the traditional method of gluing the fretboard extension to the soundboard and will allow for the neck to be removed very easily at a future date if ever required. I have been working on this build for the last week, so I will bring things up to date quickly. Spec
Lower Bout - 324 Waist - 180 Upper Bout - 232 Body Legth - 466 Scale length - 615mm 12 fret Back and sided - African Mahogany Soundboard - European Spruce Neck - African Mahogany with slot head Binding - English Walnut Fretboard / Bridge - Indian Rosewood Rosette - English Walnut with Mahogany purflings The first job was to get the back and soundboard jointed 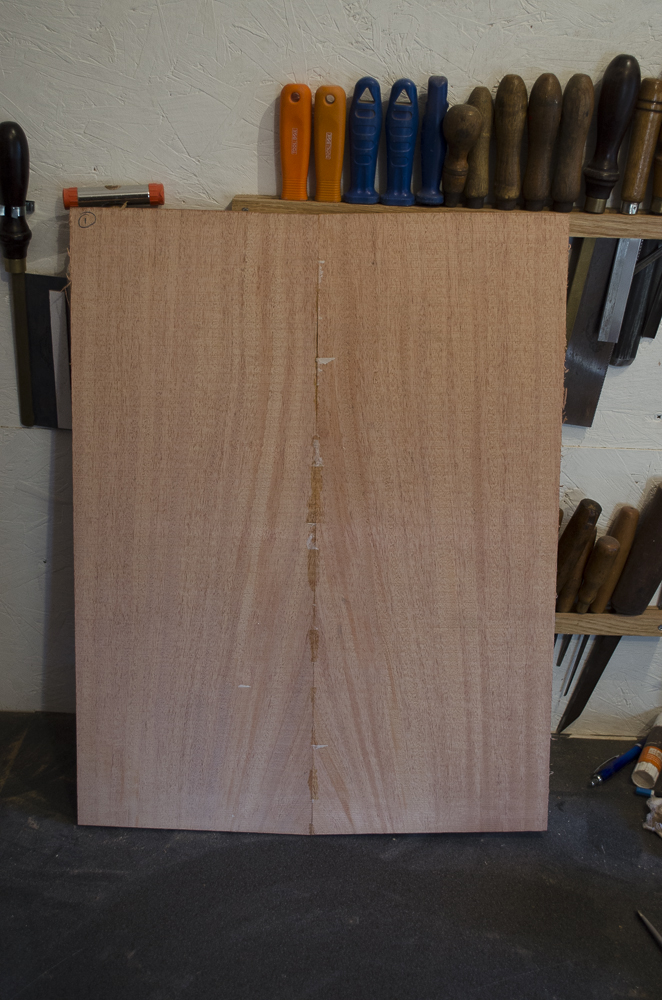 Back Jointed 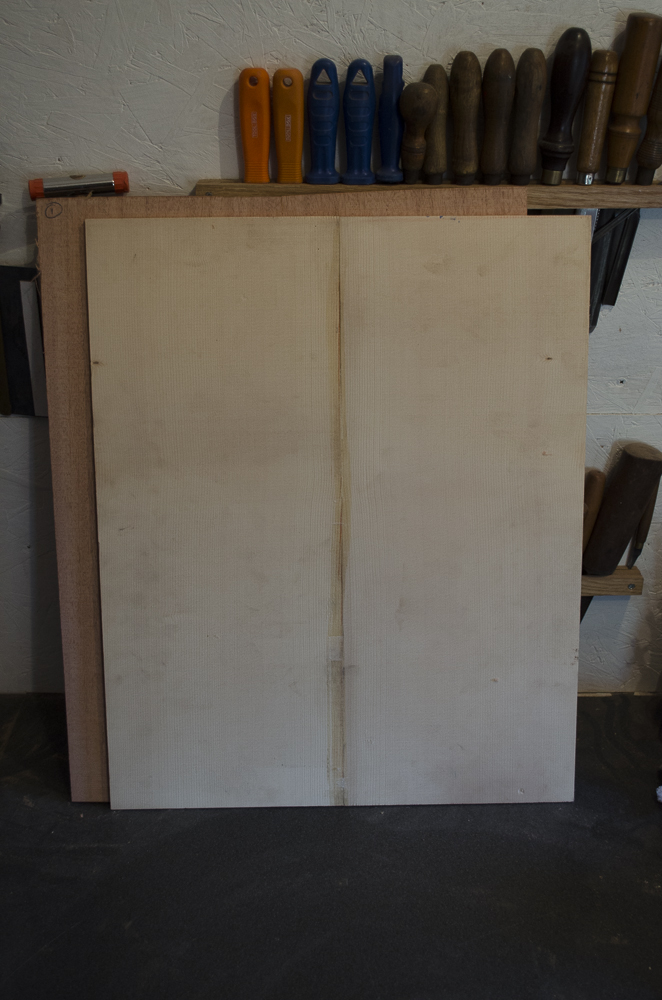 Top Jointed 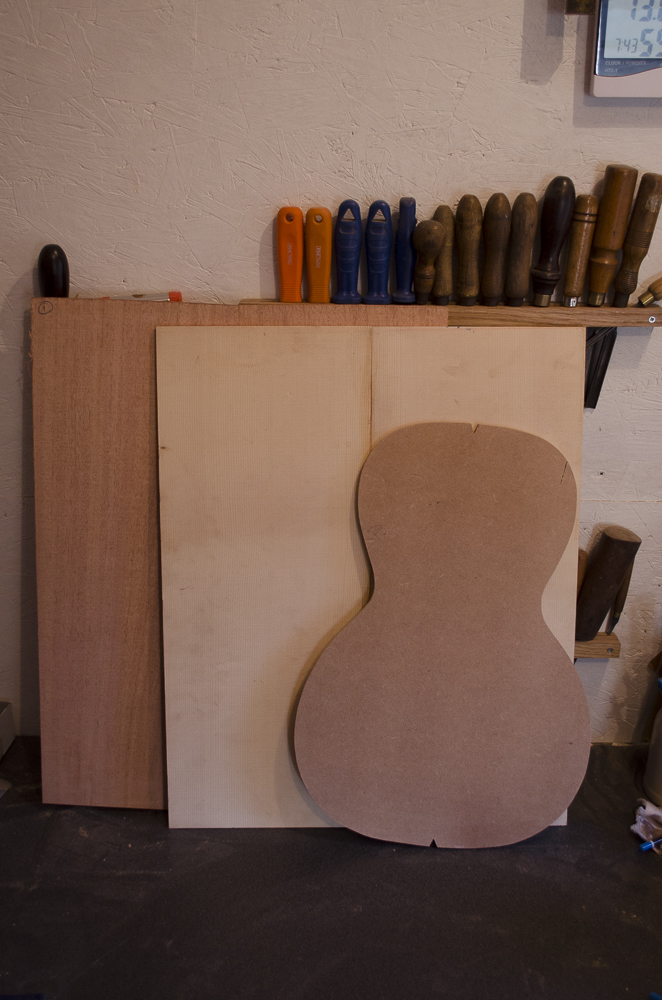 Back and Top with Template Next I sharpened up my trusty No. 5 1/2 plane and a cabinet scraper and got under way thicknessing the plates. There is something really satisfying seeing fine shavings appear through the plane. The back was taken down to just over 2.5mm but will be reduced a little bit further, and the soundboard was just flattened so that I can get the rosette installed. 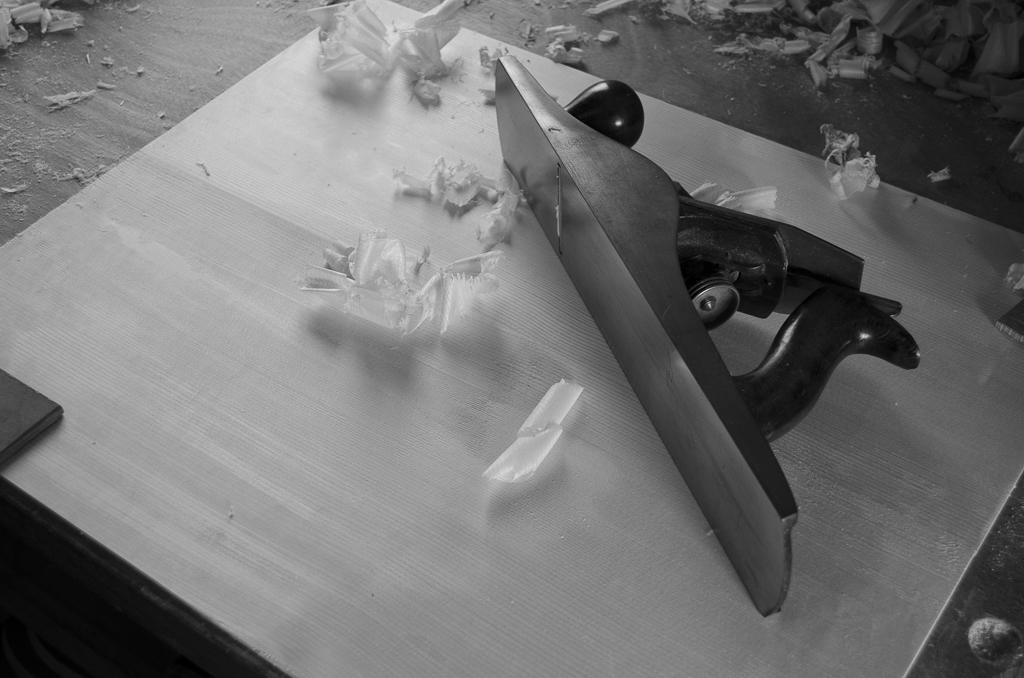 Thicknessing top- Plane 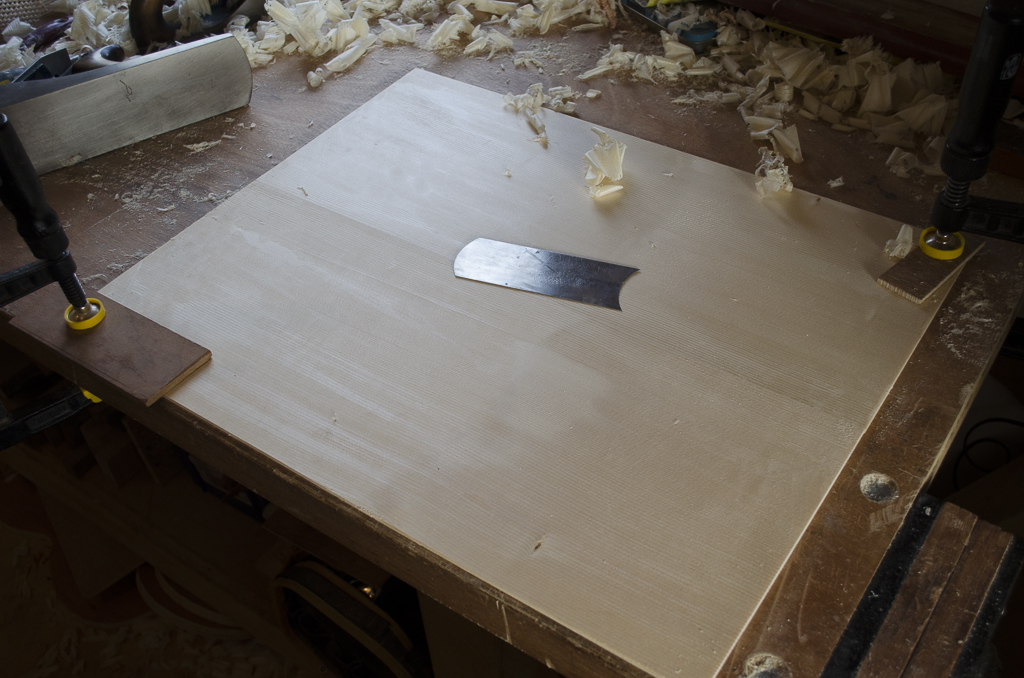 Thicknessing the top scraper 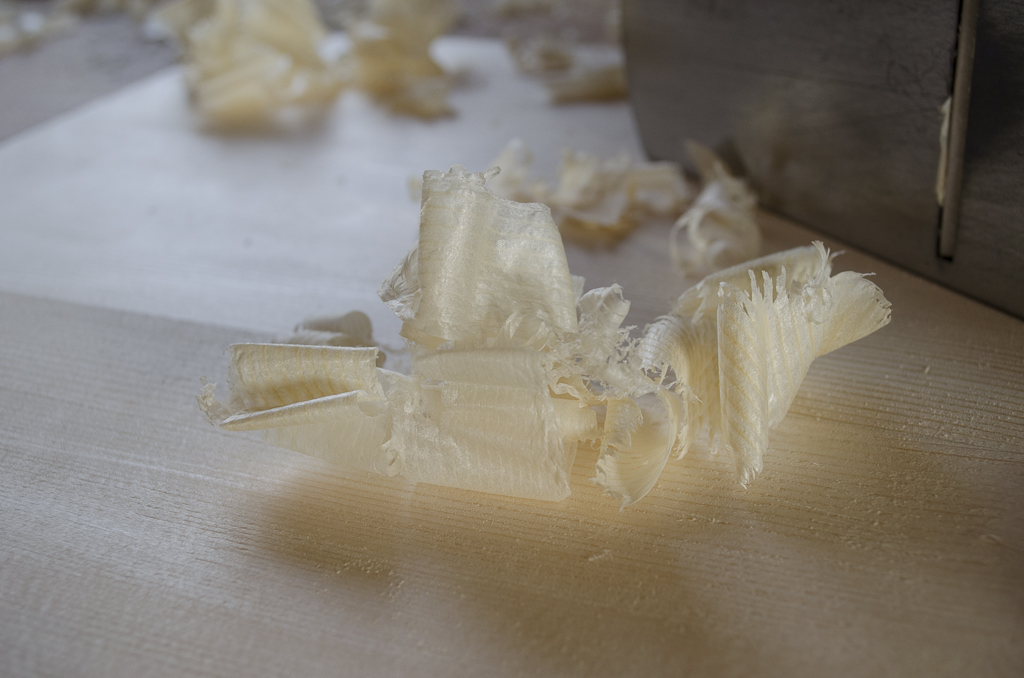 Unfortunately, I had a few issues with the rosette, and experienced quite a lot of tear-out on the outer edge of the rosette channel. I did install the rosette that I had prepared to see how bad it looks, and judge it for yourselves, it has to go. 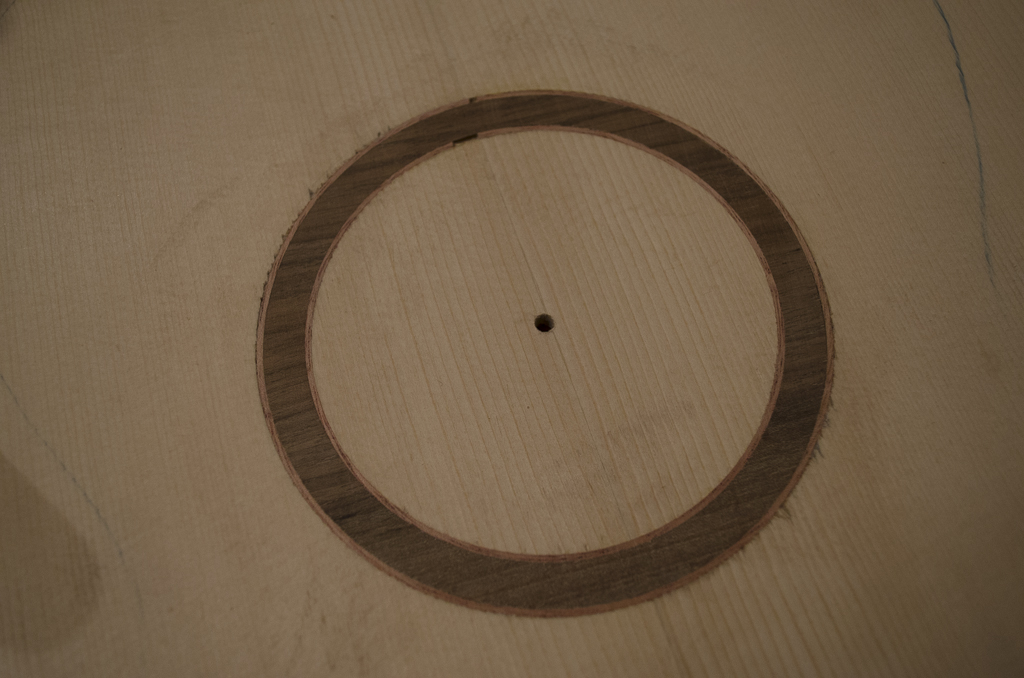 Rosette 1 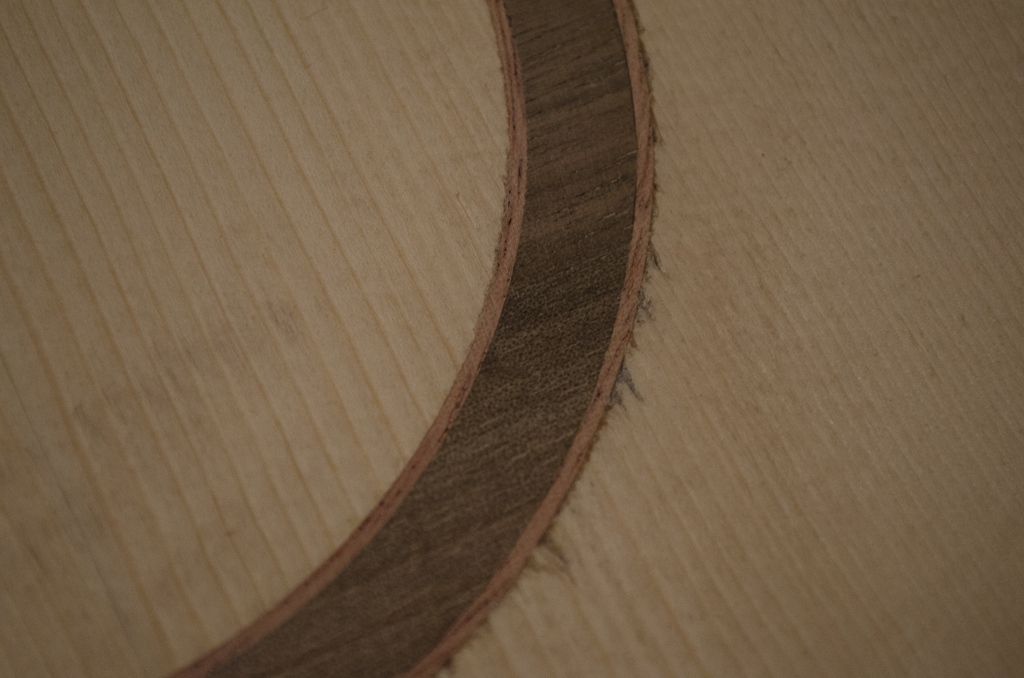 Rosette 2 I have put the tear out down to a poor quality router bit, so I have ordered a new down cut spiral bit and am planning to route out the rosette and start again with a slightly wider one. Its extremely frustrating having to scrap the original rosette but If I don't it will annoy me every time I pick the guitar up. Hopefully I will get some time over the weekend to install the new rosette and get started on the bracing. |
|
ocarolan
Global Moderator
 CURMUDGEONLY OLD GIT (leader - to join, just ask!)
Posts: 35,724  Mini-Profile Background: {"image":"","color":"c0cfe1"}
Mini-Profile Name Color: 182a3f
Mini-Profile Text Color: 733a1c
|
Post by ocarolan on Mar 20, 2014 14:54:29 GMT
Exciting news - will certainly be watching this with interest, Nick. Love small guitars! Shame about the rosette routing, but I'm sure you'll soon have it sorted and be back on track.  Keith |
|
Martin
Administrator

Posts: 11,994  Mini-Profile Background: {"image":"http://mandocello.org/lytebox/images/adirondack.jpg","color":""}
Mini-Profile Name Color: 0a530b
Mini-Profile Text Color: 4f3517
|
Post by Martin on Mar 20, 2014 15:09:09 GMT
Yay! A build thread! Love these, Nick! It's also interesting to see evidence of the problems you builders encounter and what you do to deal with them  |
|
leoroberts
C.O.G. 

Posts: 26,145  My main instrument is: probably needing new strings
|
Post by leoroberts on Mar 20, 2014 15:31:32 GMT
You just can't beat a build thread (apart from actually getting the instrument that's been built!) I don't know a great deal* about luthiering - although I'm guessing you used the 'tent method' to join the pieces for the back and top (see, davewhite, I do pay attention!) Will the rosette go to waste? Or will you be able to keep it for another build? * bugger all |
|
davewhite
Luthier / Guitar Maker
Luthier
Aemulor et ambitiosior
Posts: 3,548
|
Post by davewhite on Mar 20, 2014 16:50:21 GMT
Nick,
Interesting build to follow. The supported neck joint I use now is an adaptation of the one my good friend Colin Symonds uses. Shame about the rosette - it's hard making clean cuts. A spiral downcut bit will help as will taking small cuts and using a laminate trimmer rather than a dremel. Coating the area to be routed out on the top with a wash coat of pale shellac helps to. You can also make a circle cutter to hold a scalpel blade to score the outer and inner edges of the rosette channel before using the router. If you use a re-enforcement piece on the inside of the top around the soundhole area it may be possible to flip the the top over and do the rosette again on the other side of the top and use that as the outer surface.
|
|
|
|
Post by ntredwell on Mar 21, 2014 8:22:41 GMT
Thanks for the comments. While making mistakes is never fun, I see it as all part of the learning process and hopefully teaches you not to make the same mistake again. Leo - It just so happens that I did use the tent method to join the back and top there are many different possible ways to do it but I find that this is the simplest so why over complicate things. Unfortunately I will have to route out the old rosette as it is glued in so it has quickly become sawdust. Dave - Thanks for your advice, I am already using a laminate trimmer rather than a Dremel and shelacing the top I think that the bit I was using was past its best anyway. Scoring the inner and outer channels before routing is a good idea though thanks I think I will do that in the future. Looking at your supported neck joint and comparing it to Colin Symonds could you please enlighten me to advantage / disadvantage of Colins C shape (with a extension at the bottom) rather than your L shaped block. I received the down cut bit yesterday and re routed the channel and this time things came out perfectly  so I should manage to get the new rosette installed over the weekend and hopefully start on the bracing. |
|
davewhite
Luthier / Guitar Maker
Luthier
Aemulor et ambitiosior
Posts: 3,548
|
Post by davewhite on Mar 21, 2014 8:54:53 GMT
Looking at your supported neck joint and comparing it to Colin Symonds could you please enlighten me to advantage / disadvantage of Colins C shape (with a extension at the bottom) rather than your L shaped block. Nick, Glad that you have the rosette sorted. Hopefully Colin will see this and chip in but Colin makes classical guitars as well and believes that the bottom foot of the neck block glued to the back helps stop the string tension on the neck from rotating the neck block. I use flying buttress braces to do this. The other difference from Colin's system is that I don't have the top neck block extension attached to the top whereas Colin does. |
|
|
|
Post by ntredwell on Mar 21, 2014 9:53:07 GMT
Thanks for your reply Dave, that answers the question perfectly I will probably have a play around with the neck block as well this weekend.
|
|
garynava
Luthier / Guitar Maker
Posts: 460  My main instrument is: Stanley No.5
|
Post by garynava on Mar 22, 2014 17:32:38 GMT
Re Rosette.
I find that the outer edge of the rosette rebate comes out cleaner if I work round in an anti-clockwise direction.
Cheers Gary
|
|
|
|
Post by Mike Floorstand on Mar 22, 2014 19:10:43 GMT
Re Rosette. I find that the outer edge of the rosette rebate comes out cleaner if I work round in an anti-clockwise direction. Cheers Gary Is that because we are in the northern hemisphere?

|
|
|
|
Post by ntredwell on Mar 22, 2014 19:33:36 GMT
Thanks for the tip Gary.
I'll update in more depth later, but I rerouted the slot and have installed the new rosette, and it firs like a give with no tear out at all,its a little wider than I would normally chose but I very happy with the finish.
|
|
|
|
Post by ntredwell on Mar 25, 2014 14:36:34 GMT
Well after the tribulations in my last post, I made sure to take things very slowly while fixing the rosette.I decided the easiest option would be to re route the channels and install a new slightly wider one. I routed out all but the inner purfling strip as this already had a perfect fit. 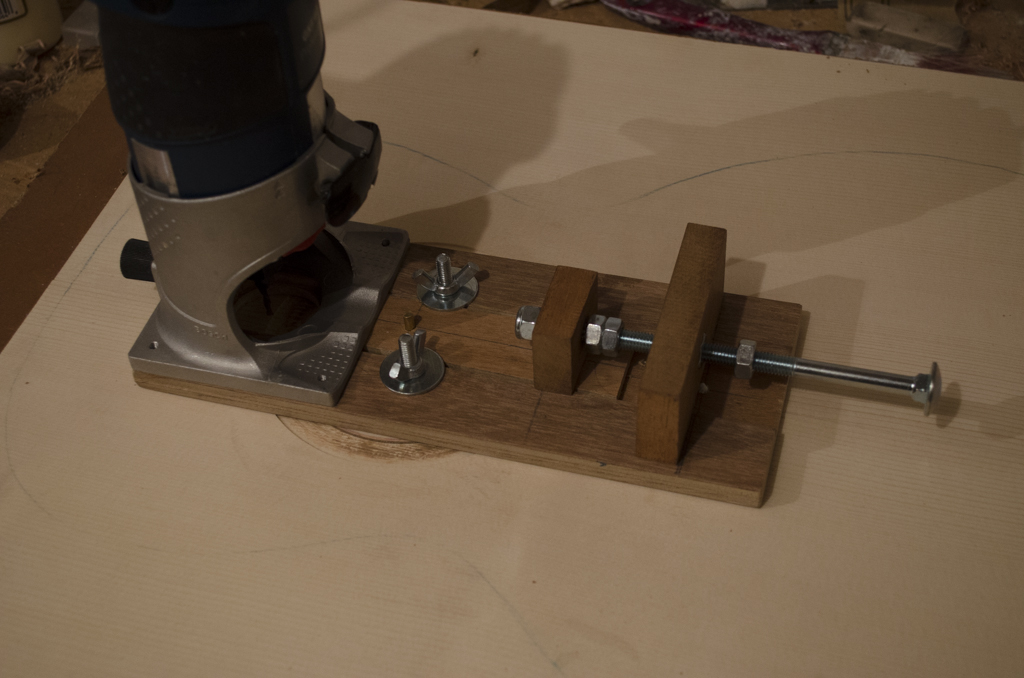 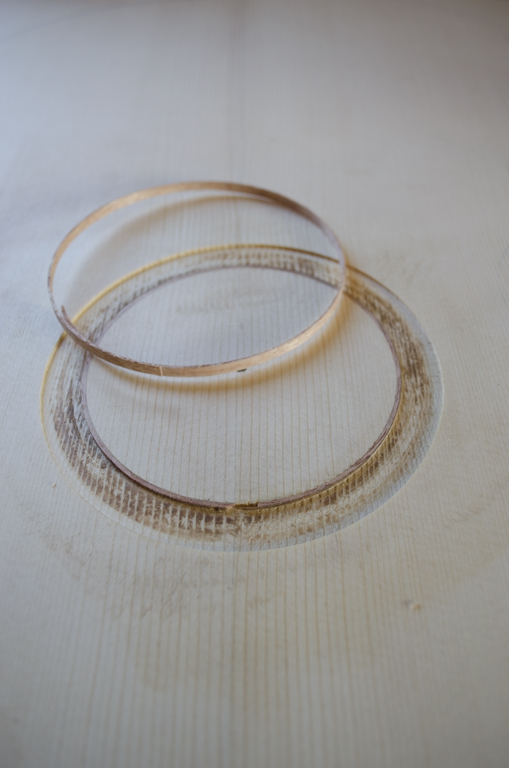 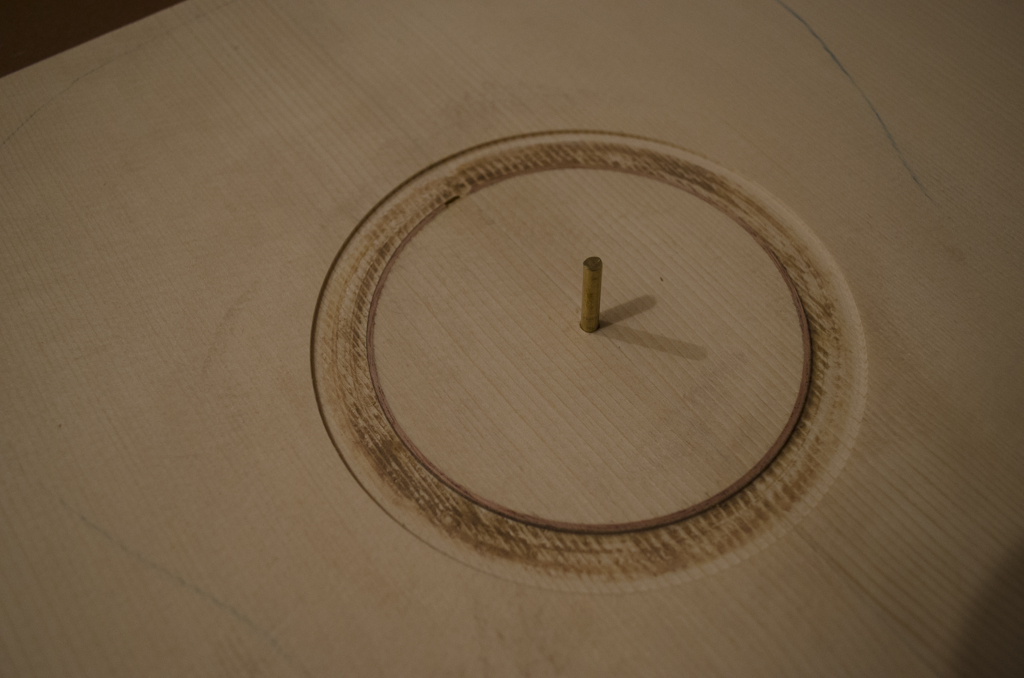 It was definitely well worth purchasing a 3mm down cut spiral bit for routing the rosette channels, and this time around things went very smoothly and after a small amount of tweaking of the rosette, it now resides snugly in the soundboard. After gluing in the rosette and outer purfling strip, the excess height in the rosette needed to be planed back and finally sanded flush with the soundboard finally confirming that the fit is now flawless. 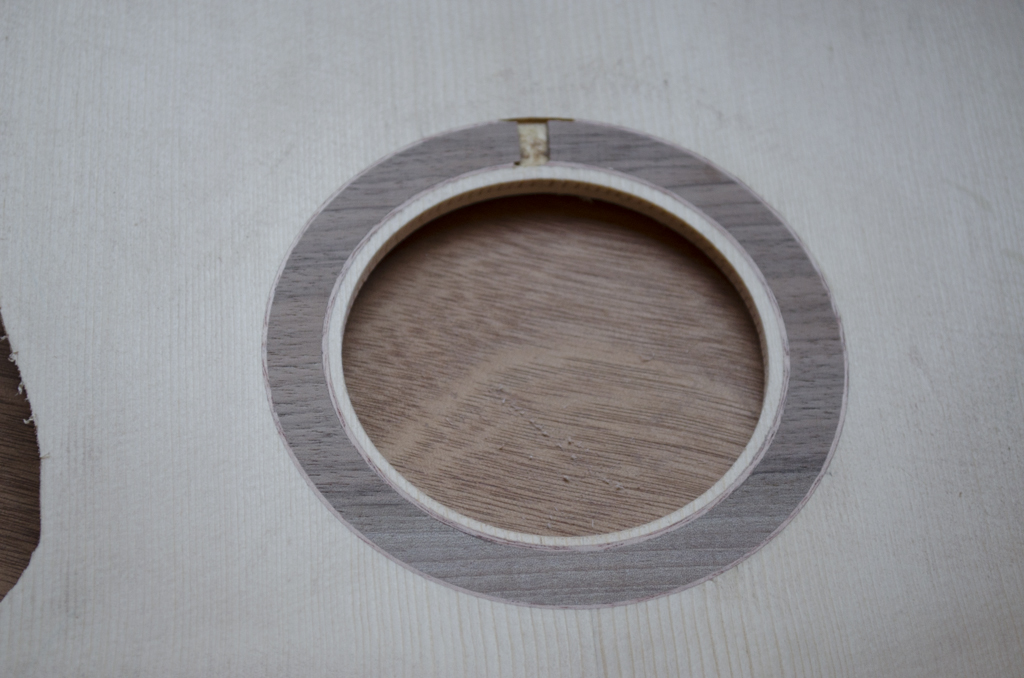 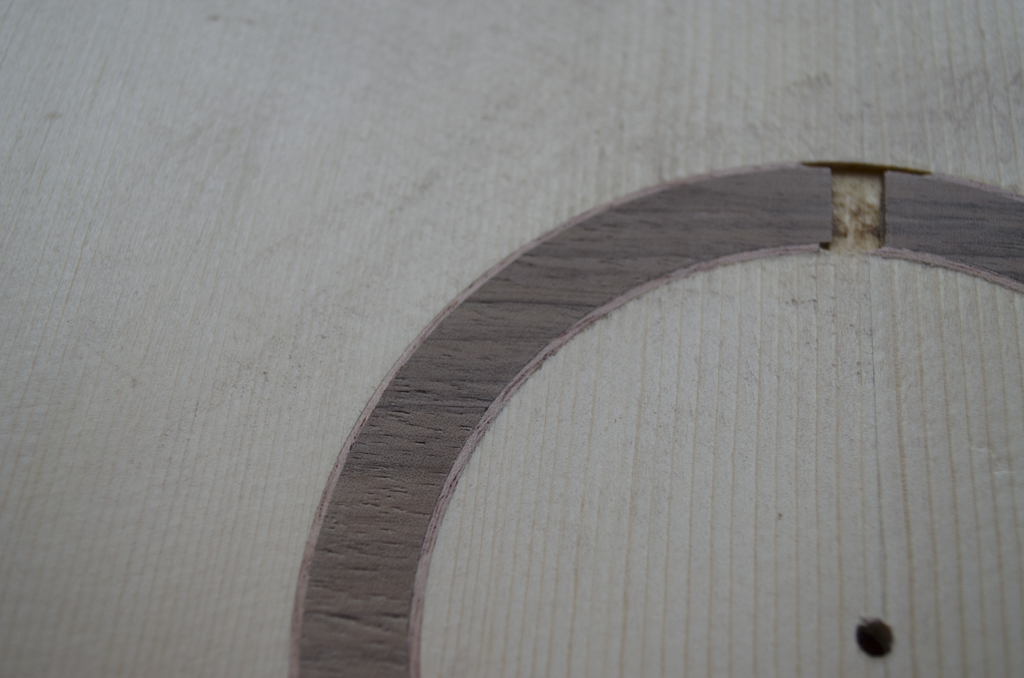 Due to forecast rain over last Sunday, we decided to stay at home rather than go out, so I also managed to make a lot more progress on other areas of the build including gluing up and carving the back braces and gluing up most of the soundboard bracing. I also glued up the C shaped neck block but unfortunately forgot to take any pictures. 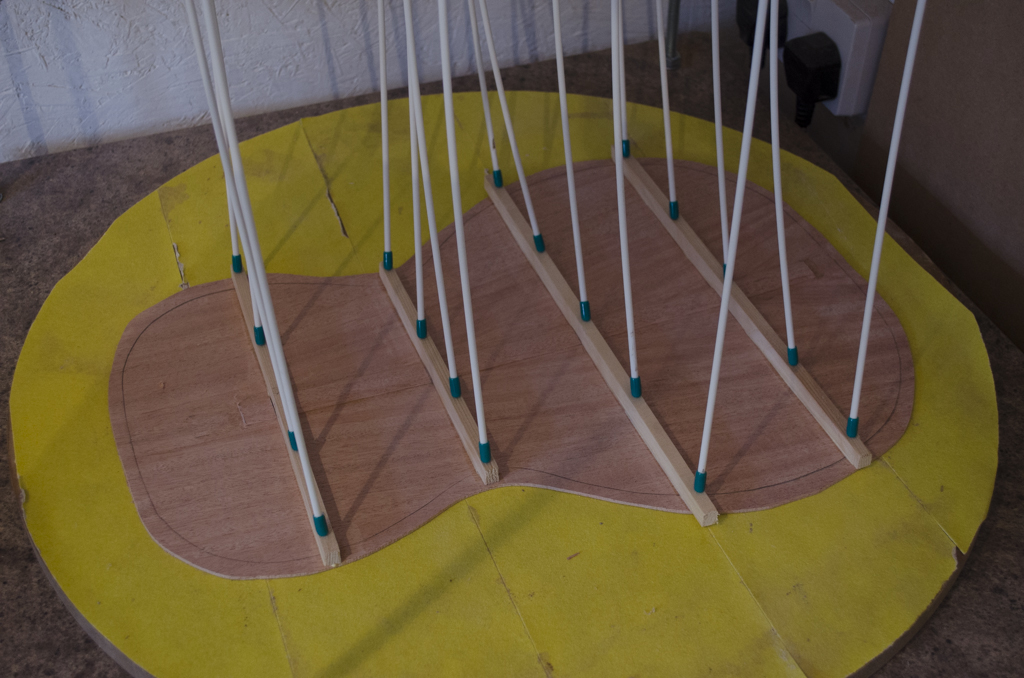 Back braces in Go bar 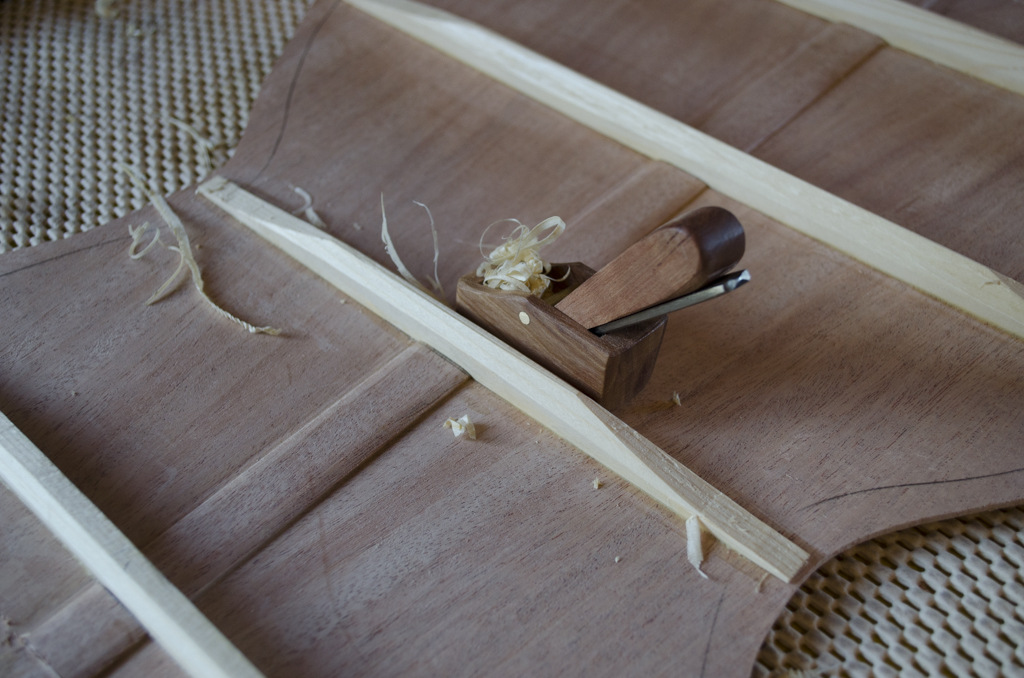 Carving back braces 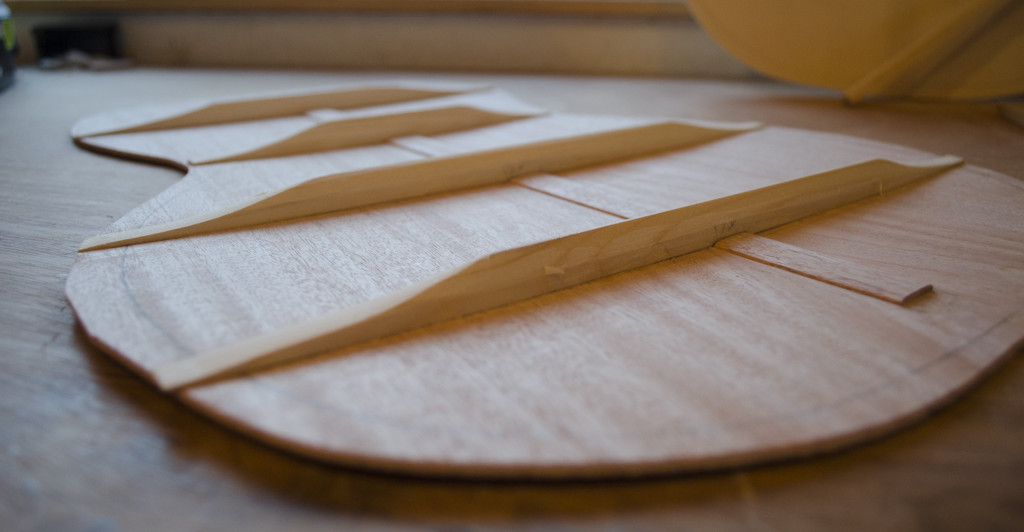 Back braces 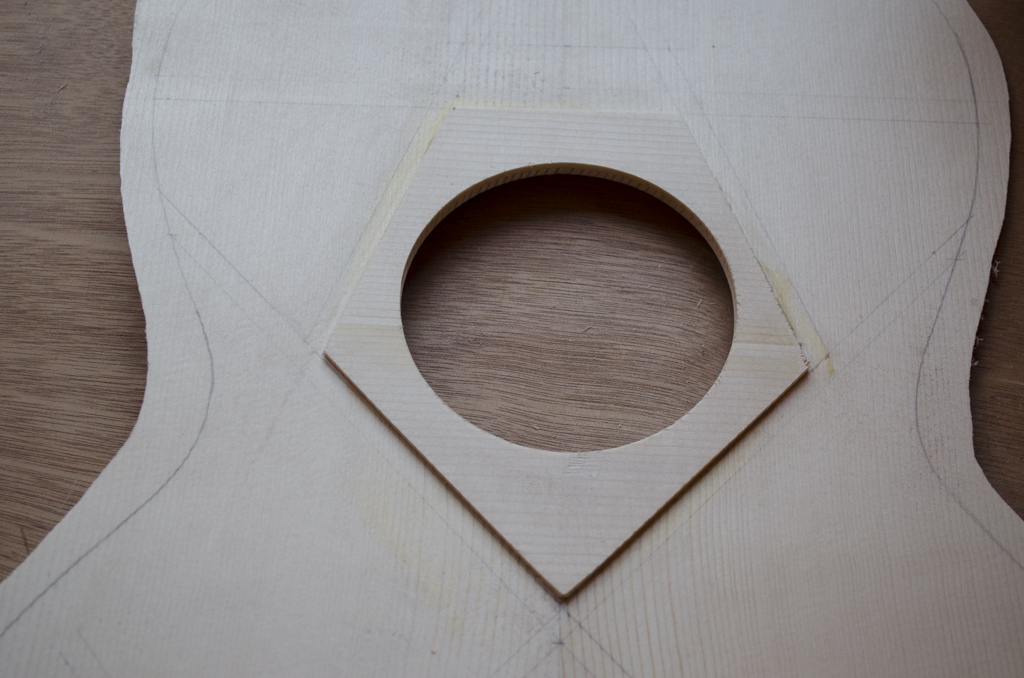 Sound hole patch glued up 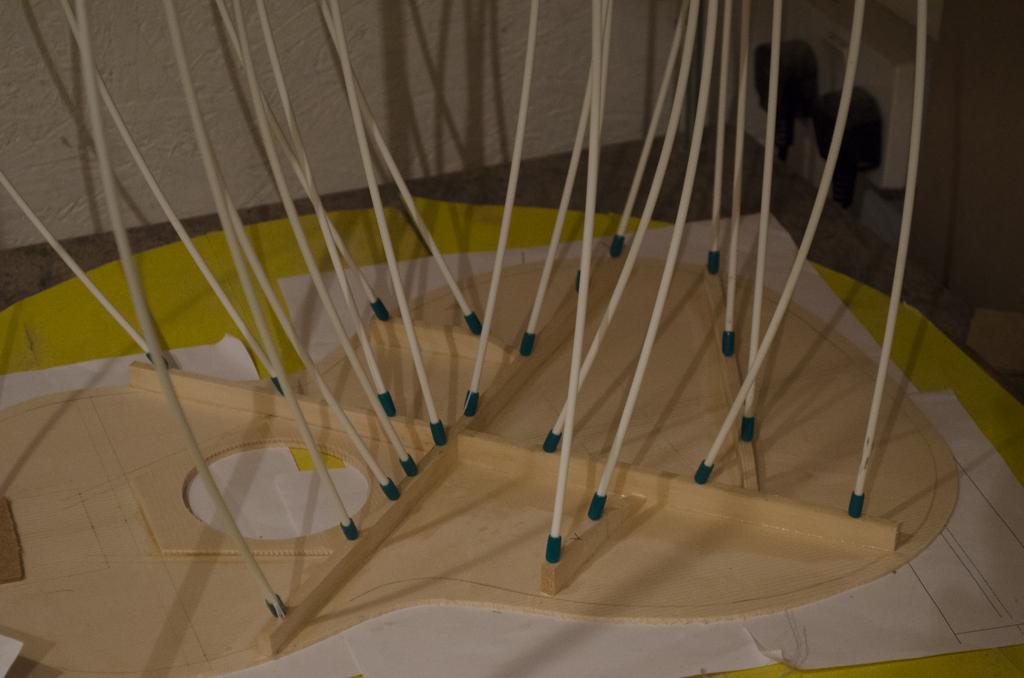 Soundboard bracing Hopefully I will be able to finish off gluing up to soundboard bracing tonight and then crack on with carving the braces / voicing the top later in the week. There will be more photos on my website shortly if your interested |
|
leoroberts
C.O.G. 

Posts: 26,145  My main instrument is: probably needing new strings
|
Post by leoroberts on Mar 25, 2014 15:16:34 GMT
Looking good, Nick. Glad the poor weather had some benefits  |
|
|
|
Post by kevmc1180 on Apr 20, 2014 22:04:22 GMT
Well here goes with another build. I have been wanting to build a parlour sized guitar for a while now and have been working on my own design for one on and off for a while. I plan to incorporate a new design feature for me which will be a completely removable neck utilising a continuation of the neck to support the underside of the fretboard as used by several other builders (including Dave White who you all know well from this forum). This type of construction makes much more sense to my thinking rather than the traditional method of gluing the fretboard extension to the soundboard and will allow for the neck to be removed very easily at a future date if ever required. I have been working on this build for the last week, so I will bring things up to date quickly. Spec
Lower Bout - 324 Waist - 180 Upper Bout - 232 Body Legth - 466 Scale length - 615mm 12 fret Back and sided - African Mahogany Soundboard - European Spruce Neck - African Mahogany with slot head Binding - English Walnut Fretboard / Bridge - Indian Rosewood Rosette - English Walnut with Mahogany purflings The first job was to get the back and soundboard jointed  Back Jointed  Top Jointed  Back and Top with Template Next I sharpened up my trusty No. 5 1/2 plane and a cabinet scraper and got under way thicknessing the plates. There is something really satisfying seeing fine shavings appear through the plane. The back was taken down to just over 2.5mm but will be reduced a little bit further, and the soundboard was just flattened so that I can get the rosette installed.  Thicknessing top- Plane  Thicknessing the top scraper  Unfortunately, I had a few issues with the rosette, and experienced quite a lot of tear-out on the outer edge of the rosette channel. I did install the rosette that I had prepared to see how bad it looks, and judge it for yourselves, it has to go.  Rosette 1  Rosette 2 I have put the tear out down to a poor quality router bit, so I have ordered a new down cut spiral bit and am planning to route out the rosette and start again with a slightly wider one. Its extremely frustrating having to scrap the original rosette but If I don't it will annoy me every time I pick the guitar up. Hopefully I will get some time over the weekend to install the new rosette and get started on the bracing. I didn't realise till recently that acoustic guitars tops and backs are made from joining two pieces of wood together. Is this to do with the availability of lager sections of timber? Also is this the common practice in the acoustic guitar building world.? |
|
|
|
Post by ntredwell on Apr 22, 2014 9:22:09 GMT
I'm not 100% sure on the answer to this, but the norm is to use a pair of book matched pieces for both the soundboard and the back.
Realistically this is due to the availability of wide enough sections of wood, there is much more choice the narrower the piece of timber is as the trees do not have to be as old.
Im sure there are a few guitars out there made from single pieces, but I haven't actually seen any myself.
|
|




 Jo whoever he is.


