Building a T-G (Turnstone Guitar Co)
Feb 16, 2016 14:23:56 GMT
Martin, jonnymosco, and 10 more like this
Post by RosieTGC on Feb 16, 2016 14:23:56 GMT
Hello!
Apologies in the time delay from my original introduction on the other board to me actually starting this build thread, but I wanted to hoard up a few pictures for my first post so I could enter in with an "imagery bang" as it were!
So this is my first attempt at doing a forum build thread. I've taken a look at what others have done in their way of presenting the process, so do let me know if I go rogue in the way I present or talk about the work. Hopefully I'll get there!
So just to explain a bit of context - this guitar I am building in this thread is a model that I have designed called the T-G. I'm not too creative when it comes to model names - the T is linked to 'Turnstone' which is the company name, and the G is linked to "Grand" because the model most closely resembles a grand auditorium model spec. After initially developing a smaller model (yep you got it - the T-S) I developed this G model about a year ago and have built several so far and am liking the results. This particular one is being built as show stock and once done will be travelling around with me to upcoming shows. Full specs for this model can be found on my site, but it will all be shown here as we go along too.
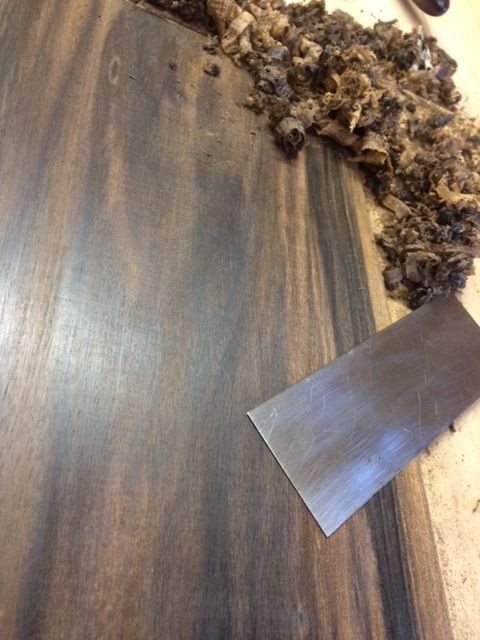
Ok enough chatting... we'll go through the wood spec as we go. Lets start with the back. African Ebony. This is a timber I haven't worked with before but it's been sat patiently waiting in my controlled store for well over a year now as I know this timber needs to be dry and stable before going anywhere near it. The show face side was initially scraped with a cabinet scraper to give it a nice smooth and clean finish:
![]()
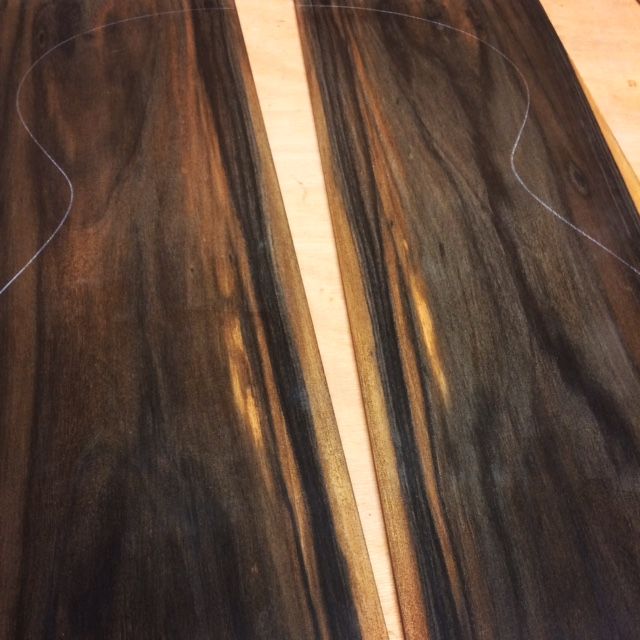
And here is it scrapped and outlined:
![]()
![]()
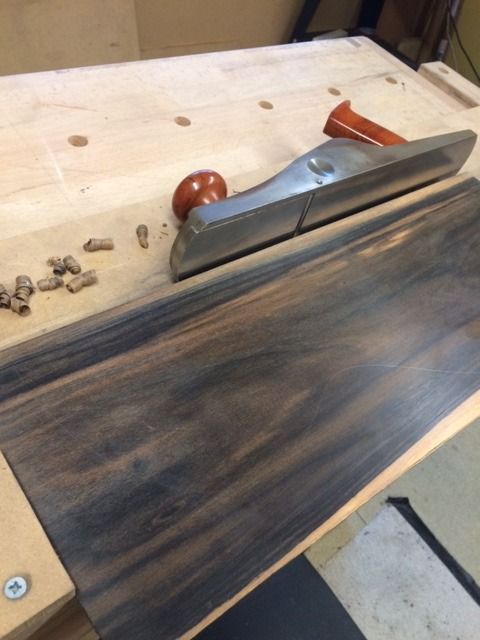
So once brought down to initial thickness the join is shot with a Veritas no.5 (I love this plane). I hold my panels up to my window to check the join over. So a bright sunny day is needed - they seem to be few a far between at the moment but the weather was on my side the day I did this job!
![]()
![]()
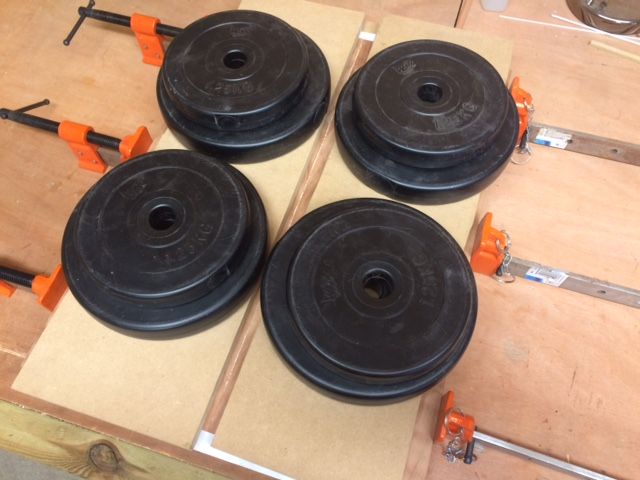
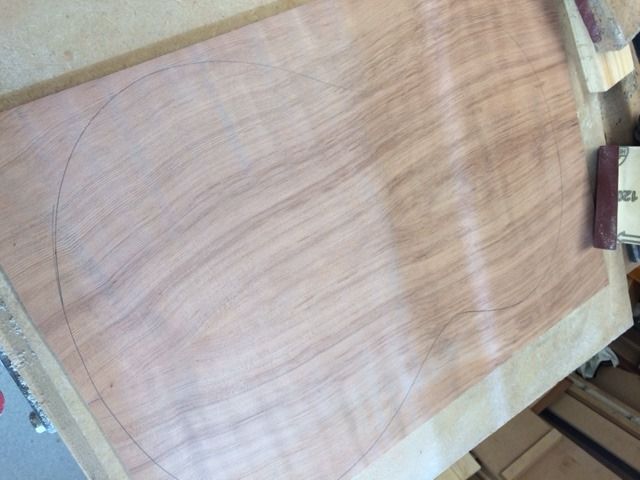
The soundboard is another new material to me, but I have had it stashed away for yonks and am so excited to finally be using it - curly North American Redwood. Here it is being joined (same process used to join the back)
And here it is successfully joined and lightly sanded on the show face side:
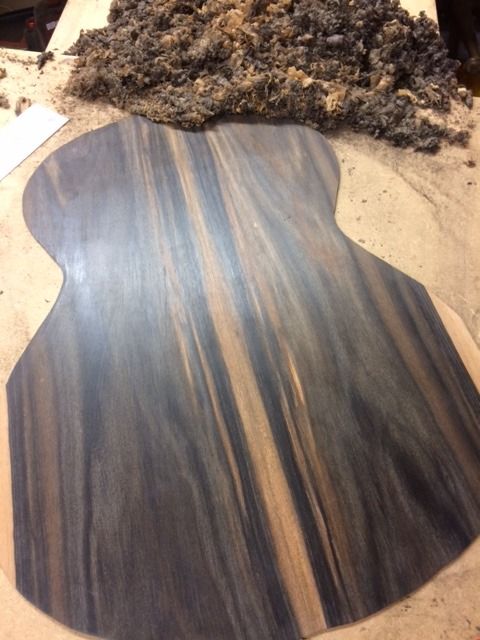
The back is taken down to final thickness using a cabinet scraper. Although a slowish process (and a bit tough on the hands!) I like being able to feel how the wood flexibility changes in my hands as the thickness drops and to feel when it feels right to stop. It's so varying for different timber species - so for me it's a really important part of the learning process.
![]()
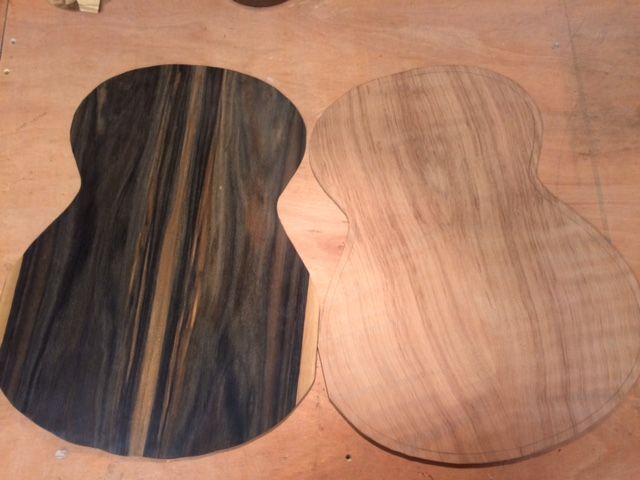
So here they are - the back and the top - I think something dark and stormy is brewing here.... Back is ready to be braced and the top is ready for the rosette to go in. The rosette I'll cover in my next one.
![]()
Apologies in the time delay from my original introduction on the other board to me actually starting this build thread, but I wanted to hoard up a few pictures for my first post so I could enter in with an "imagery bang" as it were!
So this is my first attempt at doing a forum build thread. I've taken a look at what others have done in their way of presenting the process, so do let me know if I go rogue in the way I present or talk about the work. Hopefully I'll get there!
So just to explain a bit of context - this guitar I am building in this thread is a model that I have designed called the T-G. I'm not too creative when it comes to model names - the T is linked to 'Turnstone' which is the company name, and the G is linked to "Grand" because the model most closely resembles a grand auditorium model spec. After initially developing a smaller model (yep you got it - the T-S) I developed this G model about a year ago and have built several so far and am liking the results. This particular one is being built as show stock and once done will be travelling around with me to upcoming shows. Full specs for this model can be found on my site, but it will all be shown here as we go along too.
Ok enough chatting... we'll go through the wood spec as we go. Lets start with the back. African Ebony. This is a timber I haven't worked with before but it's been sat patiently waiting in my controlled store for well over a year now as I know this timber needs to be dry and stable before going anywhere near it. The show face side was initially scraped with a cabinet scraper to give it a nice smooth and clean finish:

And here is it scrapped and outlined:

So once brought down to initial thickness the join is shot with a Veritas no.5 (I love this plane). I hold my panels up to my window to check the join over. So a bright sunny day is needed - they seem to be few a far between at the moment but the weather was on my side the day I did this job!

The soundboard is another new material to me, but I have had it stashed away for yonks and am so excited to finally be using it - curly North American Redwood. Here it is being joined (same process used to join the back)

And here it is successfully joined and lightly sanded on the show face side:

The back is taken down to final thickness using a cabinet scraper. Although a slowish process (and a bit tough on the hands!) I like being able to feel how the wood flexibility changes in my hands as the thickness drops and to feel when it feels right to stop. It's so varying for different timber species - so for me it's a really important part of the learning process.

So here they are - the back and the top - I think something dark and stormy is brewing here.... Back is ready to be braced and the top is ready for the rosette to go in. The rosette I'll cover in my next one.


 Jo whoever he is.


