Martin
Administrator

Posts: 11,994  Mini-Profile Background: {"image":"http://mandocello.org/lytebox/images/adirondack.jpg","color":""}
Mini-Profile Name Color: 0a530b
Mini-Profile Text Color: 4f3517
|
Post by Martin on Apr 1, 2019 19:49:55 GMT
Finish is looking great Colin. Vintage cool right enough  |
|
colins
Luthier / Guitar Maker
Posts: 2,397 
|
Post by colins on Apr 7, 2019 9:47:50 GMT
Well I have made a bridge, or rather exposed the bridge within.  This is the bog oak blank, as you can see it's nearly as old as me. Slot cut on the table router and the pin placement marked. 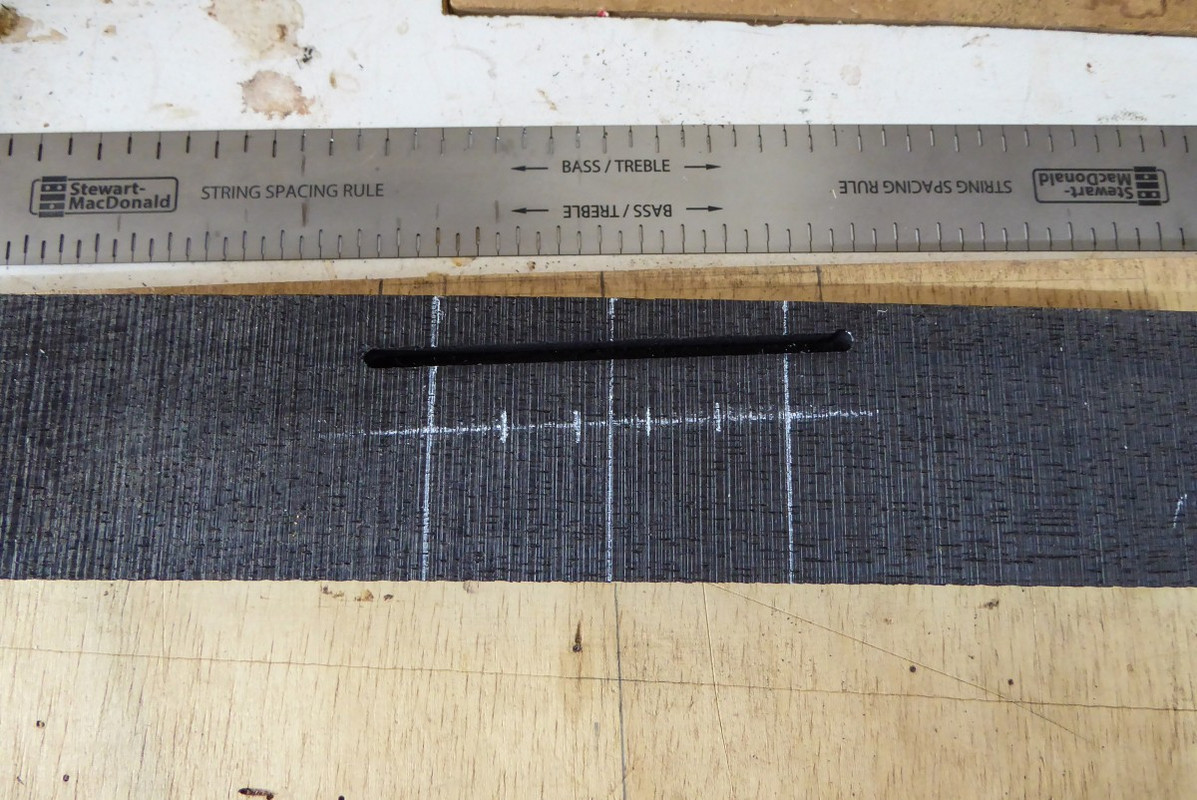 After consulting my inner Henry Moore, and removing the unneeded wood, I end up with a rather swish bridge. 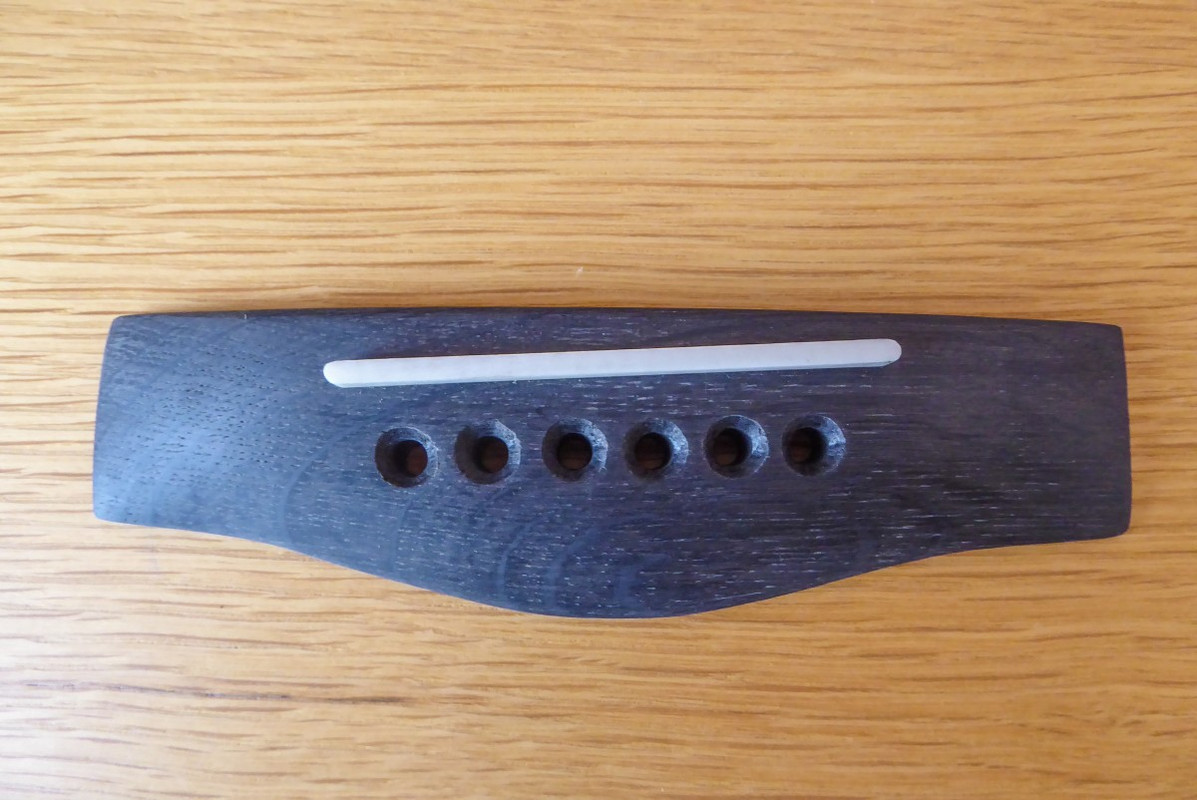 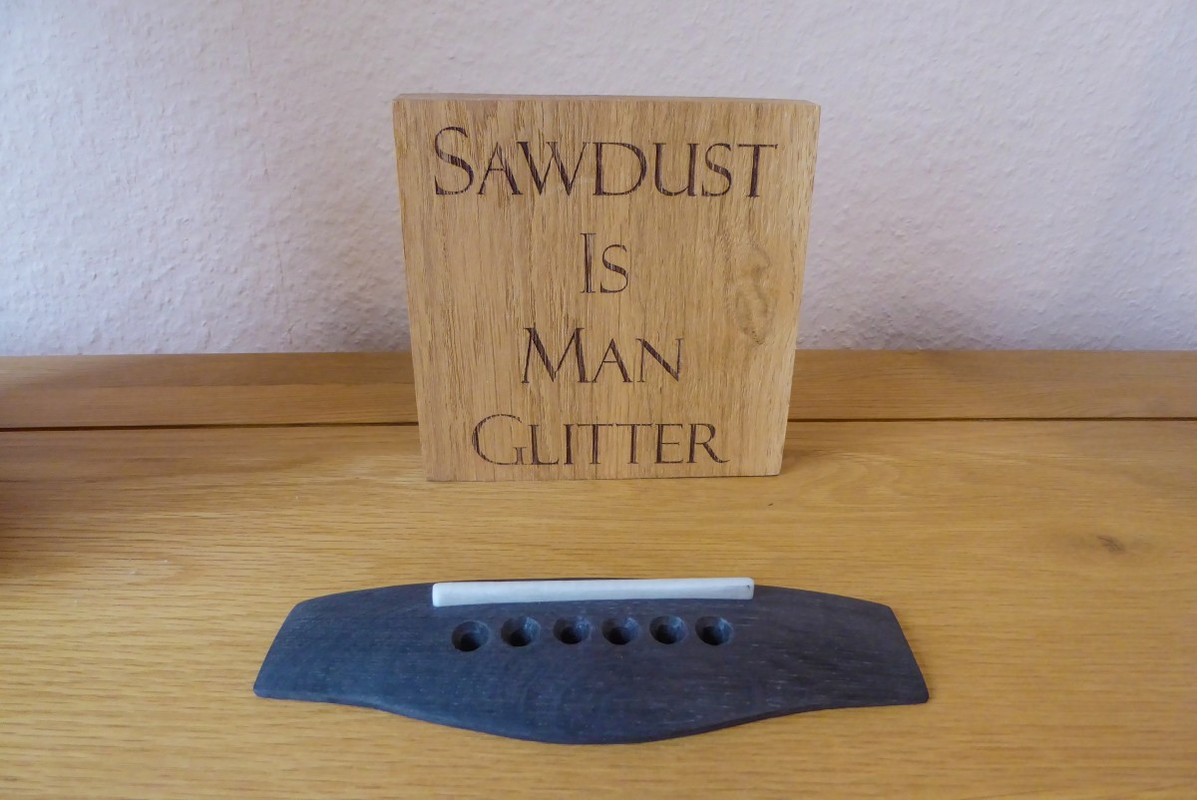 Next, of course, glue it on. |
|
colins
Luthier / Guitar Maker
Posts: 2,397 
|
Post by colins on Apr 9, 2019 11:46:05 GMT
Bridge has been made so I guess I might as well glue it on. To find the correct position on the top I first set up the Stew Mac gauge then place the bridge on the top and set the length, I place a couple of small bits of tape to mark the front edge. Next using my centre line finder I establish the lateral position and again add some tape. 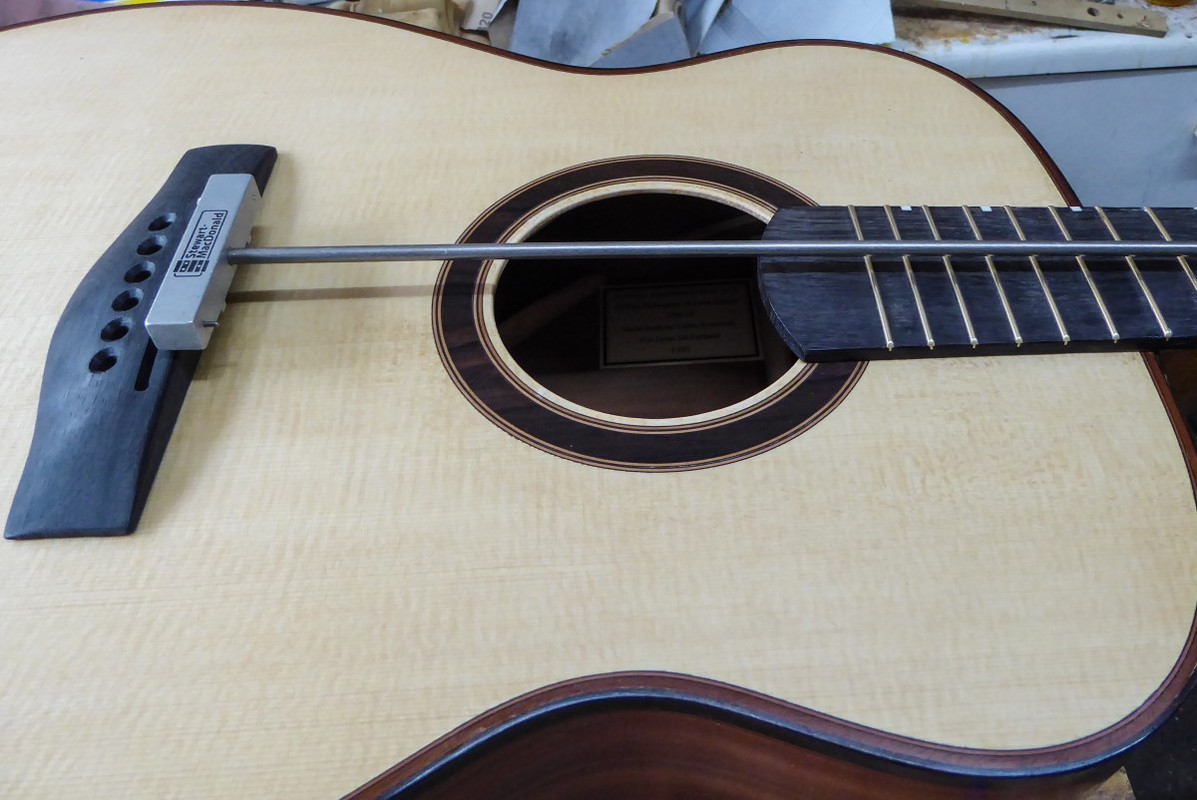 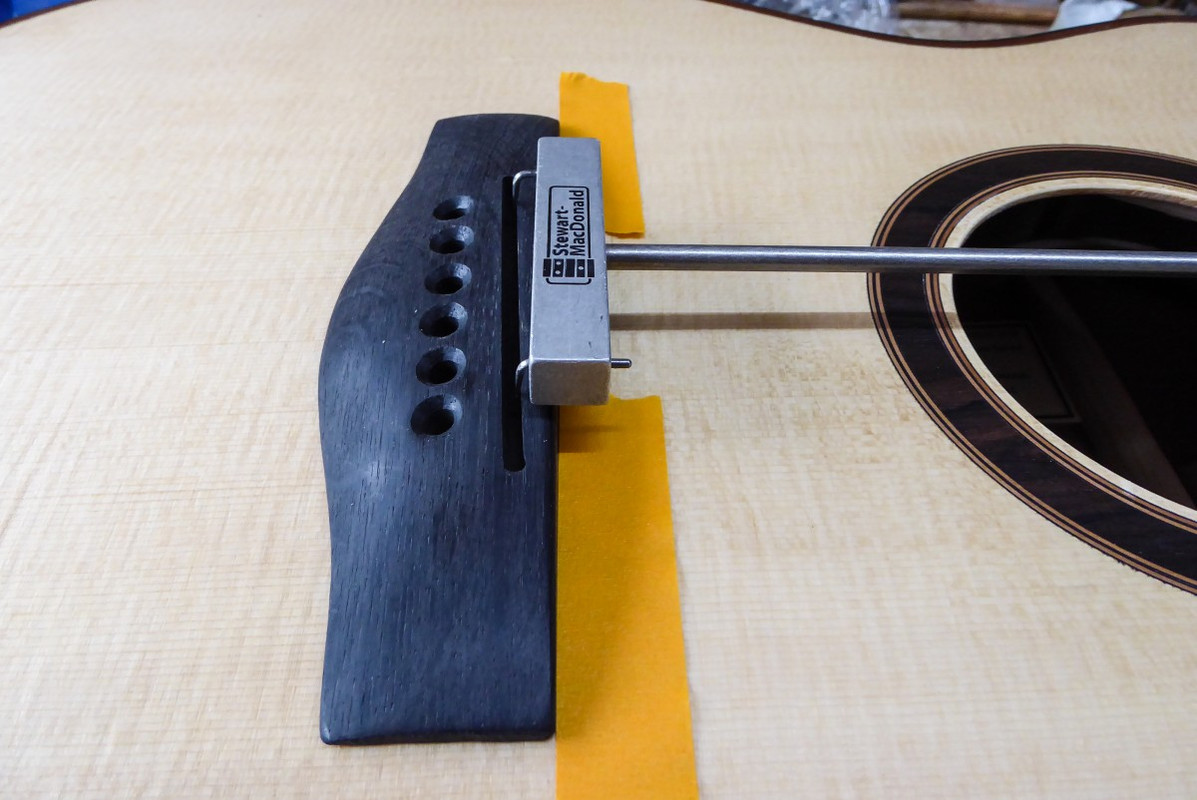 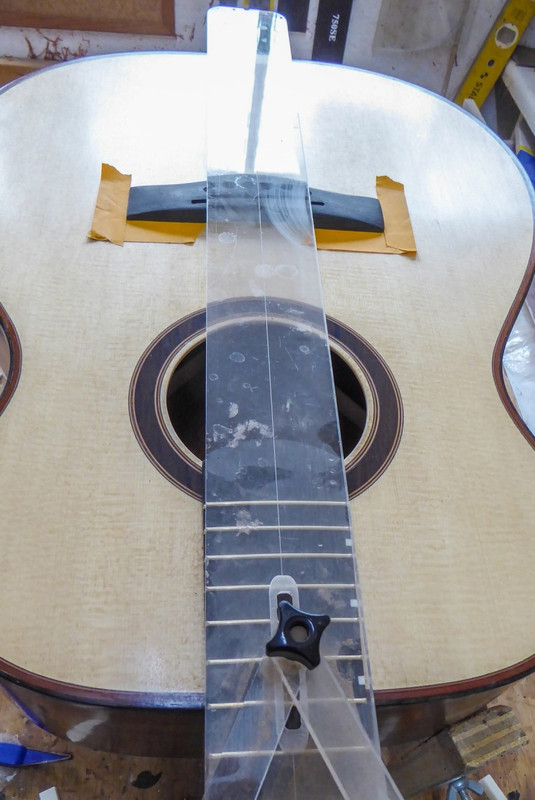 Next the two outer bridge pin holes are drilled and reamed and the bridge pinned in place. I then carefully marked round the bridge with a new scalpel blade, making sure to just mark the finish and not the underlying wood. 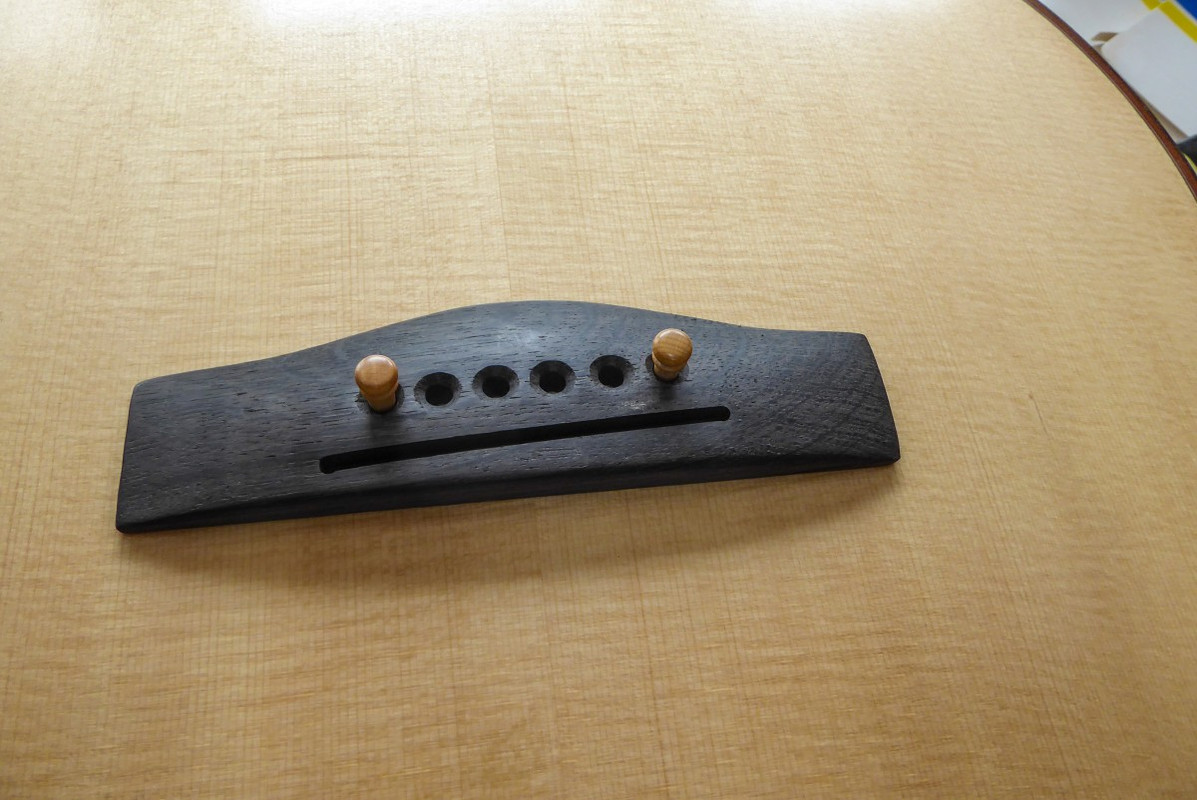 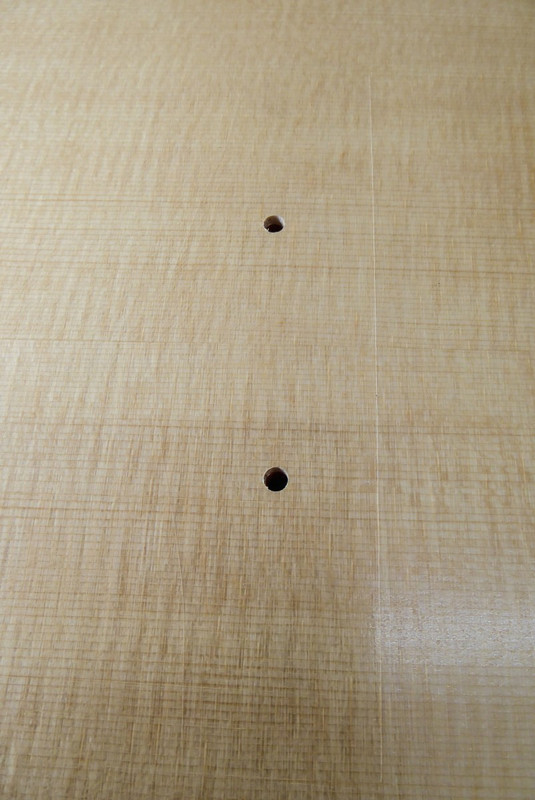 The finish inside the line is then carefully scraped off with the scalpel, and the bare wood lightly sanded to ensure all of the finish has been removed. 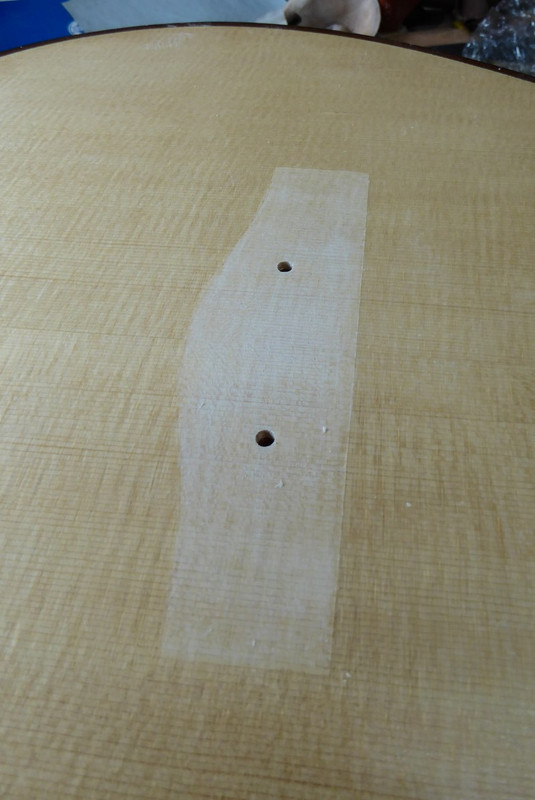 Colin |
|
colins
Luthier / Guitar Maker
Posts: 2,397 
|
Post by colins on Apr 9, 2019 11:56:37 GMT
Now that the top is prepared, I break out the hide glue. It's a good policy to warm up the top and the bridge so that the hide glue doesn't gel too quickly, while the glue melts in the baby bottle warmer, the bridge is placed on an old plate warmer, and the top warmed by my stylish hair dryer (lets face it, I don't need it for my hair!). 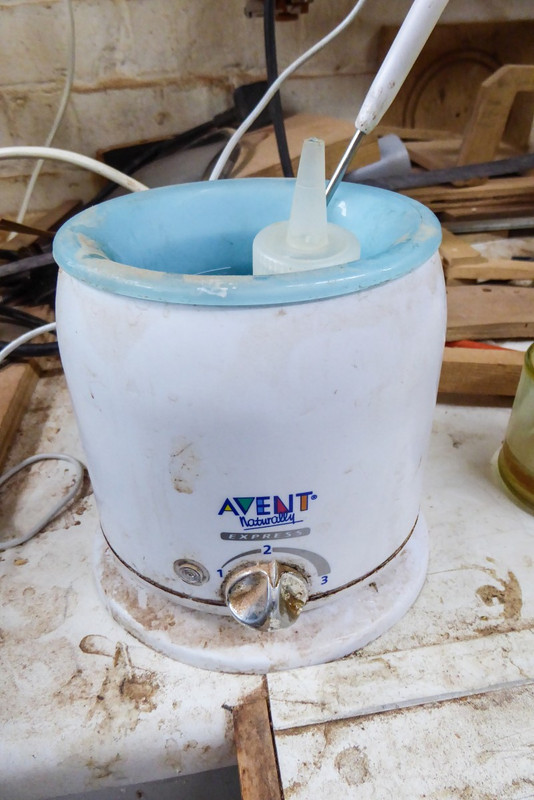 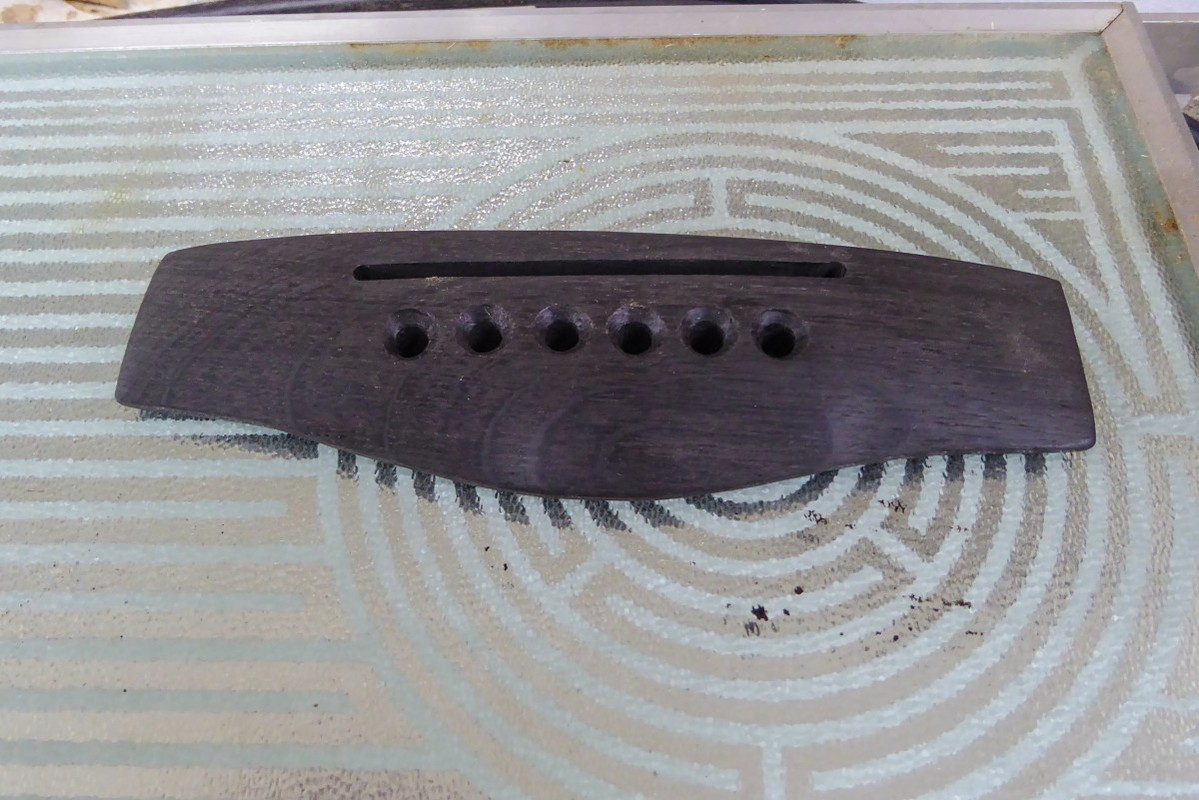 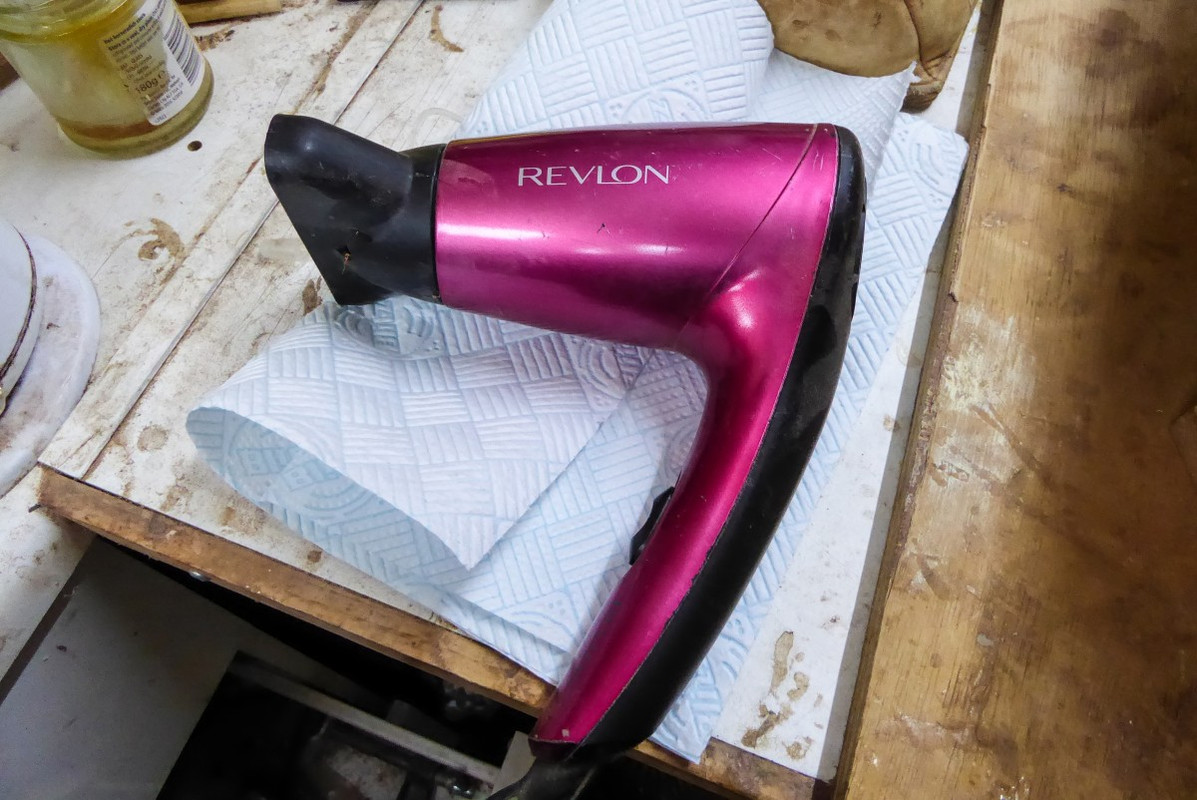 When everything is up to temperature glue is applied and, using registry pins, the bridge is pressed in place and the clamp applied. At last I have banished my Dave White glue squeeze-out envy! 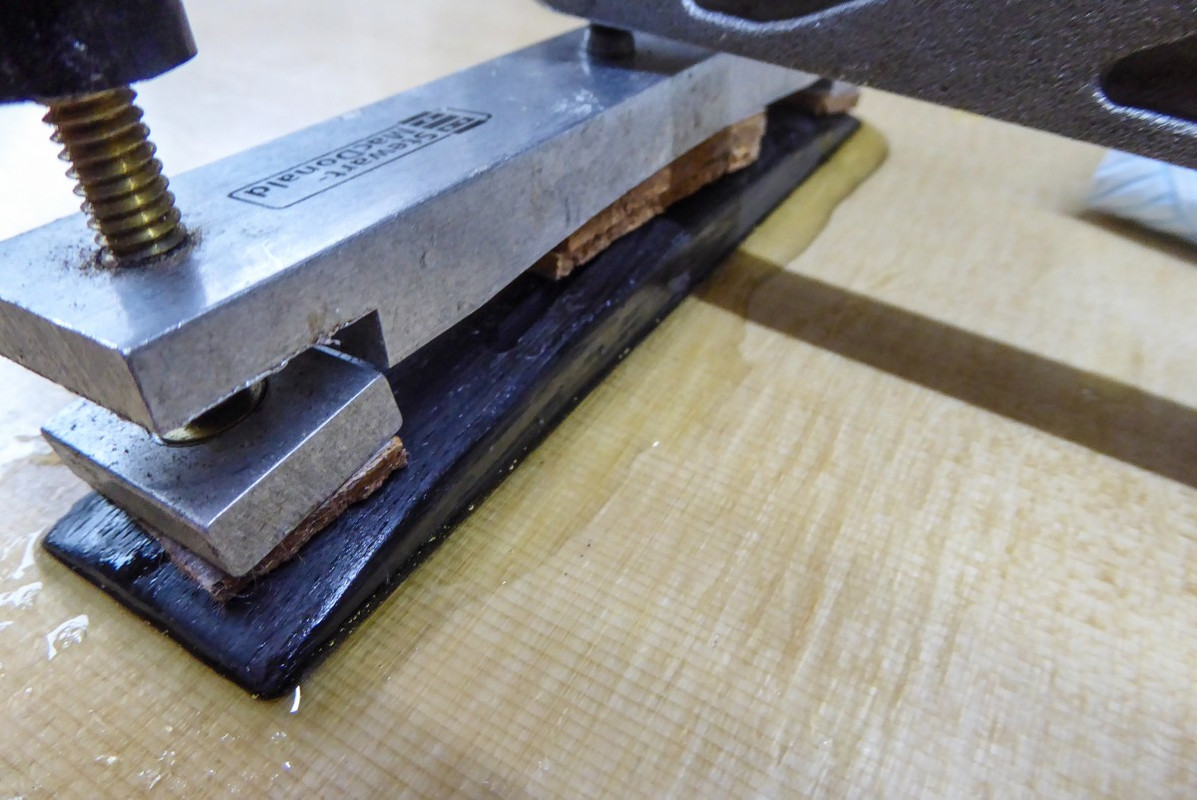 When the glue has gelled the excess glue us cleaned up and the clamp reapplied. 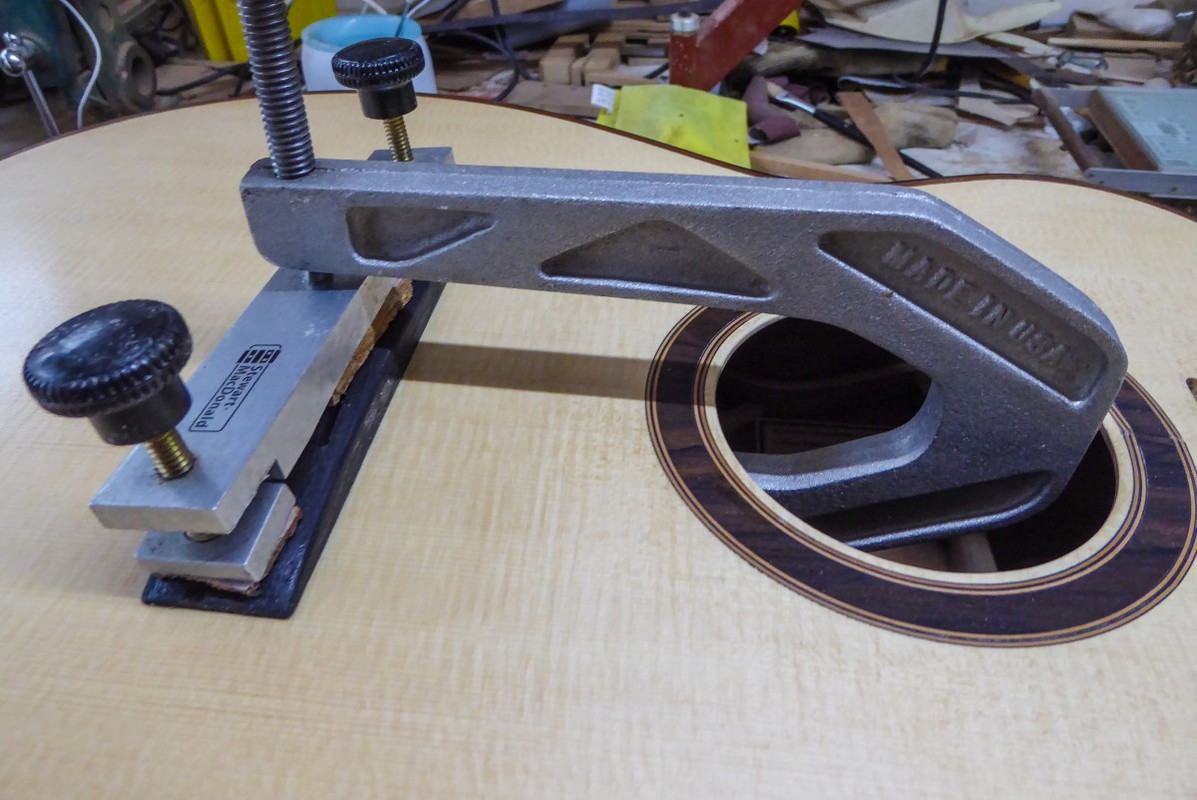 I'll leave it clamped until tomorrow. Colin |
|
davewhite
Luthier / Guitar Maker
Luthier
Aemulor et ambitiosior
Posts: 3,548
|
Post by davewhite on Apr 9, 2019 13:28:12 GMT
Nicely done Sir  |
|
Wild Violet
Artist / Performer

Posts: 3,642  My main instrument is: Symonds OM-14
|
Post by Wild Violet on Apr 9, 2019 21:23:36 GMT
This is just gorgeous. Will we be allowed to play it at Halifax?  |
|
colins
Luthier / Guitar Maker
Posts: 2,397 
|
Post by colins on Apr 10, 2019 8:32:31 GMT
Thanks Lynn, Well it'll be there, and you know Halifax rules.
|
|
Wild Violet
Artist / Performer

Posts: 3,642  My main instrument is: Symonds OM-14
|
Post by Wild Violet on Apr 10, 2019 9:23:28 GMT
I must admit I try to stay off this forum section to help stay focused on playing what I already own and stay out of the "what-can-I-sell-because-I-may-die-if-I-can't-have-that-guitar" trap, but this OM looks right up my street. I can't wait to try it out in September!
|
|
colins
Luthier / Guitar Maker
Posts: 2,397 
|
Post by colins on Apr 10, 2019 12:31:41 GMT
Clamp off this morning, quick sand of the bridge, then drill out and ream the remaining pin holes. The string ramps and grooves were then cut, this will of course have ungrooved bridge pins. 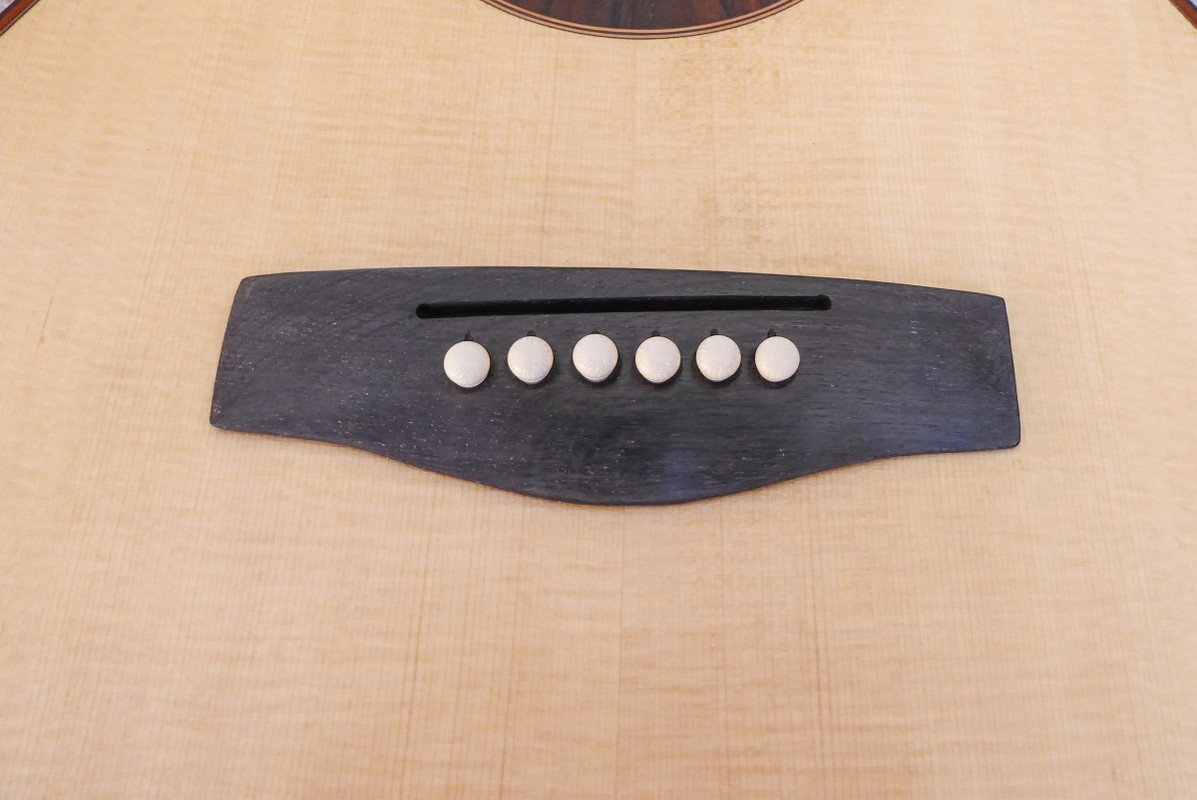 Colin |
|
colins
Luthier / Guitar Maker
Posts: 2,397 
|
Post by colins on Apr 10, 2019 12:42:28 GMT
I also put the tuners onto the head. This is having Gotoh tuners. Now in my time I've seen a lot of guitars where the tuners were not exactly in line. some from big manufacturers. Its a simple job to get them straight if you use a straight edge rather than just eyeballing it. Start by fitting the bottom pair of tuners, put them both into their holes and use a straight edge across the top to position them for marking the fixing screw position. 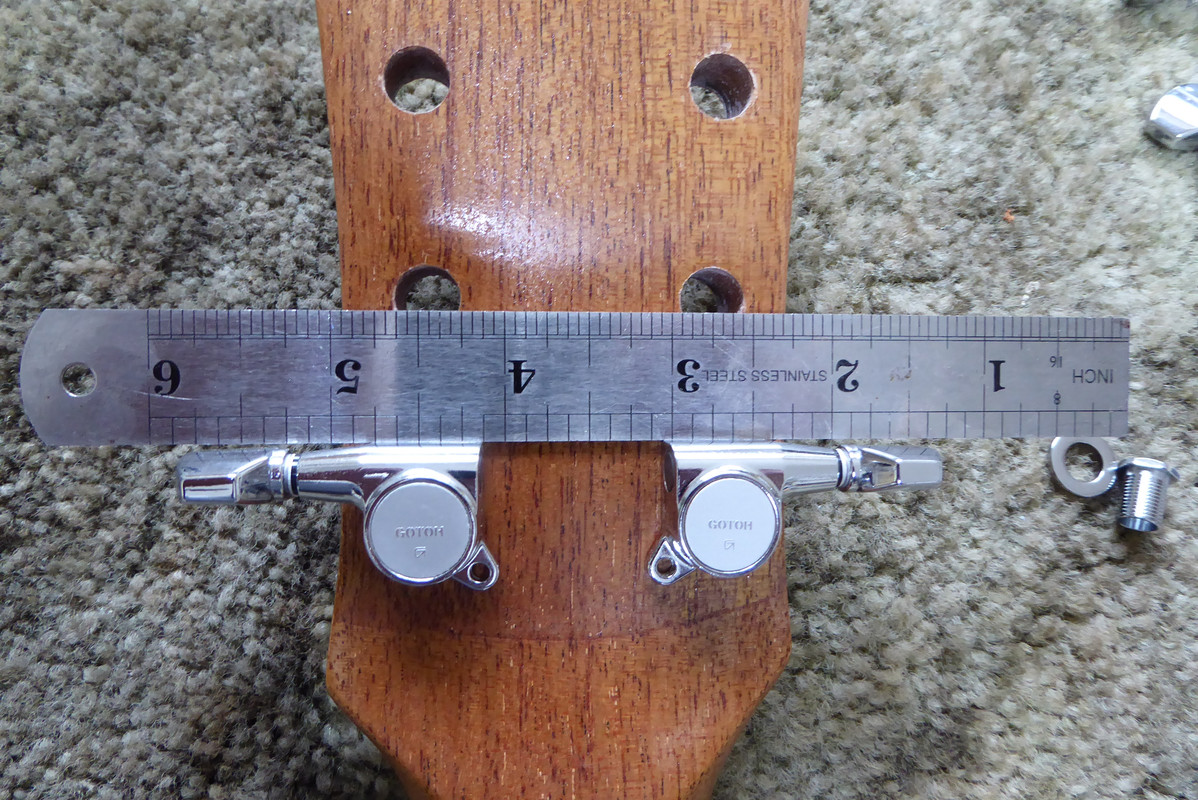 Repeat working your way up the head. 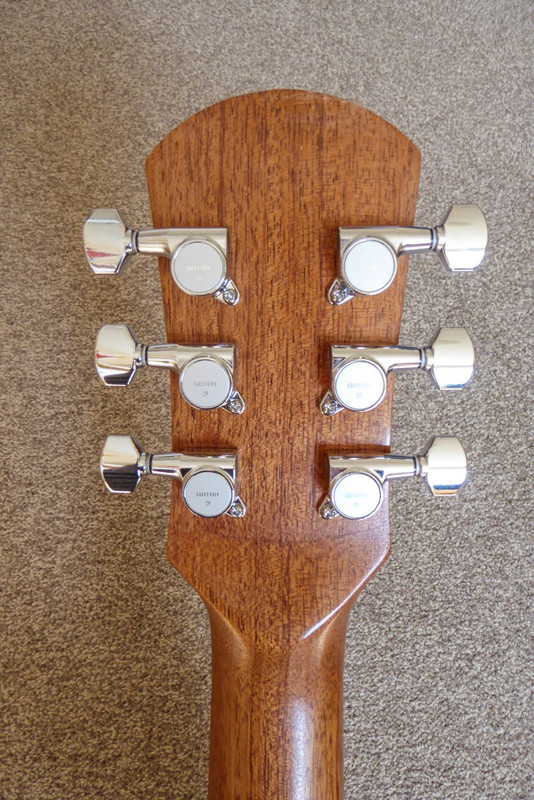 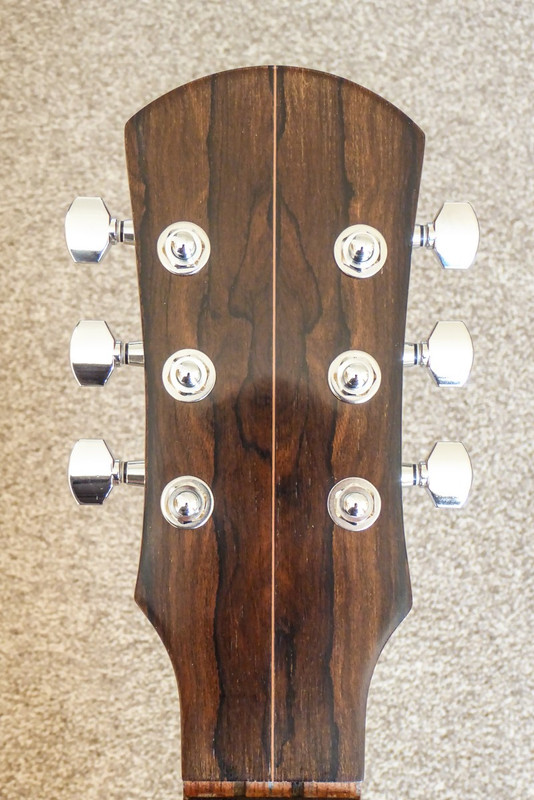 Oh and look what arrived in the post this morning for the guitar.  Colin |
|
|
|
Post by Vinny on Apr 10, 2019 14:26:56 GMT
Love the headstock shape and veneer.
Vinny
|
|
colins
Luthier / Guitar Maker
Posts: 2,397 
|
Post by colins on Apr 10, 2019 14:42:28 GMT
Thanks @vinny it's a sort of nod to the Gibson shape but with a rounded top. The headplate is bookmatched Ziricote to match binding and rosette.
Colin
|
|
Wild Violet
Artist / Performer

Posts: 3,642  My main instrument is: Symonds OM-14
|
Post by Wild Violet on Apr 10, 2019 16:06:25 GMT
Wow it looks so good! I love those tuners. What's the nut width?
|
|
foz
Strummer
 
Posts: 20
|
Post by foz on Apr 11, 2019 8:35:20 GMT
Thanks for spending the time to explain how you scrap back the finish to apply the bridge, that has helped my understanding! I am trying to french polish with the bridge on at the moment and it is proving to be tricky, so it is good to know a different approach.
What does worry me is using a scalpel and the fear of cutting into the top and compromising the bonding of the bridge - equivalent temperament to open heart surgery i guess? ;o)
Tip on keeping the tuners straight very much welcome too.
Thumbs up on the big oak bridge, looks wonderful.
Many thanks!
|
|
colins
Luthier / Guitar Maker
Posts: 2,397 
|
Post by colins on Apr 11, 2019 10:54:15 GMT
French polishing with the bridge on is standard practice in the classical guitar building world, it's a matter of having the correct shaped muneca.
With the scalpel, you are initially only marking the finish, not cutting right through it, the mark also gives a good reference point for scraping the top as your blade will drop into it. But care is needed and you only ever scrape from the line inwards, never towards the line.
Colin
|
|